How to paint kitchen cabinets – repaint your cupboards and units to give them a new look on a budget
Ever wondered how to paint kitchen cabinets? Give your kitchen cupboard doors a new lease of life with a fresh lick of paint

Holly Cockburn
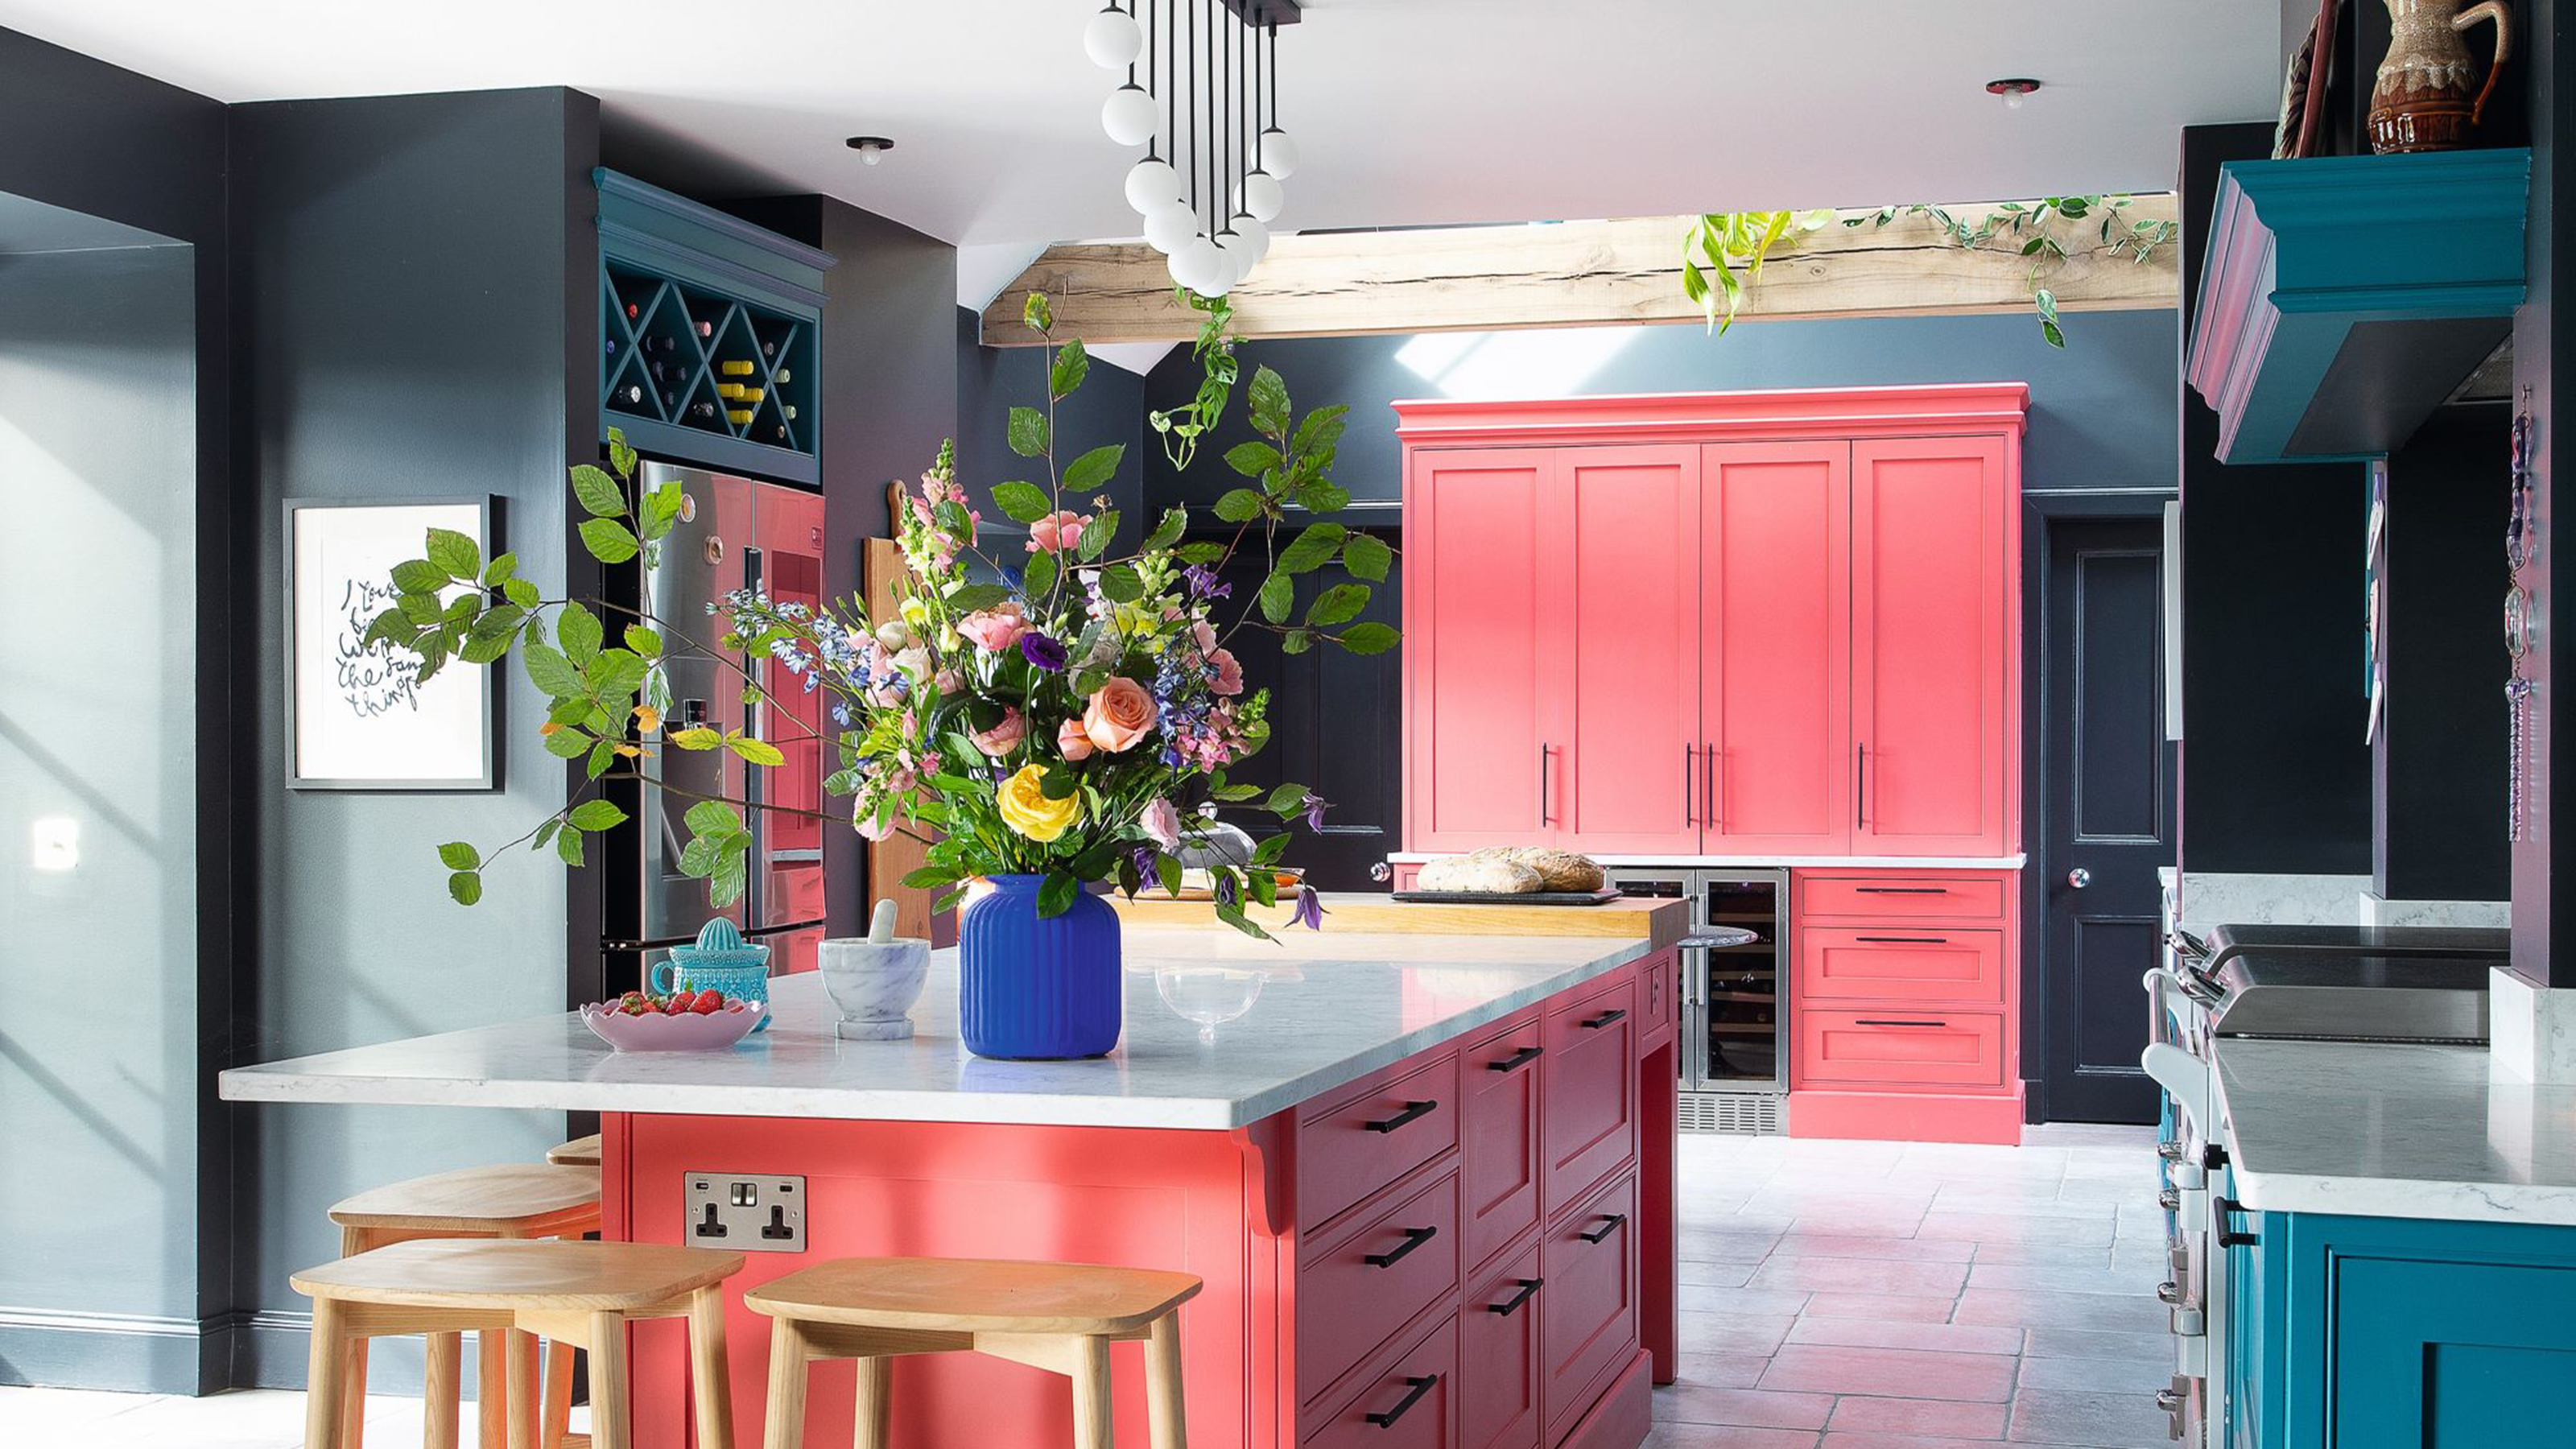
Wondering how to paint kitchen cabinets? A full kitchen refit can be costly and stressful, but if you’re happy with the layout and your cabinets are sound, why not consider painting what you’ve got?
With a wide range of kitchen colour schemes to choose from, painting your cabinets is a great way to give your kitchen a spruce. If you do the work yourself, there may even be money spare to splash out on new handles or worktops.
Start by researching the best paint for kitchen cabinets to find the right paint for the job, and then follow our expert advice on how to paint kitchen cabinets to ensure your painting project achieves perfection...
Where should I start when painting kitchen cabinets?
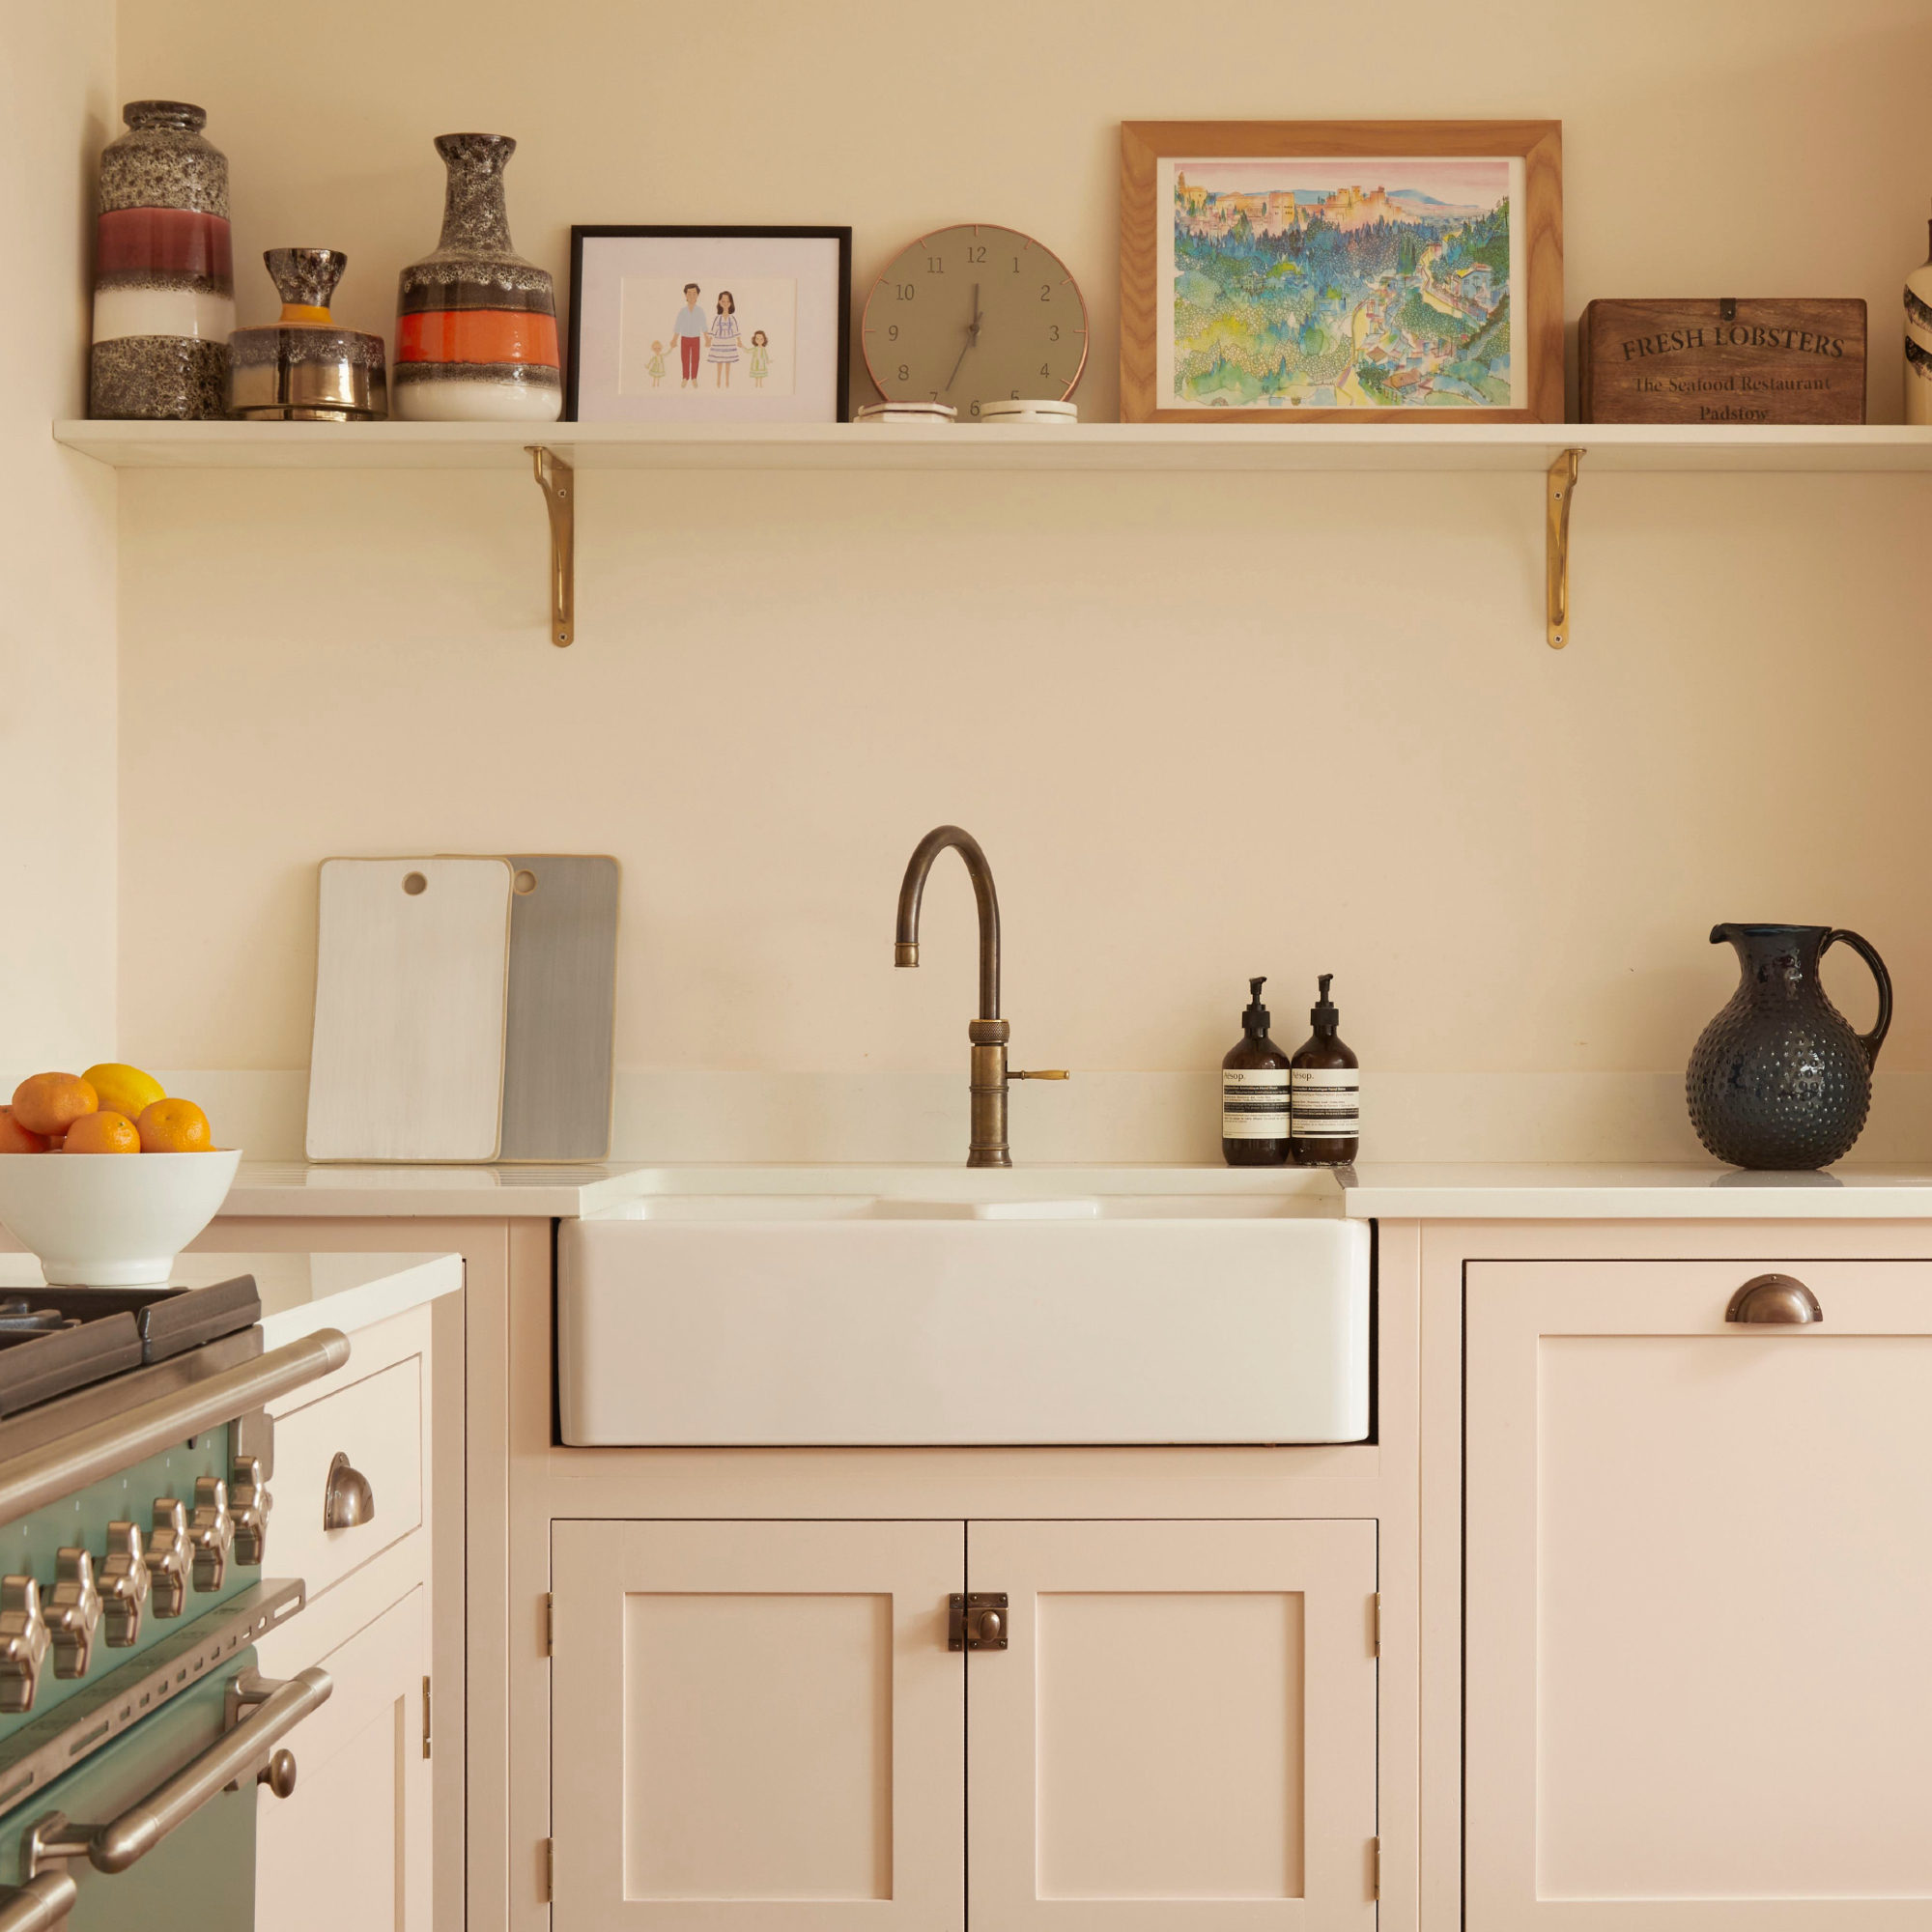
Painting your cabinets is an easy kitchen update. The experts begin by removing the doors because you’re less prone to runs and drips if you paint horizontally. Most just unclip at the hinges.
Lacking space or can’t remove them? Just cover the hinges with masking tape, taking care to conceal all the metalwork and paint in-situ. Always remove the handles though. A cordless screwdriver will speed things up here, and put down dust-sheets or newspaper to protect the floor.
How do you prep cabinets ready for painting?
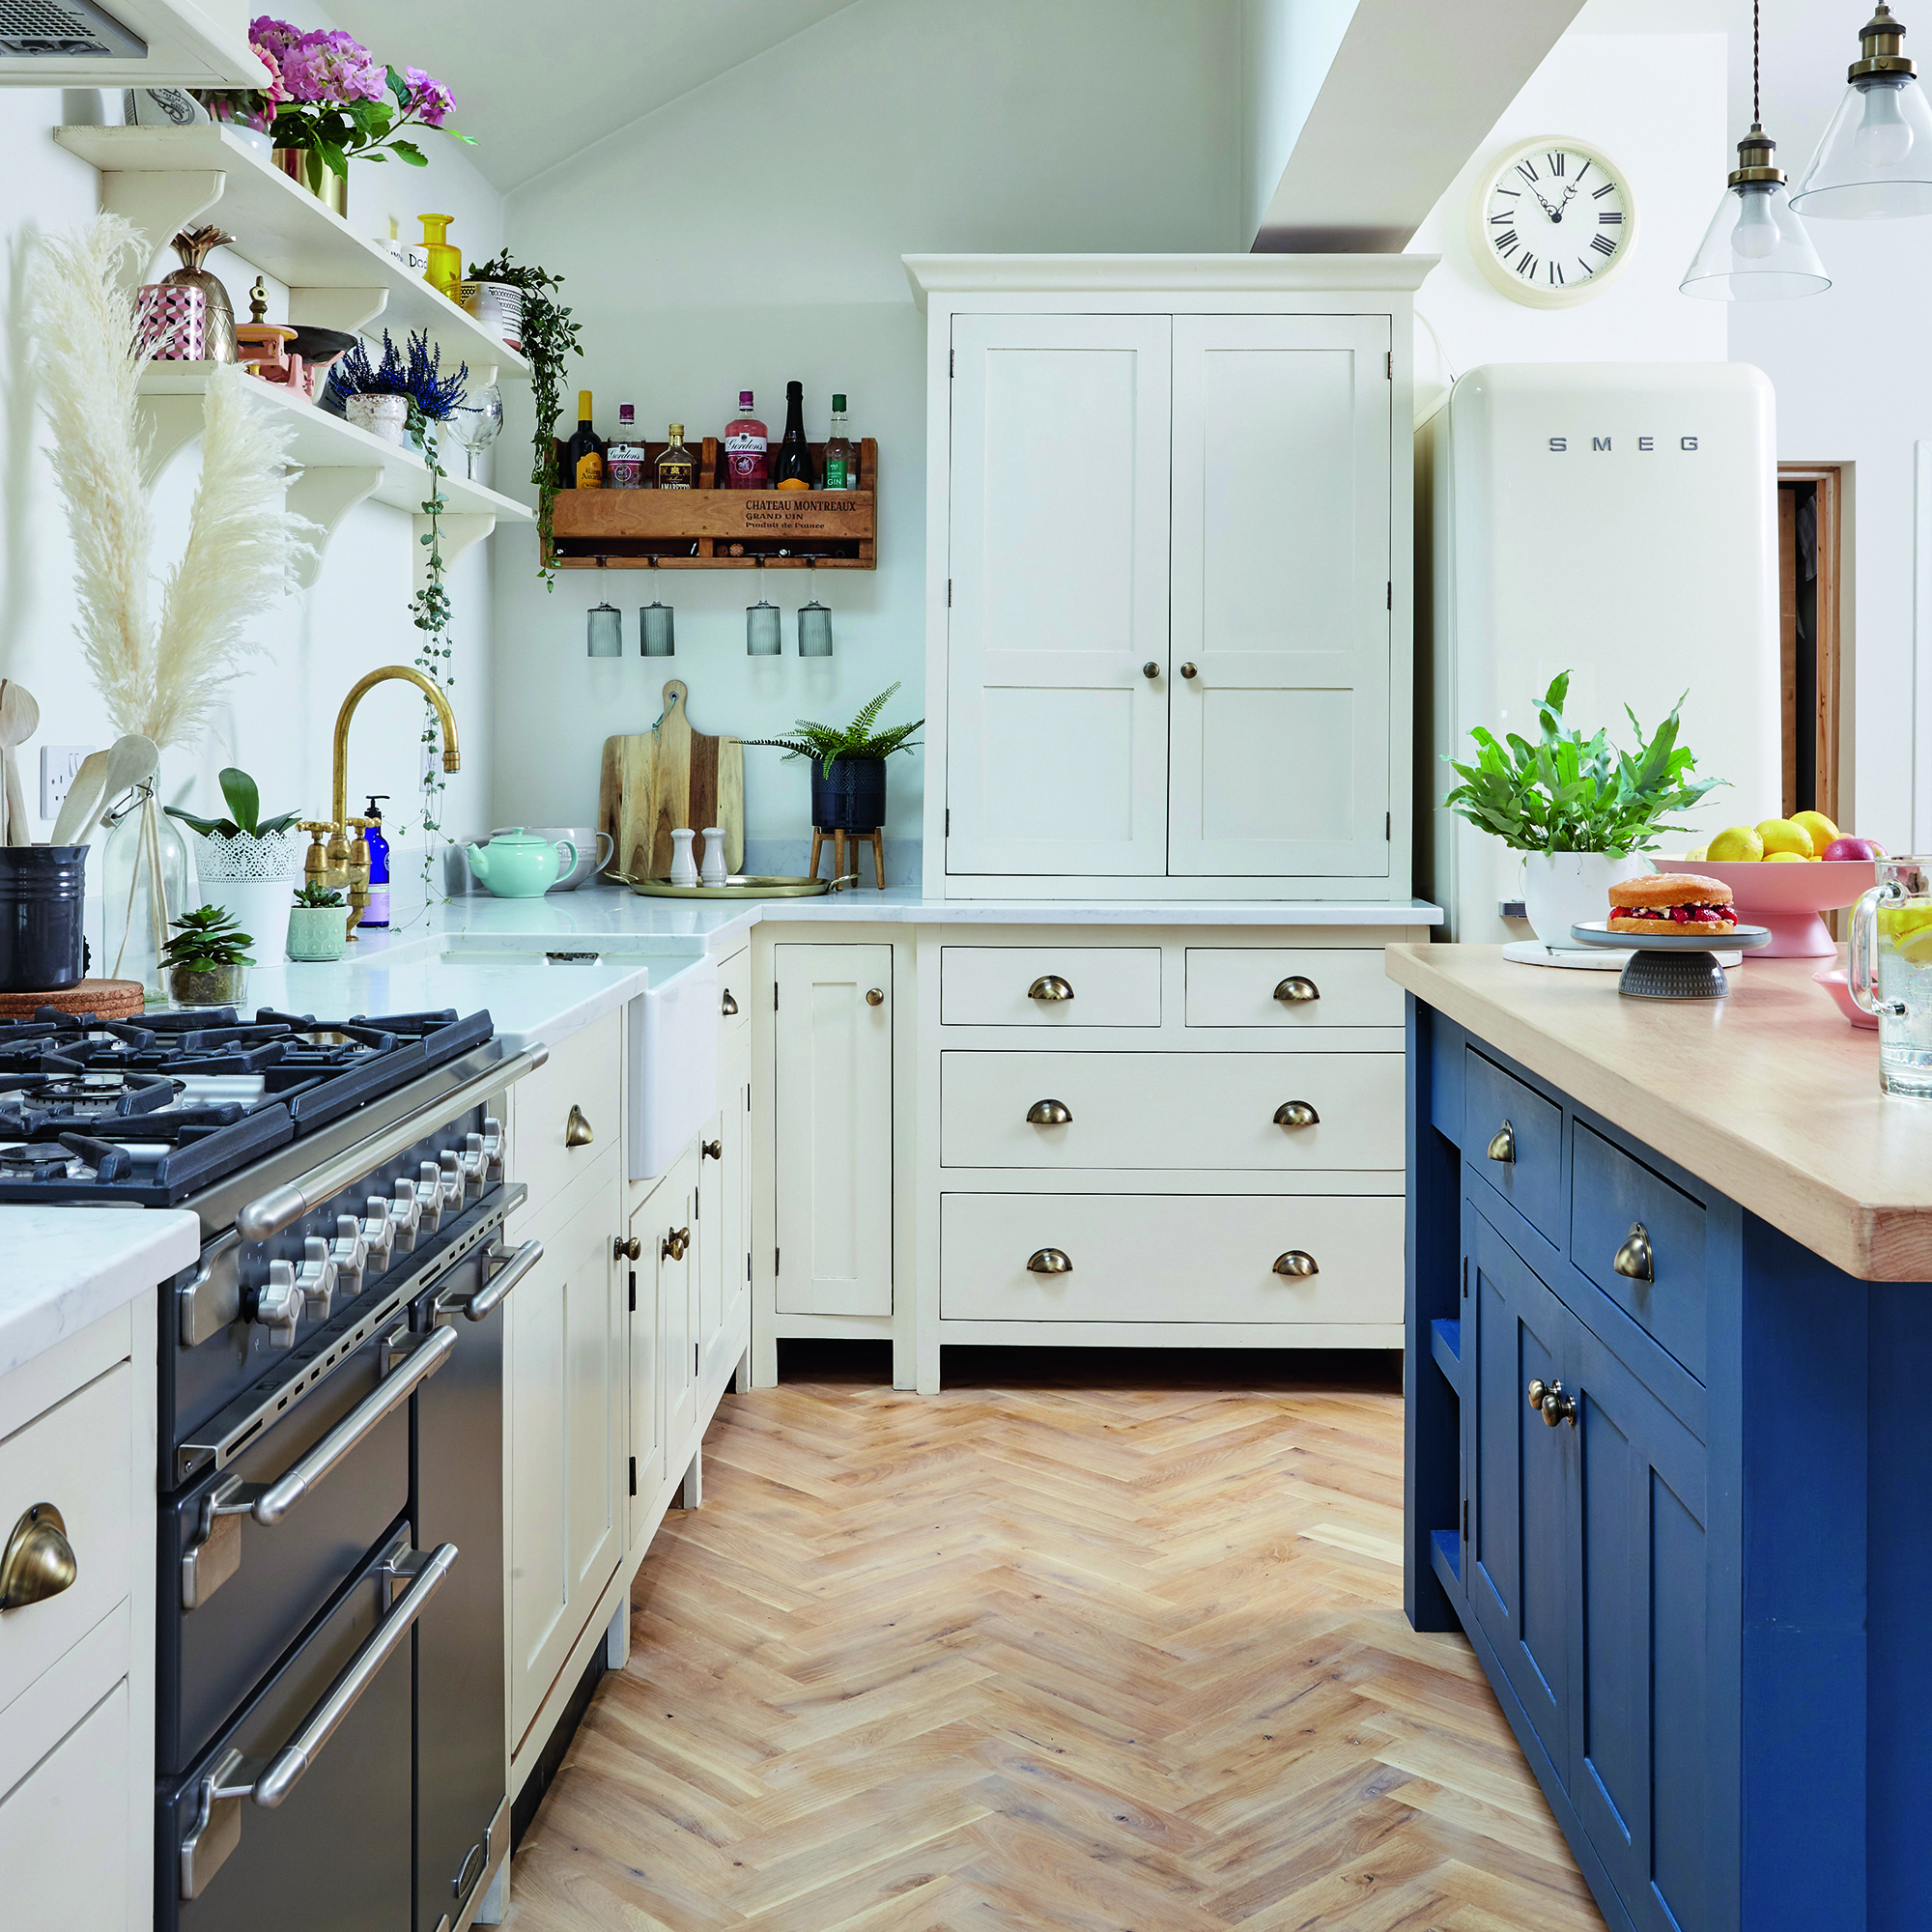
There are no shortcuts! Cleaning is essential to remove built-up kitchen grime. Use a specialist degreaser like Zep Commercial All Purpose Cleaner & Degreaser if things are really grim.
Next ‘key’ the surface to help the paint grip. This is really just a light sand, using a fine grit paper – 150-250 grit should do it. There’s no need to go crazy, just aim for an even, matte surface. Then wipe the dust off with a damp cloth and allow to completely dry.
Get the Ideal Home Newsletter
Sign up to our newsletter for style and decor inspiration, house makeovers, project advice and more.
Buy now: Zep Commercial All-purpose Clean & Degreaser, £12.89, Screwfix
How to paint kitchen cabinets - step by step
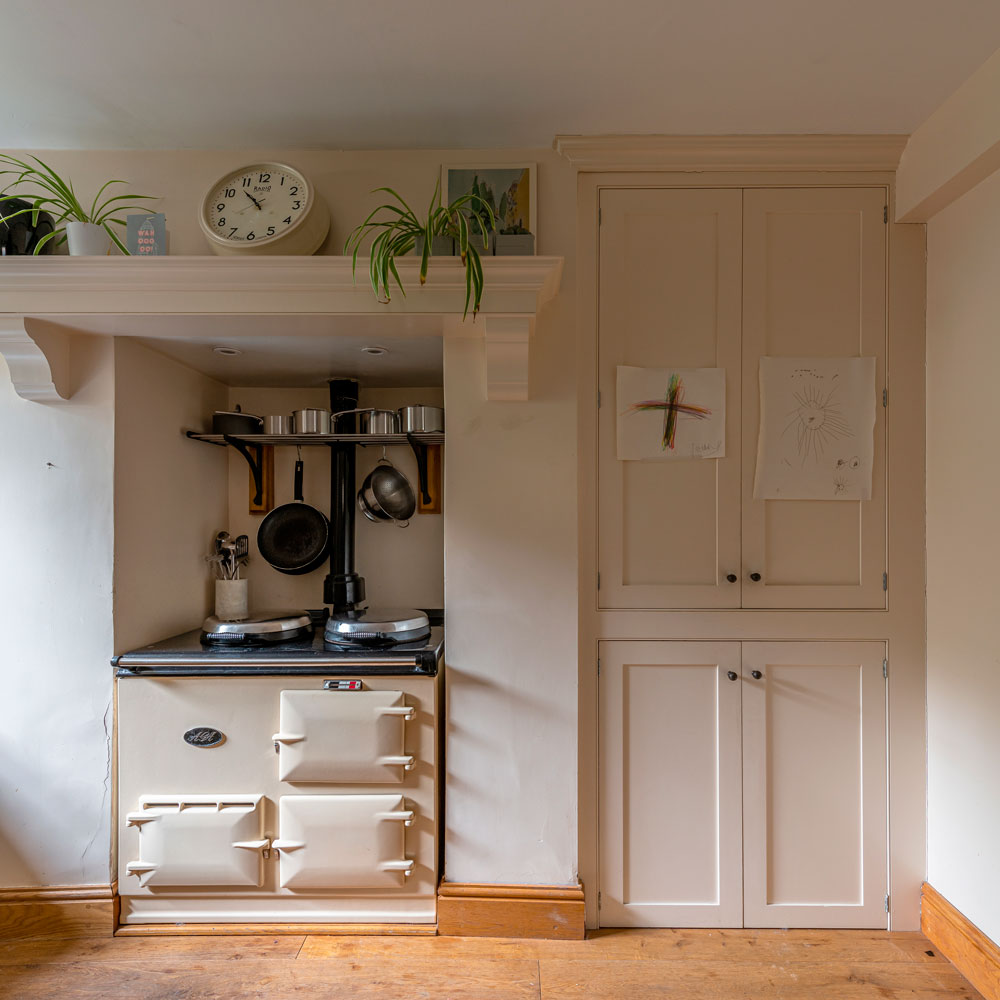
If you're looking for DIY kitchen ideas on a budget, giving your kitchen cupboards a new lease of life with a fresh lick of paint is a great option. Pick a formula designed for the job like Rust-Oleum's Kitchen Cupboard Paint. The result is a chalky finish that's hardwearing enough to handle knocks and frequent wipe-downs.
There's no need for a primer or topcoat for wooden or melamine cupboards. However, if you're wondering if you can paint gloss kitchen cabinets - you'll need a quick sand down with fine grit sandpaper.
What you'll need
- Degreasing detergent
- Masking tape
- Screwdriver
- Paint stirrer
- Paintbrush
- Roller
- Kitchen cupboard paint
Buy now: Rust-Oleum Kitchen Cupboard Paint in All Green, £22.99 for 750ml, Very
1. Clean all surfaces
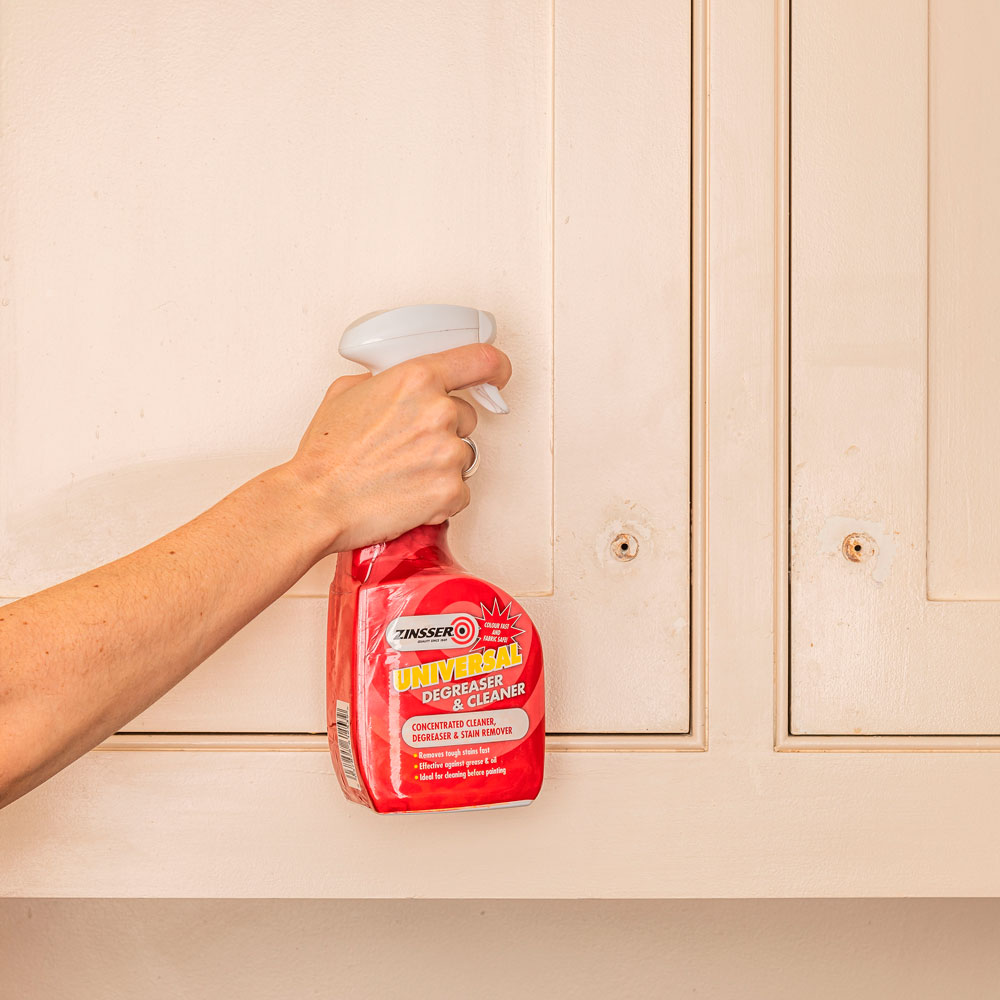
Before you begin painting, give your kitchen cupboards a good clean with a detergent to remove any dirt and grease. Allow to dry.
2. Protect walls and floors
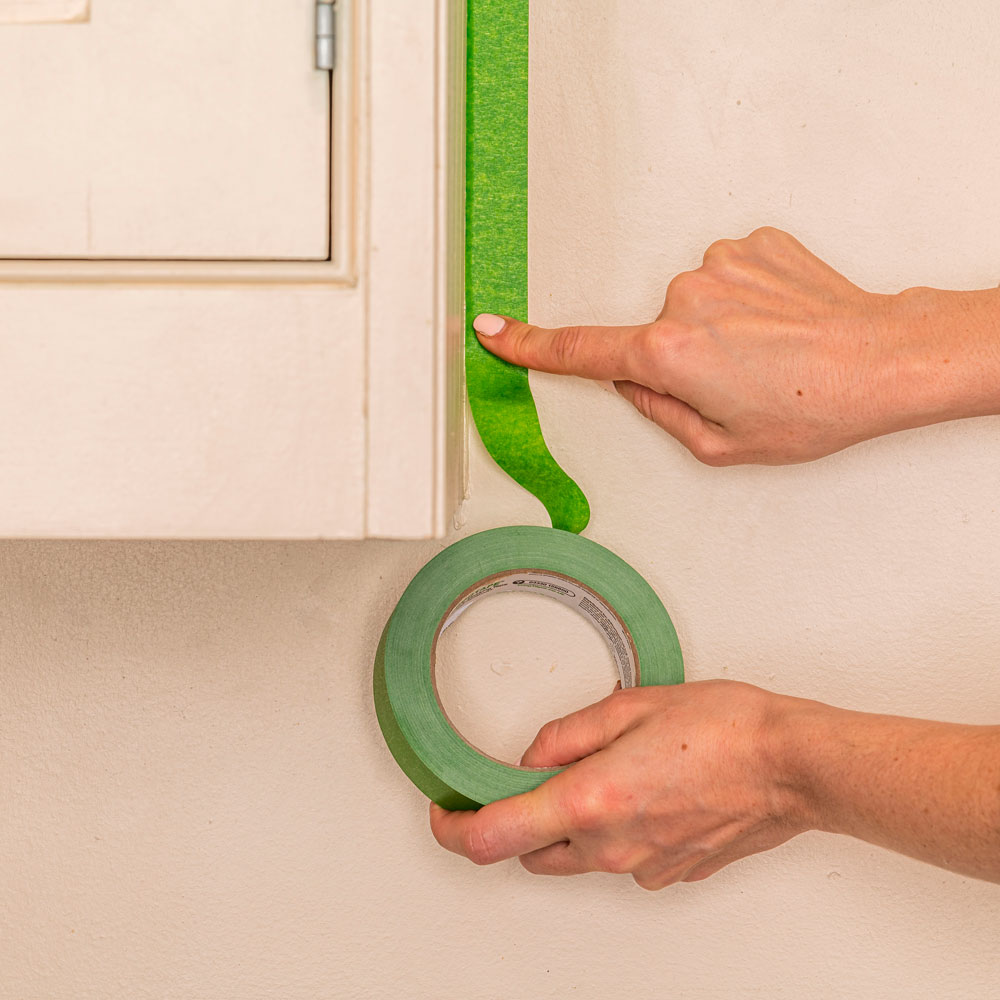
Run masking tape along the edges of the cabinets to protect walls and surfaces you don't want to get paint on. It'll also help to create a crisp edge. Cover worktops, floors and appliances with a sheet to catch paint drips.
3. Remove the handles
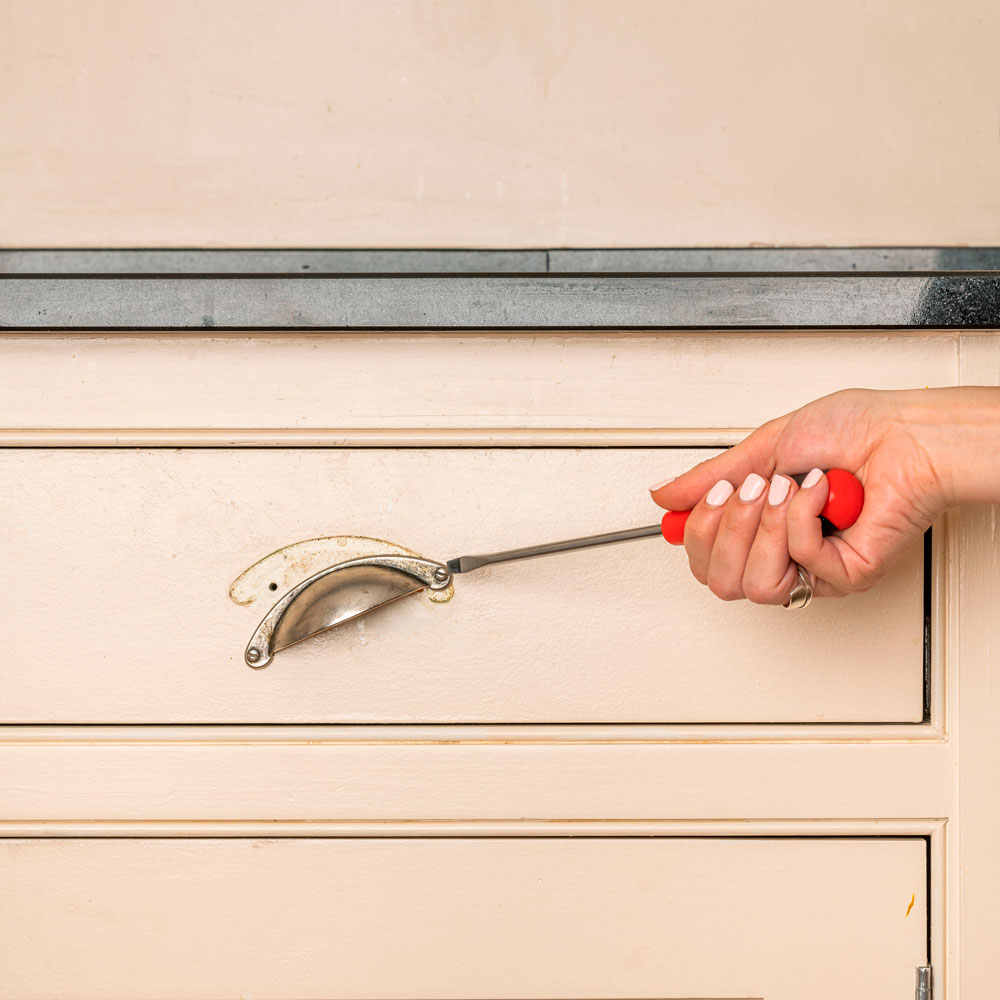
Use a screwdriver to carefully remove the drawer and cupboard handles and put to one side. Open your paint tin and use a stick to stir the paint.
4. Begin painting the cupboards
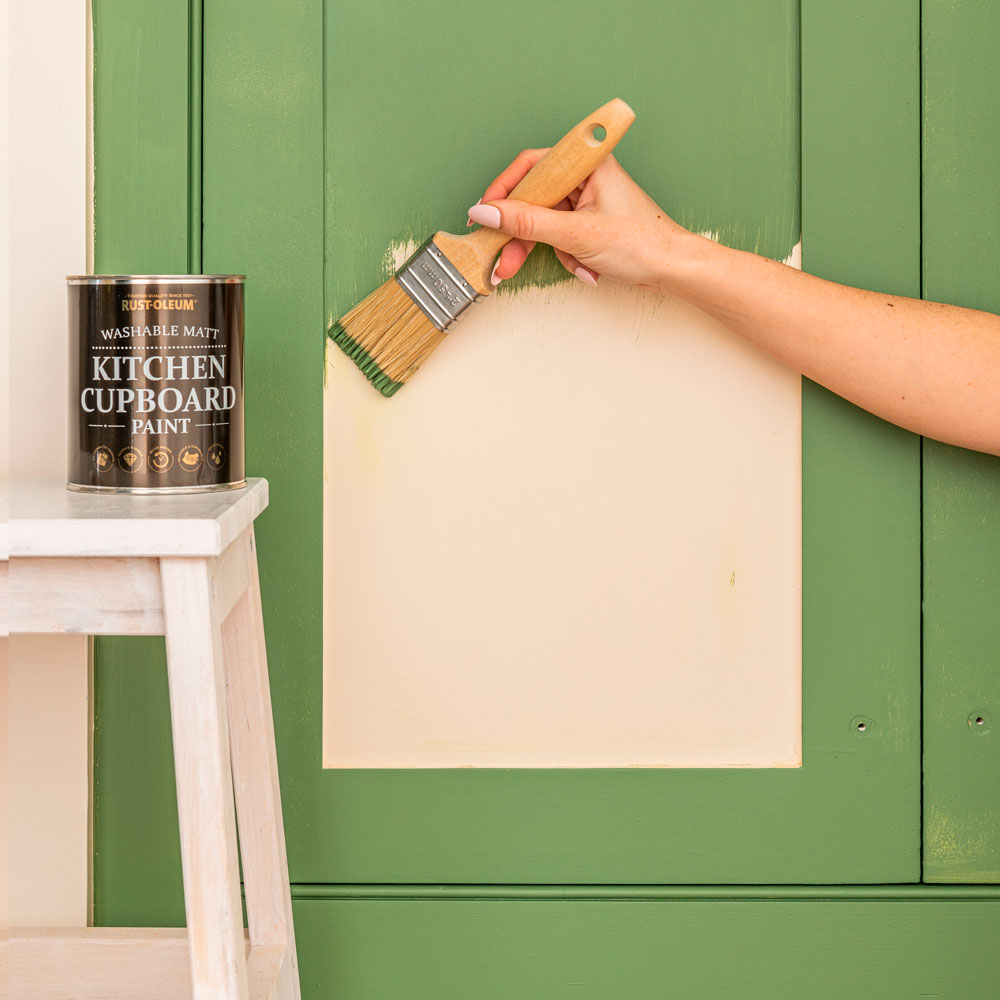
Start by using a brush to get into any nooks or hard to reach areas to ensure an even and thorough coverage of paint.
5. Finish painting
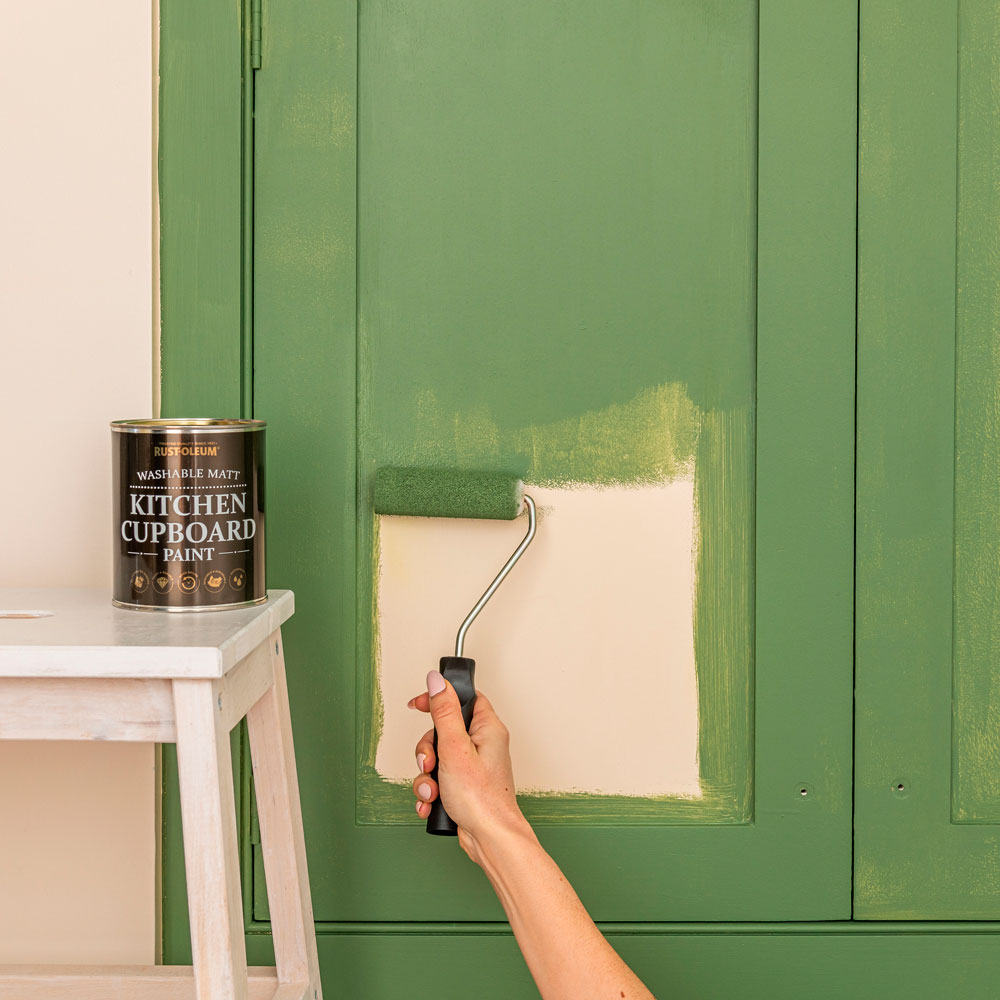
Move on to a short nap roller to cover the remaining surfaces of the cupboards and drawers with paint. Rust-Oleum Kitchen Cupboard Paint is touch dry in one hour.
6. Enjoy your new kitchen
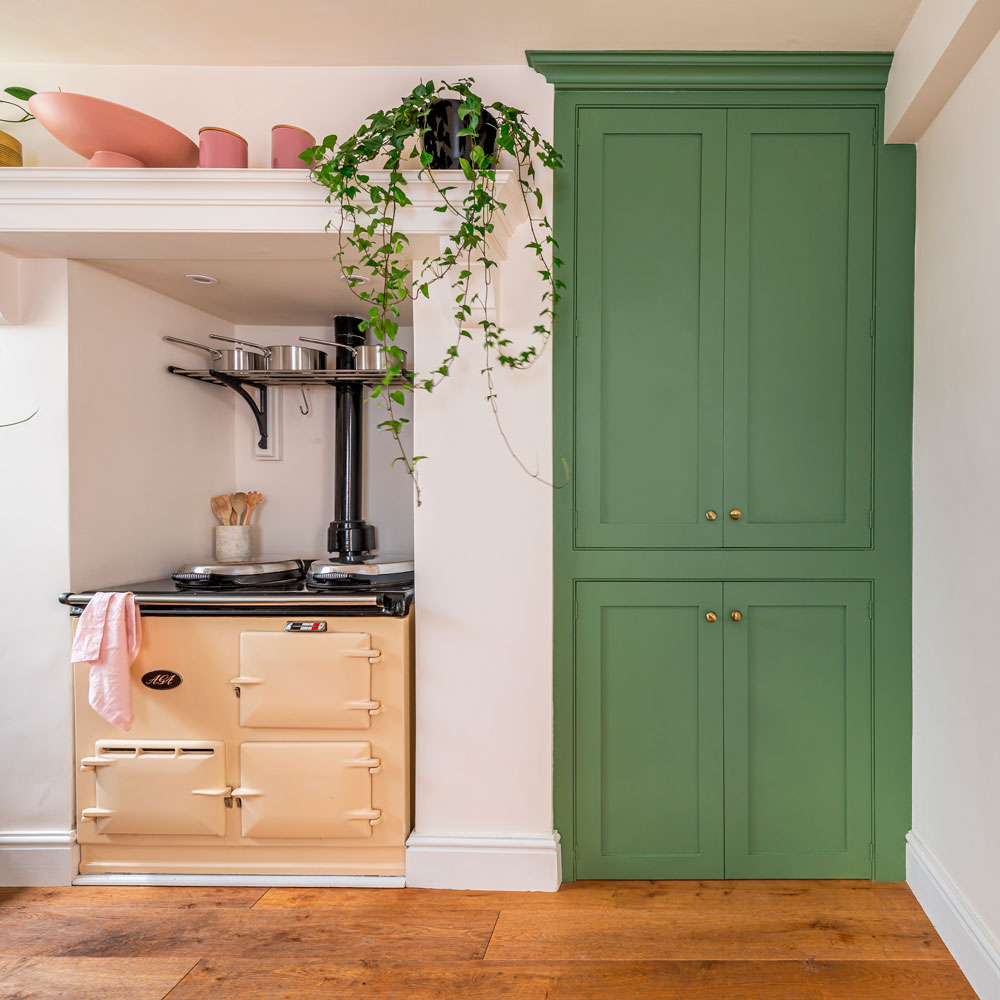
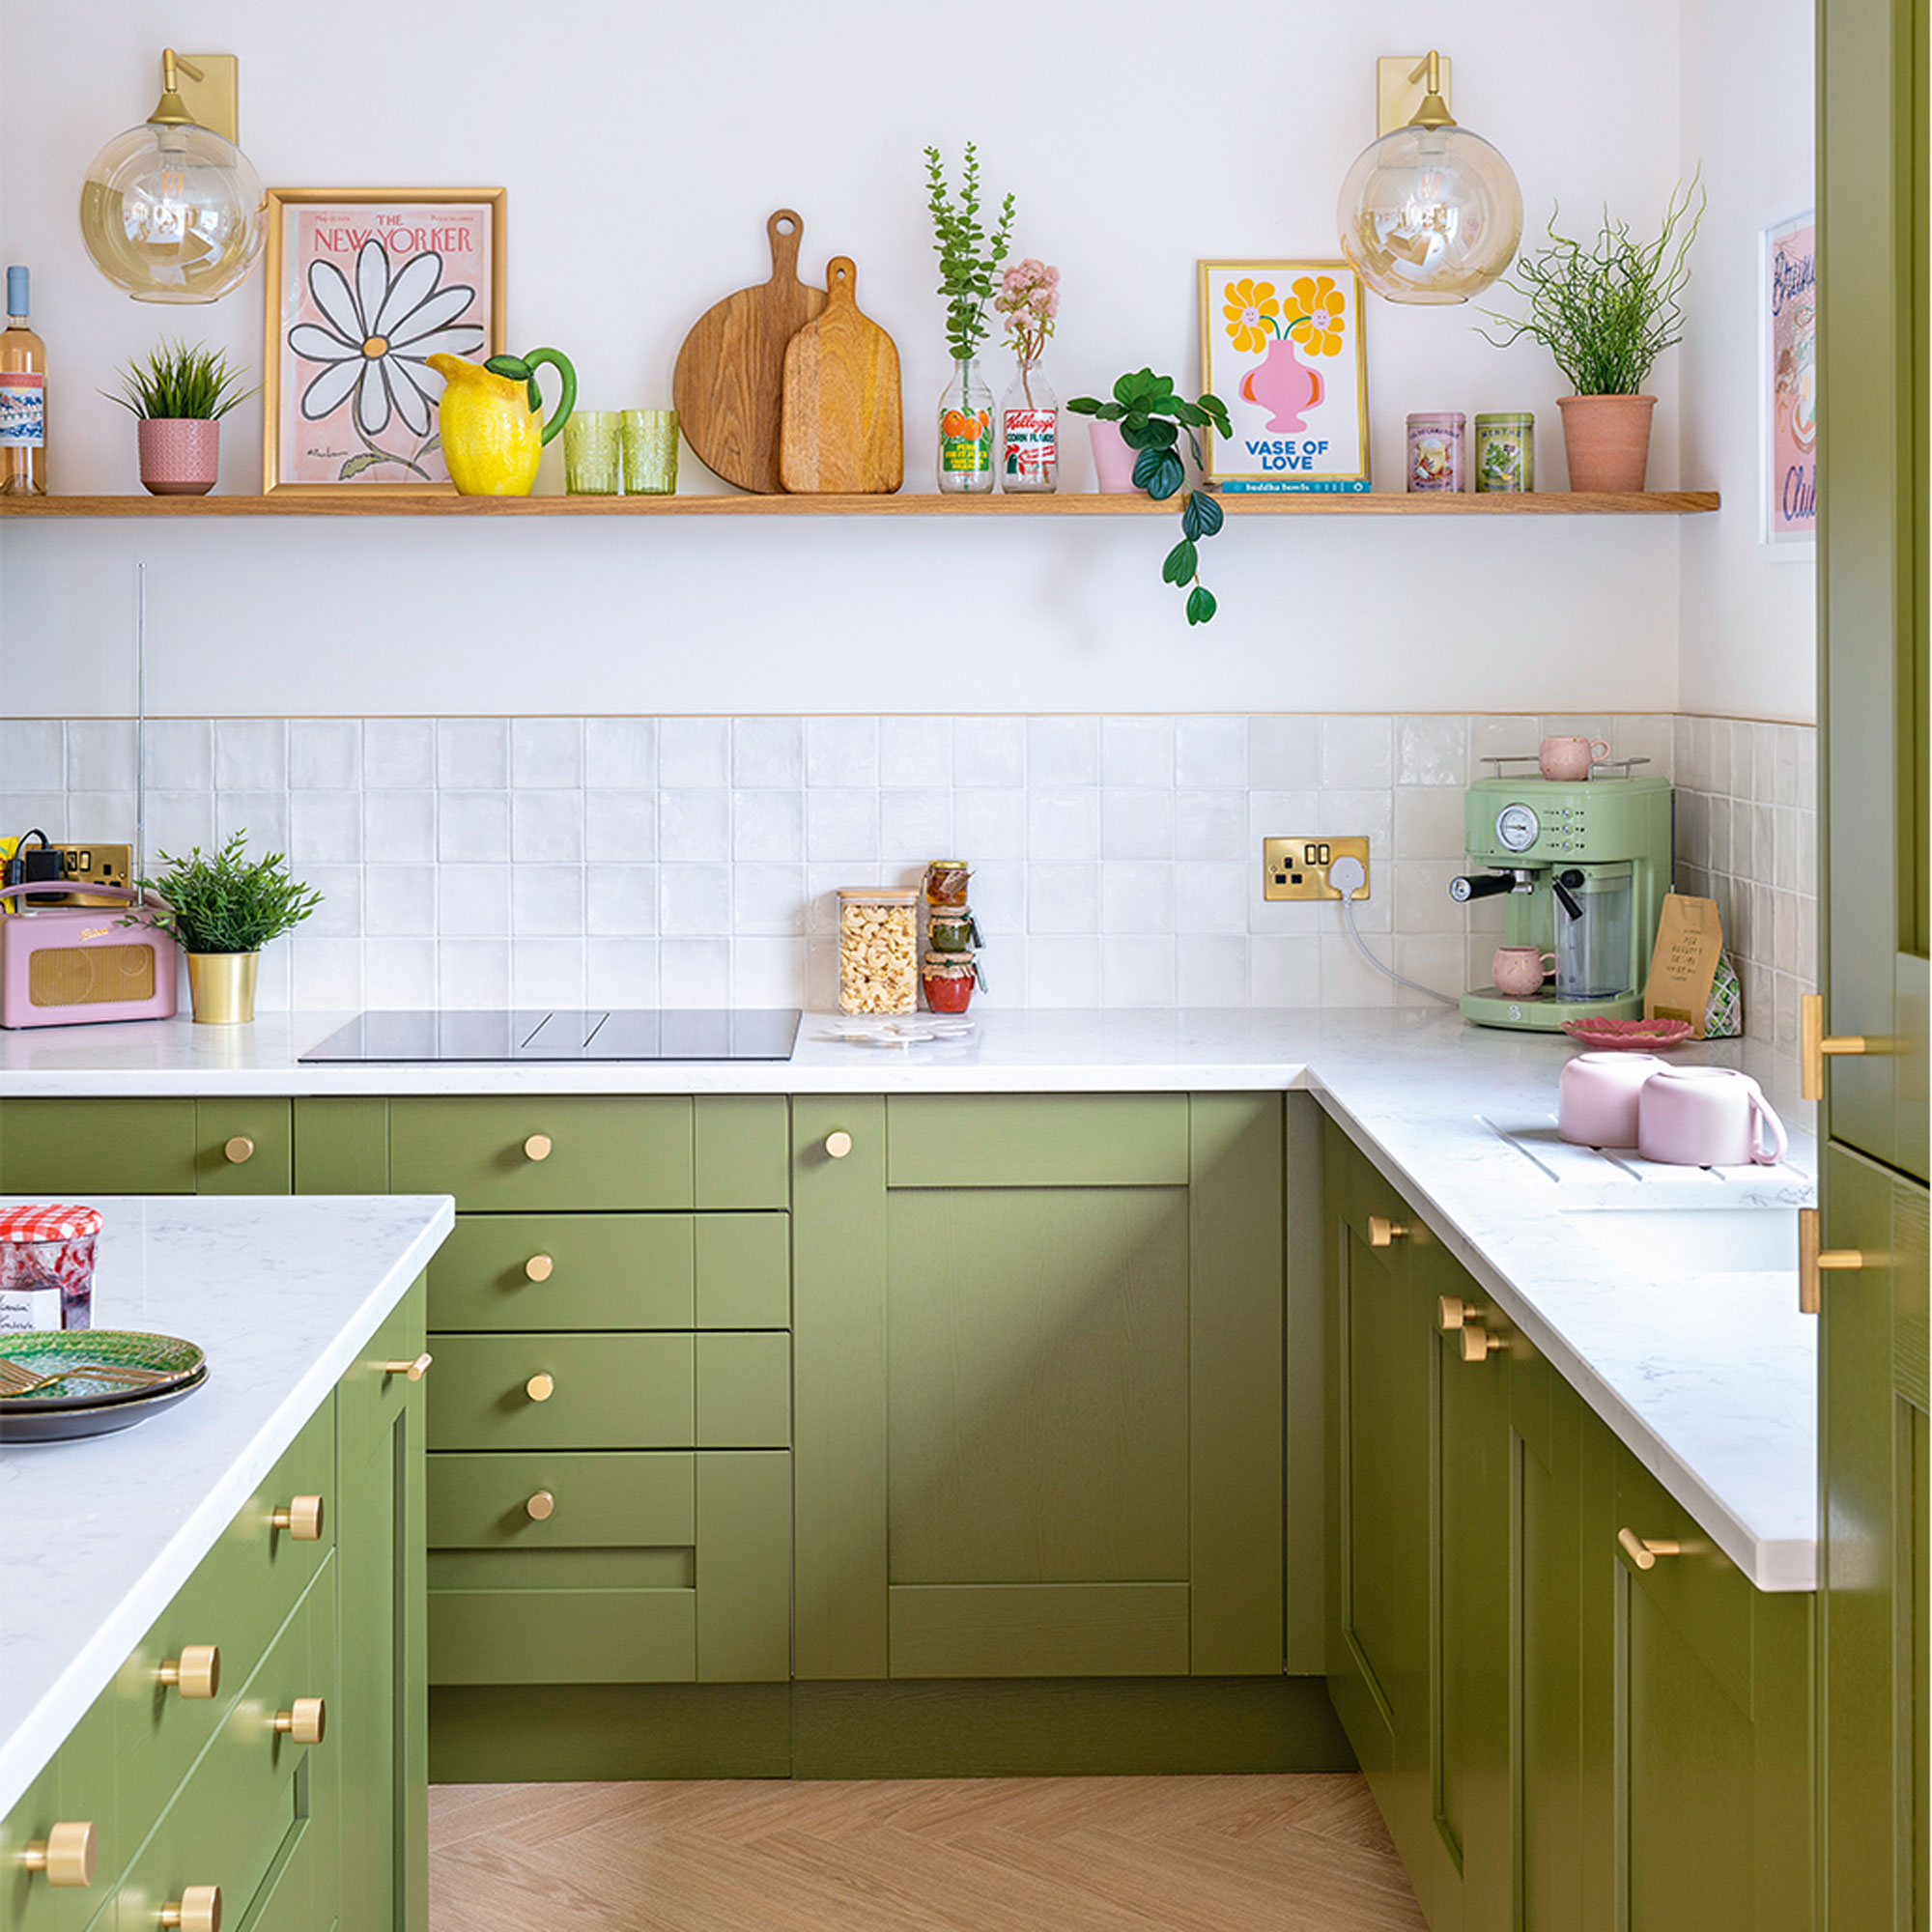
Once completely dry, remove the masking tape and reattach the handles. If going for a complete revamp, why not replace old handles with brand new ones? This beautiful green kitchen idea shows floor to ceiling cupboards with simple brass handles.
Top tips for painting kitchen cabinets
Take your time, this is not a Sunday afternoon makeover project. It’s tempting to bosh the paint on thickly and quickly but you’ll regret it when the slightest scuff scrubs a whole swathe of paint off.
- Allow at least five to seven days to build up the paint in thin layers, lightly sanding back and wiping away the dust between coats.
- Be patient and give paint a minimum of four hours’ drying time for primer, and 24 hours for all other coats.
- Expect to apply at least two coats of colour, more if you’re going for a very solid finish.
- A fine foam roller (like this FoamPro roller from Amazon) will provide a modern, flat finish, while brushes leave a more classical, painterly effect.
FAQs
Do kitchen cabinets need a primer?
Primers create a sound base for the paint, and will stop knots and blemishes showing through. The type of primer depends on the surface you’re painting – just read the tin or opt for a universal primer like Ronseal’s One Coat All Surface Primer and Undercoat from Amazon. Wood primer is only for bare, unpainted wood.
Some furniture-specific paints don’t require primer – this will be clearly stated on the tin. If you’re still unsure, take a photo of your door (or the actual door itself) into your nearest DIY store or decorating centre for advice.
What is the best paint to use on kitchen cabinets?
The best paint to use on kitchen cabinets depends on the door type and also your desired finish. On laminates, the safest option is to buy a specialist multipurpose paint that is designed for wood, melamine and MDF. Any eggshell or interior wood paint will work on wooden and already painted kitchen doors.
Chalk paints are suitable for kitchen cupboards but you’ll usually need to seal the top-coat with wax or varnish to achieve a wipeable surface.
'New colours will take a few coats. Take your time and wait for each application to dry thoroughly,' advises Protek's Becky Rackstraw.
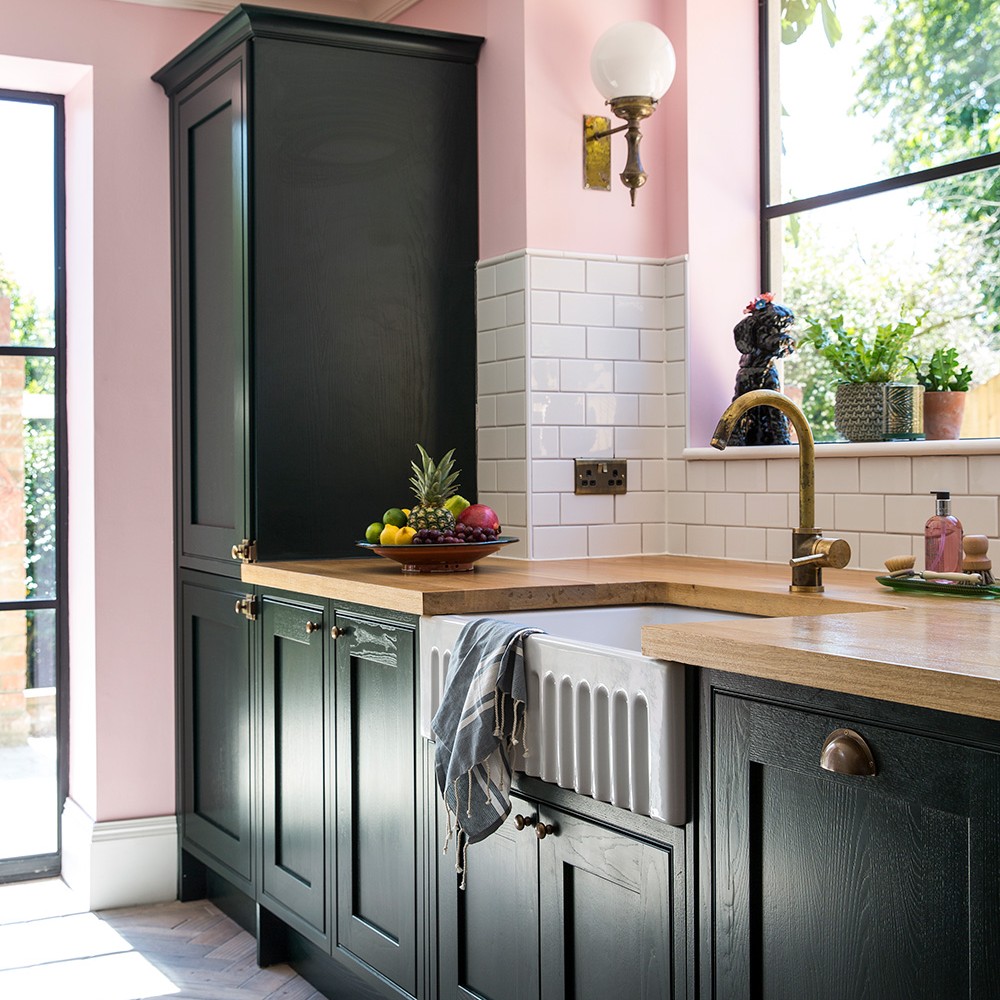
Can you just paint over any cabinets?
Most specialist cupboard paints are suitable for all wooden and acrylic cabinets. However, it's important to bear in mind that non-solid wood finishes, such as stainless steel, vinyl or laminate are more difficult to paint, as the paint can chip or peel. If you're opting to paint laminate-finish cabinets, they require a special bonding primer before you apply the paint.
The trick to painting your cabinets is in the preparation. Ideally, you should sand down cabinets before painting them as this gives the new paint a good surface to grip to. If the cupboards are bare wood then you don't need to sand them. If your cabinets have a factory finish, sand lightly with 120-grit sandpaper from Amazon or a sanding sponge.
Are you feeling ready to paint? All that's left to do is figure out which of the best paint shades for kitchens to go for...

Linda Clayton is a professionally trained journalist, and has specialised in product design, interiors and fitness for more than two decades. Linda has written for a wide range of publications, from the Daily Telegraph and Guardian to Homes & Gardens and Livingetc. She has been freelancing for Ideal Home Magazine since 2008, covering design trends, home makeovers, product reviews and much more.
- Holly CockburnContent Editor
-
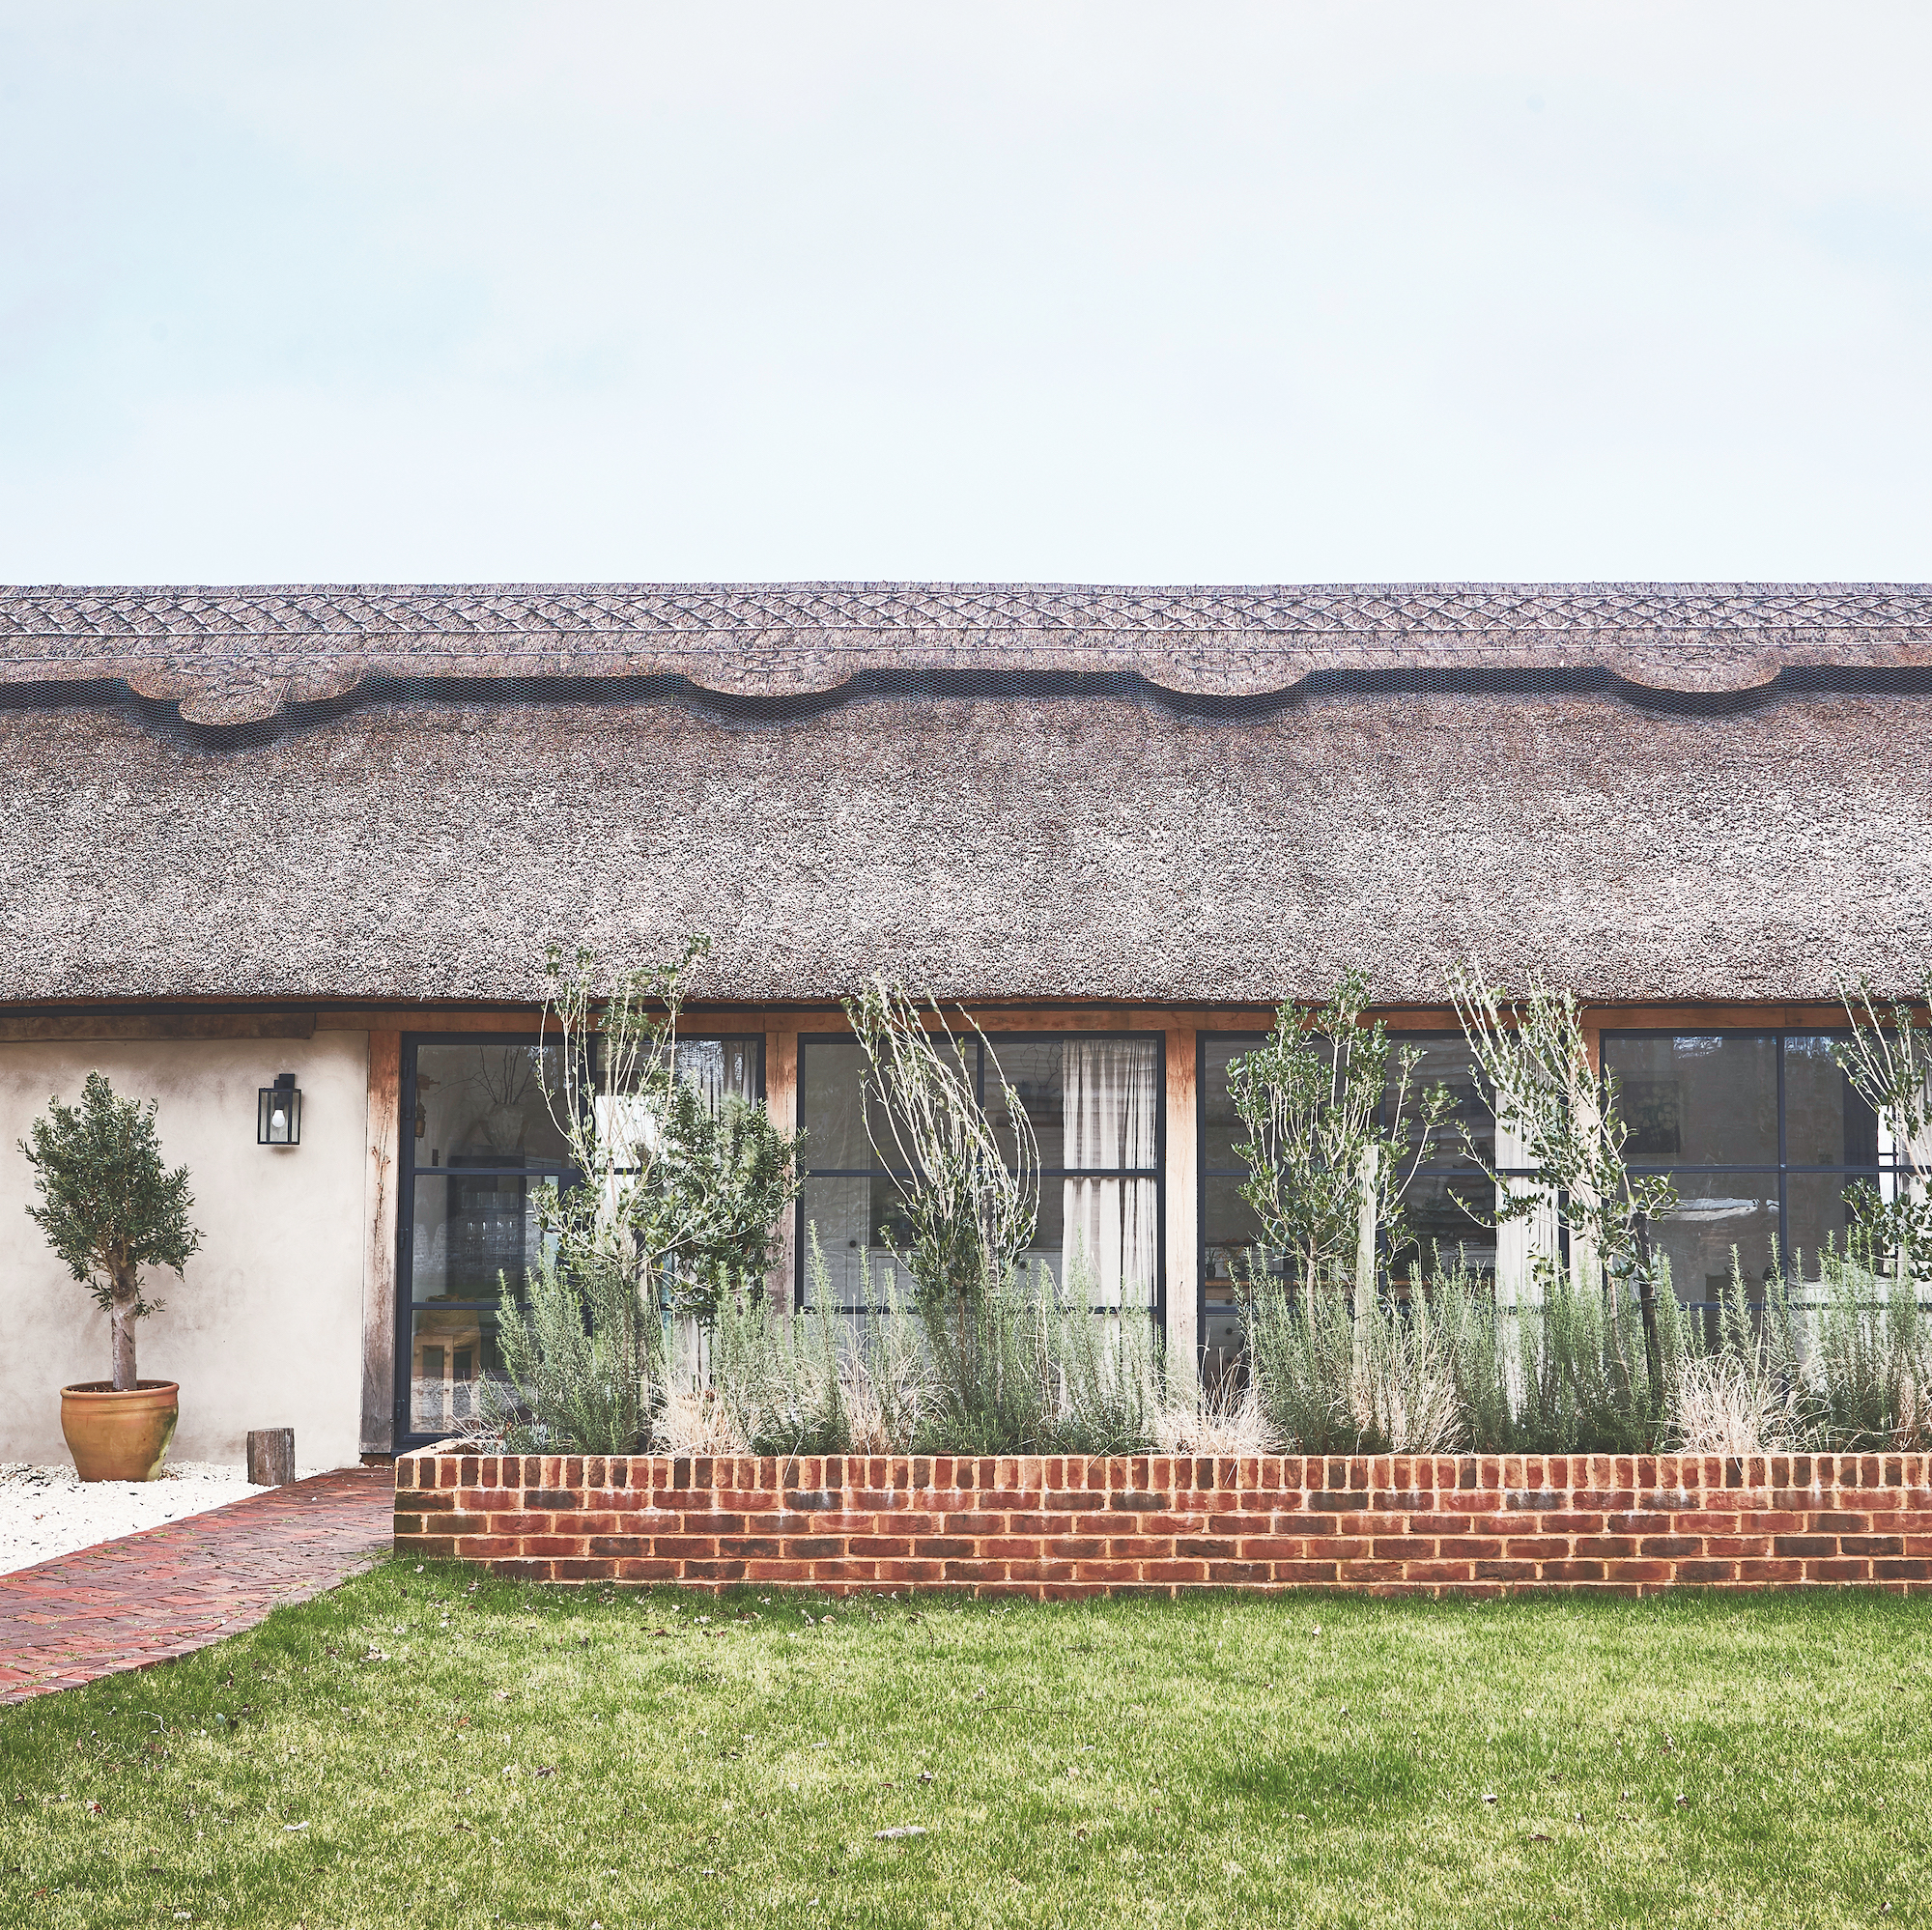 This old dairy barn was brought back to life and is now an amazing home
It's brilliant blend of old and new in West Sussex
By Sara Emslie
-
 The red creeping thyme lawn is a beautiful new take on traditional grass – here's how to grow one
It's effortless and unique
By Sophie King
-
 Mary Berry’s favourite flower to grow in the garden is a low-maintenance winter bloomer - and you can plant it right now
These gorgeous purple blooms will brighten up your garden
By Kezia Reynolds