This smart built-in larder hack saved the homeowner £1000s on her dream shaker-style pantry
Shaker-style built-in larders don't have to be super premium - this kitchen hack will help you create your own

It's hard not to want a larder for your kitchen - with ample space for ingredients disguised behind a chic farmhouse-inspired look, it ticks every box. However, this type of kitchen storage idea often comes at an added cost and if you're not in the market for a full kitchen renovation, you'll need to turn to DIY to achieve the same effect.
If you're lusting after a built-in Shaker-style pantry for your kitchen but don't want to call in a carpenter (which could set you back thousands), then the good news is that it's entirely achievable to create yourself. All you need is the right tools and materials, and patience for a kitchen DIY project.
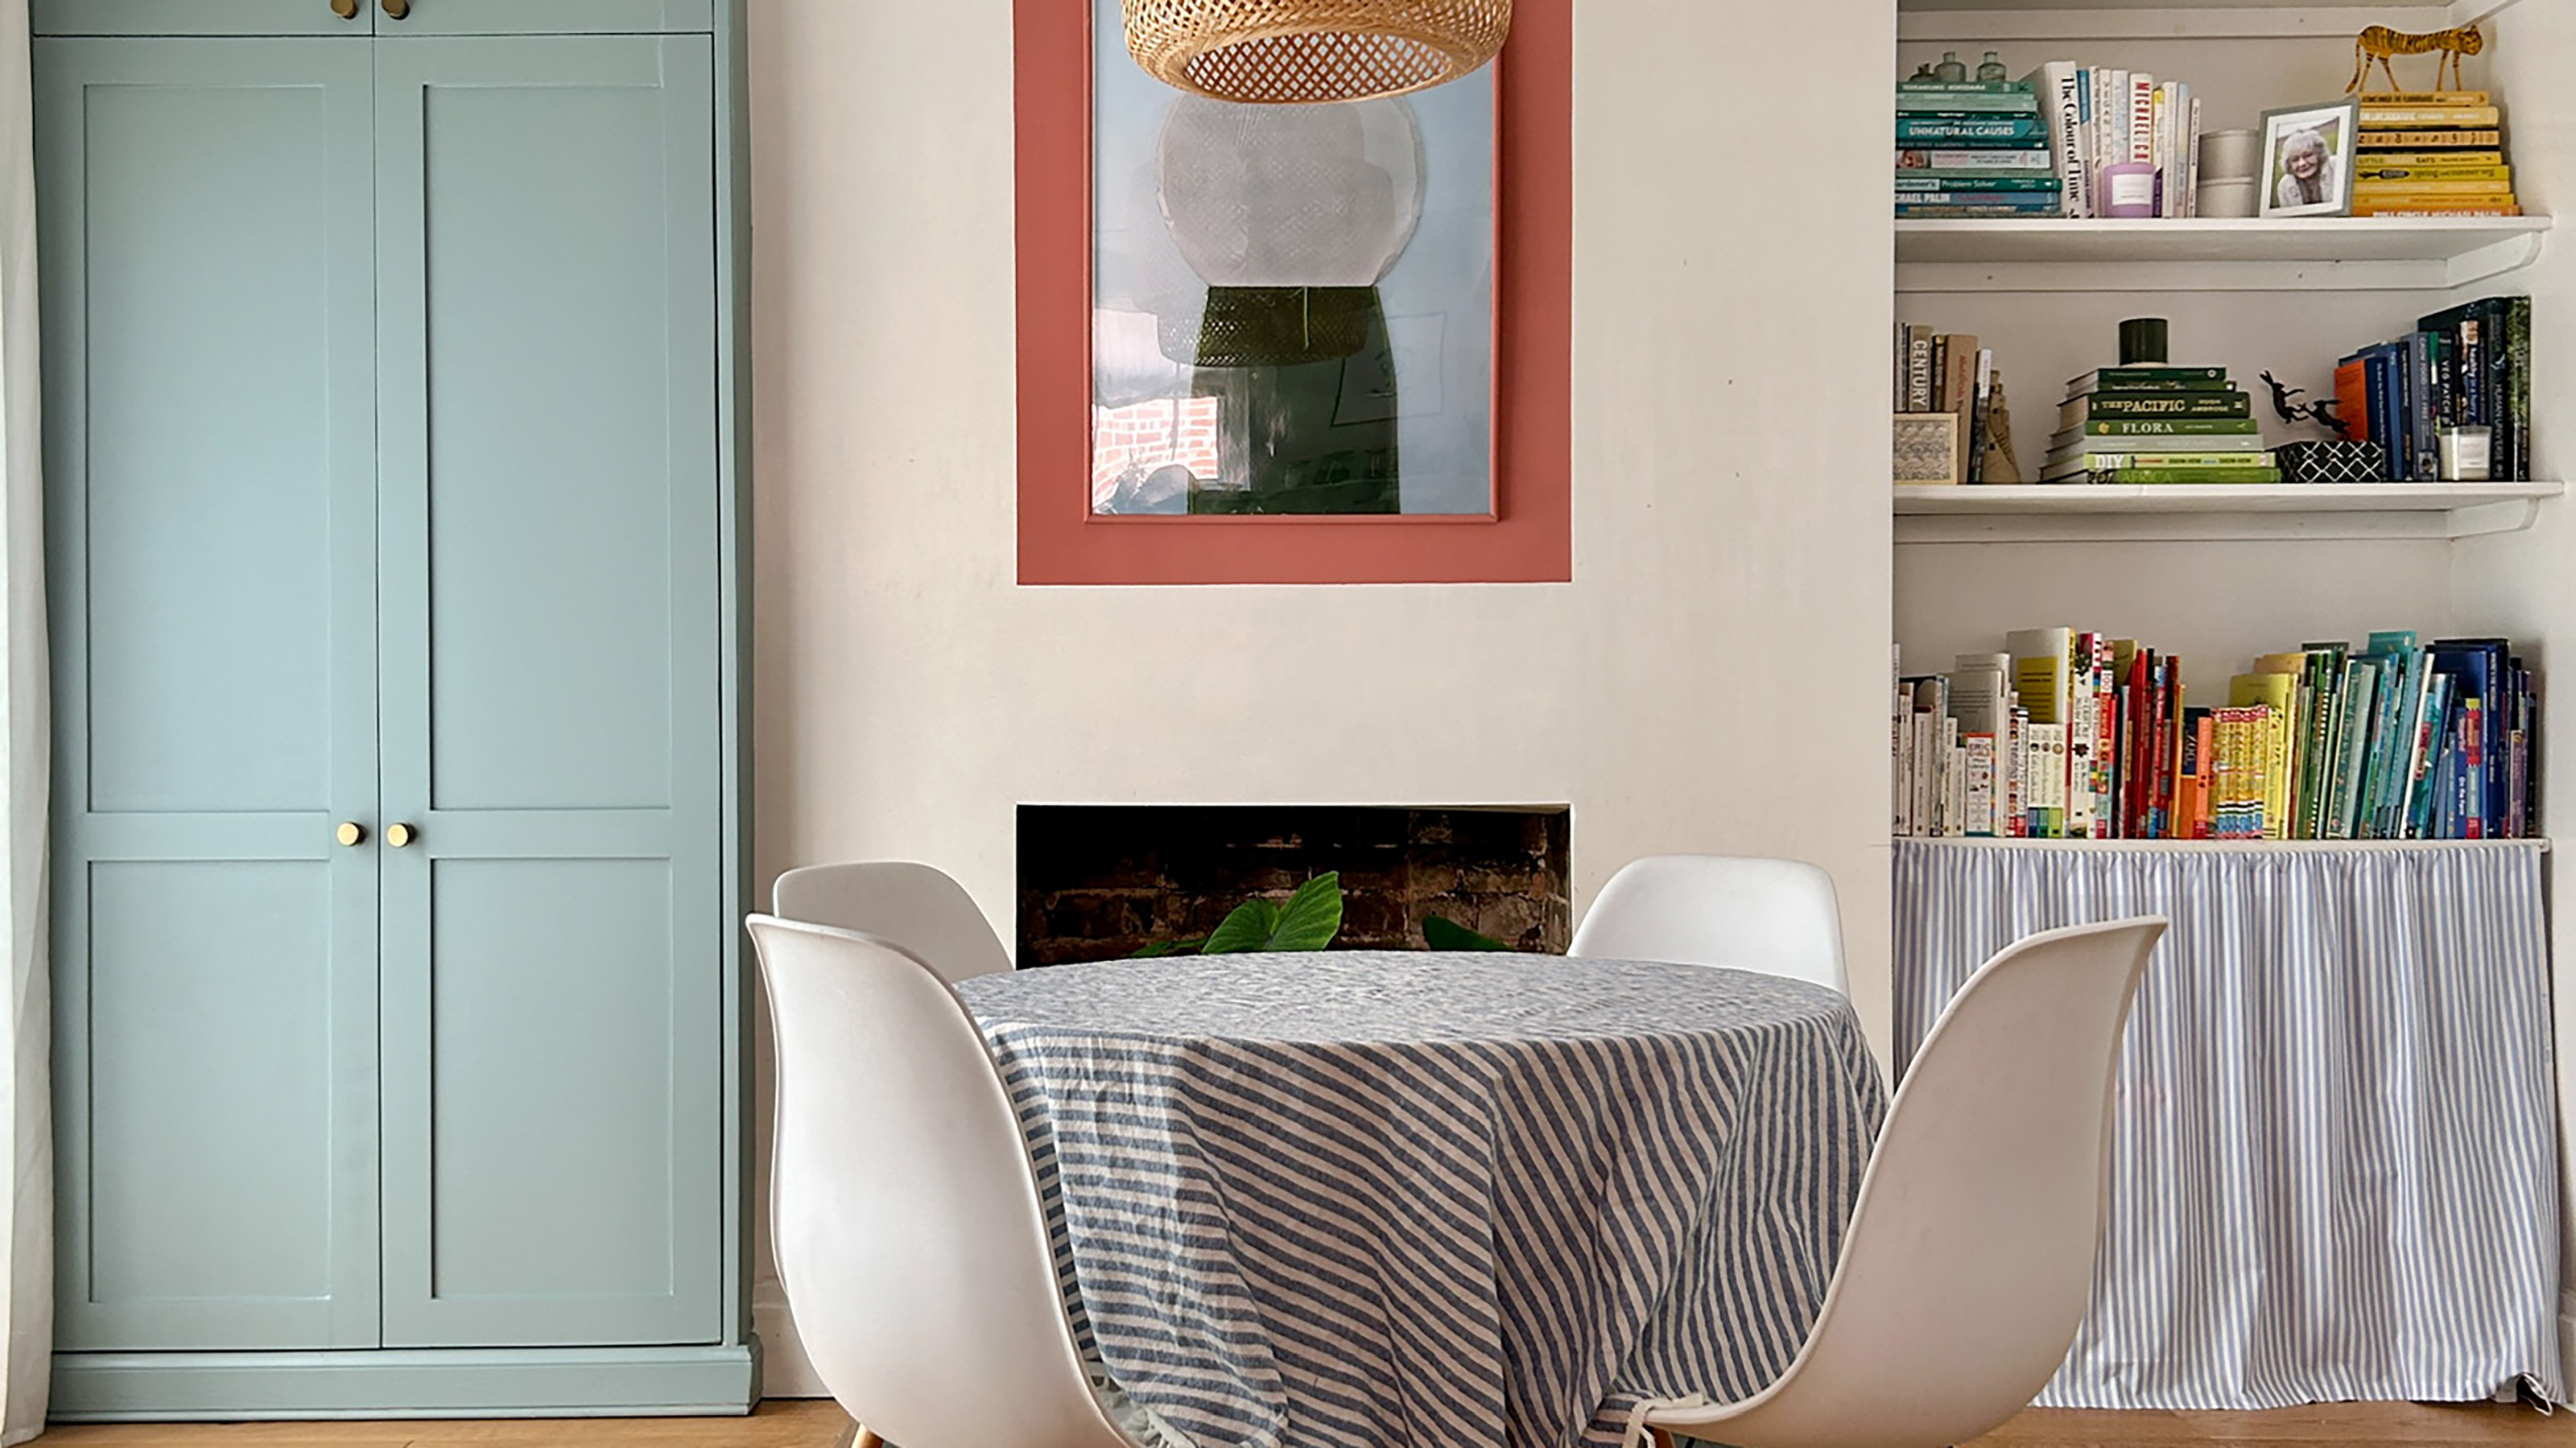
Gemma Firman, who is the face behind the home decor Instagram account, @lets.stay.at.home, wowed followers with her built-in larder transformation. Replacing a simple freestanding IKEA cupboard in her open-plan kitchen diner, she used plywood to create a built-in larder, matching the on-trend baby blue palette in her kitchen.
The best bit? Gemma managed to complete the entire project for under £250. If you also want to make your very own kitchen larder on a budget, then read on to discover how Gemma brought hers to life.
Before
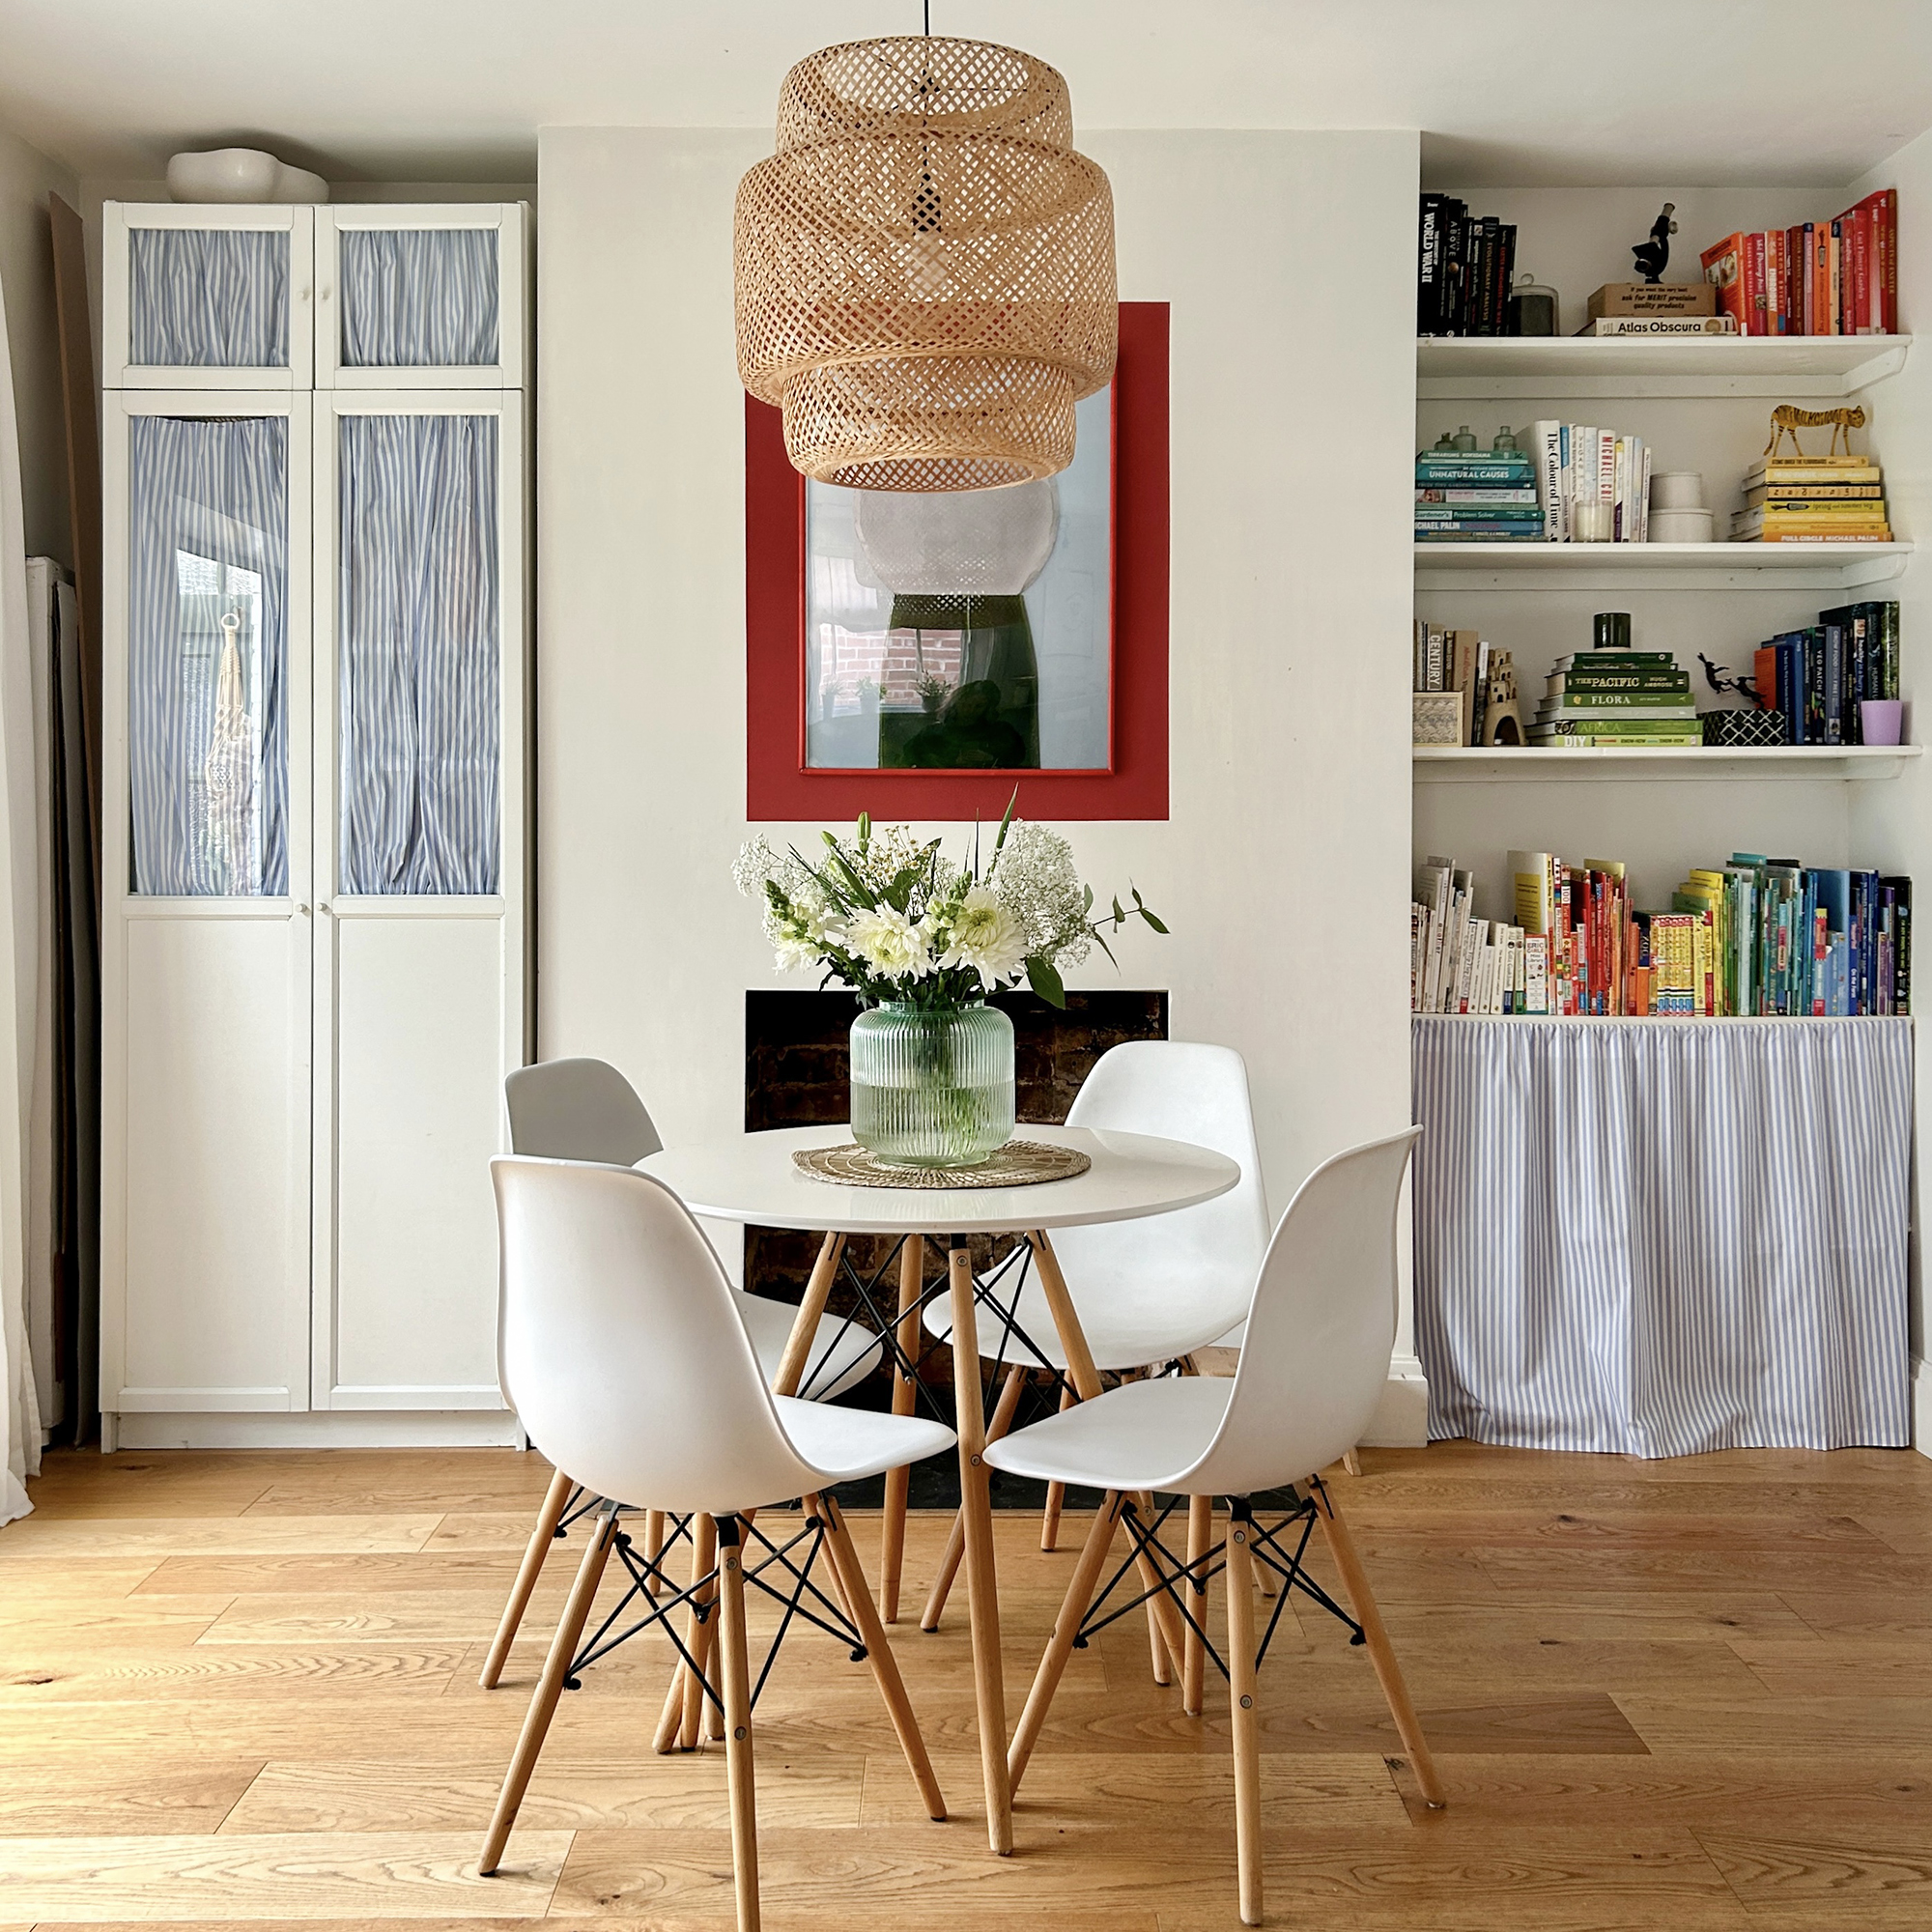
Gemma started with a basic IKEA freestanding cupboard in the alcoves beside her fireplace, where she planned to create the built-in larder. At this point, Gemma notes that it's important to 'Measure the alcove space where the larder will be placed, accounting for any uneven walls and determine the desired size of the larder.'
Next, you'll need to build the base frame using 2x4 timber. Ensure the base is level using wedges and a spirit level.
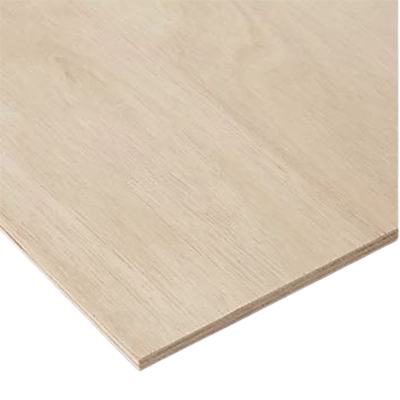
Gemma then explains that she 'cut two pieces of 18mm plywood to the same size for the bottom and top panels, then cut two pieces of plywood to the same size for the side panels.'
Sign up to our newsletter for style inspiration, real homes, project and garden advice and shopping know-how
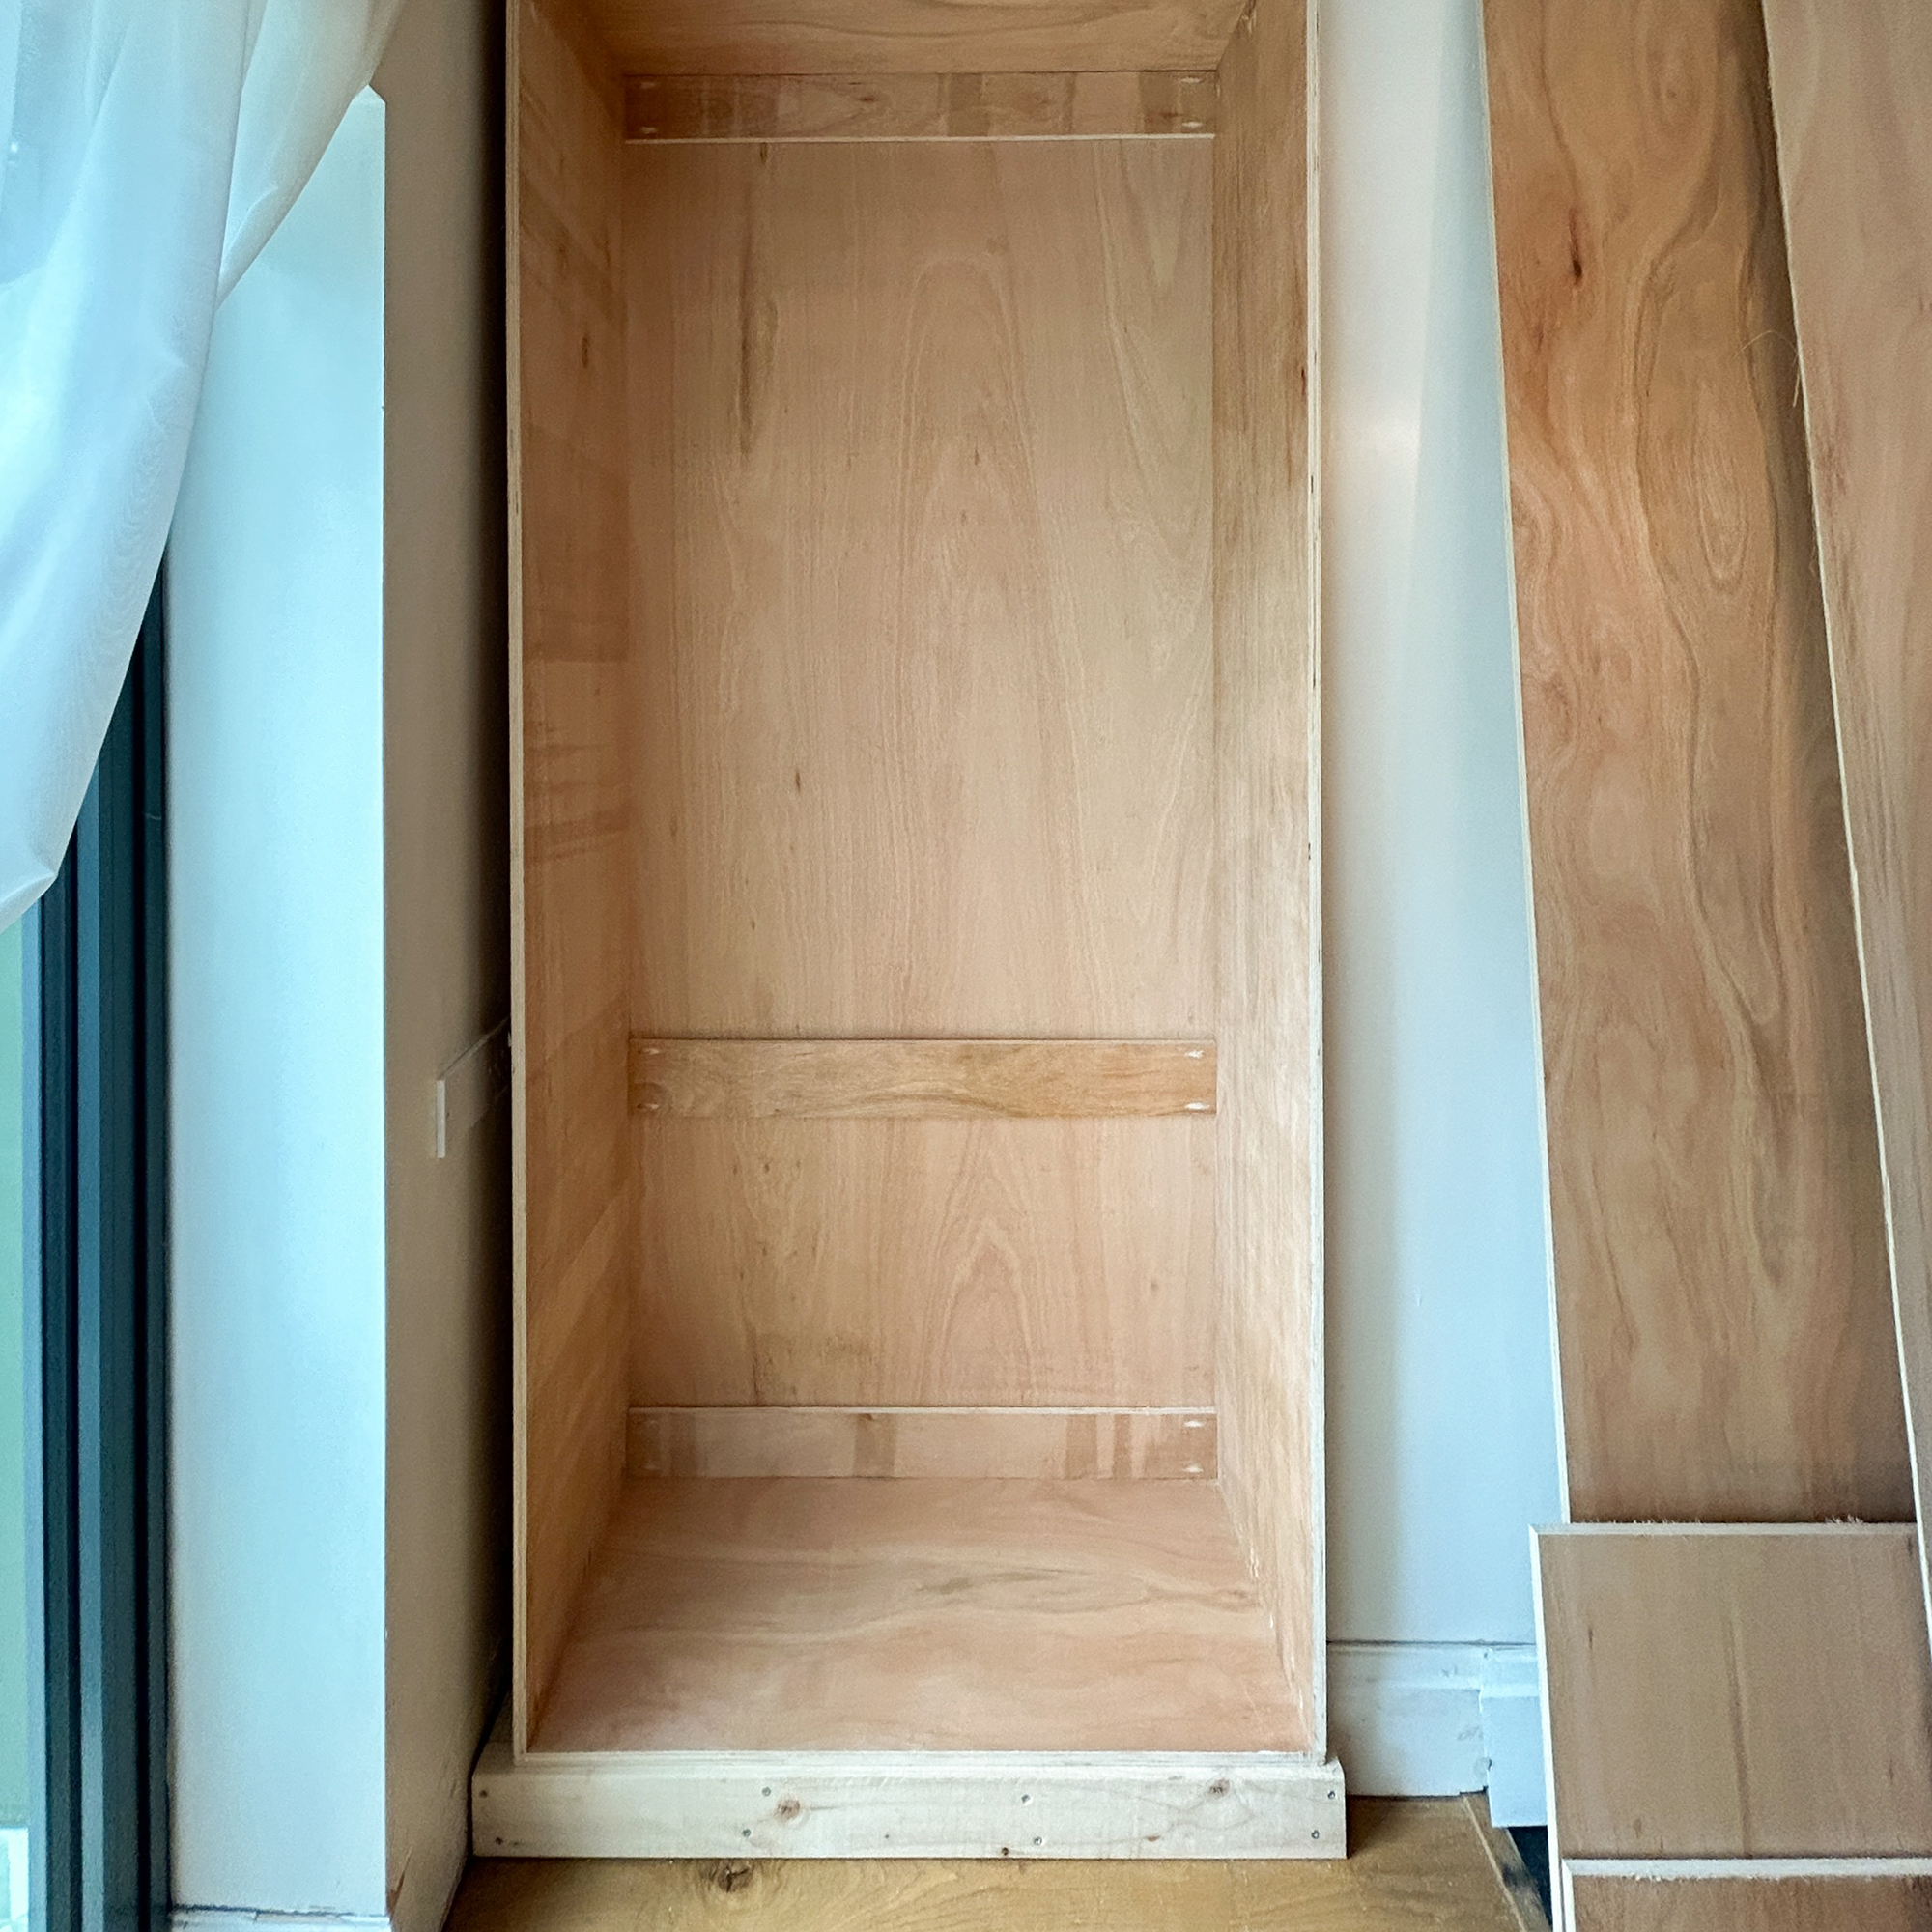
She then used 'pocket hole jig to drill holes in the side panels, then screw the side panels to the bottom and top panels to form the box shape.'
Adding back support strips and the back panel are the next steps. Gemma advises to 'cut and attach three strips of plywood across the back using pocket holes and cut a piece of 5.5m plywood for the back panel and attach it using panel pins.'
'Make sure to check that the corners are at right angles to ensure the box is square and straight.'
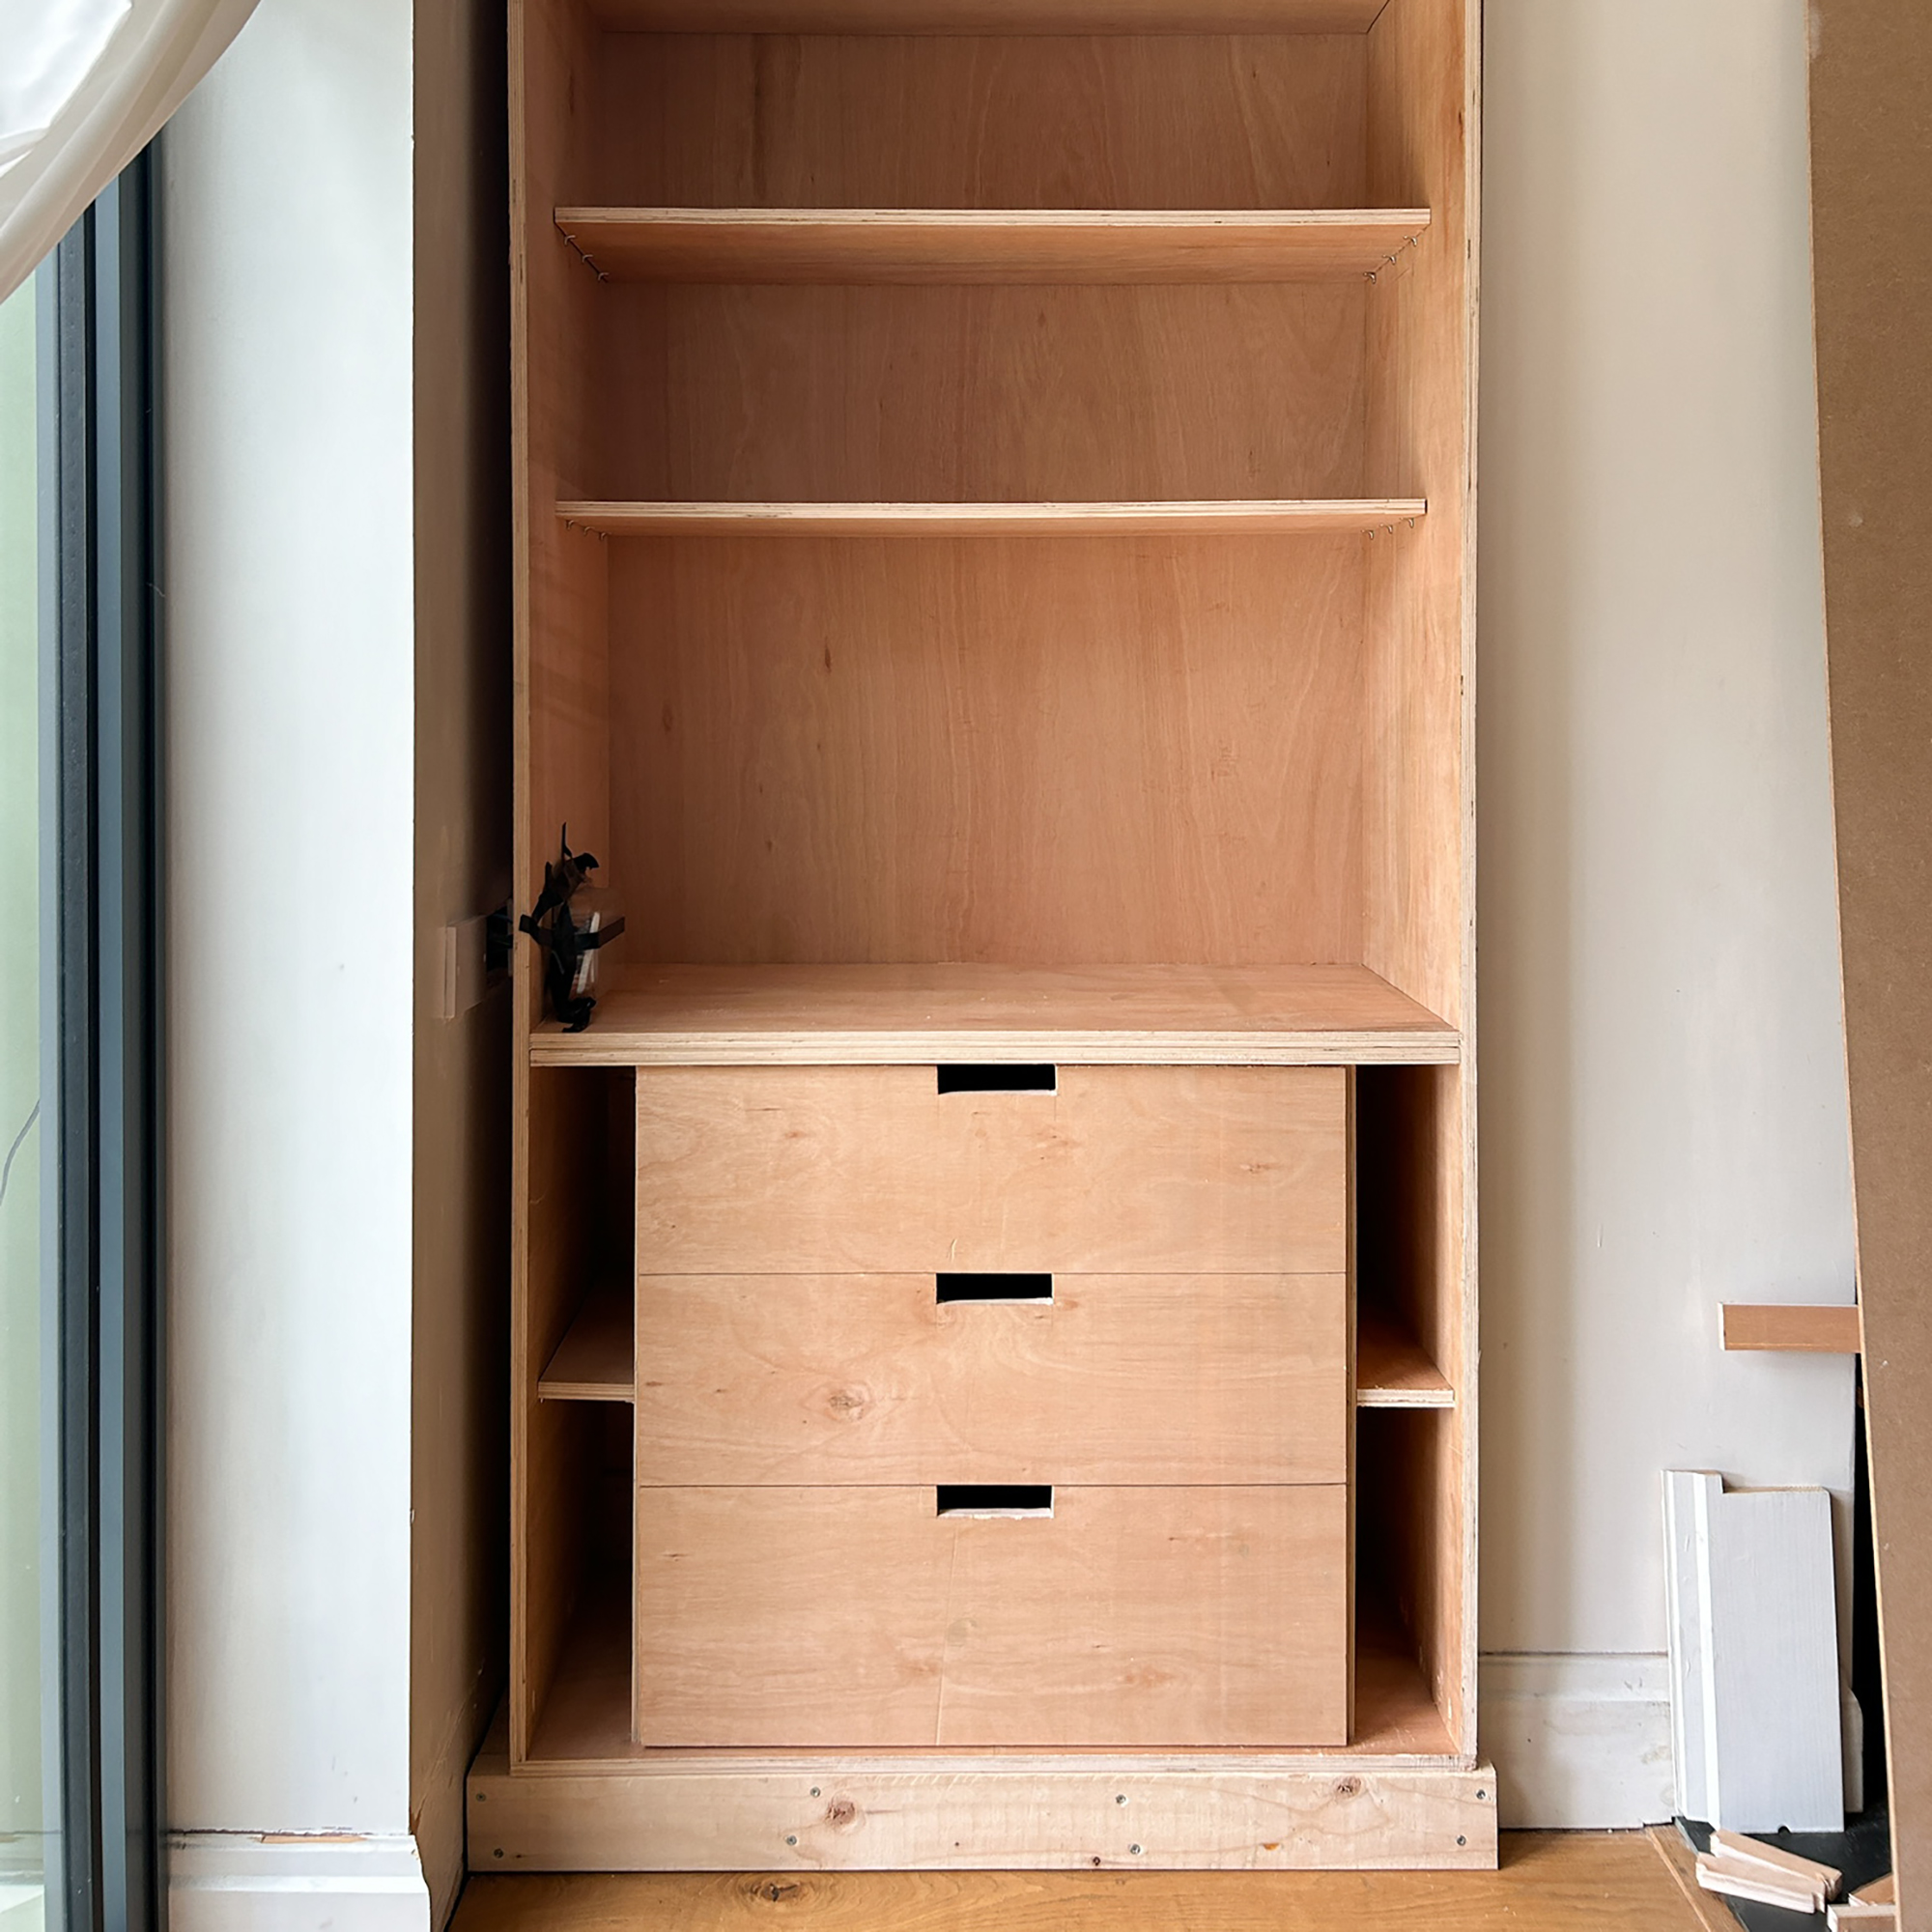
Once you have constructed the shell of the larder, you can start to concentrate on the inside shelves and storage.
'Create a double-thickness plywood shelf to serve as the countertop for the microwave and toaster and install a plug socket within the larder,' Gemma recommends.
'Appliance garages' are having a huge moment in kitchens as they provide a spot to store your kettle, toaster and coffee machine that can easily be hidden behind closed doors when you want to spruce up the space for guests.
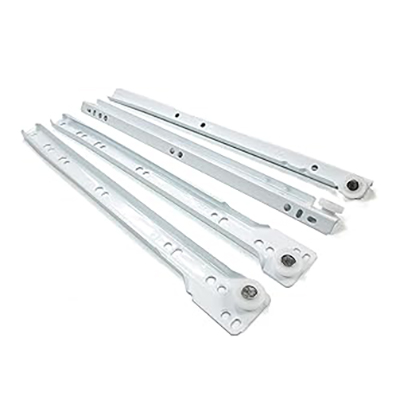
Next, Gemma explains, 'Cut additional shelves, attaching permanent ones with pocket holes and using shelf supports for adjustable ones. Measure the space where the drawers will fit, minus the width of the runners and make drawers in the same way as the main frame of the larder - 4 sides and a base out of 18mm ply.'
A post shared by Gemma (@lets.stay.at.home)
A photo posted by on
One of the most classic parts of a larder is the Shaker-style doors. Being able to close the doors on your dried goods will keep your kitchen looking as neat and tidy as possible and extend the appearance of your cabinets across a space.
'To make doors I used 9mm MDF cut to size, half the width of the cabinet, and I made smaller doors for the top section. Cut strips of the same 9mm MDF to go around the edges of the doors with a bar across the middle for a Shaker effect. Fix together with grab adhesive.'
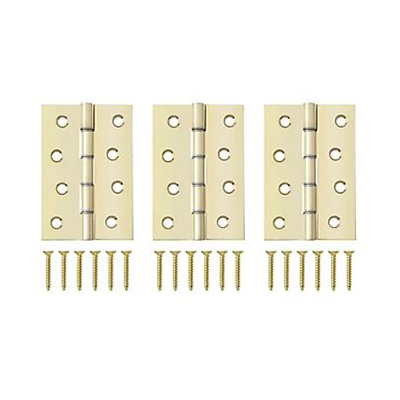
When it comes to attaching these to the larder, Gemma says 'Use soft close cabinet hinges x 5 for the main doors and 2 for each smaller door. Need to use a forstner drill bit for the holes for these.'
She also adding varius scrap pieces of ply to fill the gaps for a built-in look, then sanded, caulked, primed and painted the whole cabinet.
After
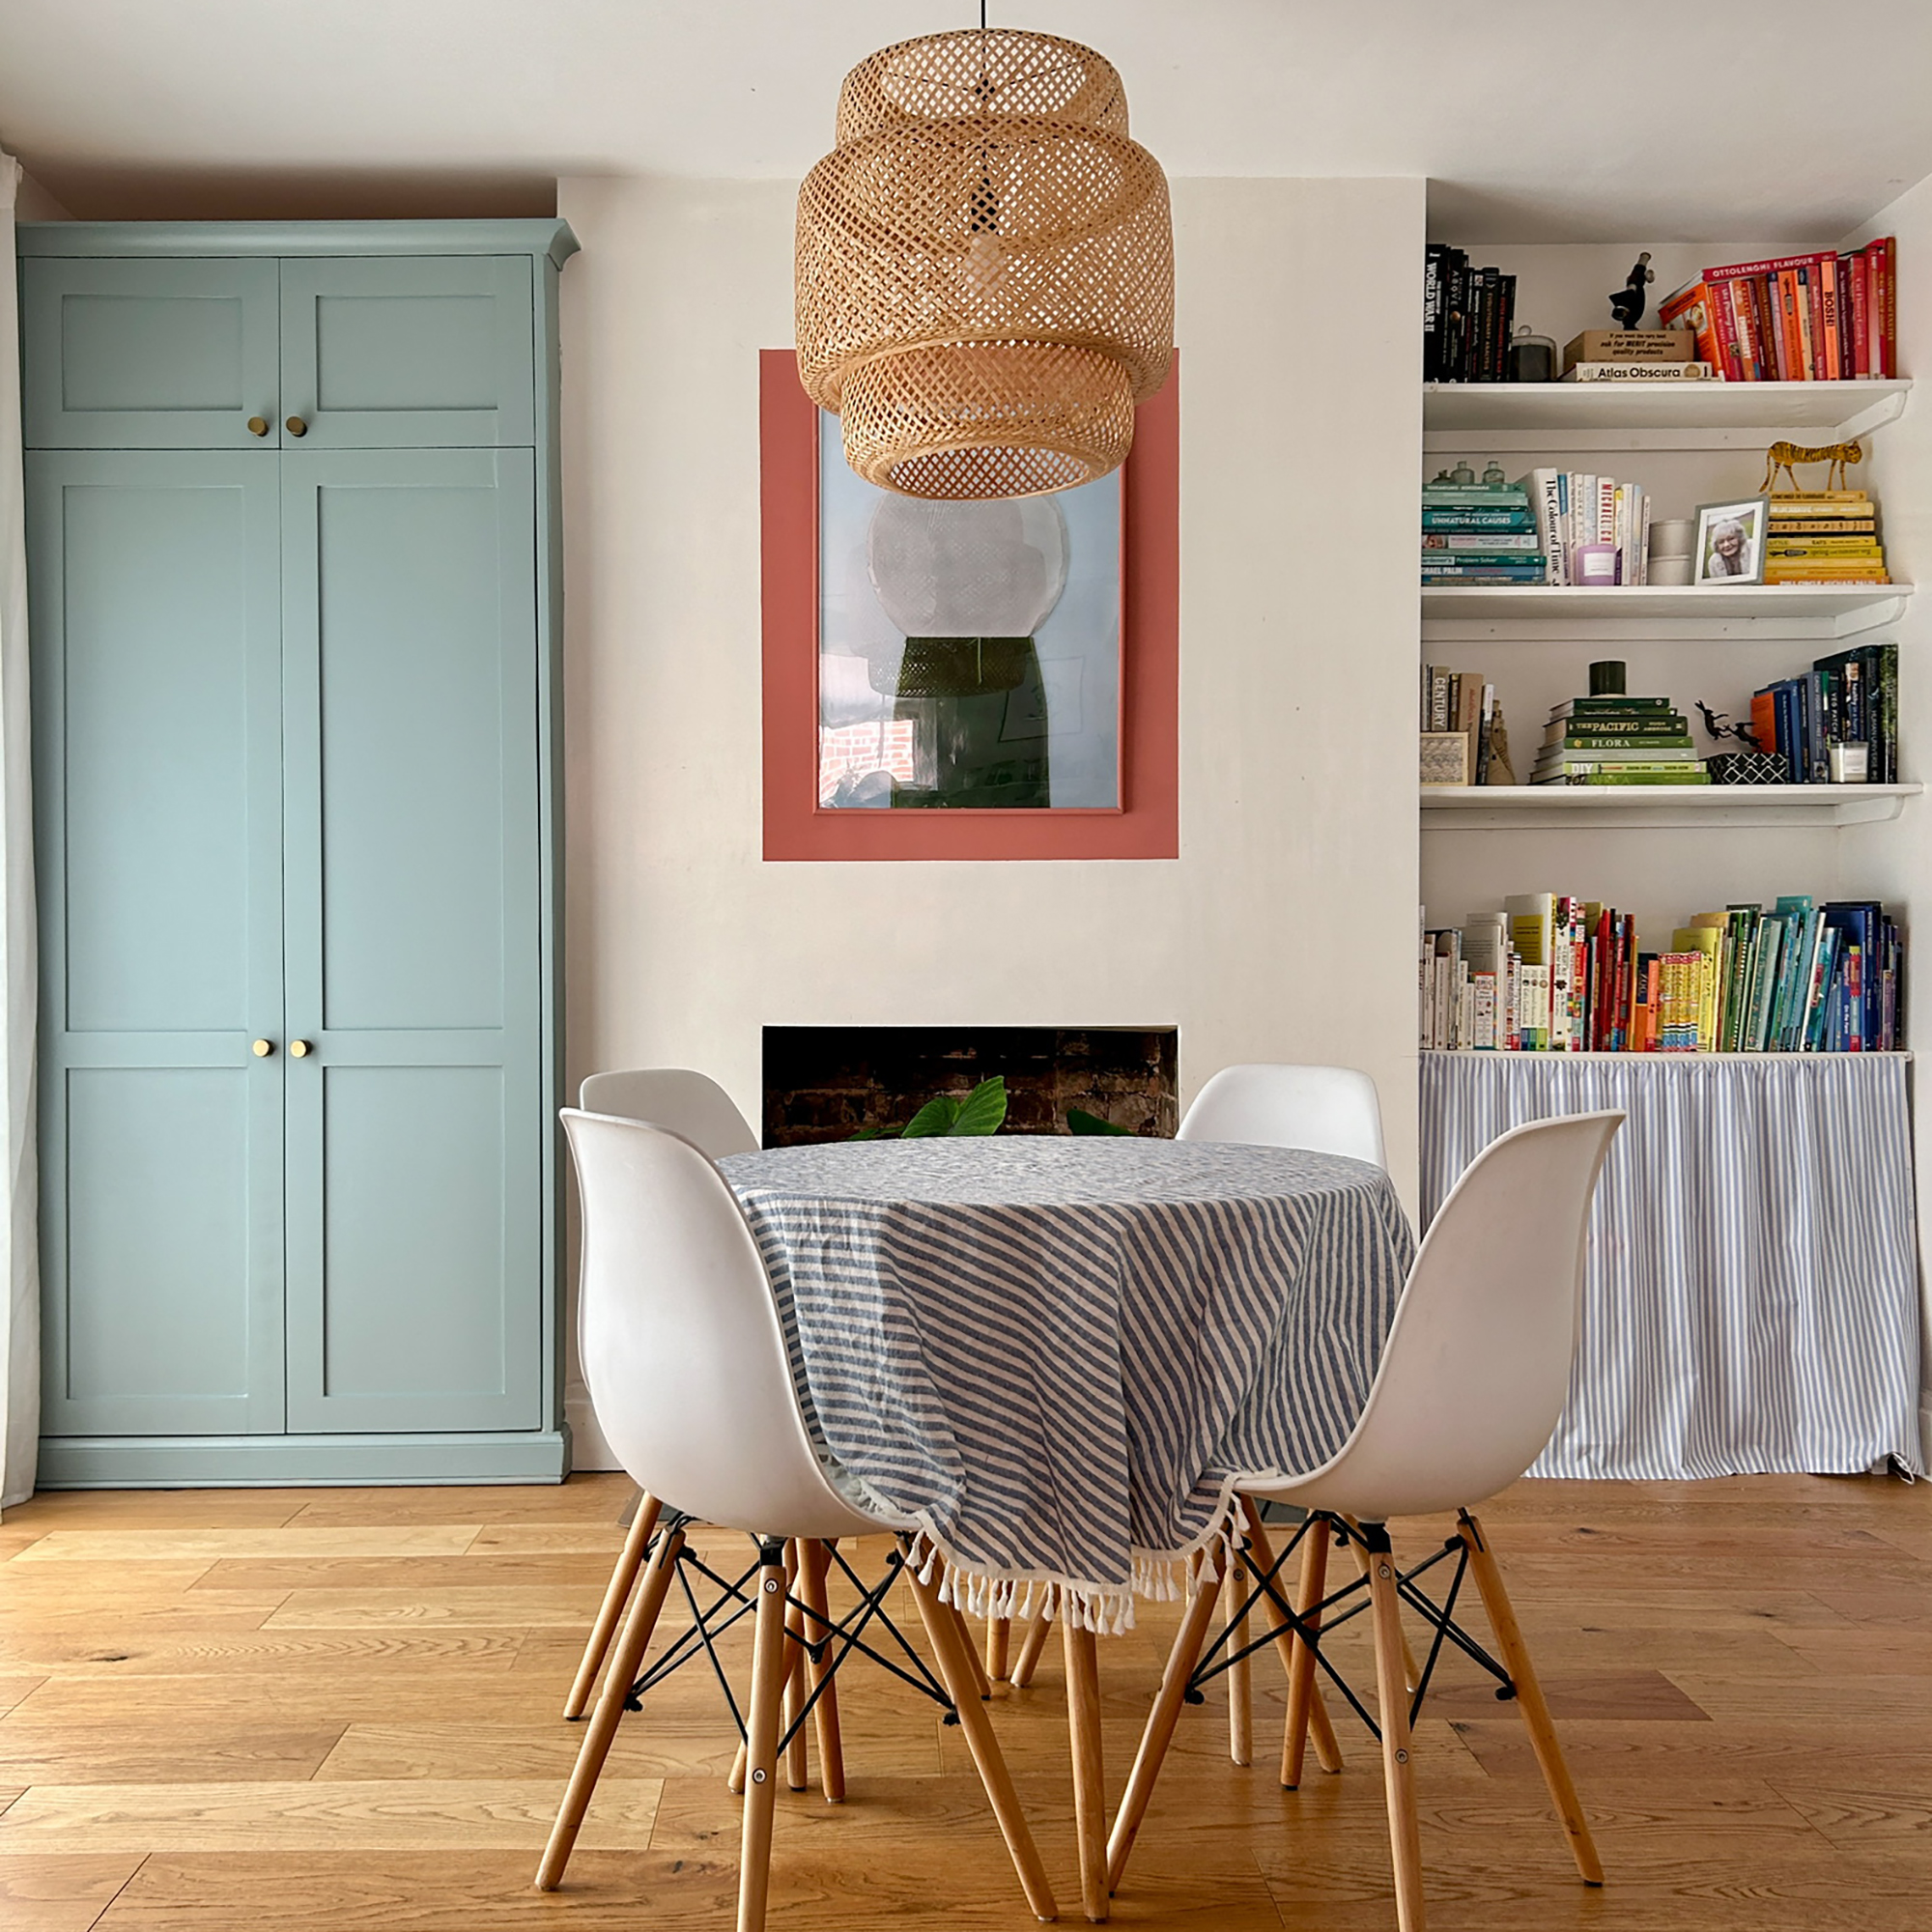
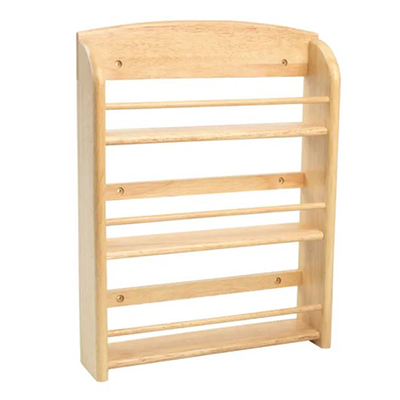
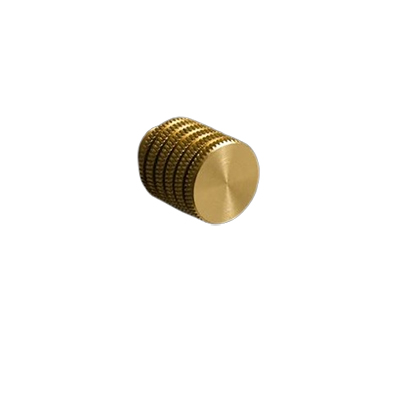
To complete the built-in larder, Gemma added handles to the doors and spice racks to the inside of the doors - the IKEA spice racks are a great budget-friendly alternative.
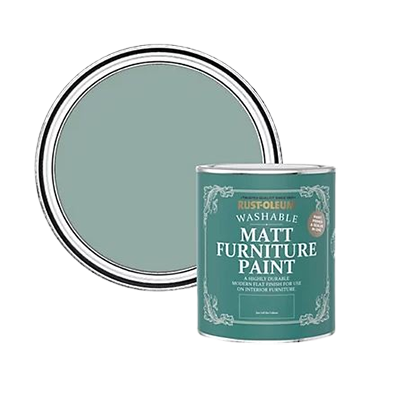
She then used Rustoleum kitchen cupboard paint in Gresham Blue to match it to the rest of her kitchen. Gemma notes that 'Rustoleum recommend using the furniture paint', however, in a bid to be more economical, she used up the paint she already had.
Finishing a DIY project of this scale will require a few more tools than what you might already have in your home. She used a handheld circular saw, drill driver, hammer, pocket hole jig, spirit level, tape measure and ruler, and a forstner drill bit for the hinges. While buying these outright might add some significant costs, borrowing from friends and family or even checking local community pages or Library of Things will help to do it on a budget.
For a grand total of £245.89, Gemma purchased 2 x 18mm ply, 1 x 5.5mm ply, 2 x 9mm mdf, 14 hinges, 3 drawer runners, 4 knobs, 6 spice racks. She predicted that this was 10% of the cost of using a carpenter, saving hundreds if not thousands of pounds.
What you'll need
Would you give this kitchen DIY a try?

After starting out her journey at Future as a Features Editor on Top Ten Reviews, Holly is now a Content Editor at Ideal Home, writing about the best interior ideas and news. At Top Ten Reviews, she focussed on TikTok viral cleaning hacks as well as how to take care of investment purchases such as lawn mowers, washing machines and vacuum cleaners. Prior to this, Holly was apart of the editorial team at Howdens which sparked her interest in interior design, and more specifically, kitchens (Shaker is her favourite!).
