We tried the GreenPan one-pot cooker to see if it’s worthy of space on your kitchen worktop
The GreenPan OmniCooker is a plug-in cooking pot that can make virtually anything you’d usually cook on the hob, from stir fry to bolognese
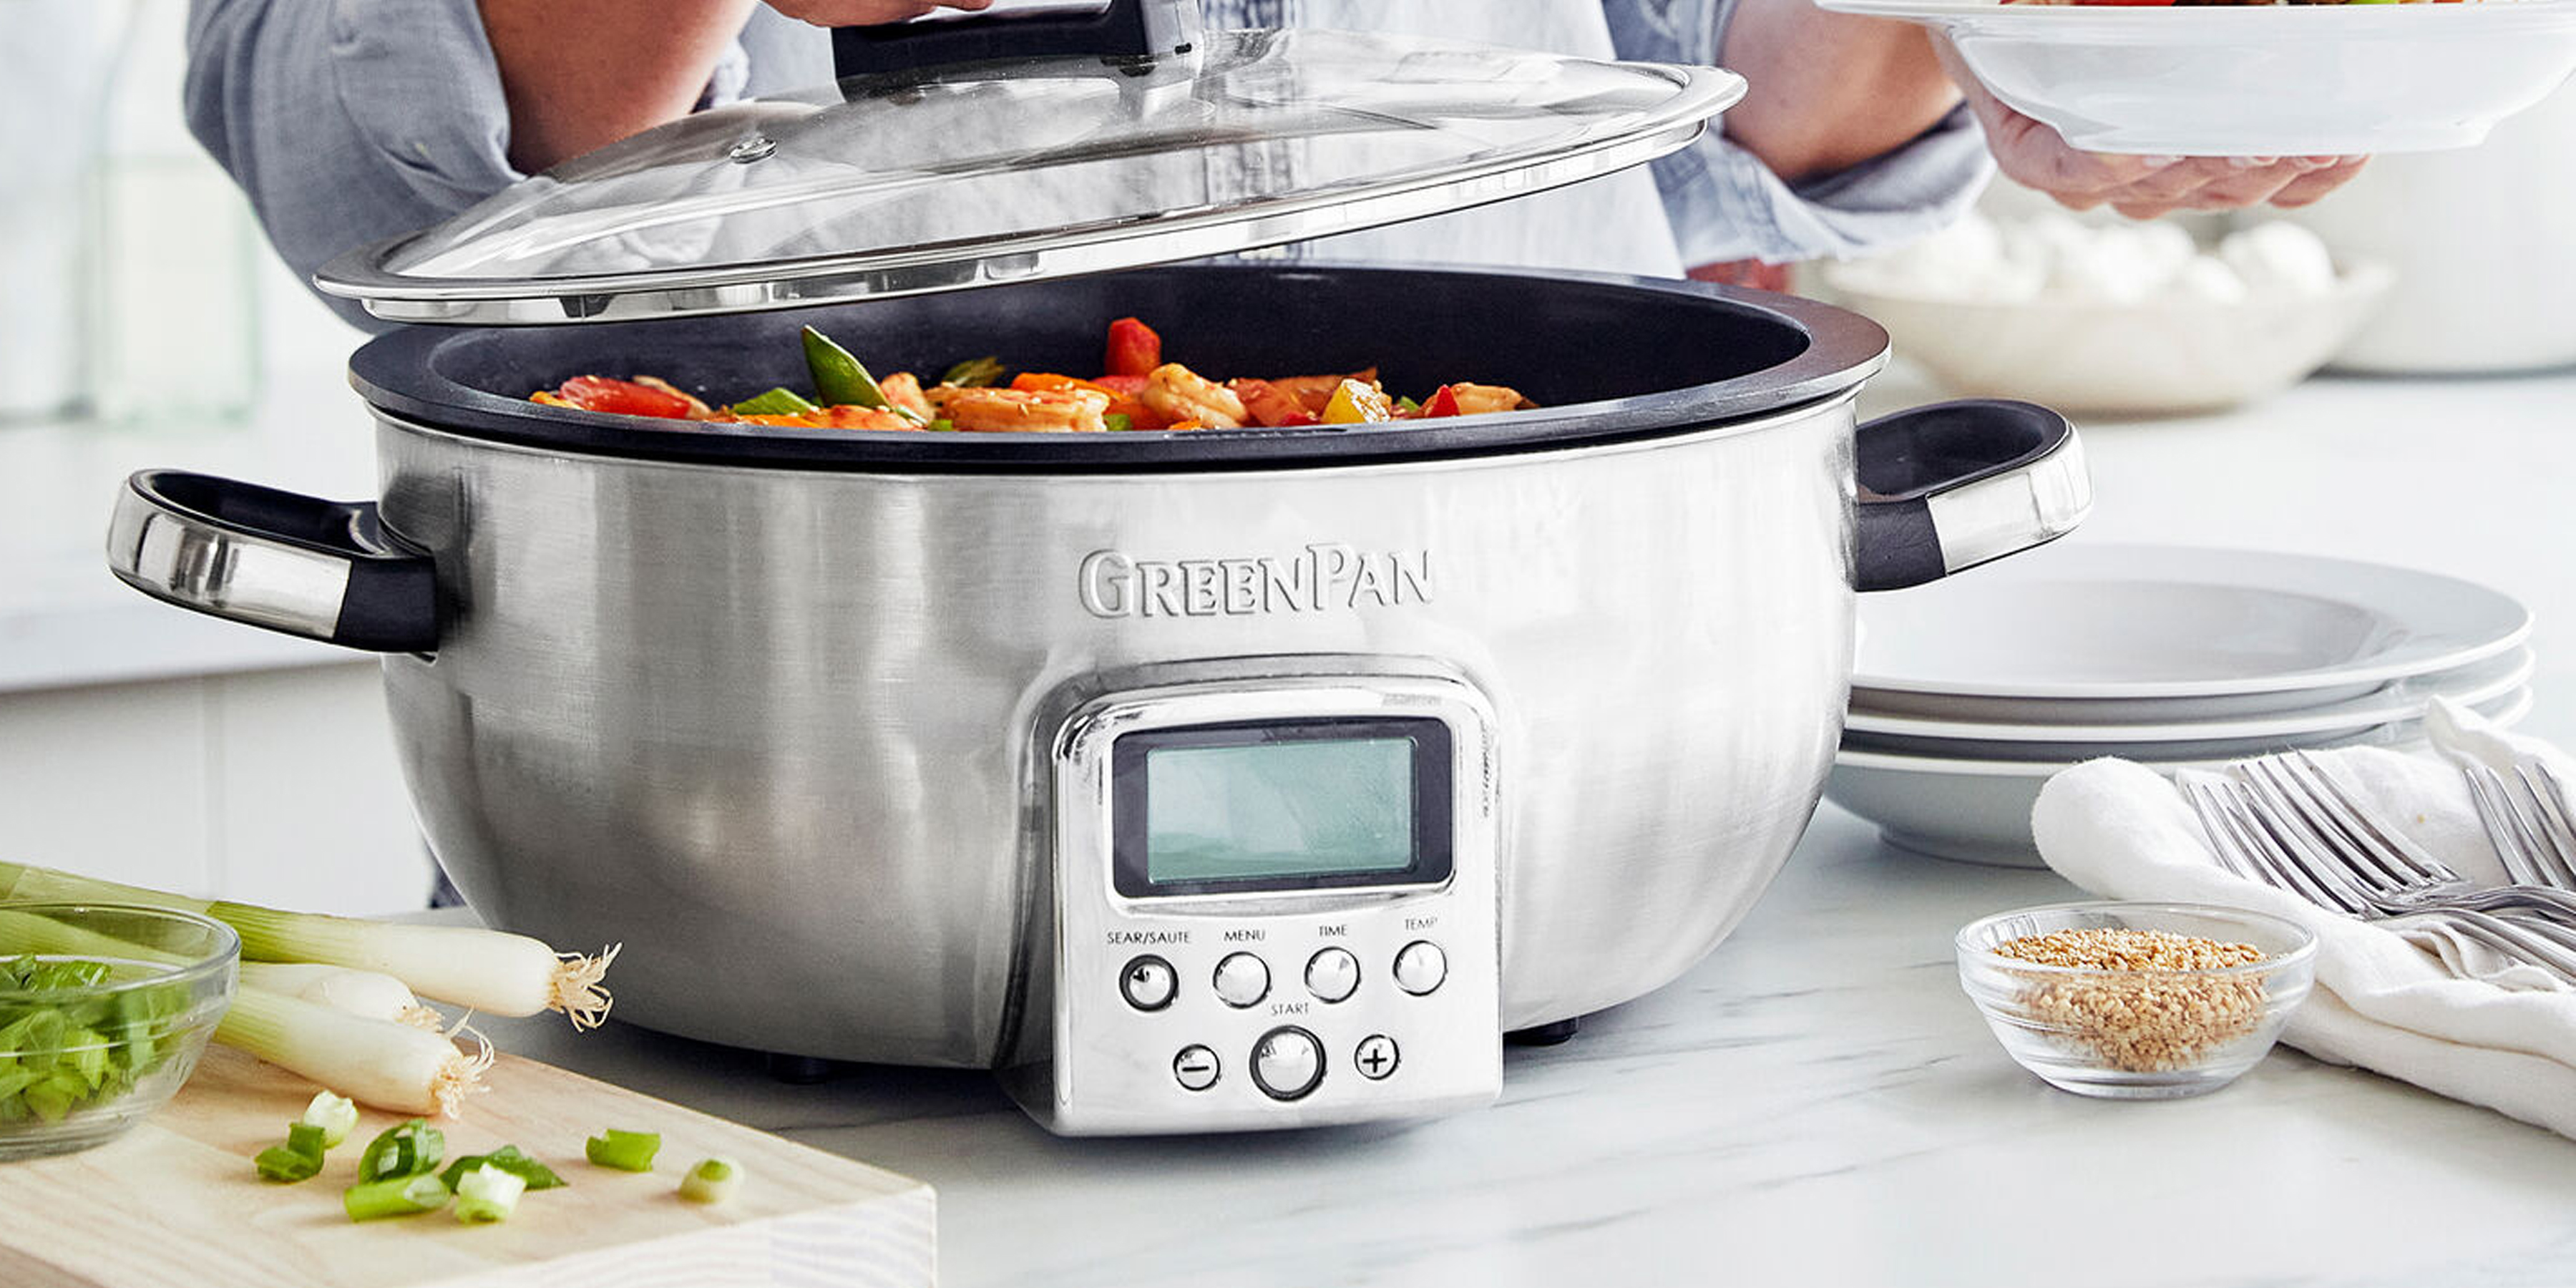
I found the GreenPan OmniCooker fast and effective at cooking sauce-based meals like chilli and bolognese. And it can sauté onions with impressive speed, but rice and grains require a little trial and error. The preset cooking times aren’t always reliable, so you’ll get the most out of it if you’re a confident cook who’s happy to experiment.
-
+
Multi-purpose alternative to cooking on the hob
-
+
Easy to clean non-stick pot
-
+
Simple controls
-
+
Adjustable cooking temperatures
-
+
Heats up fast
-
-
Releases lots of steam during cooking
-
-
Lots of experimentation required
Why you can trust Ideal Home

The GreenPan Omni Cooker is a hybrid style appliance that I would describe as a cross between a rice cooker, slow cooker, steamer, and a frying pan. The family size non-stick pot can be used for all sorts of meals and side dishes. It’s a great alternative to your hob, particularly if yours is inefficient or you regularly cook for a crowd and need extra cooking space.
The best multi-cookers are becoming increasingly popular and there are lots of options available from big brands like Instant Pot and Ninja, but most are based on the core function being an electric pressure cooker. Whereas the GreenPan Omni Cooker offers a different take on a multi-purpose countertop cooker, that will suit those whose style of cooking is more hands-on.
I wasn’t sure I needed the Omni Cooker in my life, but I was very open to it. Like lots of people I’ve been trying to streamline my cooking to reduce my energy bills and although I don’t really know how much energy my hob uses, I can’t help thinking the gas flame is heating the room as much as the pan and is probably not the most efficient choice. So I was keen to see what the Omni Cooker was like to use and I also hooked it up to an electricity meter so I could work out how much each dish cost me to cook, read on to see what I found out.
GreenPan Omni Cooker product specs
- Capacity: 5.6 litres
- Smart programmes: Stir-fry, sauce, simmer, steam, white rice, brown rice, grains, soup, sear/ sauté, warm or manual operation
- Power: 2200 Watts
- Pan: PFAS free Ceramic Non-Stick
- Accessories: steam rack
- Available colours: blue, stainless steel, cream, black
- Dishwasher safe: yes
Who tested this cooker?

After completing a Home Economics degree, Helen went on to work for the Good Housekeeping Institute and has been reviewing home appliances ever since. She lives in a small village in Buckinghamshire in the UK and was allowed to keep this GreenPan Omni Cooker after the review.
Unboxing
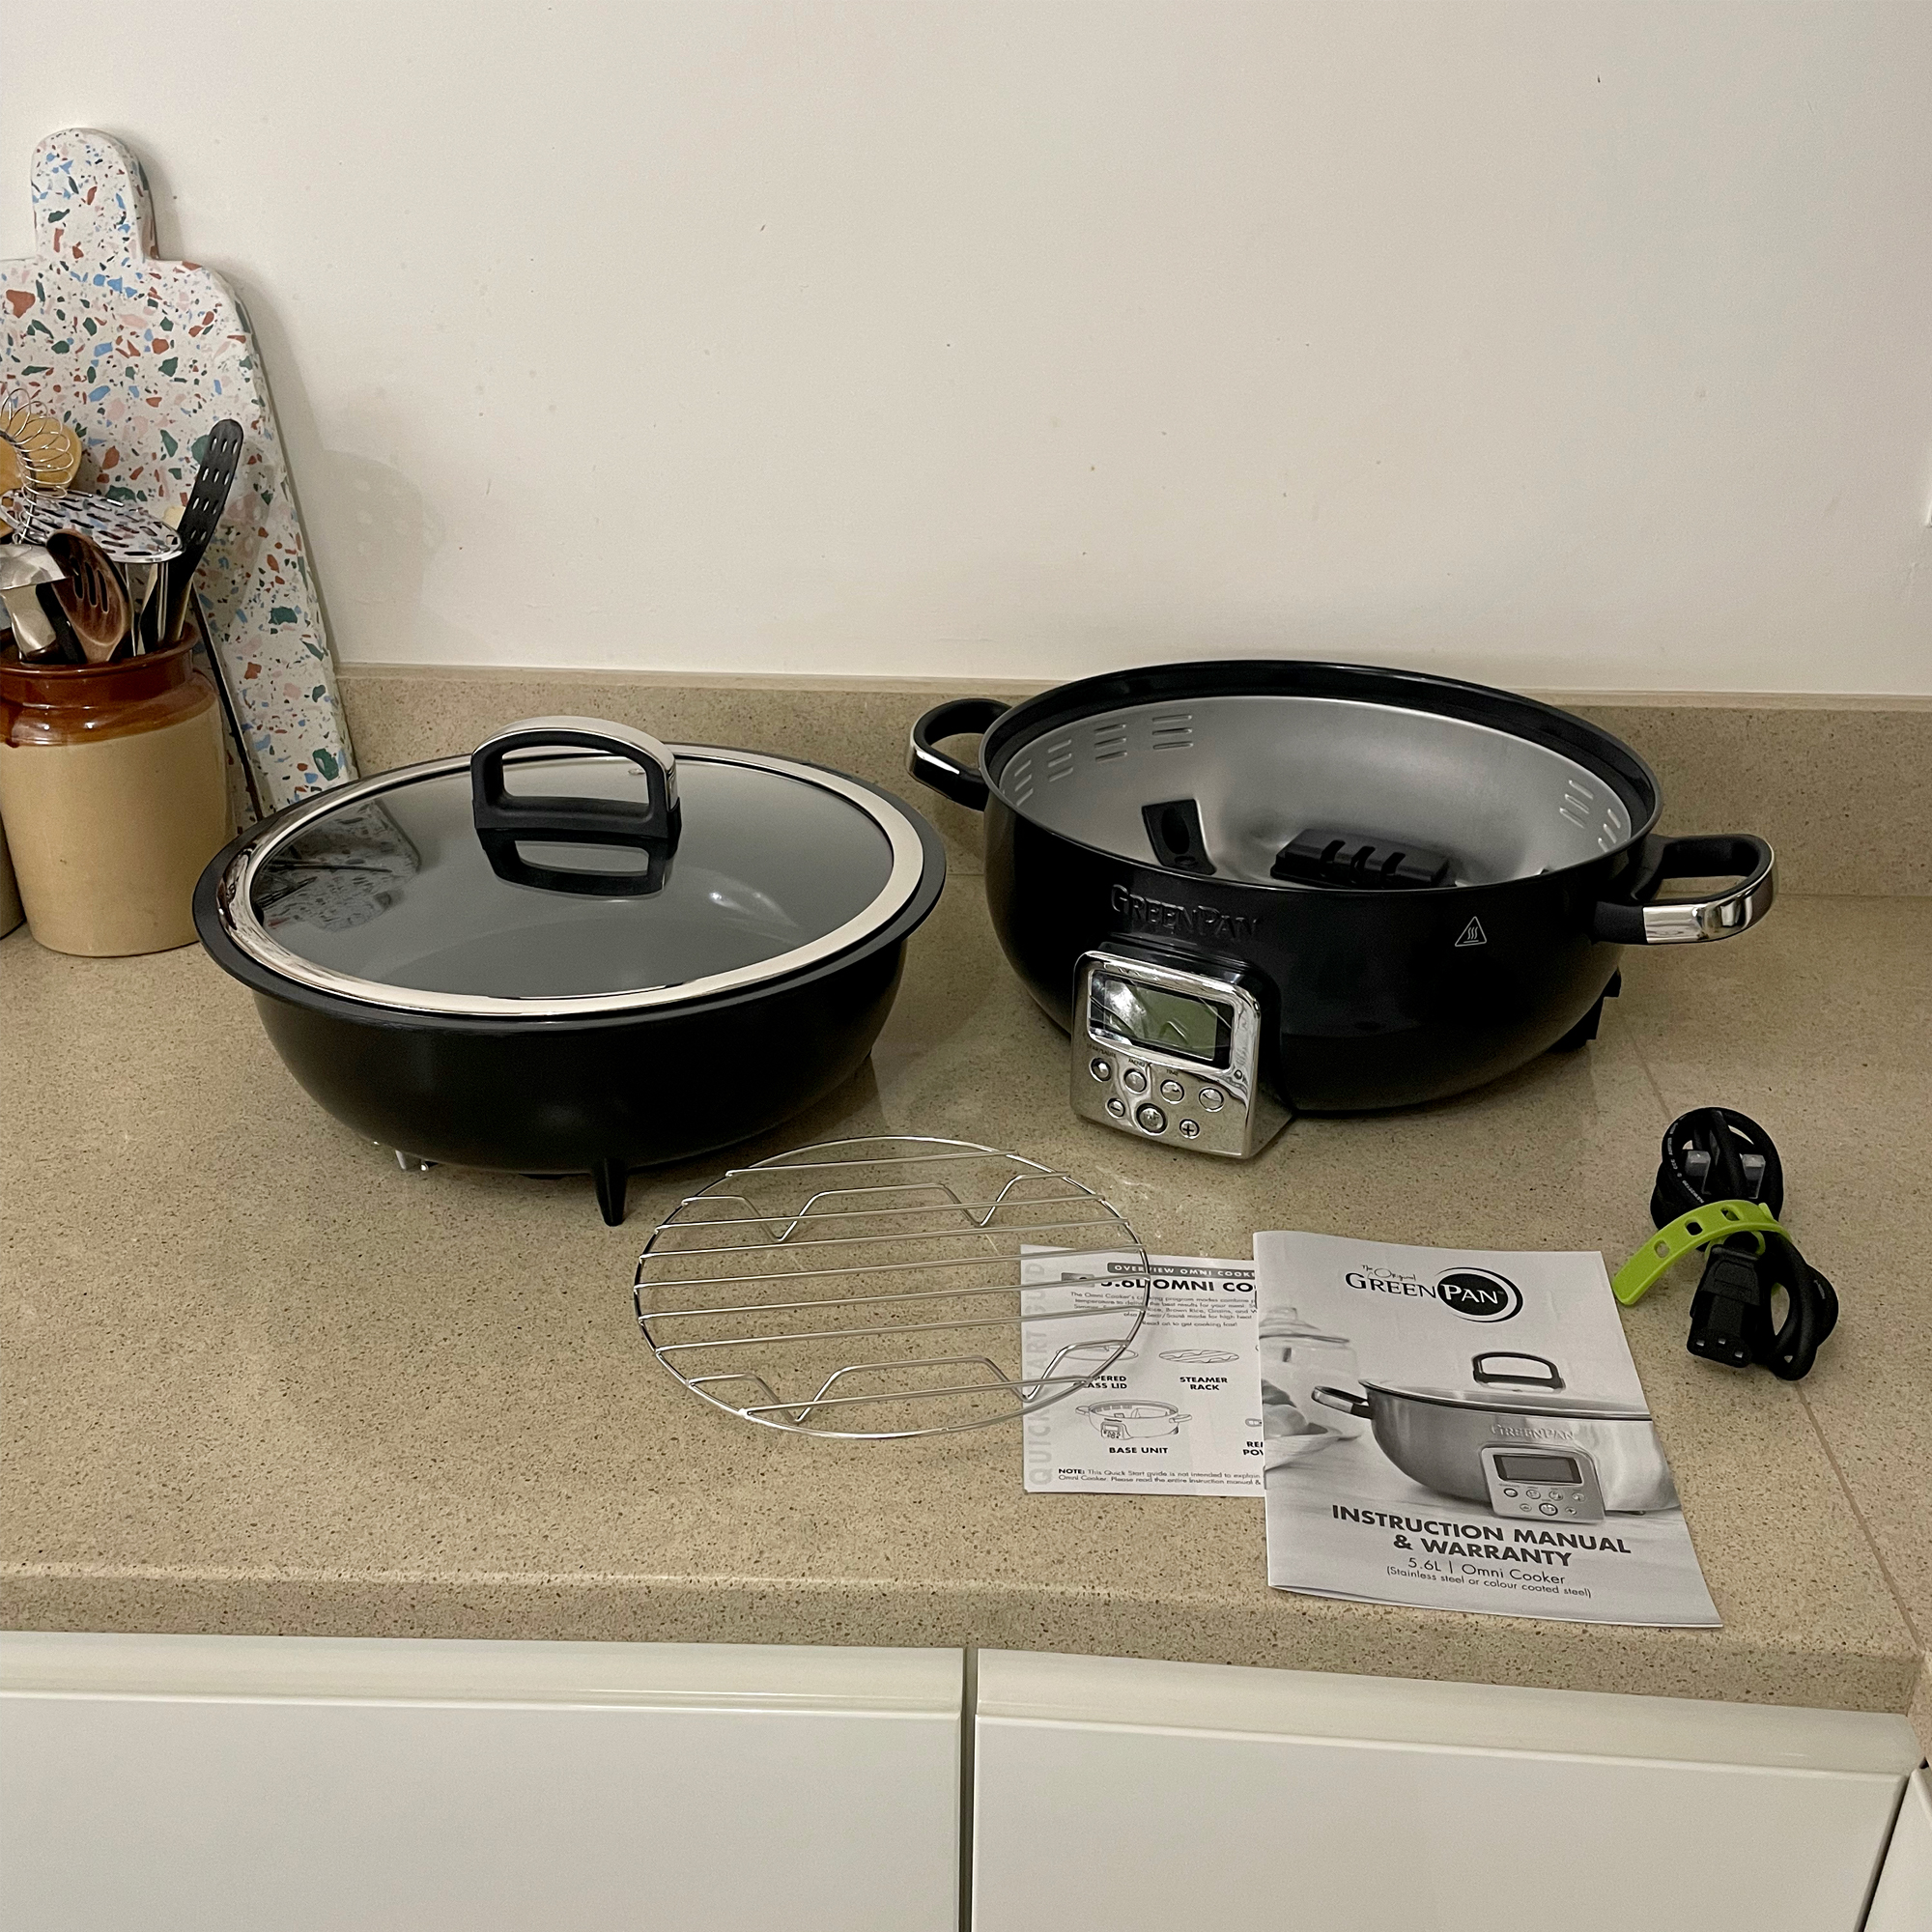
The GreenPan Omni cooker arrives packed in a neat box with several protective cardboard inserts that are easy to recycle. There are also some plastic bags surrounding the components, but these can be recycled with the carrier bags at your local supermarket. I was sent the black version and it looks like a big, lidded saucepan that has a control panel on the front. I wouldn’t call it a stunning appliance, I’d say it’s inoffensive and practical.
There are two big handles on either side of the outer pot making it easy to move around. The inner cooking pot has a concealed element attached to the underside, it slots easily into position and for the avoidance of doubt, the front of the pot is labelled as such. The glass lid sits on top of the pot and has a steam hole, though notably it doesn’t appear to form a tight seal.
At the front of the cooker there’s a green LCD display that’s a bit garish when lit, though it strikes me that the green is probably a deliberate ‘on brand’ choice for GreenPan. There are only seven small buttons on the control panel, the time and temperature are adjusted with plus and minus buttons and pressing the menu button repeatedly will cycle through the pre-programmed options. The position of the screen and buttons did mean I found myself crouching down to get the best view when I was using it. If it had been angled upwards even slightly, it would be a little easier to see, but I’m nit-picking!
First impressions
The simple menu means it doesn’t take long at all to get to grips with the various settings and controls. Some of the cooking functions have a preset cooking temperature that can’t be adjusted, but most have adjustable temperature settings within a specific range and a handy table in the instruction booklet gives more detail on the options.
Speaking of the instruction booklet, while it contains all the relevant information for using the Omni cooker, I’d have liked to see some cooking timetables or recipes to get you started. Because although there are pre-set programmes for foods like rice, grains, and soup, there’s limited information on how to get the best out of these programmes, so I’m immediately thinking there’s going to be some trial and error required.
Making beef chilli and vegetarian bolognese
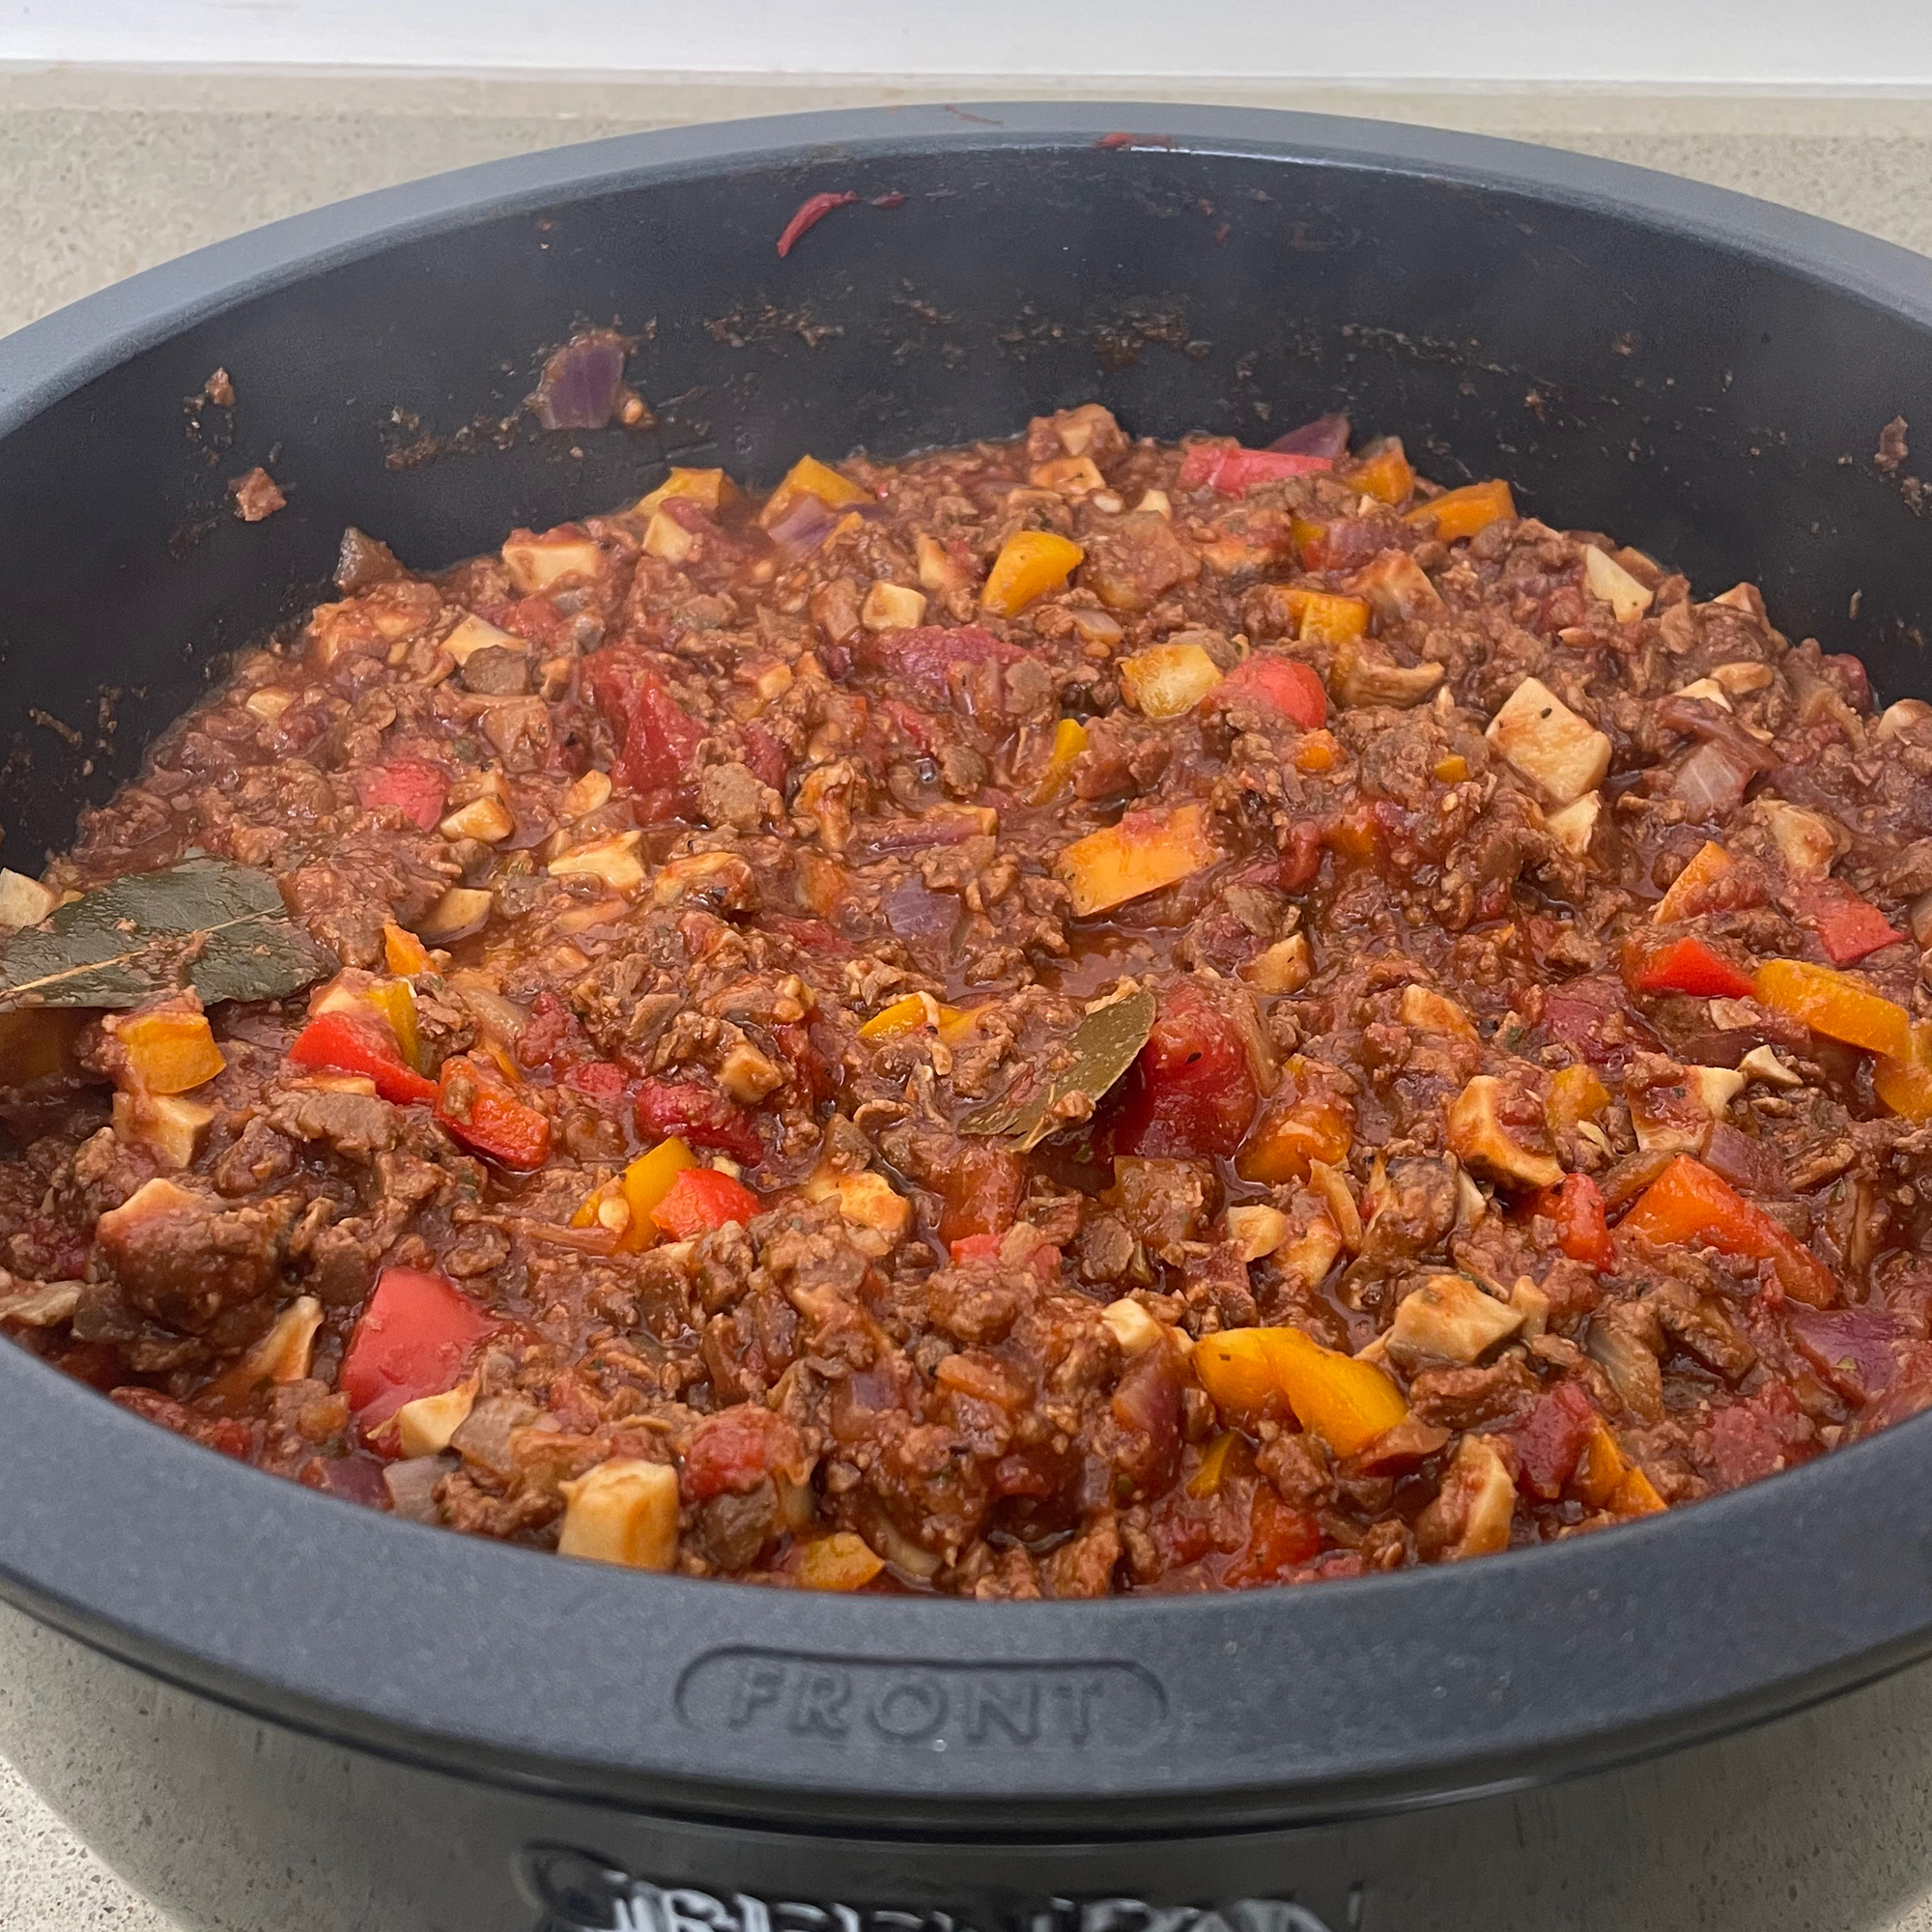
I sauteed chopped onions and beef mince along with garlic and spices for five minutes on the sauté function, and it was speedy. Then I added the rest of my ingredients including tinned tomatoes, chipotle paste and diced pepper, and switched it to the simmer function. The preset time is four hours, so I assumed this mode would be more like a slow cooker than simmering on the hob, but I was wrong.
Peering through the steamed-up glass lid I could see that as the heat cycled on and off, the chilli was frequently bubbling away on what I’d describe as quite a high simmer. After 20 minutes I gave it a stir and added in kidney beans and some extra seasoning. It was thickened and nicely cooked through just ten minutes later. It’s far more similar to cooking on the hob than in a slow cooker. So you wouldn’t want to leave it unattended for too long. On the plus side, if you’re not the kind of person who plans in advance and gets the slow cooker going before you set off to work, this will suit you better than a slow cooker.
The process for my veggie bolognese was virtually the same as for the chilli. I sauteed the onions and vegetables before adding in the rest of the ingredients and simmering for half an hour. It worked well and made a rich, tasty dinner.
Cooking rice
I opted to cook up a batch of brown rice – at the time of writing it’s January so I’m being extra healthy! The cooking tips section of the instruction book says to cook a minimum of 2 cups of rice and that when it’s in the pot, add water to reach the corresponding cup line. So I added my two cups of brown basmati rice and filled the cooking pot with cold water to the two cup line.
The default cooking time for brown rice is an hour and 15 minutes, which is well over double the time it takes to bring a saucepan of water to the boil and then simmer for 20-25 minutes on the hob, but nevertheless I didn’t adjust anything and pressed start.
As I already mentioned, the lid doesn’t seal tightly onto the pot, so during cooking quite a lot of steam escapes all around the sides of the lid as well as through the hole at the top, which meant my kitchen got a tad steamy.
30 minutes into cooking, there was no more steam being emitted and I could tell there was no water left so I peered in and sure enough the pan was dry and the rice wasn’t cooked. I added a further 300ml water – a total guesstimate – and closed the lid to allow it to carry on cooking.
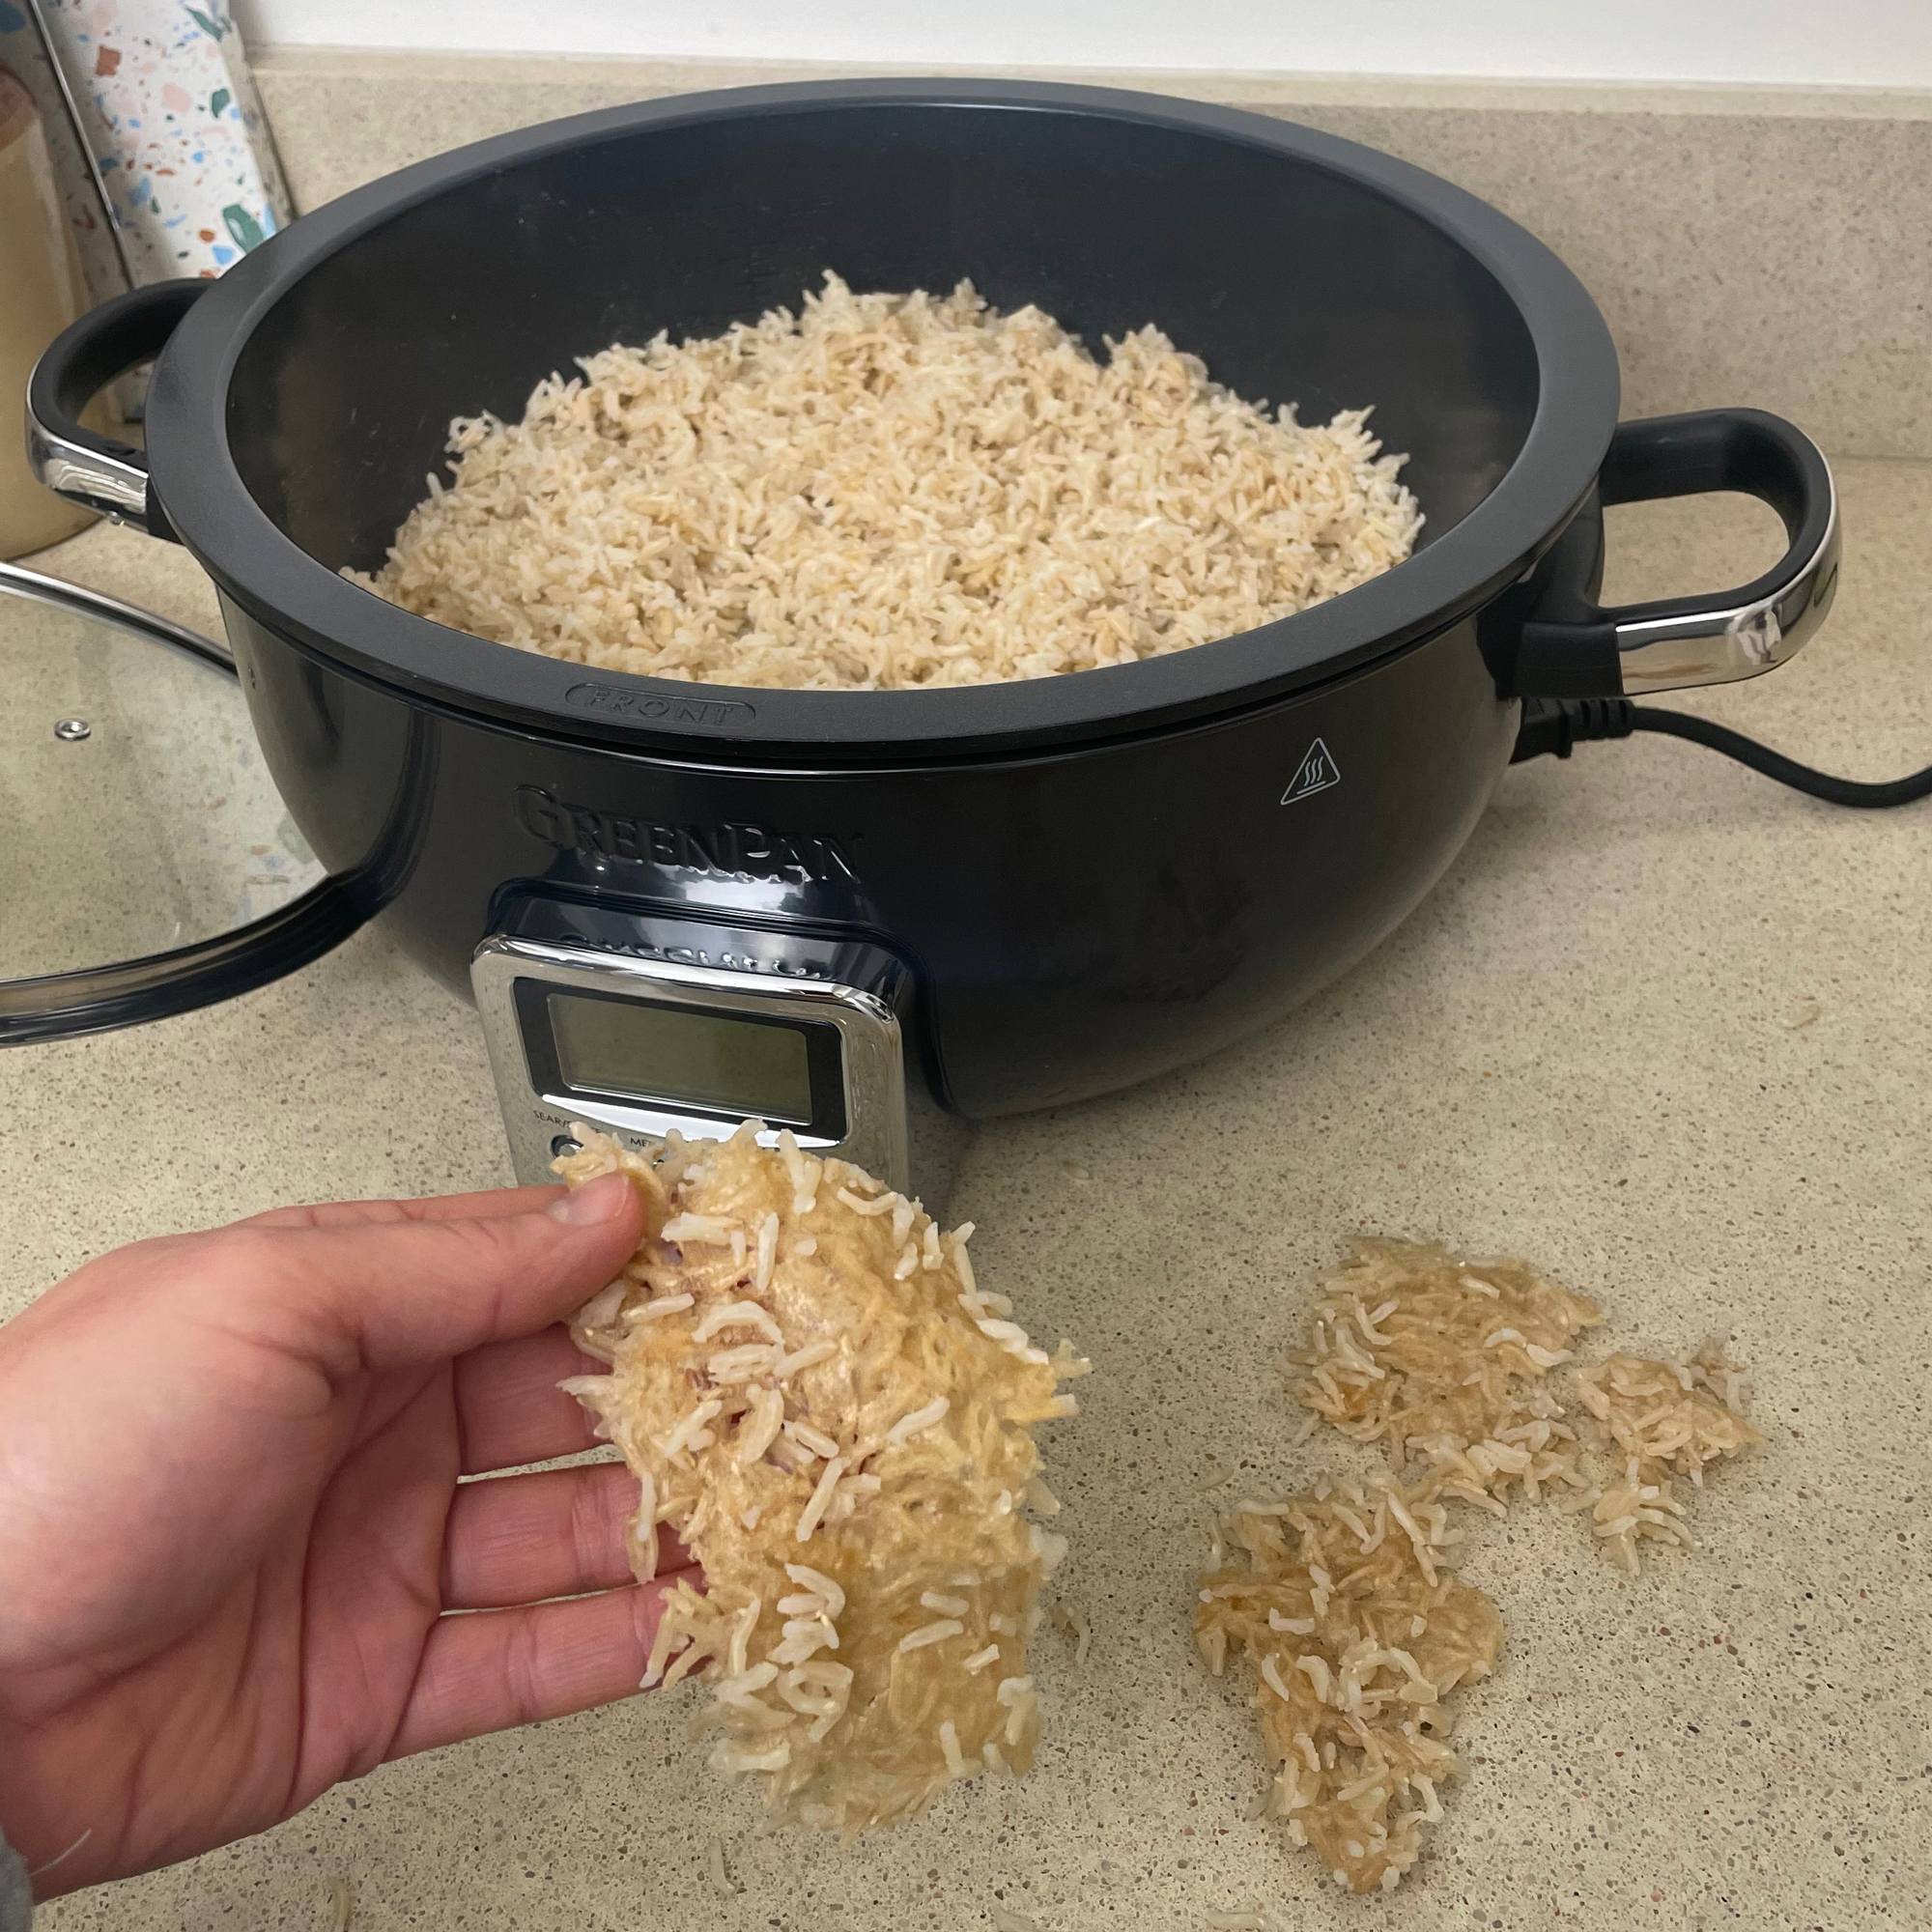
Just ten minutes later it had boiled dry again. The rice was still not cooked but it was very close to being cooked so I added a further 150ml of water. I switched it off after a total of 50 minutes. At this point the rice was cooked and fluffy, but when I stirred it up, I discovered some rice had formed a crispy layer on the base of the pan. This is probably due to the fact it boiled dry a couple of times, but thankfully I was able to peel it away from the rest of the rice and discard it.
The majority of the rice was nicely cooked with a good flavour and texture, it’ll just take a couple of attempts to master the correct rice to water ratio and nail the cook time. After that though, I think I’ll be able to achieve consistent results every time. The only other issue is that in our house of just two adults, I never normally cook this much rice, but thankfully cooked rice can be frozen for later, so I can batch cook it and pop portions in the freezer.
Steaming
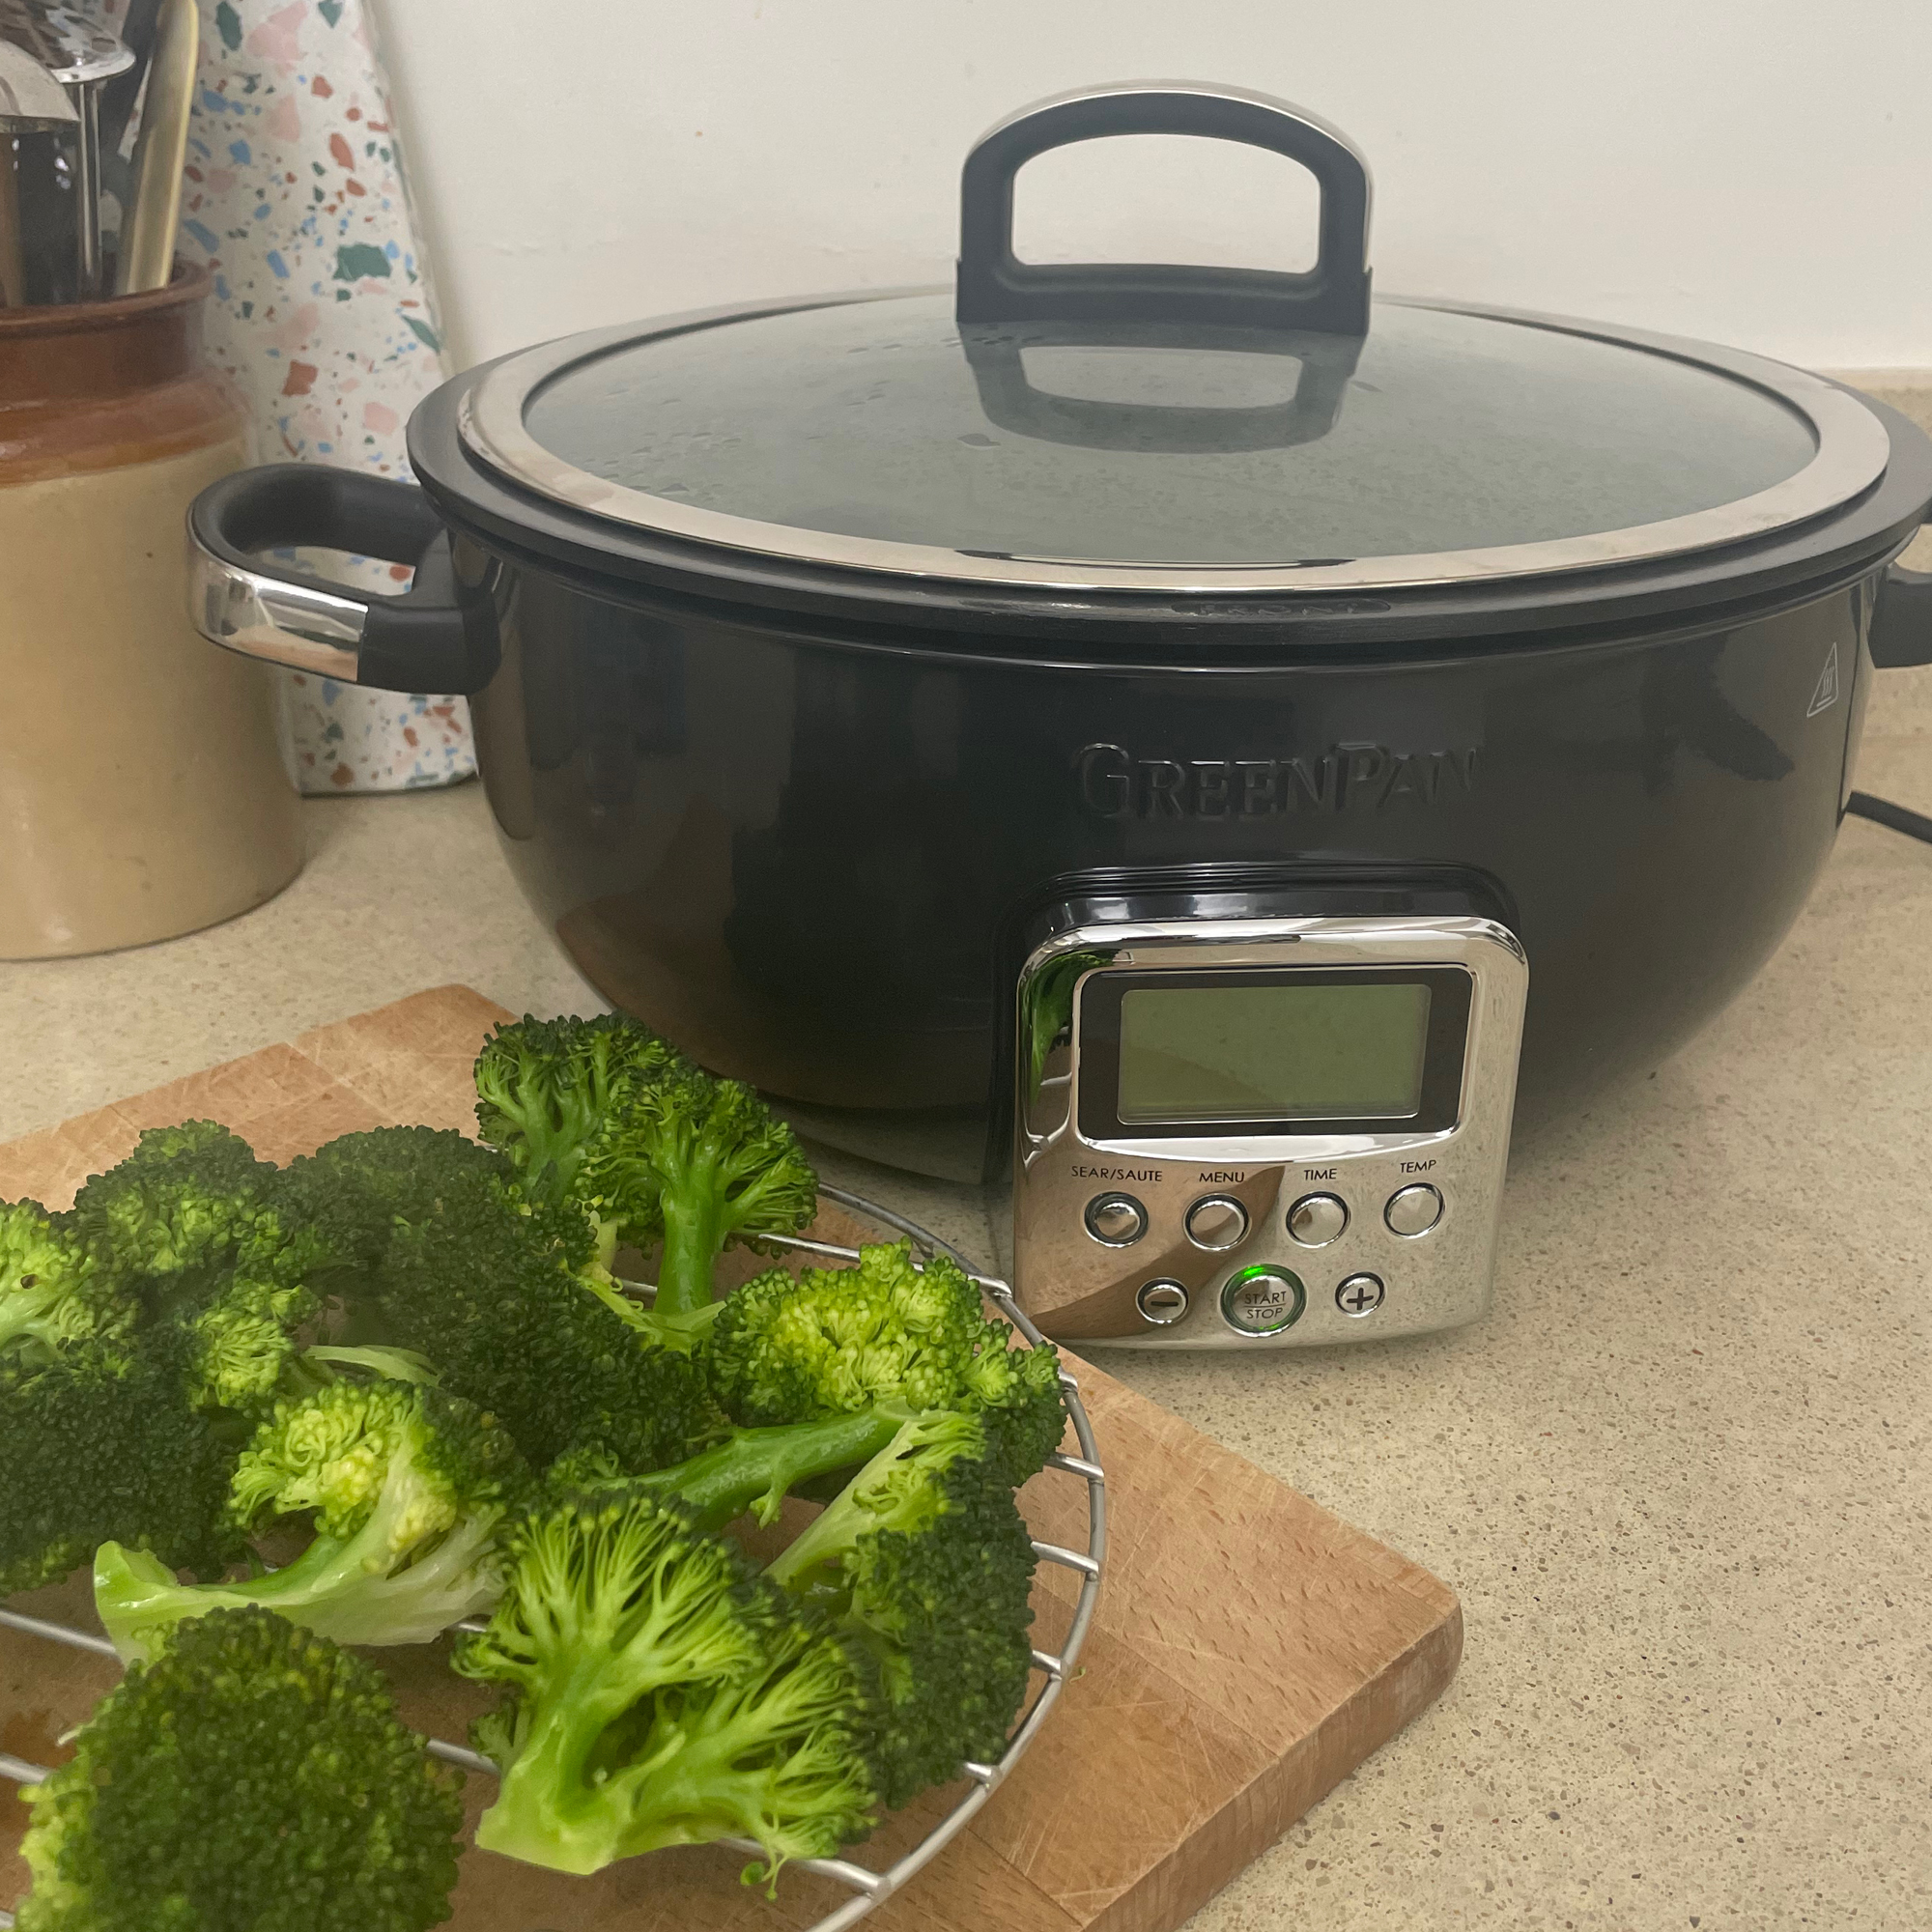
When considering what I wanted to steam in the Omni cooker, I was immediately annoyed by the steaming rack. Firstly, it’s quite small in comparison to the pot size, and secondly, the bars are far apart, so that meant my green beans weren’t going to work. I decided broccoli was a good shout and tried to cut it into chunky florets that wouldn’t fall through the gaps. But to steam smaller vegetables in the future, I’ll need to find an alternative steaming rack that’ll fit in.
I added the required 2.5cm water to the pan, the instructions don’t specify whether this should be hot water from the kettle or cold water. I decided I’d go for cold and let the Omni cooker do all of the work, instead of getting the kettle involved.
The default cook time is 20 minutes, but I kept a keen eye on it. It took about three minutes to preheat to a rapid boil and after that I let it steam for four minutes. The broccoli was the perfect texture, slightly al dente with a vibrant green colour. But lots of steam poured out of the edges of the lid during cooking so I’d advise using as close to your extractor fan as possible.
Stir frying
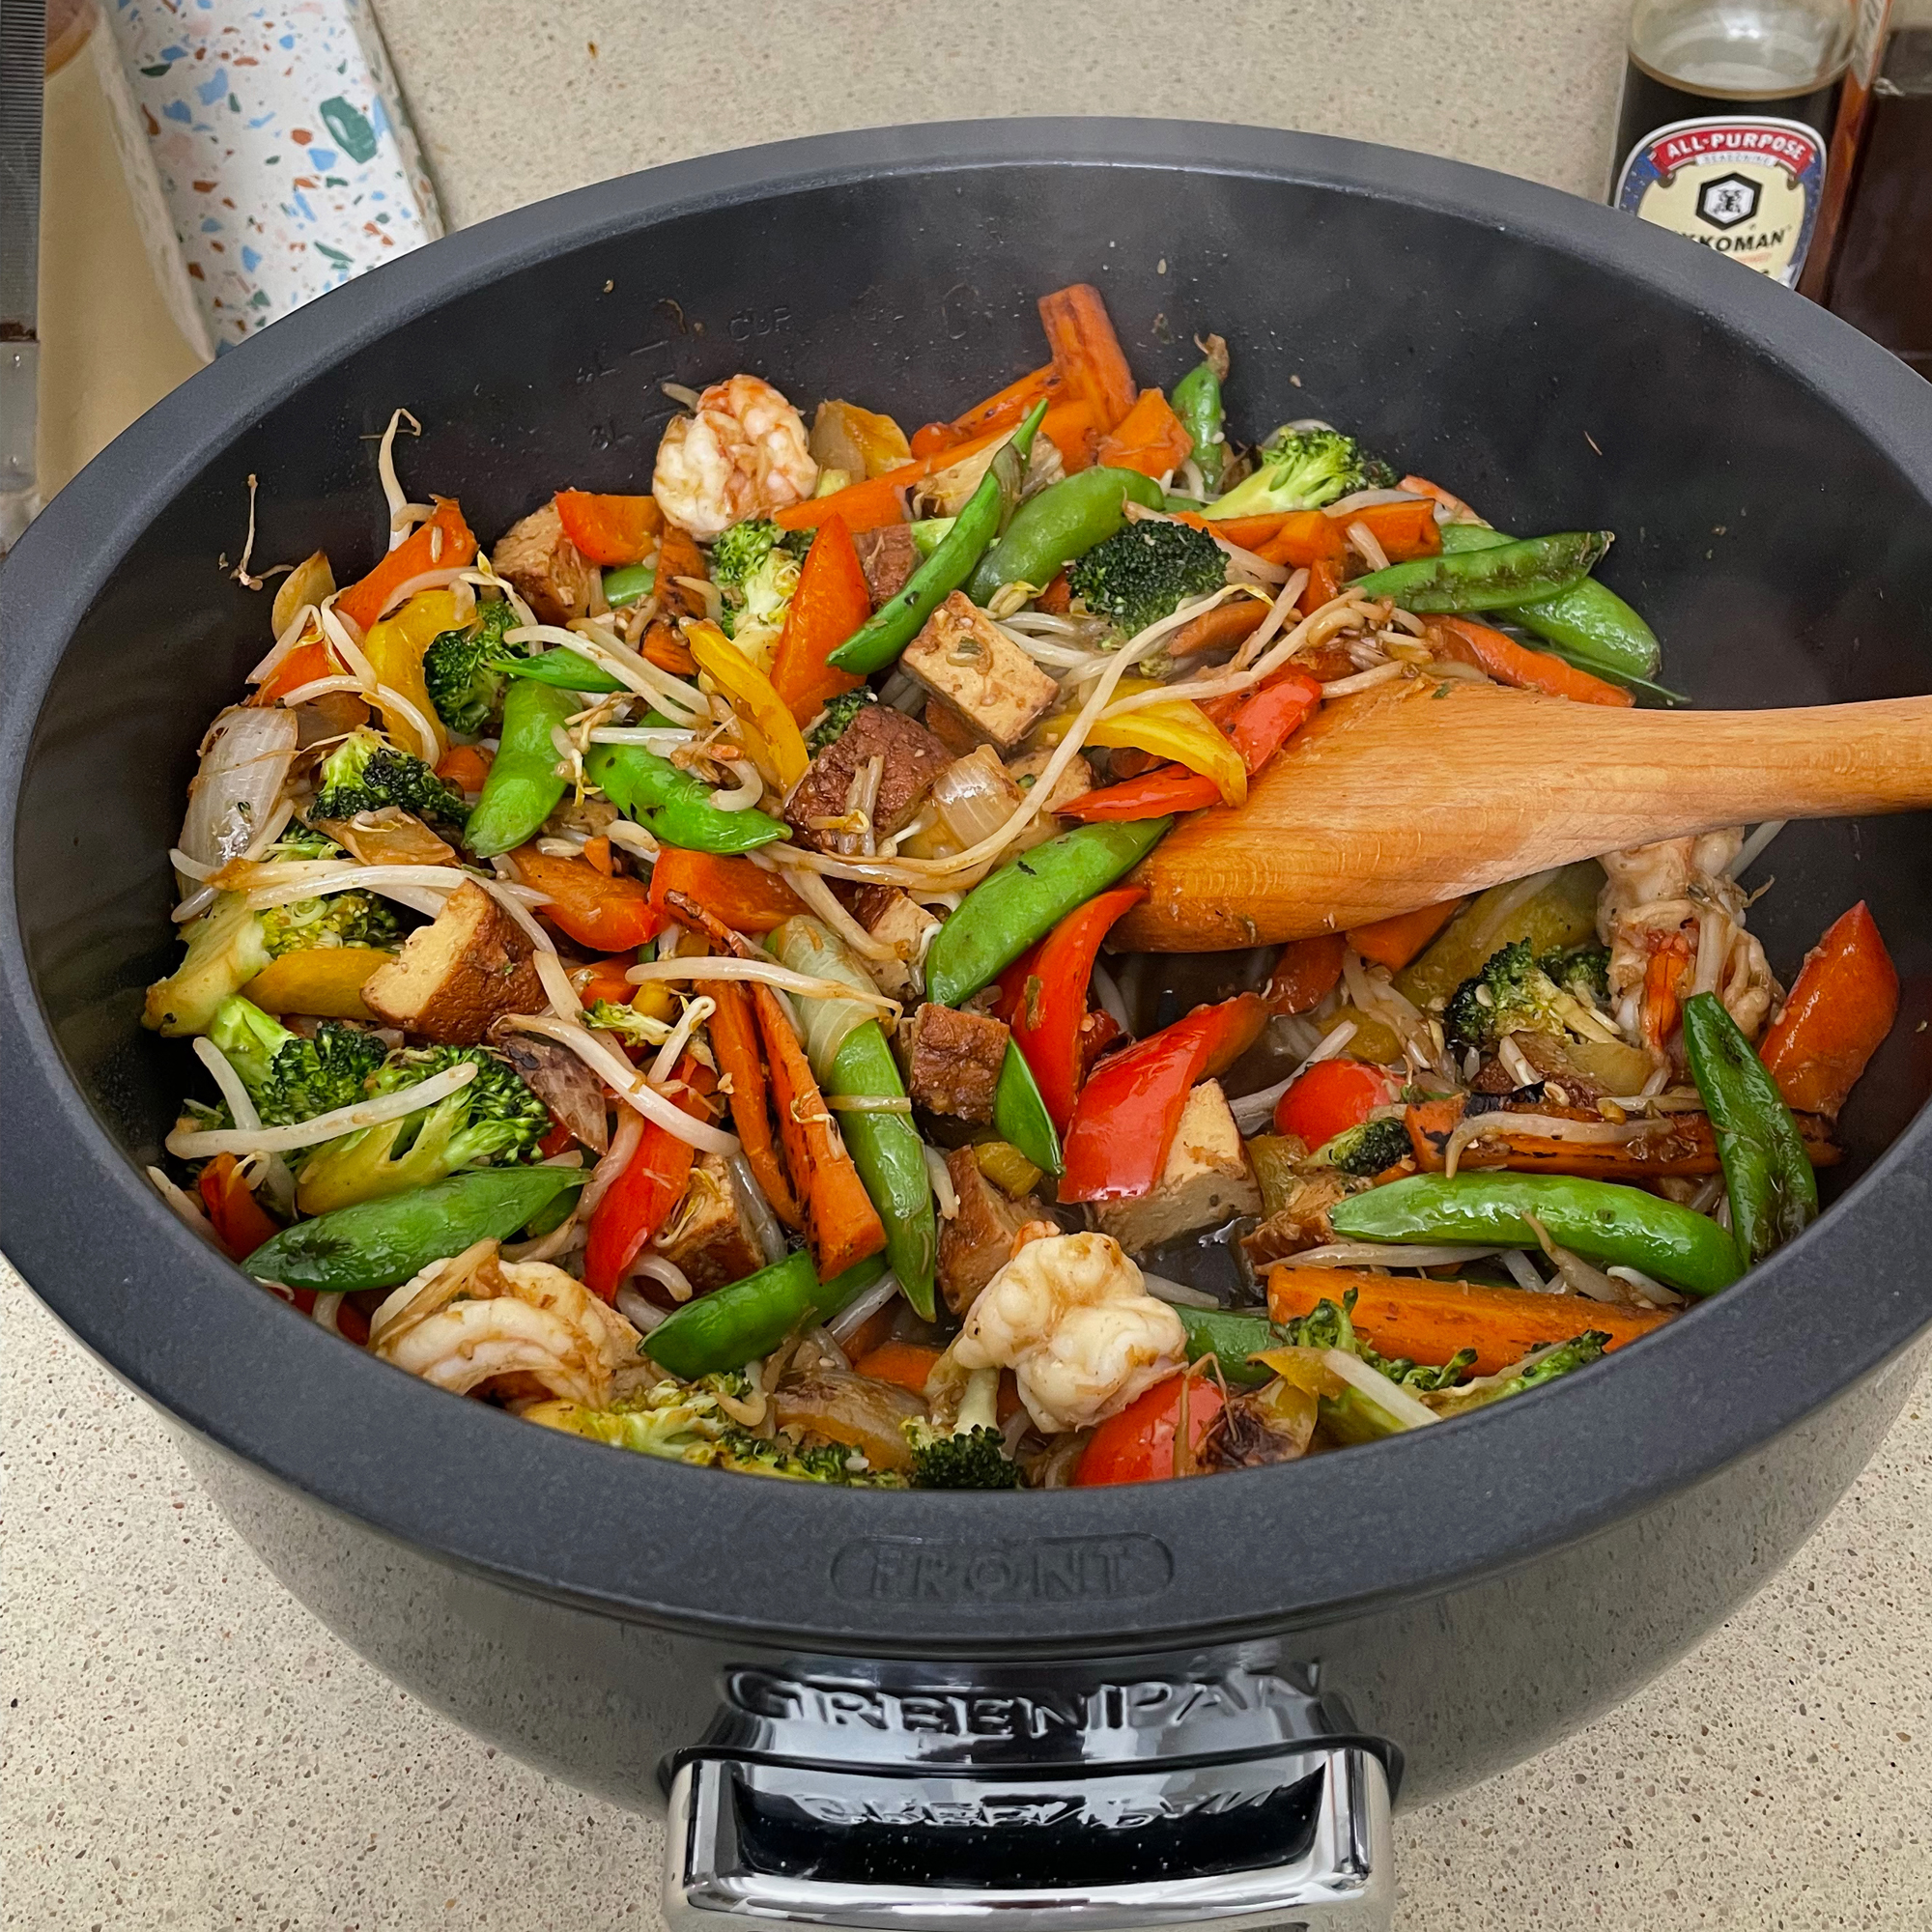
I used the Omni cooker to make a delicious vegetable stir fry with prawns and tofu. The stir fry function took an impressively speedy 1 ½ minutes to preheat. I found the pot was a good shape for stir frying and the vegetables cooked relatively quickly. My hob has a large central double burner gas ring that’s great for stir frying, so for me the Omni cooker was slightly slower. But with that being said, I think a lot of people with electric hobs will find stir frying in the Omni cooker is much quicker and it heats up very quickly too.
Cooking soup
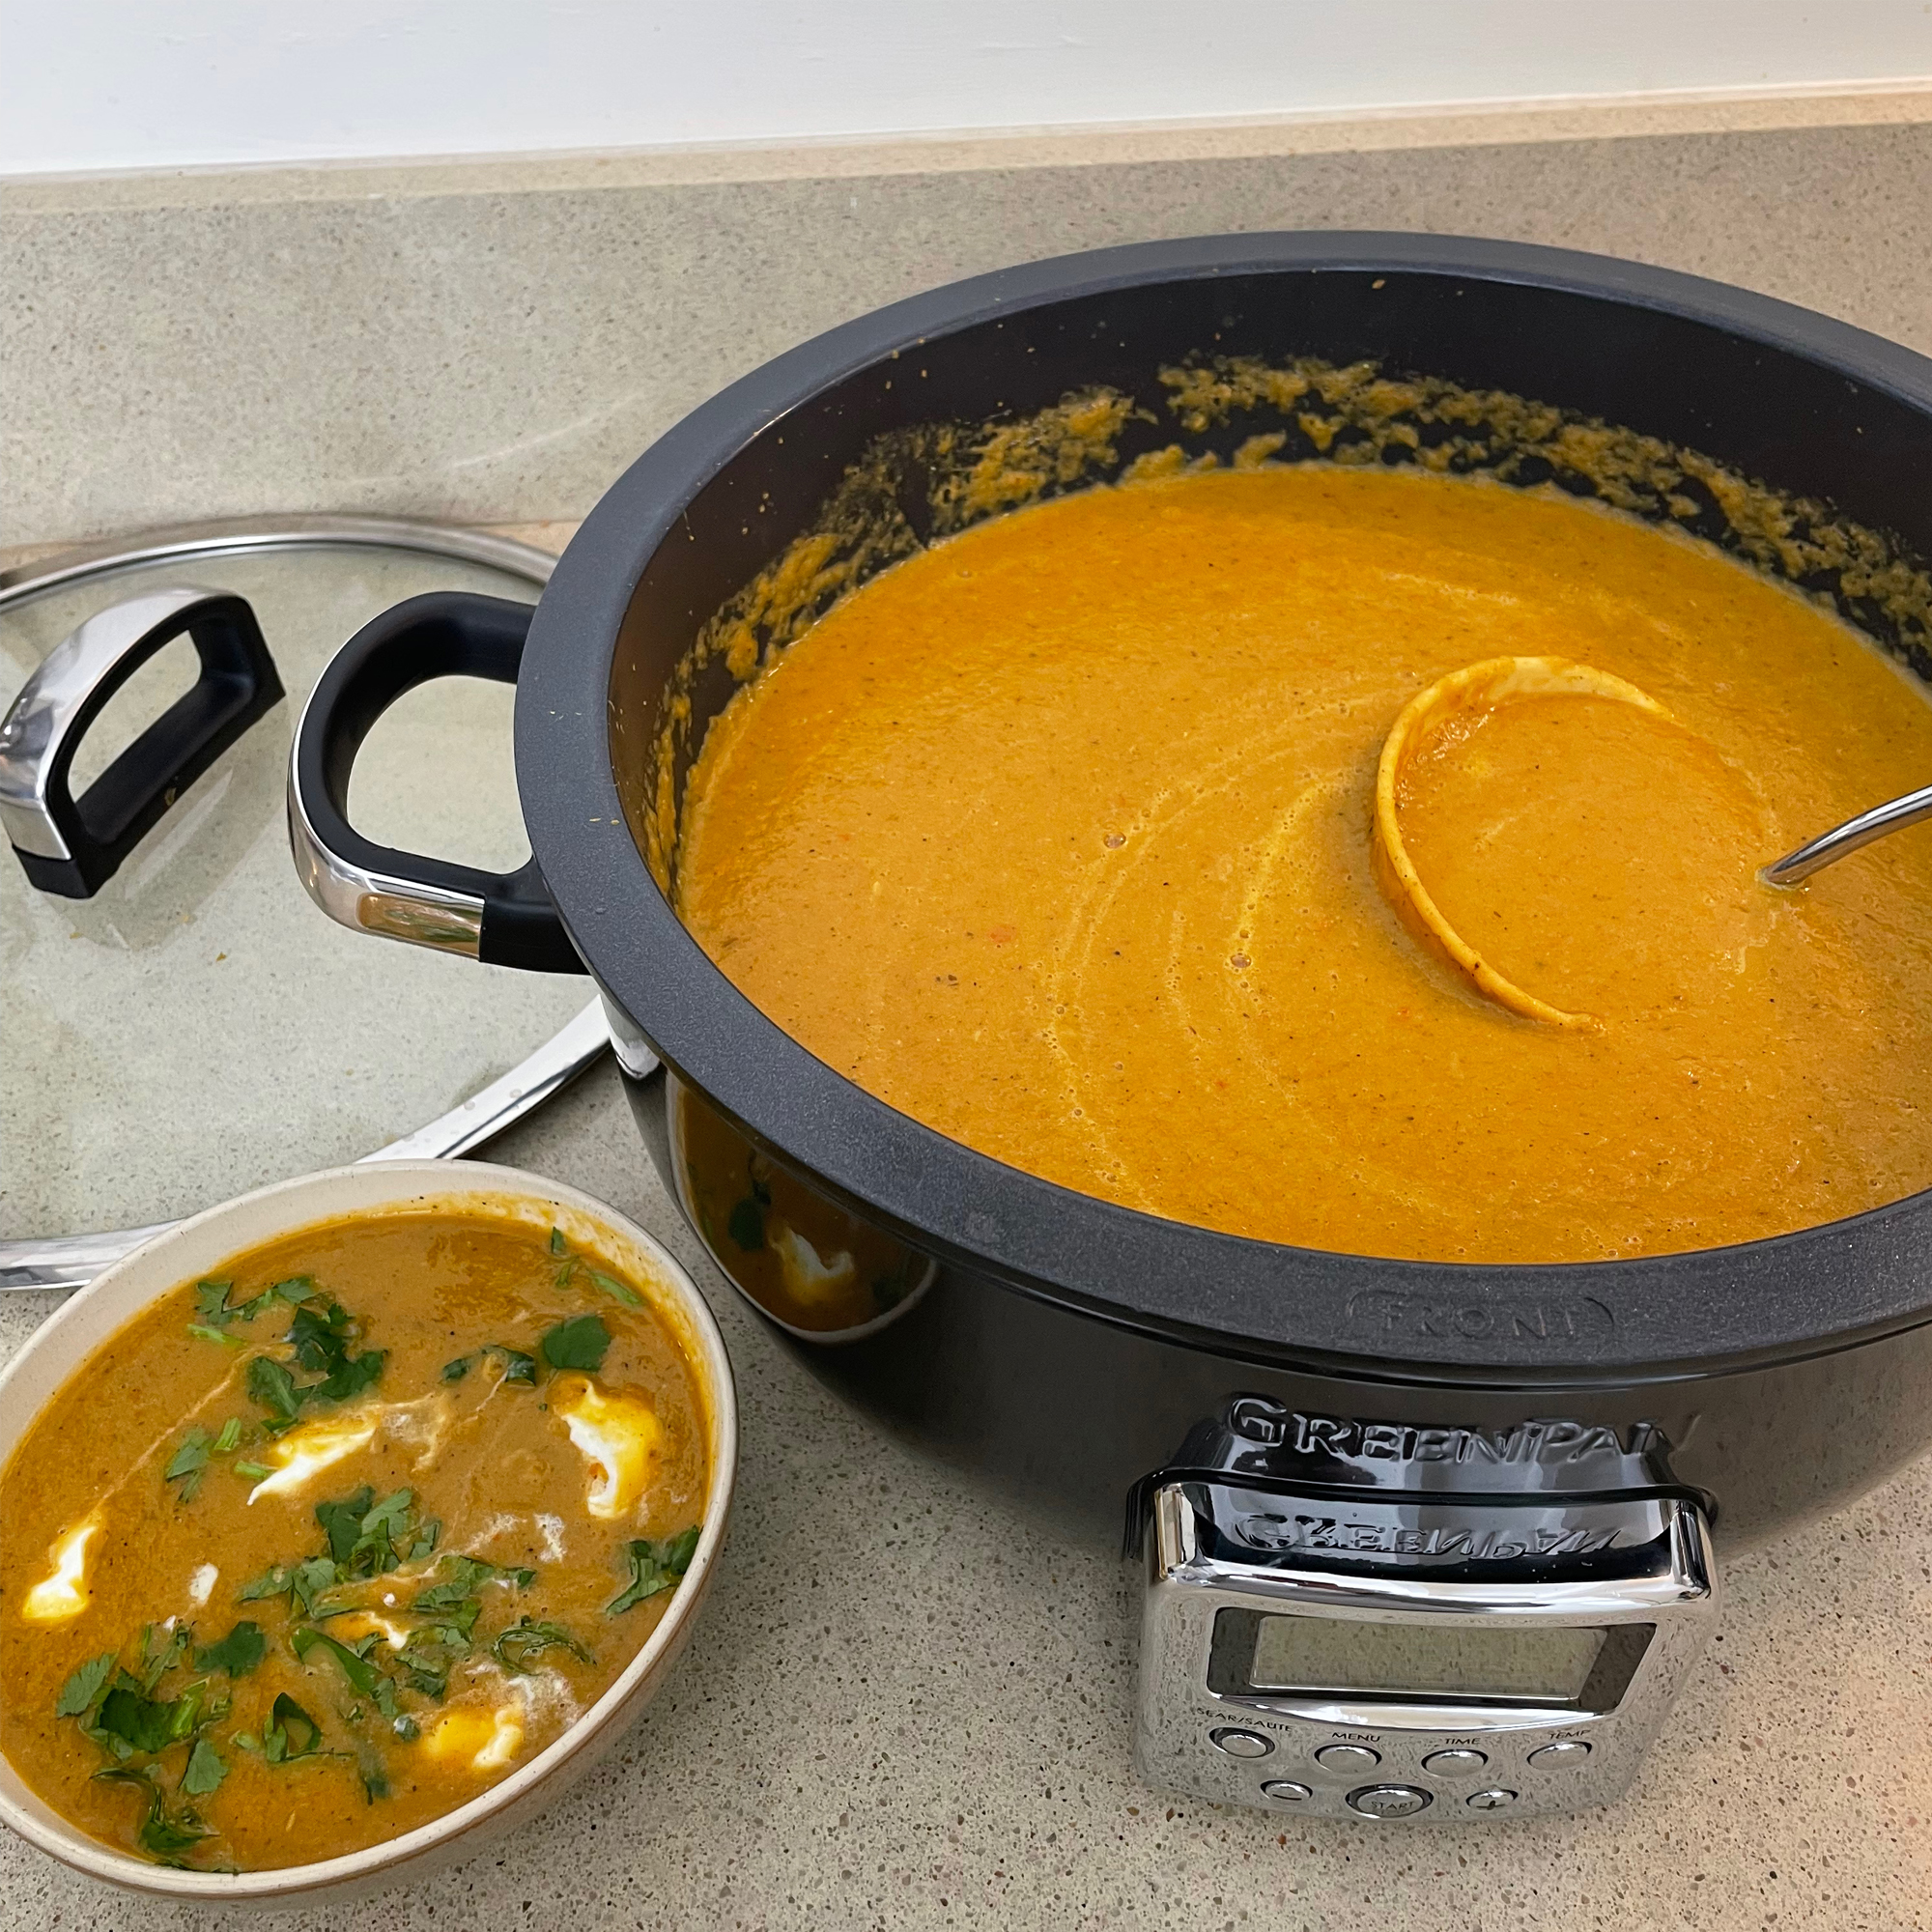
Before using the soup function I used the sauté function to cook some onions and spices, which was very fast and effective. Then I added hot stock, carrots and lentils and switched it over to soup mode. The default settings are 75oC for one hour, I gave it a stir after 40 minutes and at the end of the hour the carrots were still very firm, and the lentils hadn’t softened either. So I started the soup mode again, but this time increased the temperature up to 90oC and set the timer to 30 minutes. This did the trick and when the timer beeped, everything was well cooked.
The manual says metal utensils can be used in the pan so I very tentatively used my hand blender to blitz up the soup and thankfully it didn’t scratch, but I’d probably avoid blending soup in the pot next time, because there’s too much of a risk of scratching it.
Annoyingly there isn’t a pouting lip or handles on the inner pan, so instead of attempting to pour the soup out and risk spilling lots of it, I ended up ladling it out into my freezer containers. It wasn’t too much of a faff, but a pouring lip and handles would certainly be a welcome upgrade.
Cooking quinoa
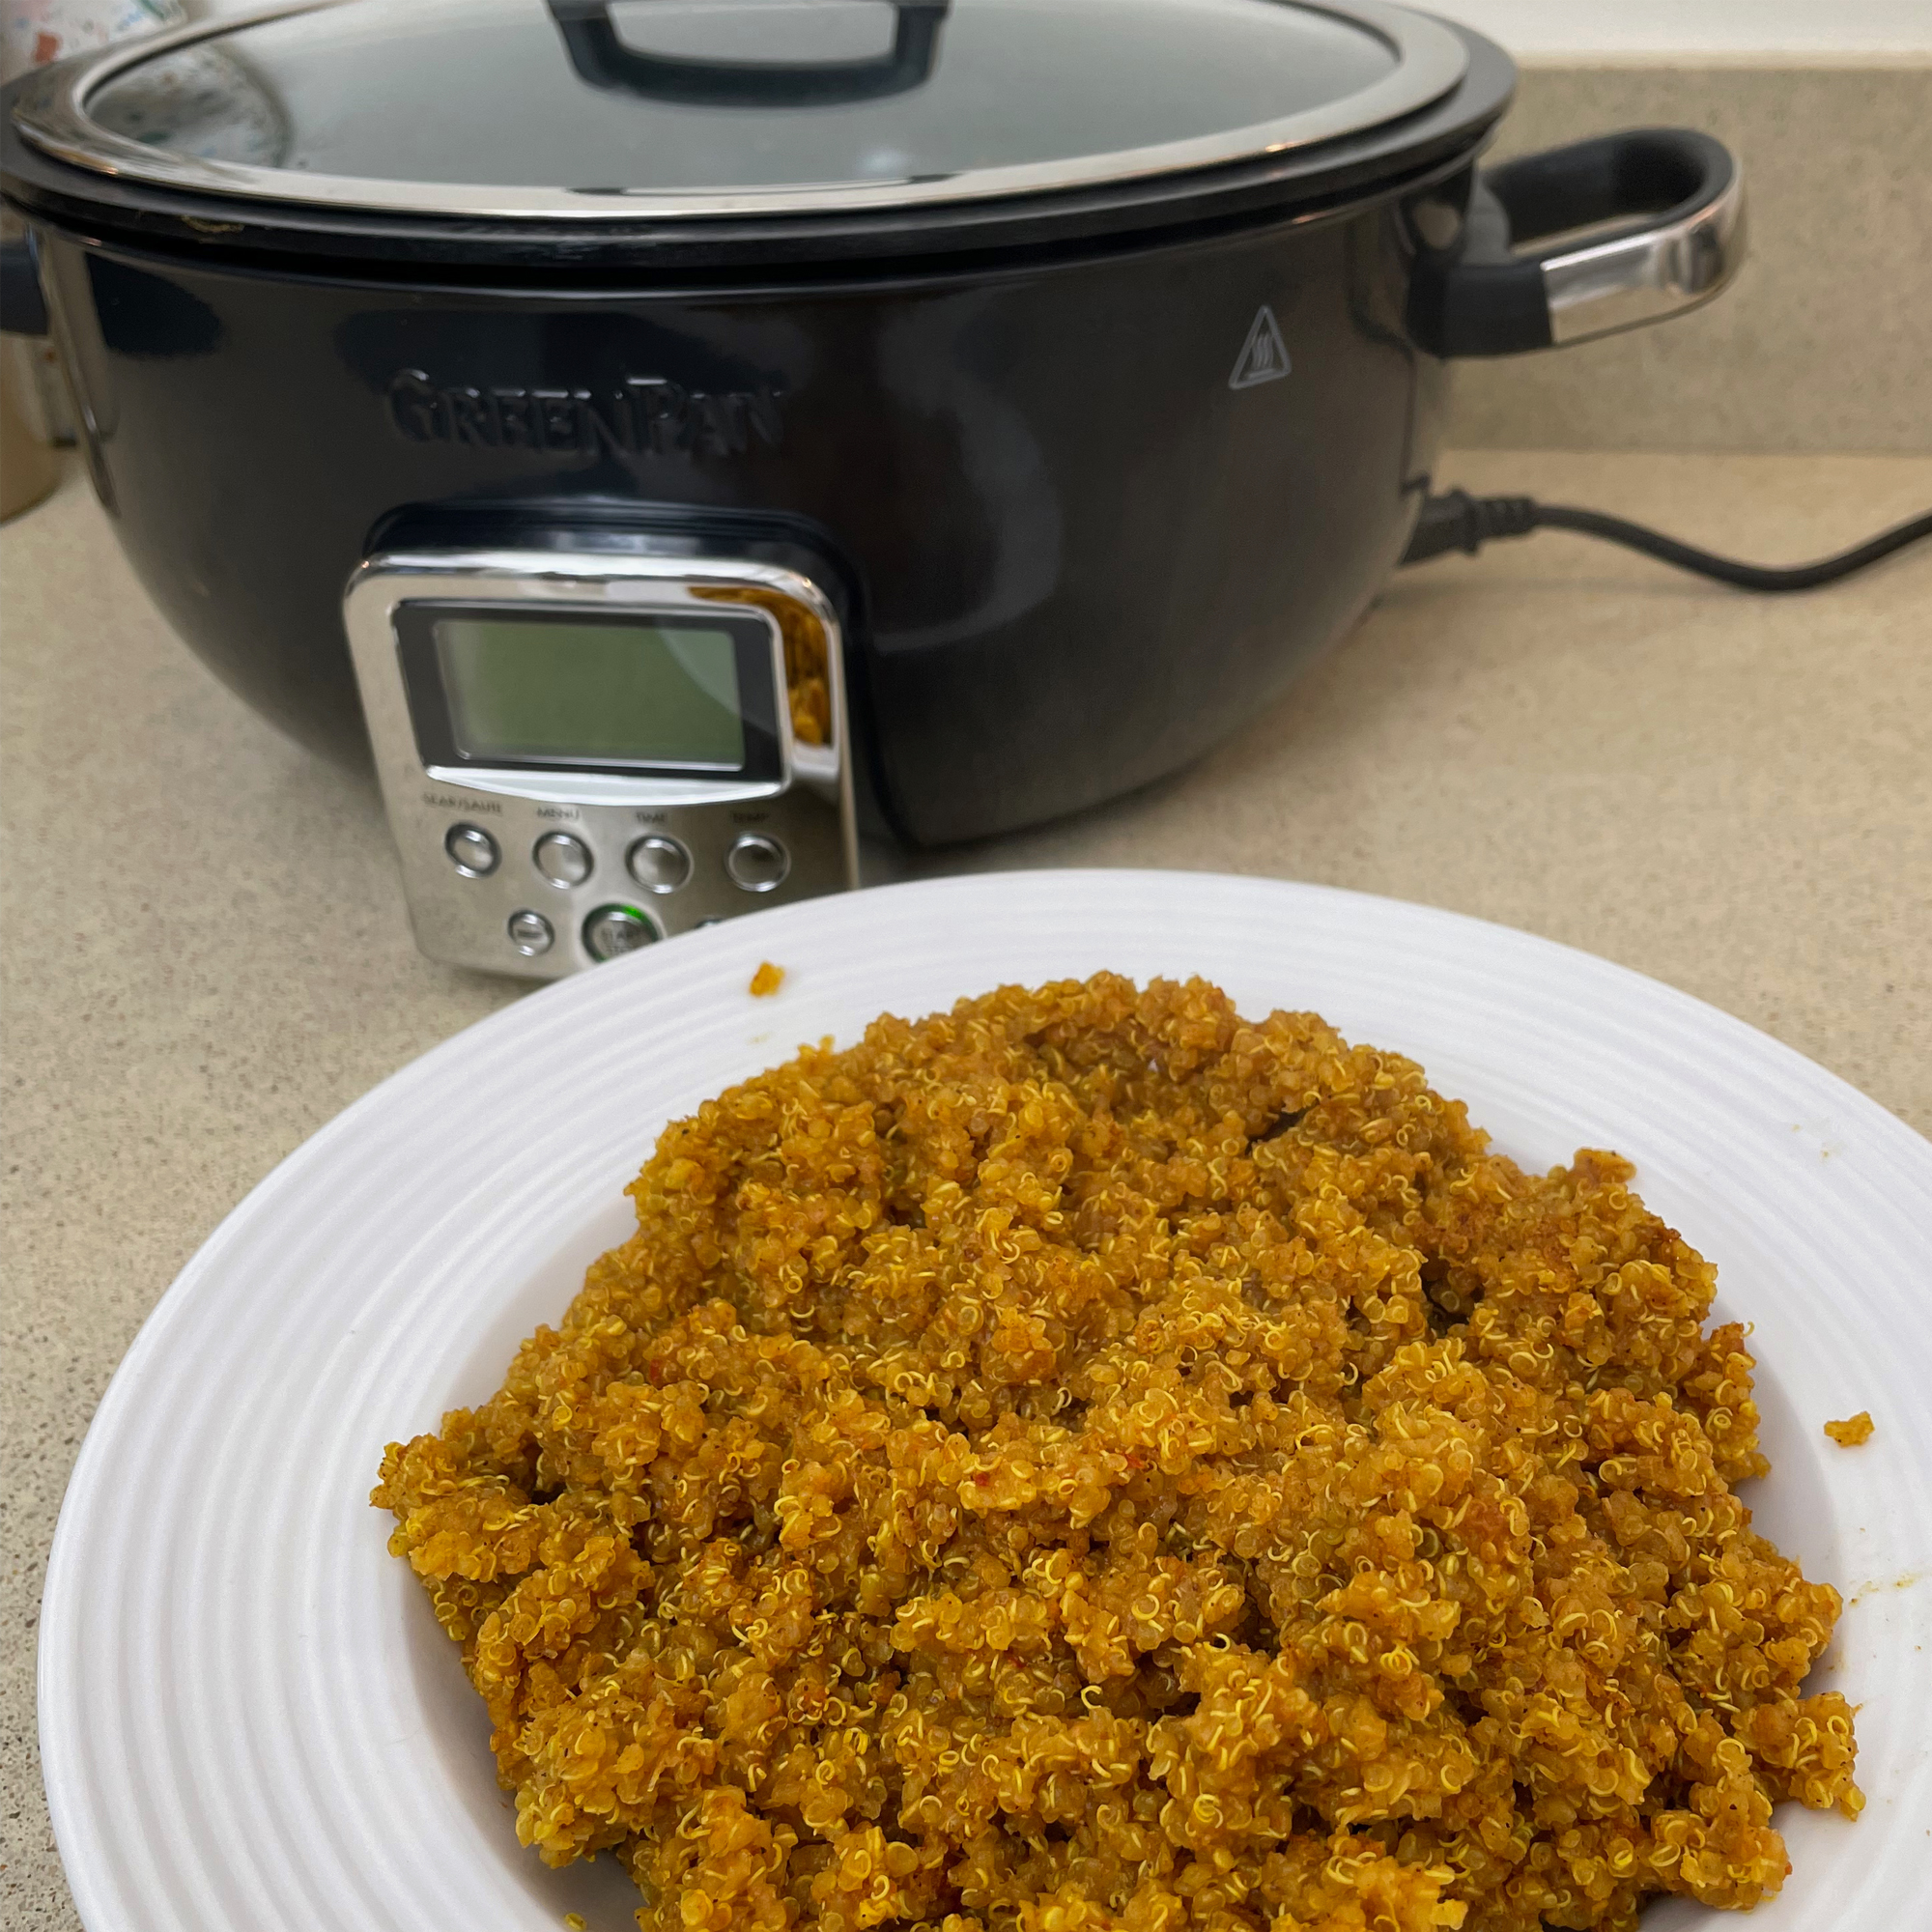
I used the grains setting to cook some quinoa with a spice mix. Usually I boil a pan of water then add rinsed quinoa, but since the manual doesn’t say to add hot water I put the quinoa and cold water in together and I think this was a mistake.
By this point I’d come to realise that the default cooking times are somewhat meaningless, so despite the fact the cook time said 1 hour and 15 minutes, I kept an eye on it and switched it off after 45 minutes when all the water was absorbed. But the cooked quinoa was stodgy and overcooked and I’m not sure if I got my water ratio wrong or if it was because I started with cold water, either way I’ll have to do things differently next time.
Cleaning
The pot and lid are dishwasher safe, though they’re quite big, so I often found I preferred to wash them by hand instead of using up loads of space in my dishwasher. The non-stick coating on the pot is really efficient, which means that no matter what you’ve been cooking it rarely requires more than a quick wipe over with a hot soapy sponge. Similarly, the glass lid was easy to clean by hand.
I rarely found that the outside of the pot got dirty but when it did it wiped clean easily. The buttons on the control panel have the potential to get muck and grime trapped around the edges, so it’s worth being careful not to press them when your hands are caked in food residues.
Comparisons
If you’re looking for a more traditional slow cooker, we’d recommend the Morphy Richards Sear and Stew, it’s an uncomplicated slow cooker for stews and casseroles. Unlike the Omni cooker it doesn’t offer the ability to stir fry or simmer, and to sear meats you’ll have to use your hob. But at under £50 it’s a whole lot more affordable.
The Instant Pot Pro is an alternative multi-cooker that offers a different range of functions to the OmniCooker. Like the Omni cooker it can steam, sauté and cook rice, but it also offers pressure cook and slow cook functions as well as slightly more niche sous vide and yogurt settings. It’s also a little cheaper than the OmniCooker at around £170, but it really comes down to which functions will be useful to you.
Energy use
I plugged in an energy meter while using the GreenPan Omni cooker and calculated the usage based on energy prices being 35p/ kWh. I was surprised that even though it was cooking for an hour and a half, the soup cost just 17p. Chilli and bolognese cost 18p-19p including the sauteing. And despite using a high heat, my stir fry only used 13p of electricity. Cooking brown rice cost 19p, which seems excessive, but as I said above, I don’t know how much it usually costs on my gas hob, so I don’t have a comparison.
Should you buy the GreenPan Omni Cooker?
I’d definitely recommend the Omni cooker if you frequently run out of space on your hob, or if your hob is really inefficient. I think it excelled at cooking meals like chilli, Bolognese, and stir fry, likewise it’d be great for curries too. For general frying and sauteing it’s super quick to heat up and has excellent non-stick properties so works well.
But it won’t suit everyone for cooking rice and grains, especially if you usually cook small portions, or if you’re not prepared to experiment with water ratios and cook times. Steaming isn’t its strongest function and I don’t think it can replace a tiered steamer, it’s best used for occasional steaming. If you want a hands-off cooker that you can walk away and leave to get on with the job, it’s not for you. But hands-on cooks will enjoy being able to open the lid frequently to stir and taste dishes.
About this review, and the reviewer:
Helen used this cooker at home to make dinner for herself and her husband and to batch cook some quick and easy lunch options to fill her freezer. She tried to use as many of the programmes as possible to give it a good well-rounded review.
Get the Ideal Home Newsletter
Sign up to our newsletter for style and decor inspiration, house makeovers, project advice and more.

After completing a Home Economics degree, Helen went on to work for the Good Housekeeping Institute and has been reviewing home appliances ever since. She lives in a small village in Buckinghamshire in the UK, where she reviews all sorts of home and garden appliances for Ideal Home using her wealth of experience.
-
 Aldi is launching a £200 day bed with four different features - its sleek design is suited to the whole family
You don't want to miss out on this Specialbuy
By Kezia Reynolds
-
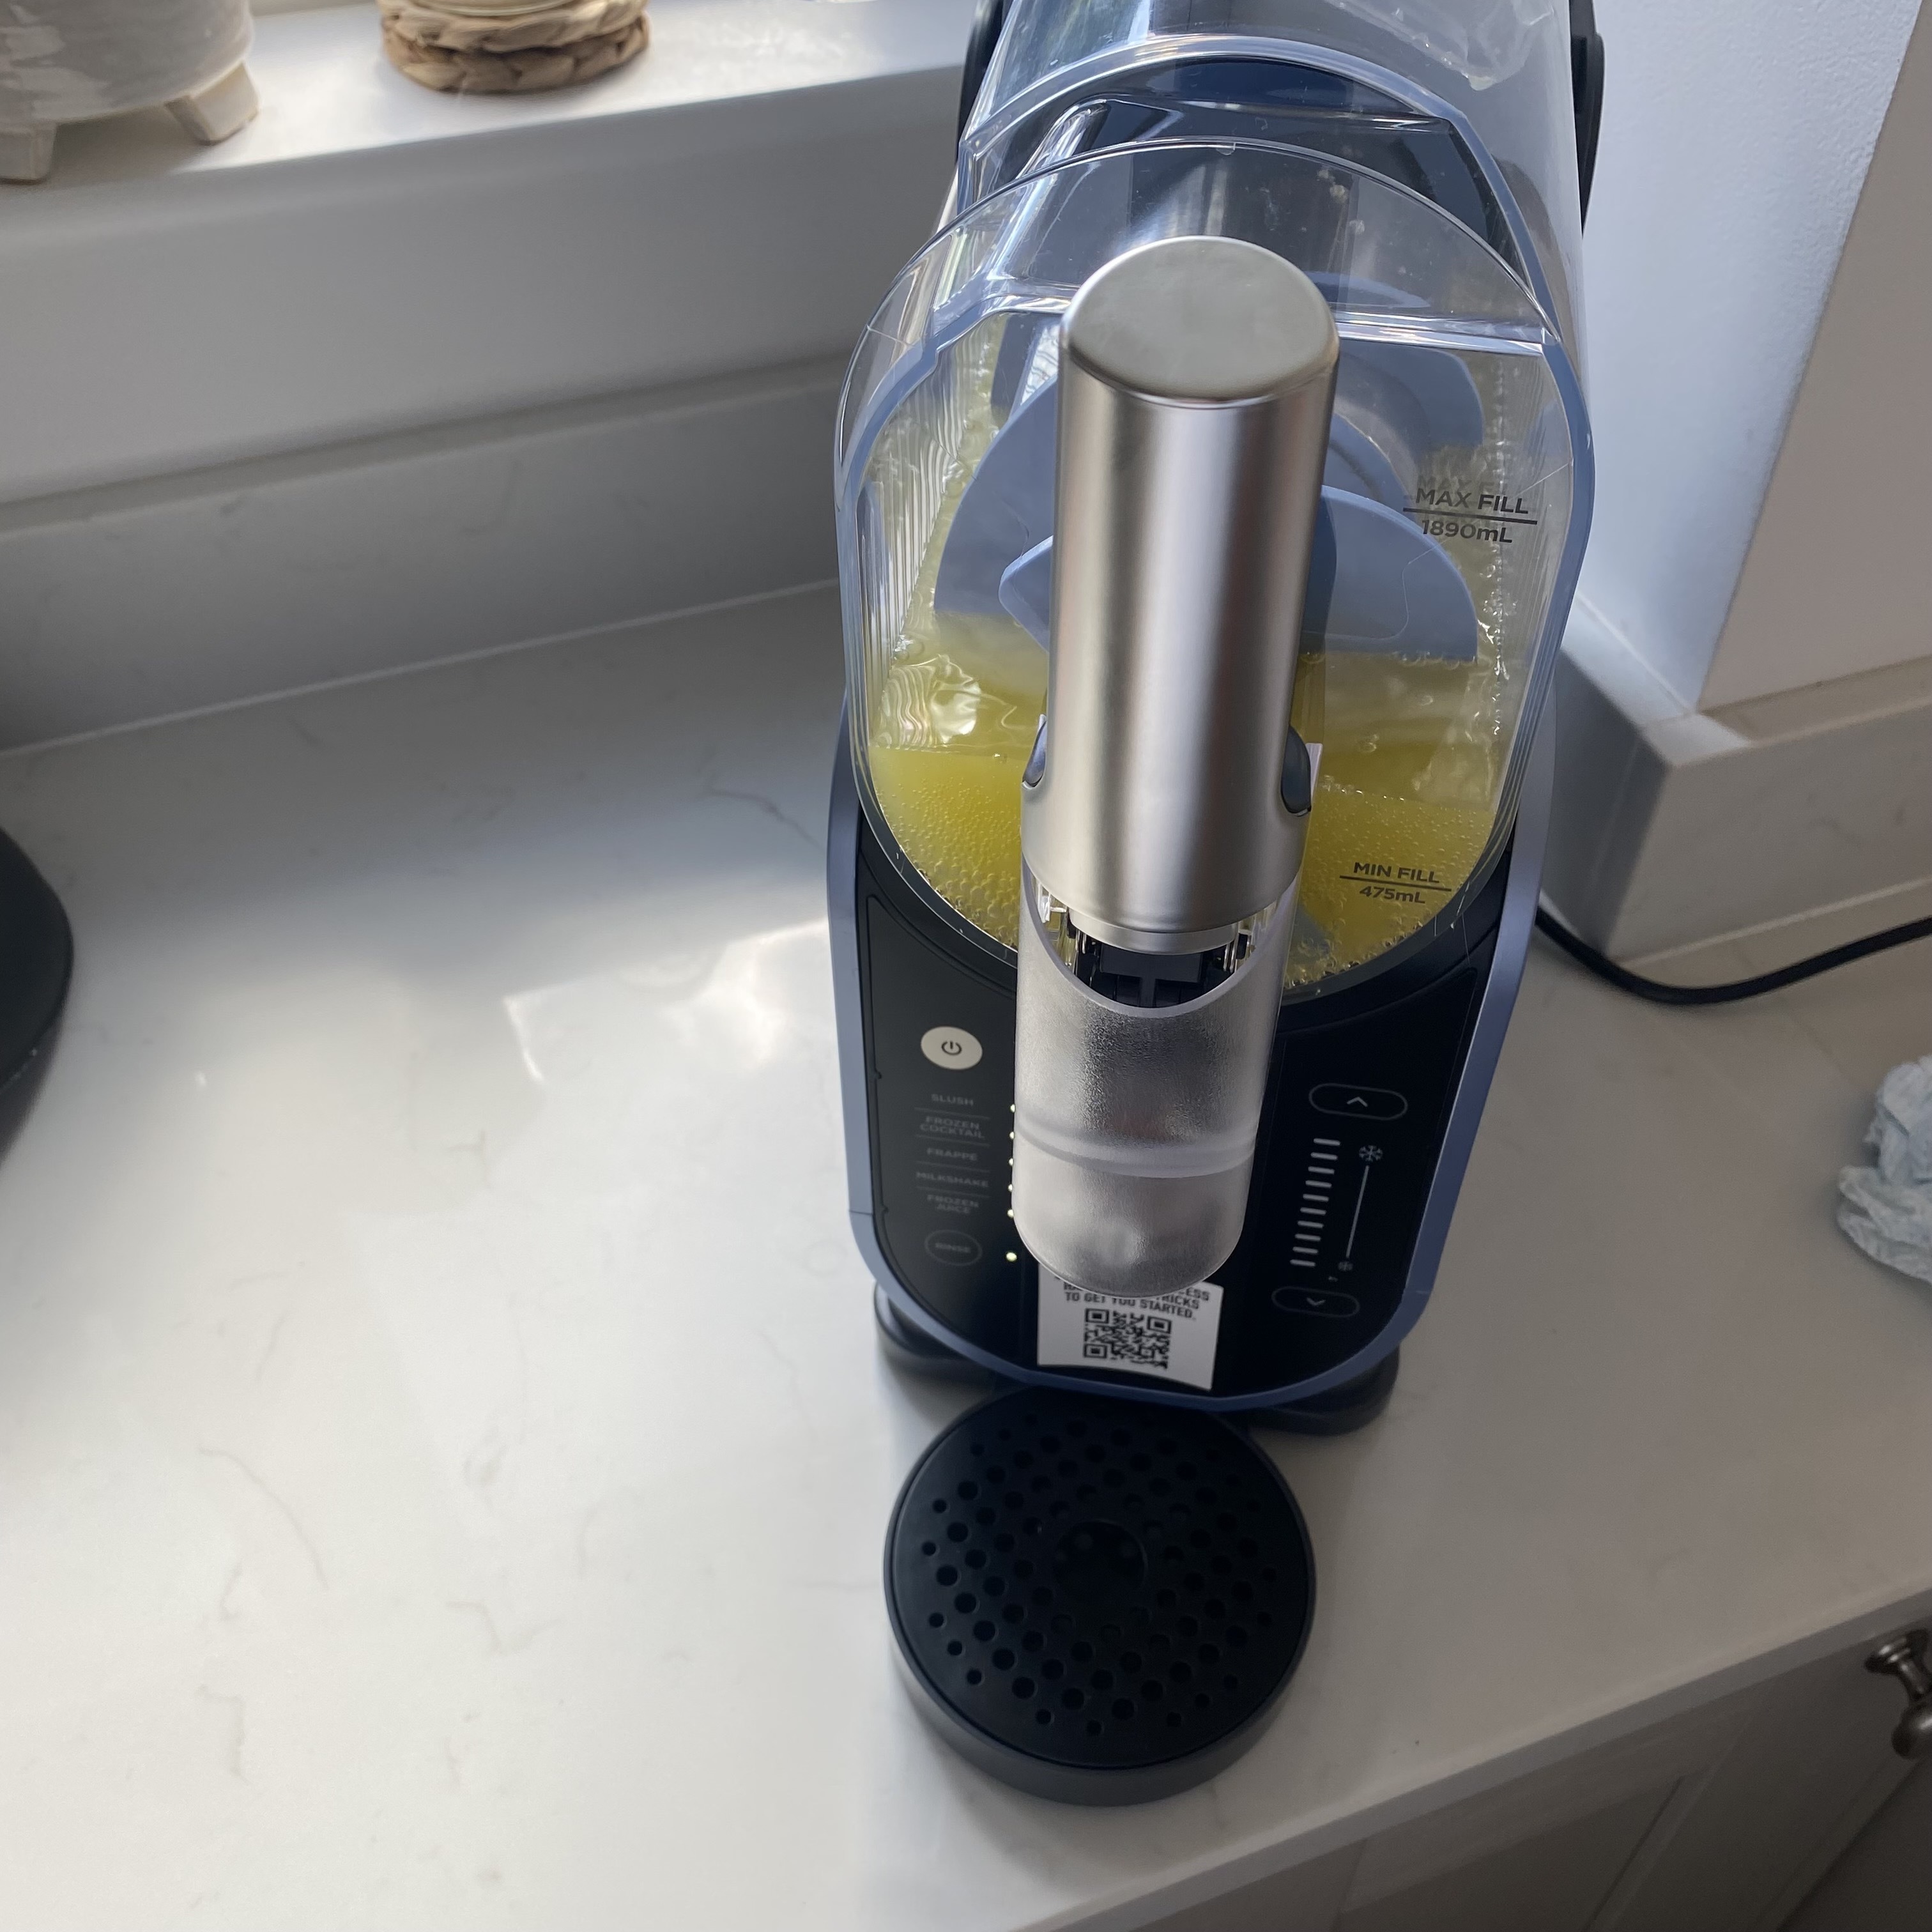 I've been waiting to try out the Ninja Slushi for months – this is what happened the first time I tried it
The Ninja Slushi is the stuff of dreams for summer entertaining
By Molly Cleary
-
 IKEA has drenched its BILLY bookcase in this year’s ‘it’ colour - but you’ll have to act fast if you want to get your hands on one
I'm obsessed with this gorgeous limited-edition colourway
By Kezia Reynolds