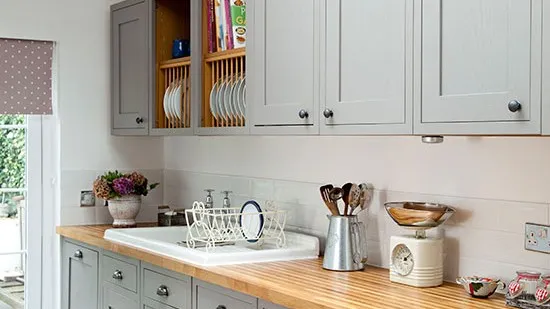

There's really nothing like the warmth and texture of a solid oak kitchen worktop but this gorgeous material does need some TLC to stay in top condition.
Unless protected the oak can mark easily if hot cookware is placed directly on the surface but luckily there are some simple methods for removing a small stain without having to replace the whole worktop.
How to prevent an oak worktop from staining
Tannic acid in wood reacts with ferrous metals, such as cast iron, where there is moisture present, and results in a blue-black stain and unfortunately oak is particularly susceptible.
To prevent staining, place pans and baking trays on softwood boards or trivets and avoid knife blades and other metals that may contain iron from coming into contact with the wood. Always wipe up any spills on the worktop and don't let water stand on the surface. Remember that water is the catalyst; dry metal won't mark the wood.
For more decorating, craft ideas and cleaning hacks don't miss our dedicated DIY guide
How to remove a stain from an oak worktop
Most pale stains caused by moisture can be tackled by working the area with very fine wire wool using lemon oil.
Deeper stains caused by contact with hot metal are a dark colour and the longer the metal is in contact with the wood, the deeper the stain will penetrate.
Sanding by hand using fine abrasive paper will remove light stains and it's worth trying to treat the marked area before you sand the whole thing.
Sand in the direction of the grain until the mark has been removed, or reduced to an acceptable level. If sanding doesn't remove the mark you can apply household bleach carefully to the discoloured area, leaving it overnight if necessary.
Re-finish the surface with Danish oil to give the wood some protection from further staining, working in layers to try and build up the colour to the correct shade.
Try Wickes Refined Danish Oil, £9.99 for 500ml.
Depending on the size and depth of the mark, you may need to sand the whole of the surface to avoid a patchy finish. If so it's worth using an electric sander or consulting with an expert to get the job done to a high standard.

-
 Zoe Ball's colourful kitchen island shows how easy it is to create a characterful cooking space - here's how she did it
Being brave with colour will reap huge rewards
-
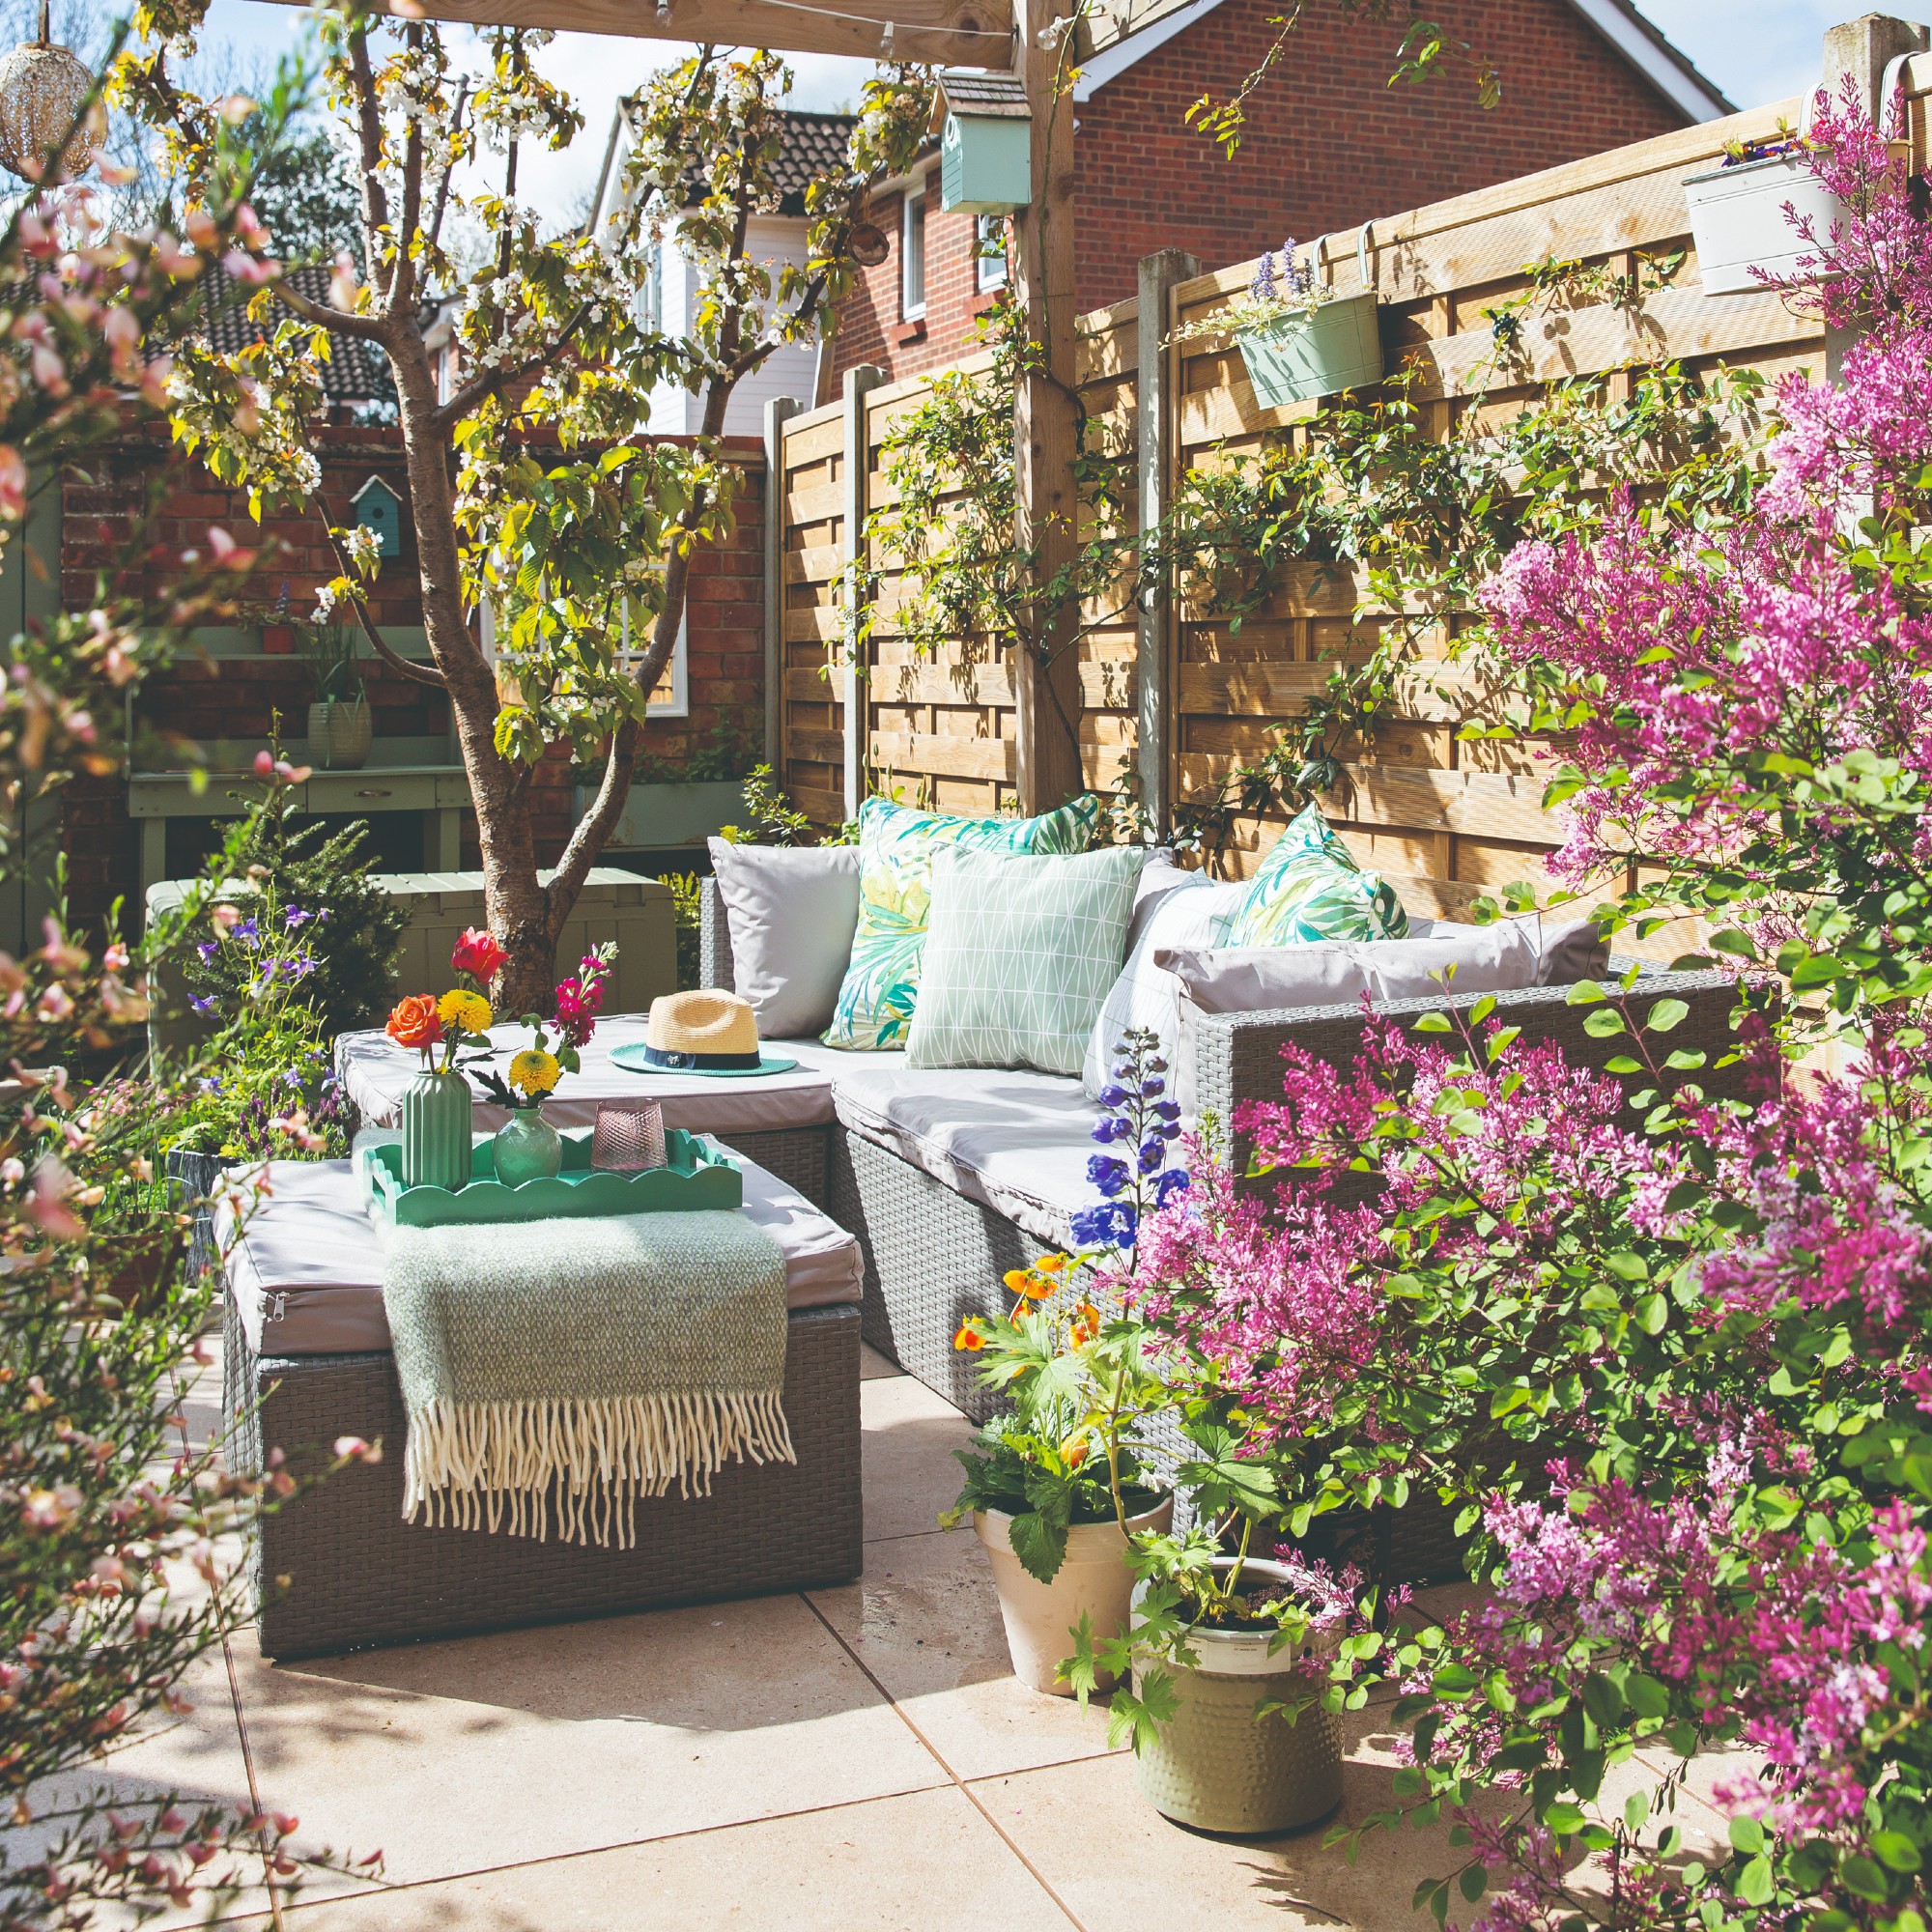 7 plants that will make your patio smell gorgeous - the top fragrant picks experts recommend potting up
From aromatic flowers to fragrant herbs
-
 I won't gatekeep - Magimix's new small kitchen-friendly mini chopper is my secret to delicious lazy dinners
My homemade pesto pasta has never been better


