I tried KitchenAid's new Sage-style coffee machine and was wowed by how quiet and easy to use it was
Is it time to upgrade to freshly ground coffee beans?
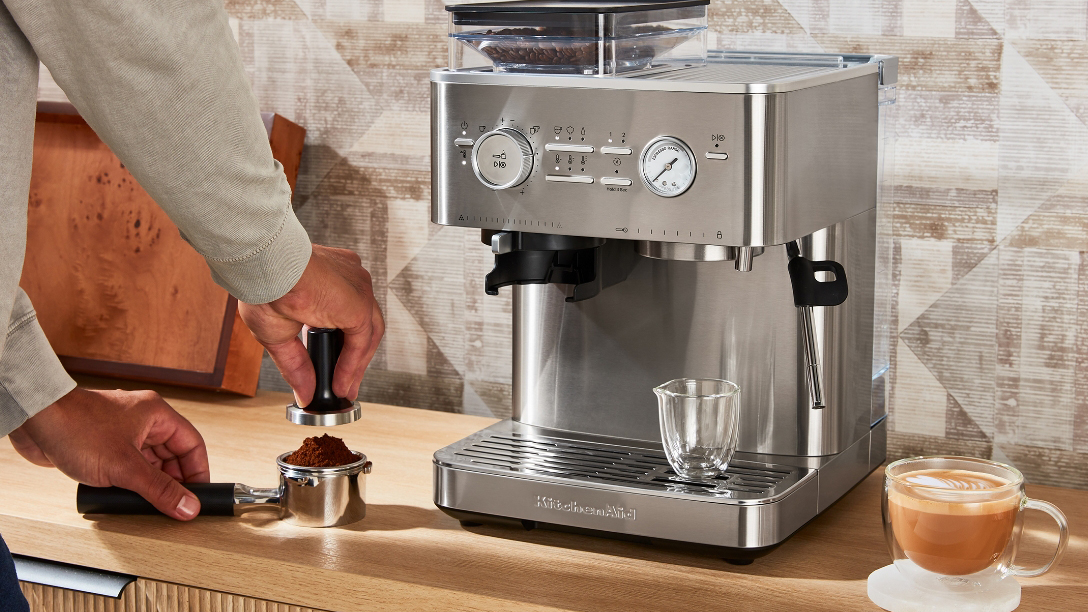
The KitchenAid Semi Automatic Espresso Machine grinds your coffee beans but allows you to play barista and do all the rest. It’s very quiet, uncomplicated, and doesn’t require endless hours of setup. It’s pricey, but for that you get a sturdy well-built machine, with understated good looks and of course, great coffee.
-
+
Very quiet
-
+
Easily adjustable grind settings
-
+
Excellent build quality
-
+
Uncomplicated controls
-
-
Tamping can be messy
-
-
Not the cheapest option
Why you can trust Ideal Home

It’s pretty much universally accepted that if you want the best tasting coffee, it needs to be made from freshly ground coffee beans. For this review, I was tasked with testing the new KitchenAid Semi Automatic Espresso Machine, as even though I already own one of the best coffee machines, I’m looking to upgrade it to a model with an integrated grinder, so that I can extract the best and freshest flavour.
Admittedly, I could buy a standalone bean grinder, but I just don’t want another appliance on the worktop. Whereas the best bean-to-cup coffee machines come with a grinder built-in, which means less clutter, and also less faff.
KitchenAid’s Semi Automatic Espresso Machine has all the features and functions of a standard manual espresso machine, but with the addition of a built-in bean grinder. And since I’m in the market for a coffee machine like this, I made full use of the review sample while I had it on load for two weeks.
KitchenAid Semi Automatic Espresso Machine product specs:
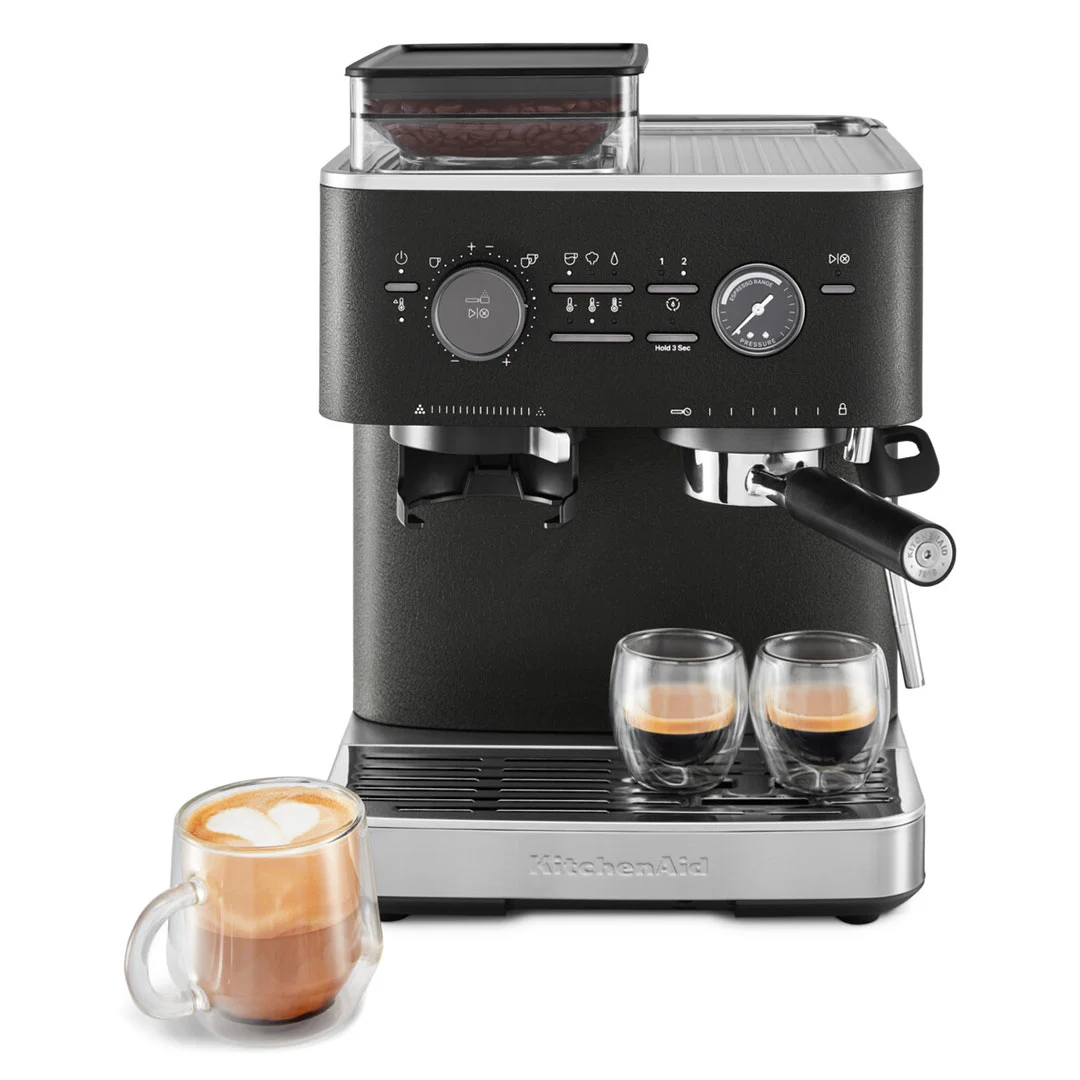
- Type: semi automatic espresso machine
- Water tank capacity: 2.2 litres
- Bean hopper: 225g removable hopper
- Pressure: 15 bar
- Dimensions: H39.5cm x W33.5cm x D28.1cm
- Colours available: black, white, stainless steel
- RRP: £699
Unboxing and first impressions
It’s not a compact machine, but I would say its size is comparable to other espresso machines that have a built-in bean grinder. For this review I was sent the matte black finish and it has a really nice textured, almost leathery look.
The shape is fairly boxy, but with enough curves to give it a streamlined shape and stop it looking too industrial and harsh. Depending on the colour you choose, it’ll sit nicely in most styles of kitchen.
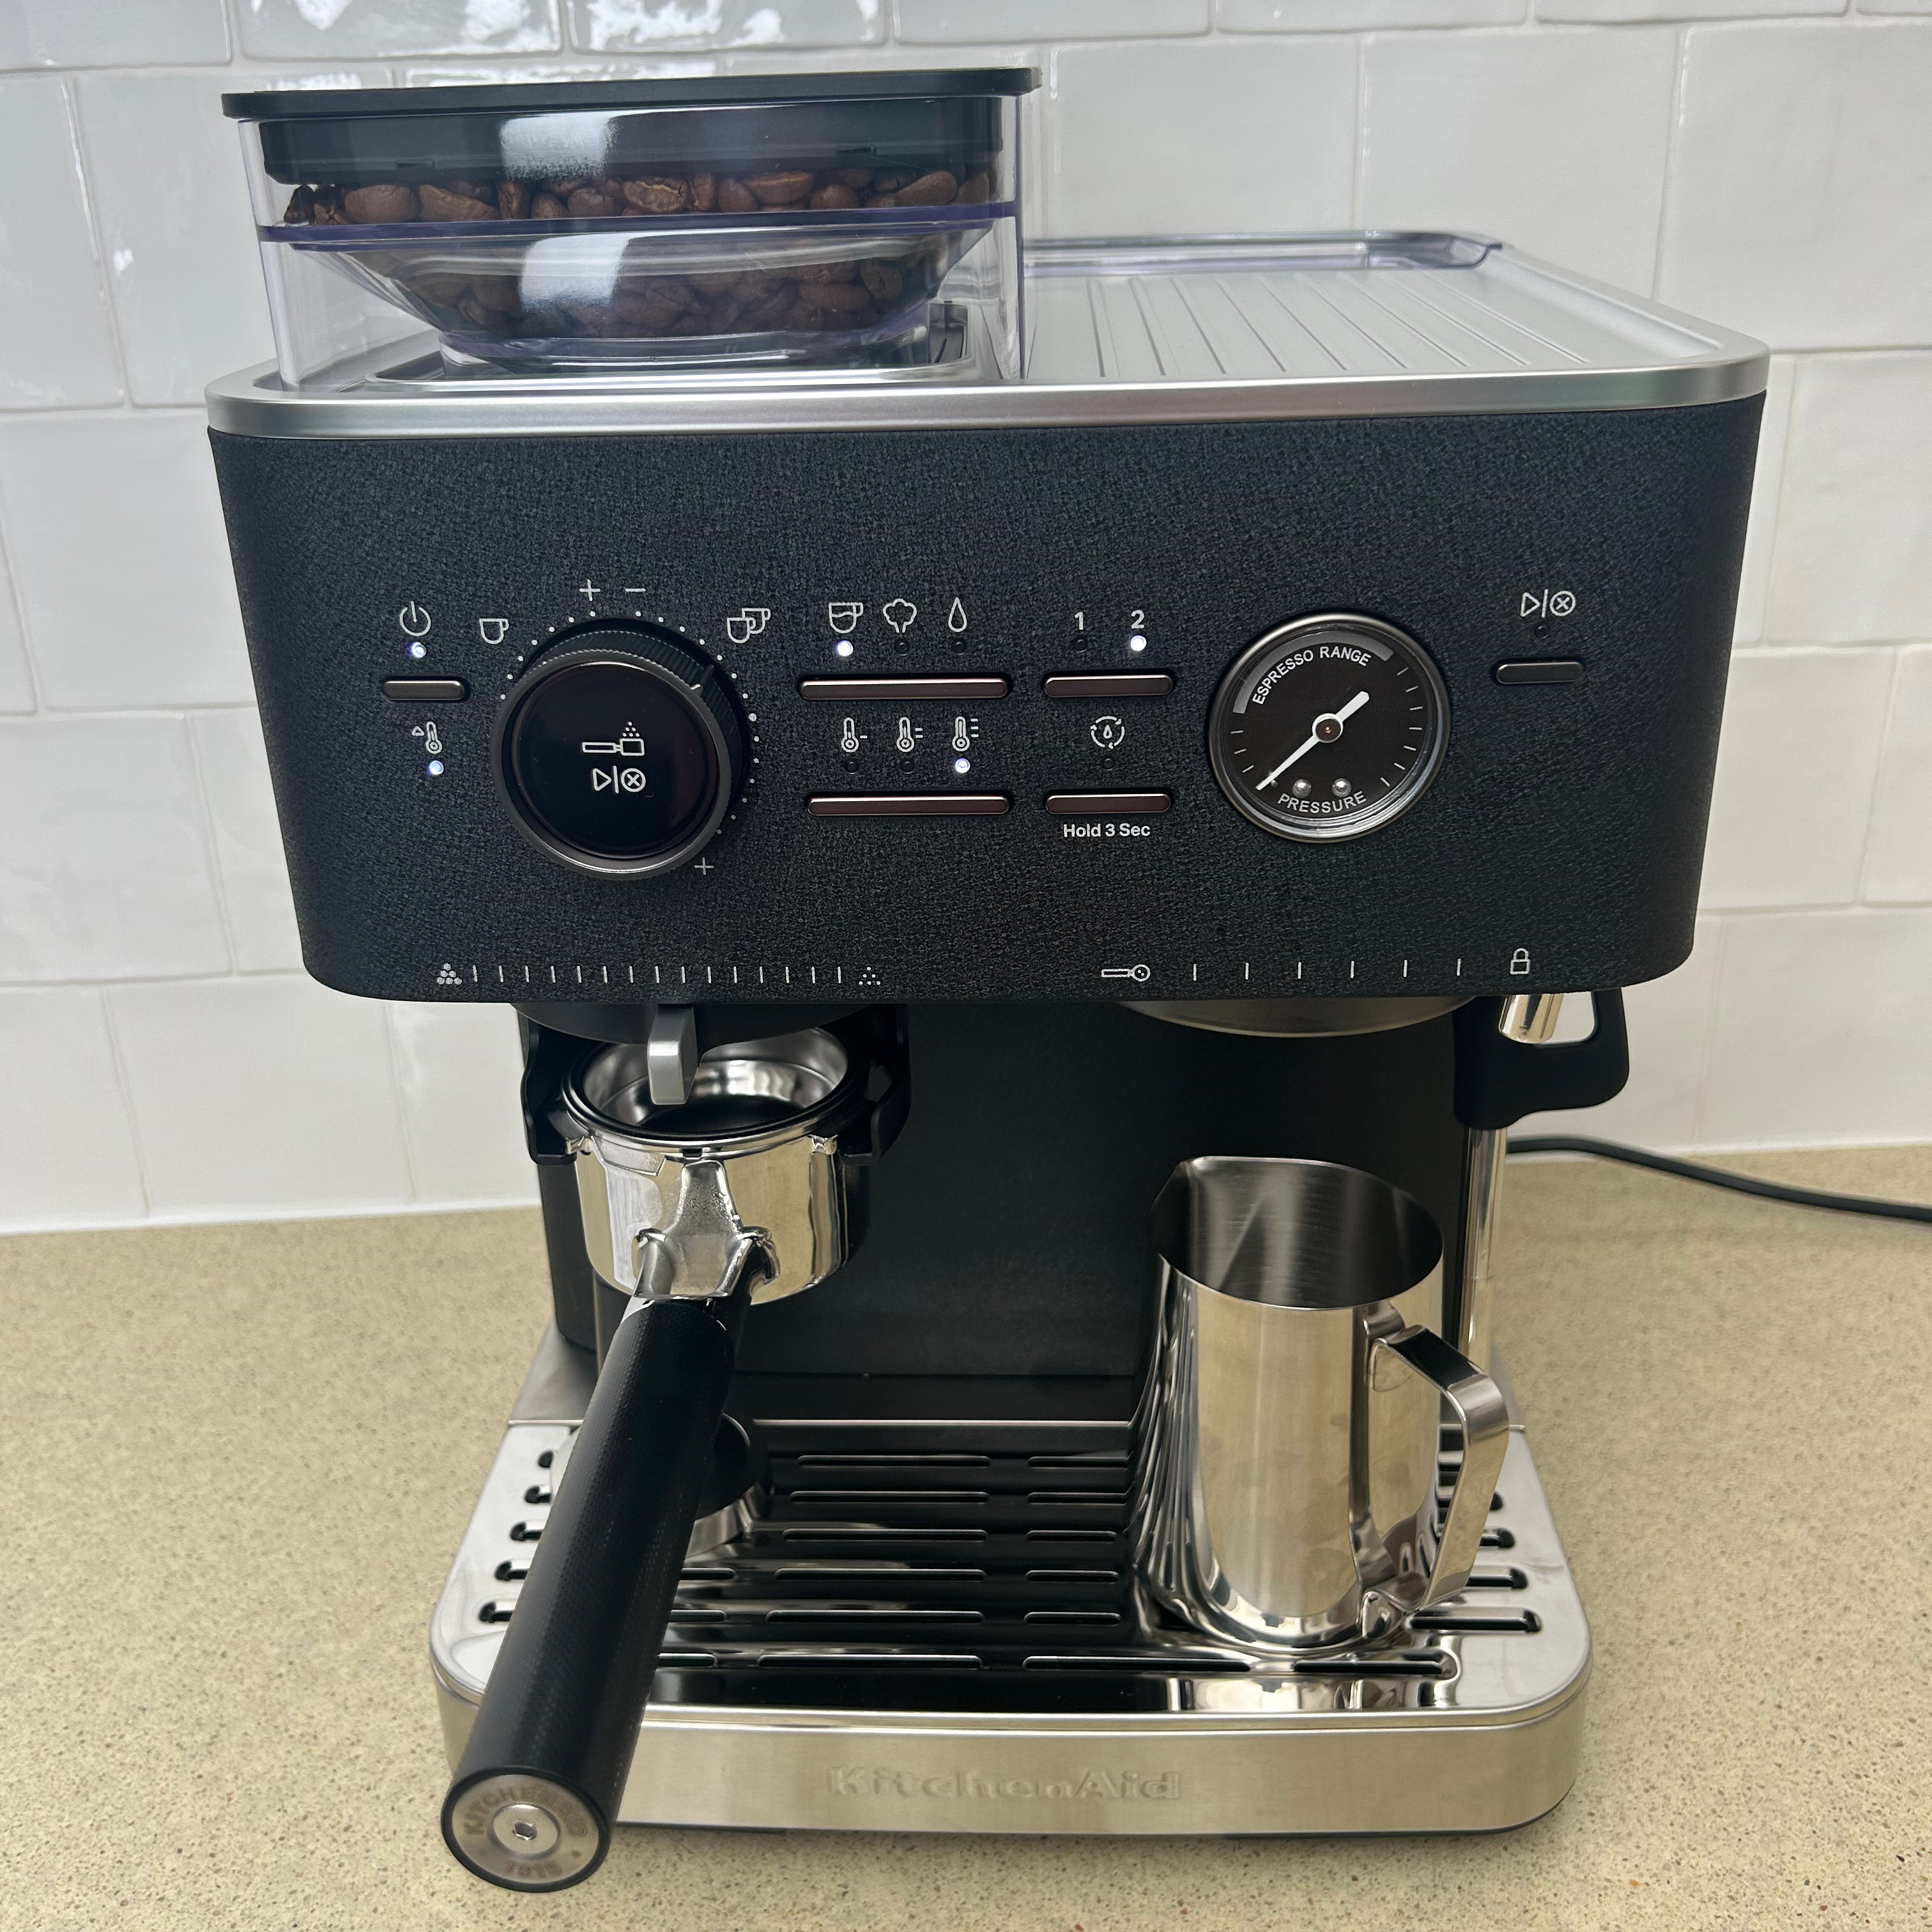
The huge 2.2 litre capacity water tank sits at the back of the coffee machine. It’s got a removable lid so you can easily fill it in place. Or, there’s a handle to help you lift it in and out of position. A water filter cartridge is included in the box to get you going
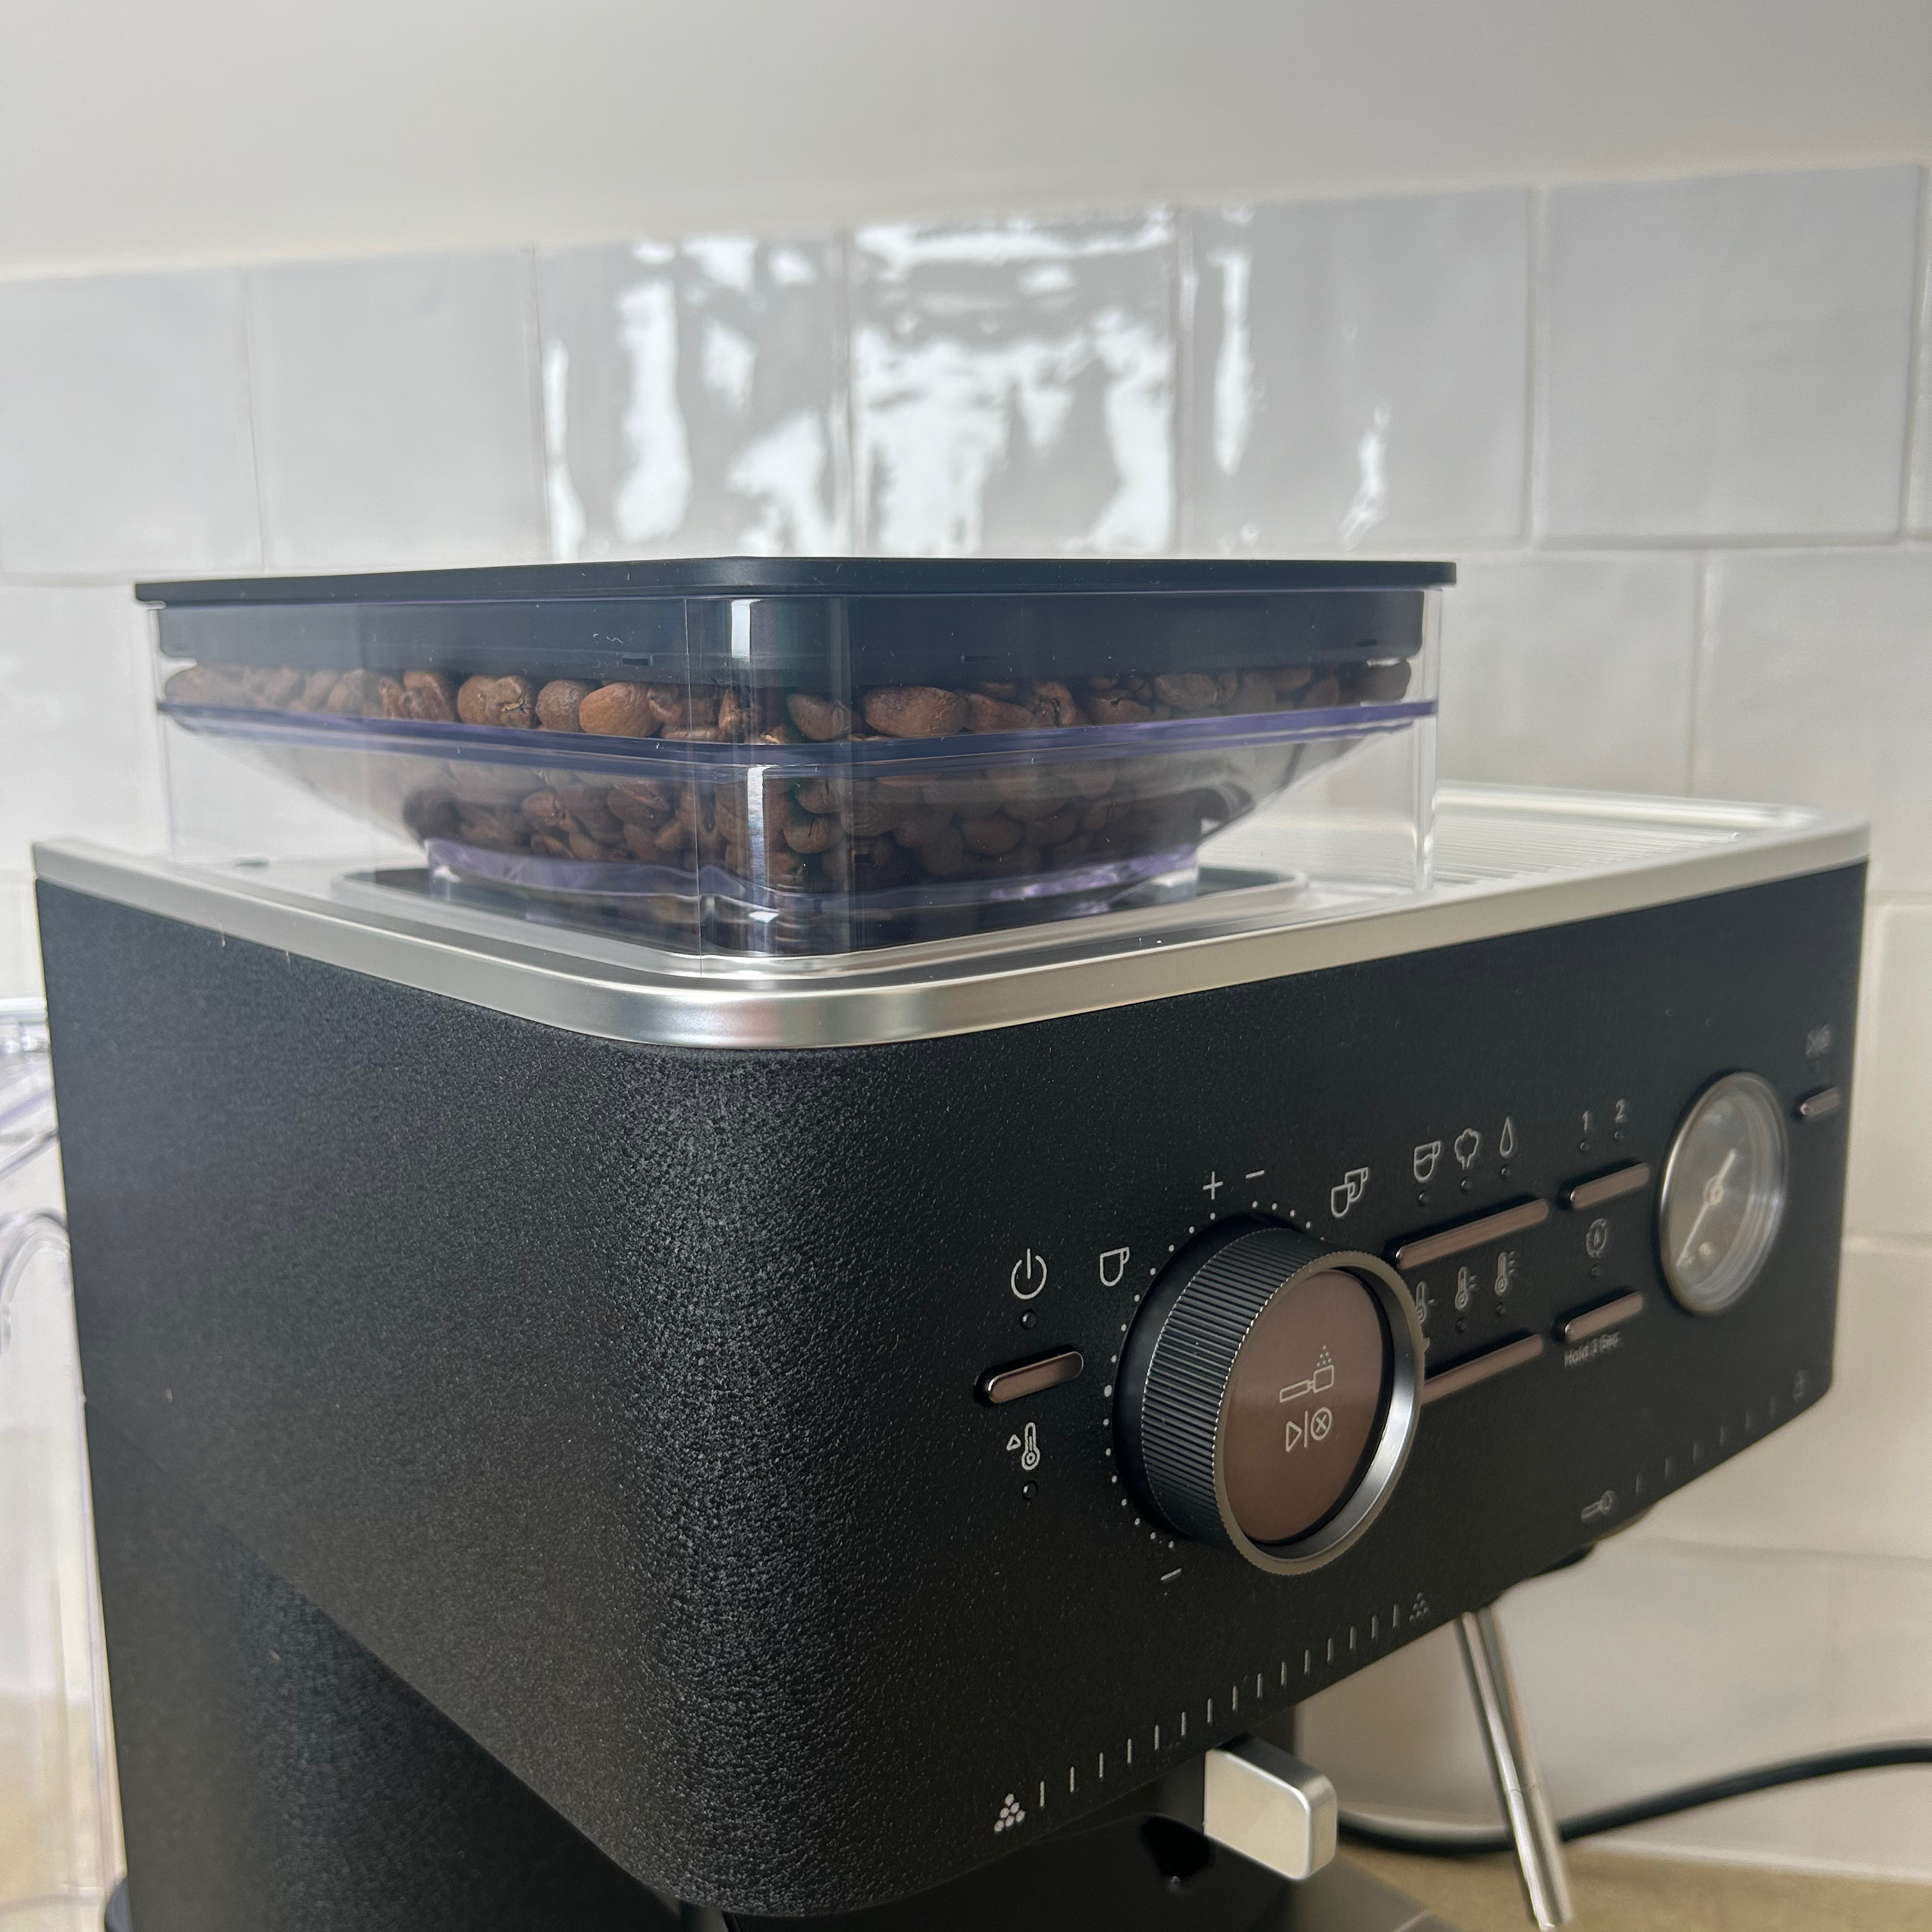
On the top there’s a neat rectangular bean hopper with a tight fitting plastic tupperware style lid to keep the beans fresh. The hopper is removable, which is handy if you want to empty out the beans. Plus you can buy additional hoppers, which gives you the option to have several bean types on the go at once.
Sign up to our newsletter for style inspiration, real homes, project and garden advice and shopping know-how
I was impressed with how sturdy and weighty the portafilter feels. And it’s cleverly designed with recessed spouts, so it sits flat on the worktop, making the tamping process easier and more consistent. The tamper too is very sturdy and weighty, both feel really good quality and well made.
As is pretty standard for an espresso machine, you get four different filter baskets included with the tamper. The two single wall baskets are for freshly ground coffee and the double wall baskets are for coffee that’s pre-ground, like for example, the odd cup of decaf.

There’s a neat little storage tray for the unused filter baskets. It sits hidden behind the drip tray, keeping them out of sight.
Having reviewed a lot of coffee machines with built-in bean grinders, I was really pleased to find that the grind size can be adjusted via a simple sliding knob on the front of the machine. Often with these machines, the grind size is adjusted by an awkward or small dial hidden inside the coffee bean container and can only be changed while a grind is in progress. Thankfully that’s not the case here.

In addition to adjusting the grind size, there’s a dial that adjusts the volume of ground coffee that’s dispensed into your portafilter. And it’s not just a case of selecting enough for either a single or double shot, you can really fine tune the amount dispensed. The dial offers 15 dosage levels to choose from for both single and double shots.
The control panel offers up a simple collection of buttons. You don’t get tons of adjustable settings, but that’s because with an espresso machine like this one, you shouldn’t need them. Most of the determining factors that produce the espresso and therefore require adjustment, are the grind size, volume of ground coffee, and the tamping process.
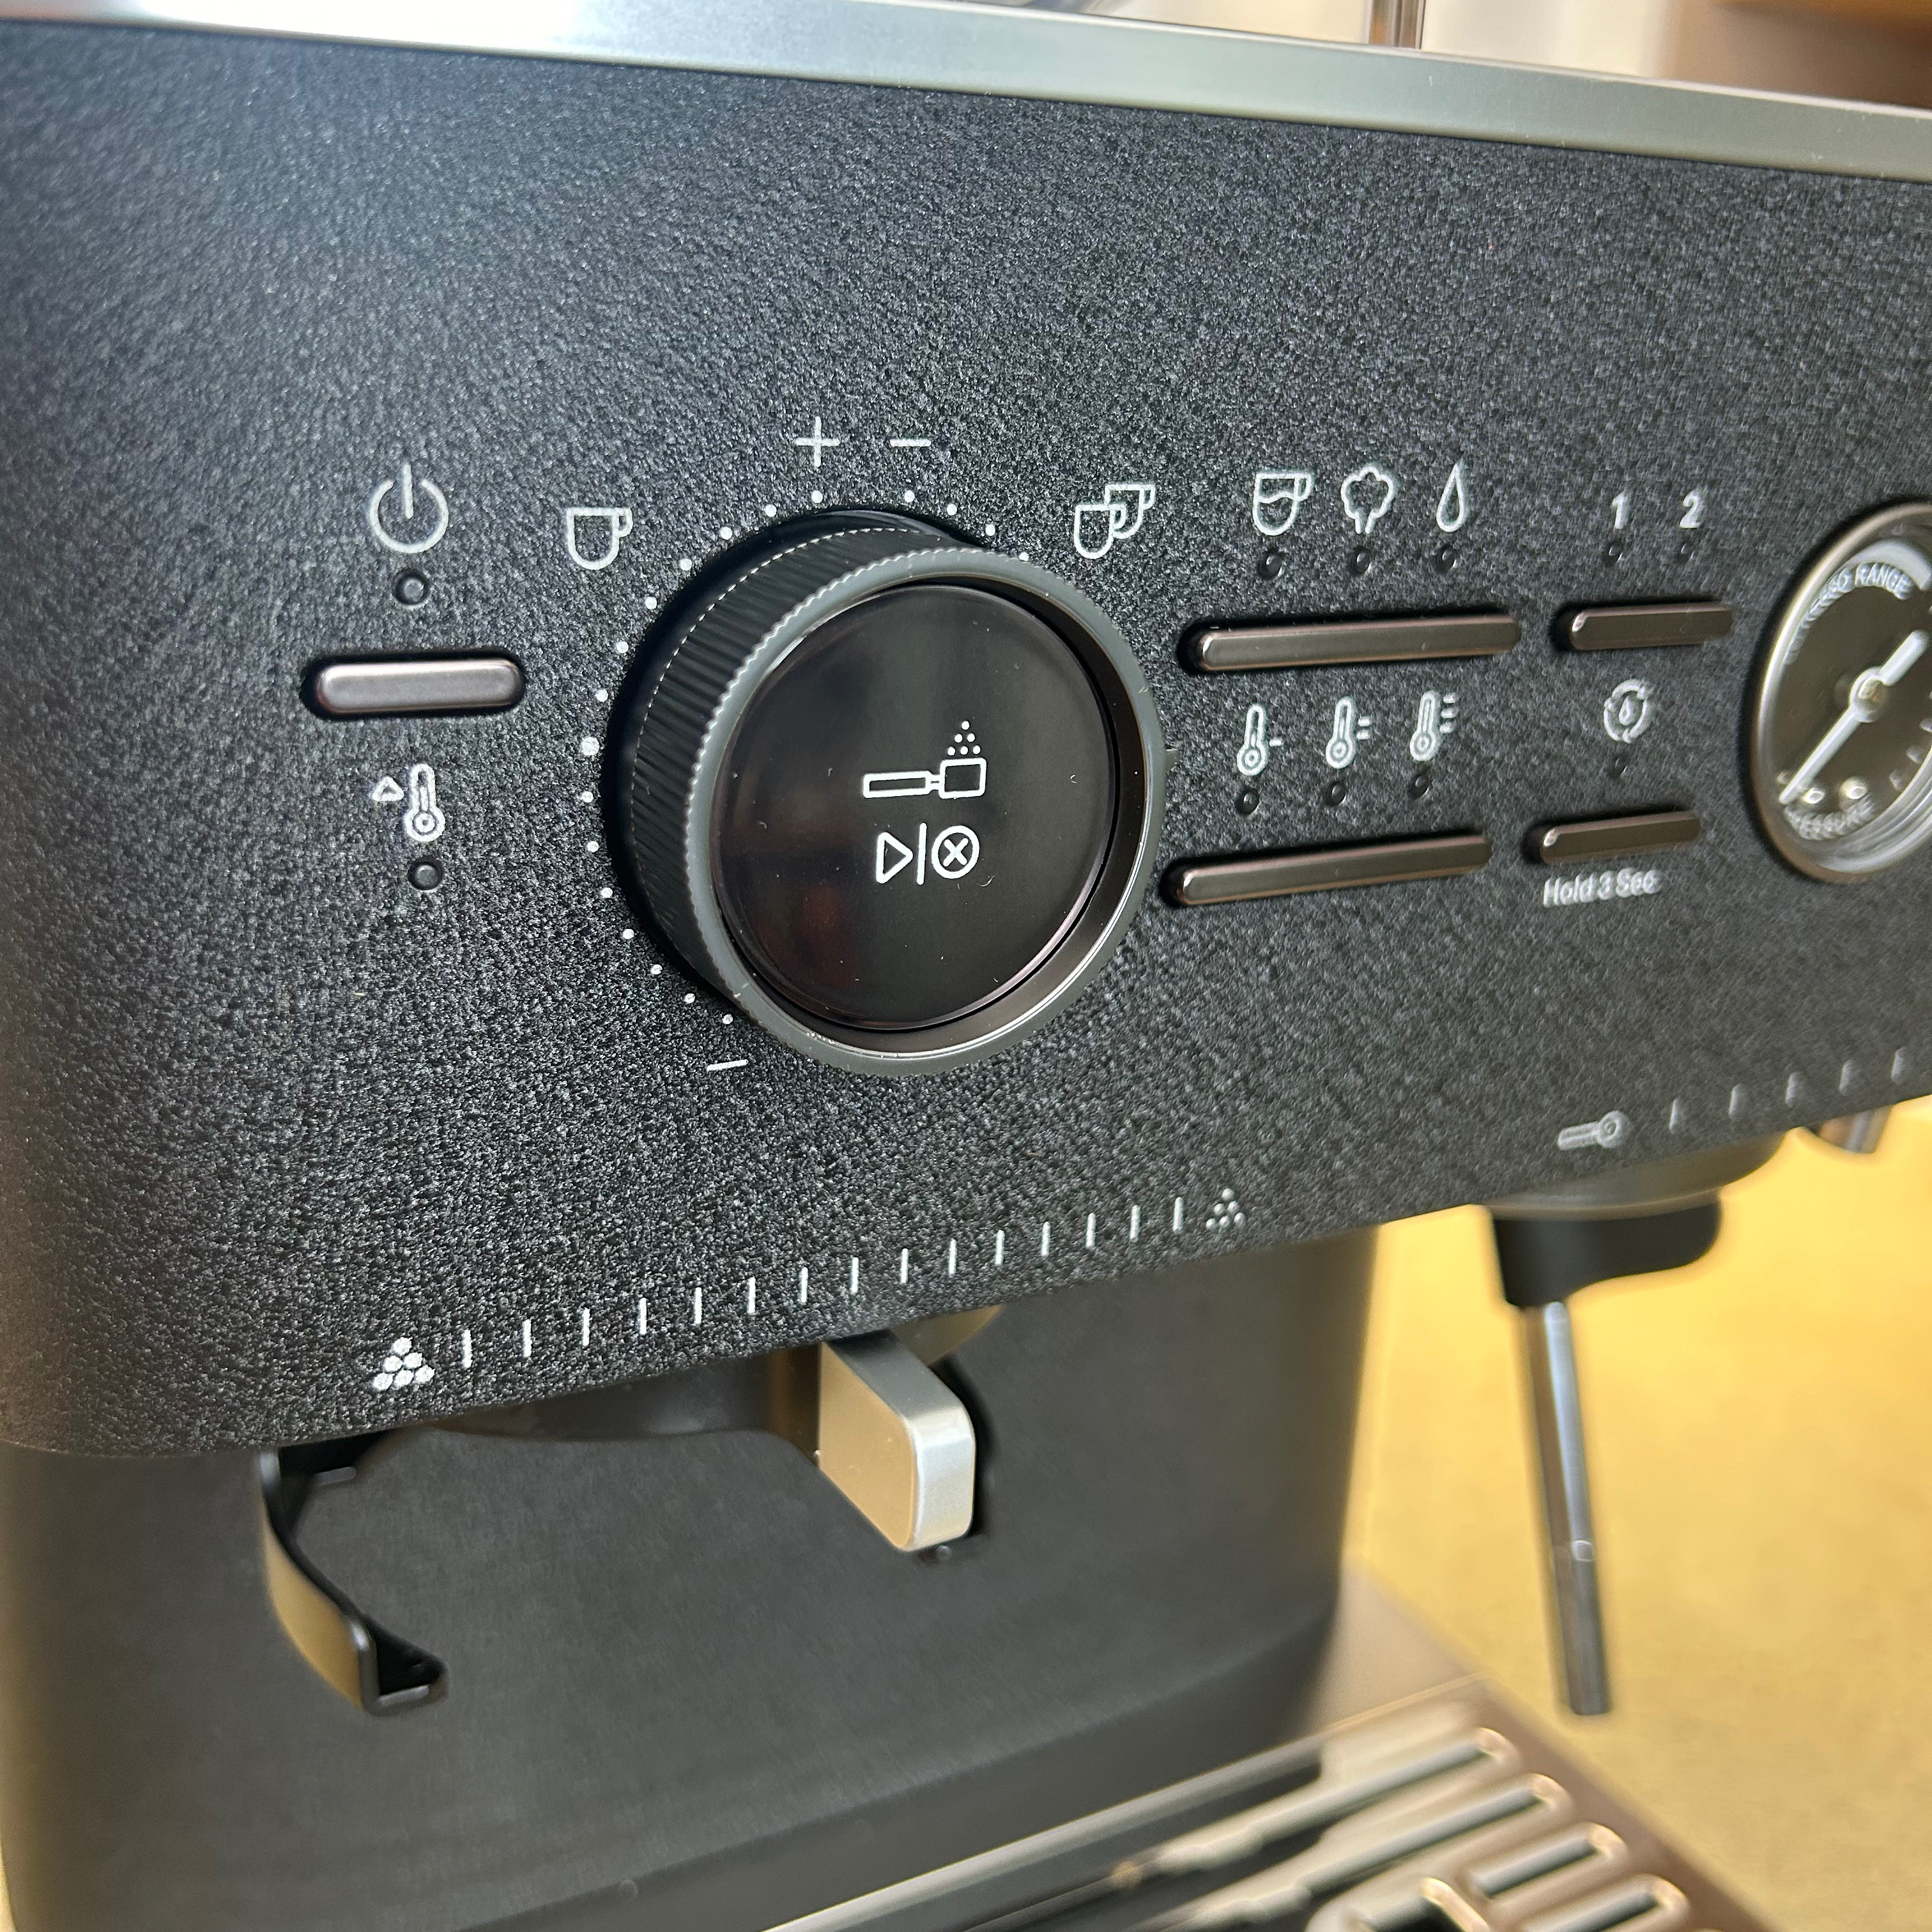
On the control panel, one button toggles between coffee, steam, and hot water. The button below it offers three different temperature levels. There’s another button to choose whether you dispense a single or double shot of espresso, and a cleaning/ descaling button. But other than on/off and start/ stop buttons, that’s really it when it comes to controls.
There is a handy pressure gauge which indicates the pressure when extracting an espresso. It has an optimum level and it’s by watching this gauge, in conjunction with assessing things like strength, flavour and crema of the espresso, that you can understand whether you’ve got the grind size and tamping pressure right, or if you need to make adjustments.

The user manual and quick start guide that come in the box are very basic. However, a QR code in the quick start guide led me to loads of extra info and helpful how-to videos online.
What is it like to use?
The setup was quick and easy, the quick start guide details how to install the water filter and instructs you to fill the bean hopper. But it doesn’t really tell you to do much else before the first use, which made me feel like I was missing something. Instinctively I ran a couple of brew cycles without any coffee and ran some water through the steam wand, to get it all rinsed out before I tried making a coffee.
What I later discovered was that there’s a ‘prep the machine’ video online. It walks you through how to prime the machine, which is an extra step that’s missing from the quick start guide. Yes, maybe I should have checked these videos before making my first coffee, but I tend to trust that the quick start guide will give you the essentials to get going with a new appliance.

When the coffee machine is first switched on, there’s a light that blinks while it heats up. This takes around 35-40 seconds. However in my opinion, this heat-up time is irrelevant. As soon as it’s switched on, you can immediately press the grind button, then by the time the ground coffee has been dispensed into the portafilter and been manually tamped down, the machine has completed the heat up cycle and is ready to go.
If you’re new to home made espresso, it might take you a bit of time to get the grind size and quantity right. I found it took me about five espressos before I was broadly happy with the settings. And I continued to make small tweaks for the next few coffees until I’d got it perfect. I really love the grind size adjuster, which is both easily accessible, and intuitive to use.
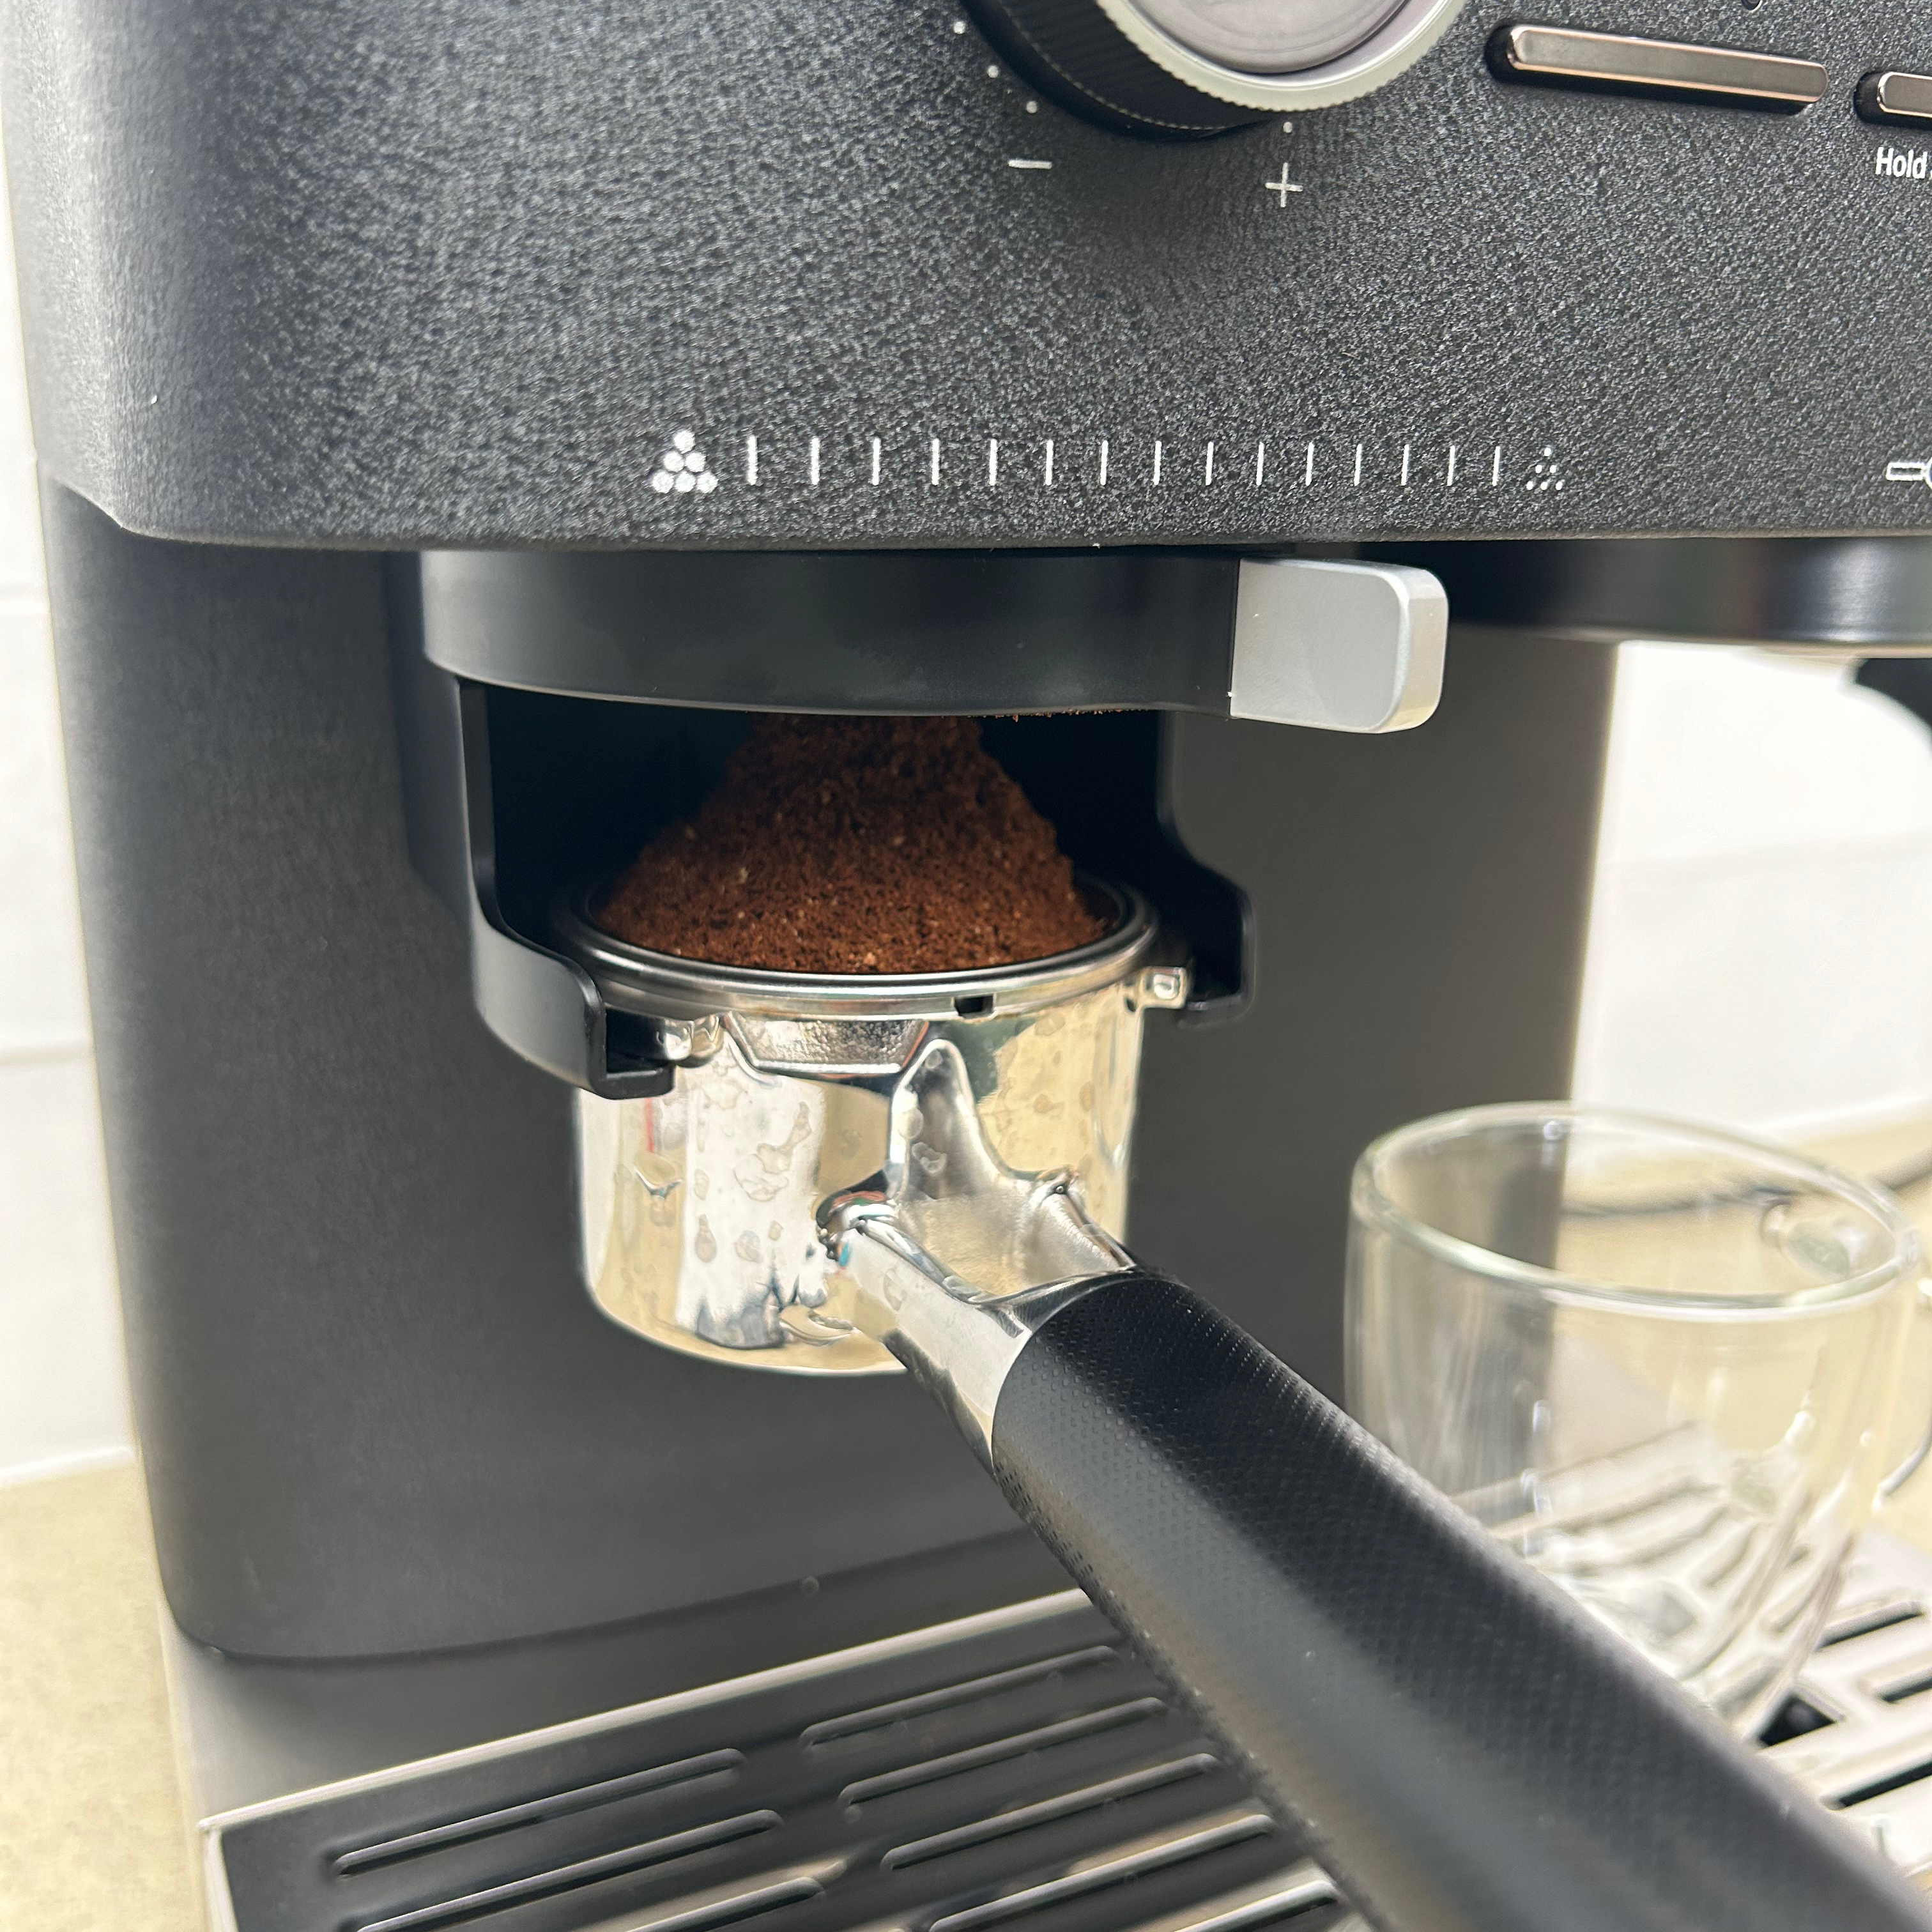
When switching to a different bean, I did have to re-adjust the grind size settings to optimise them for the new bean, it took a few espressos to get it right again. Obviously if you always use the same bean then you won’t need to adjust the settings every time.
It helps that there’s a pressure gauge on the control panel. While pouring the espresso you can check that the needle reaches the correct part of the gauge. This gives a good indication of whether the grind size is too large or small. For example if the grind is too large, the water flows through the coffee puck too fast and the pressure doesn’t reach the optimum level. Armed with this knowledge you can adjust the settings accordingly.
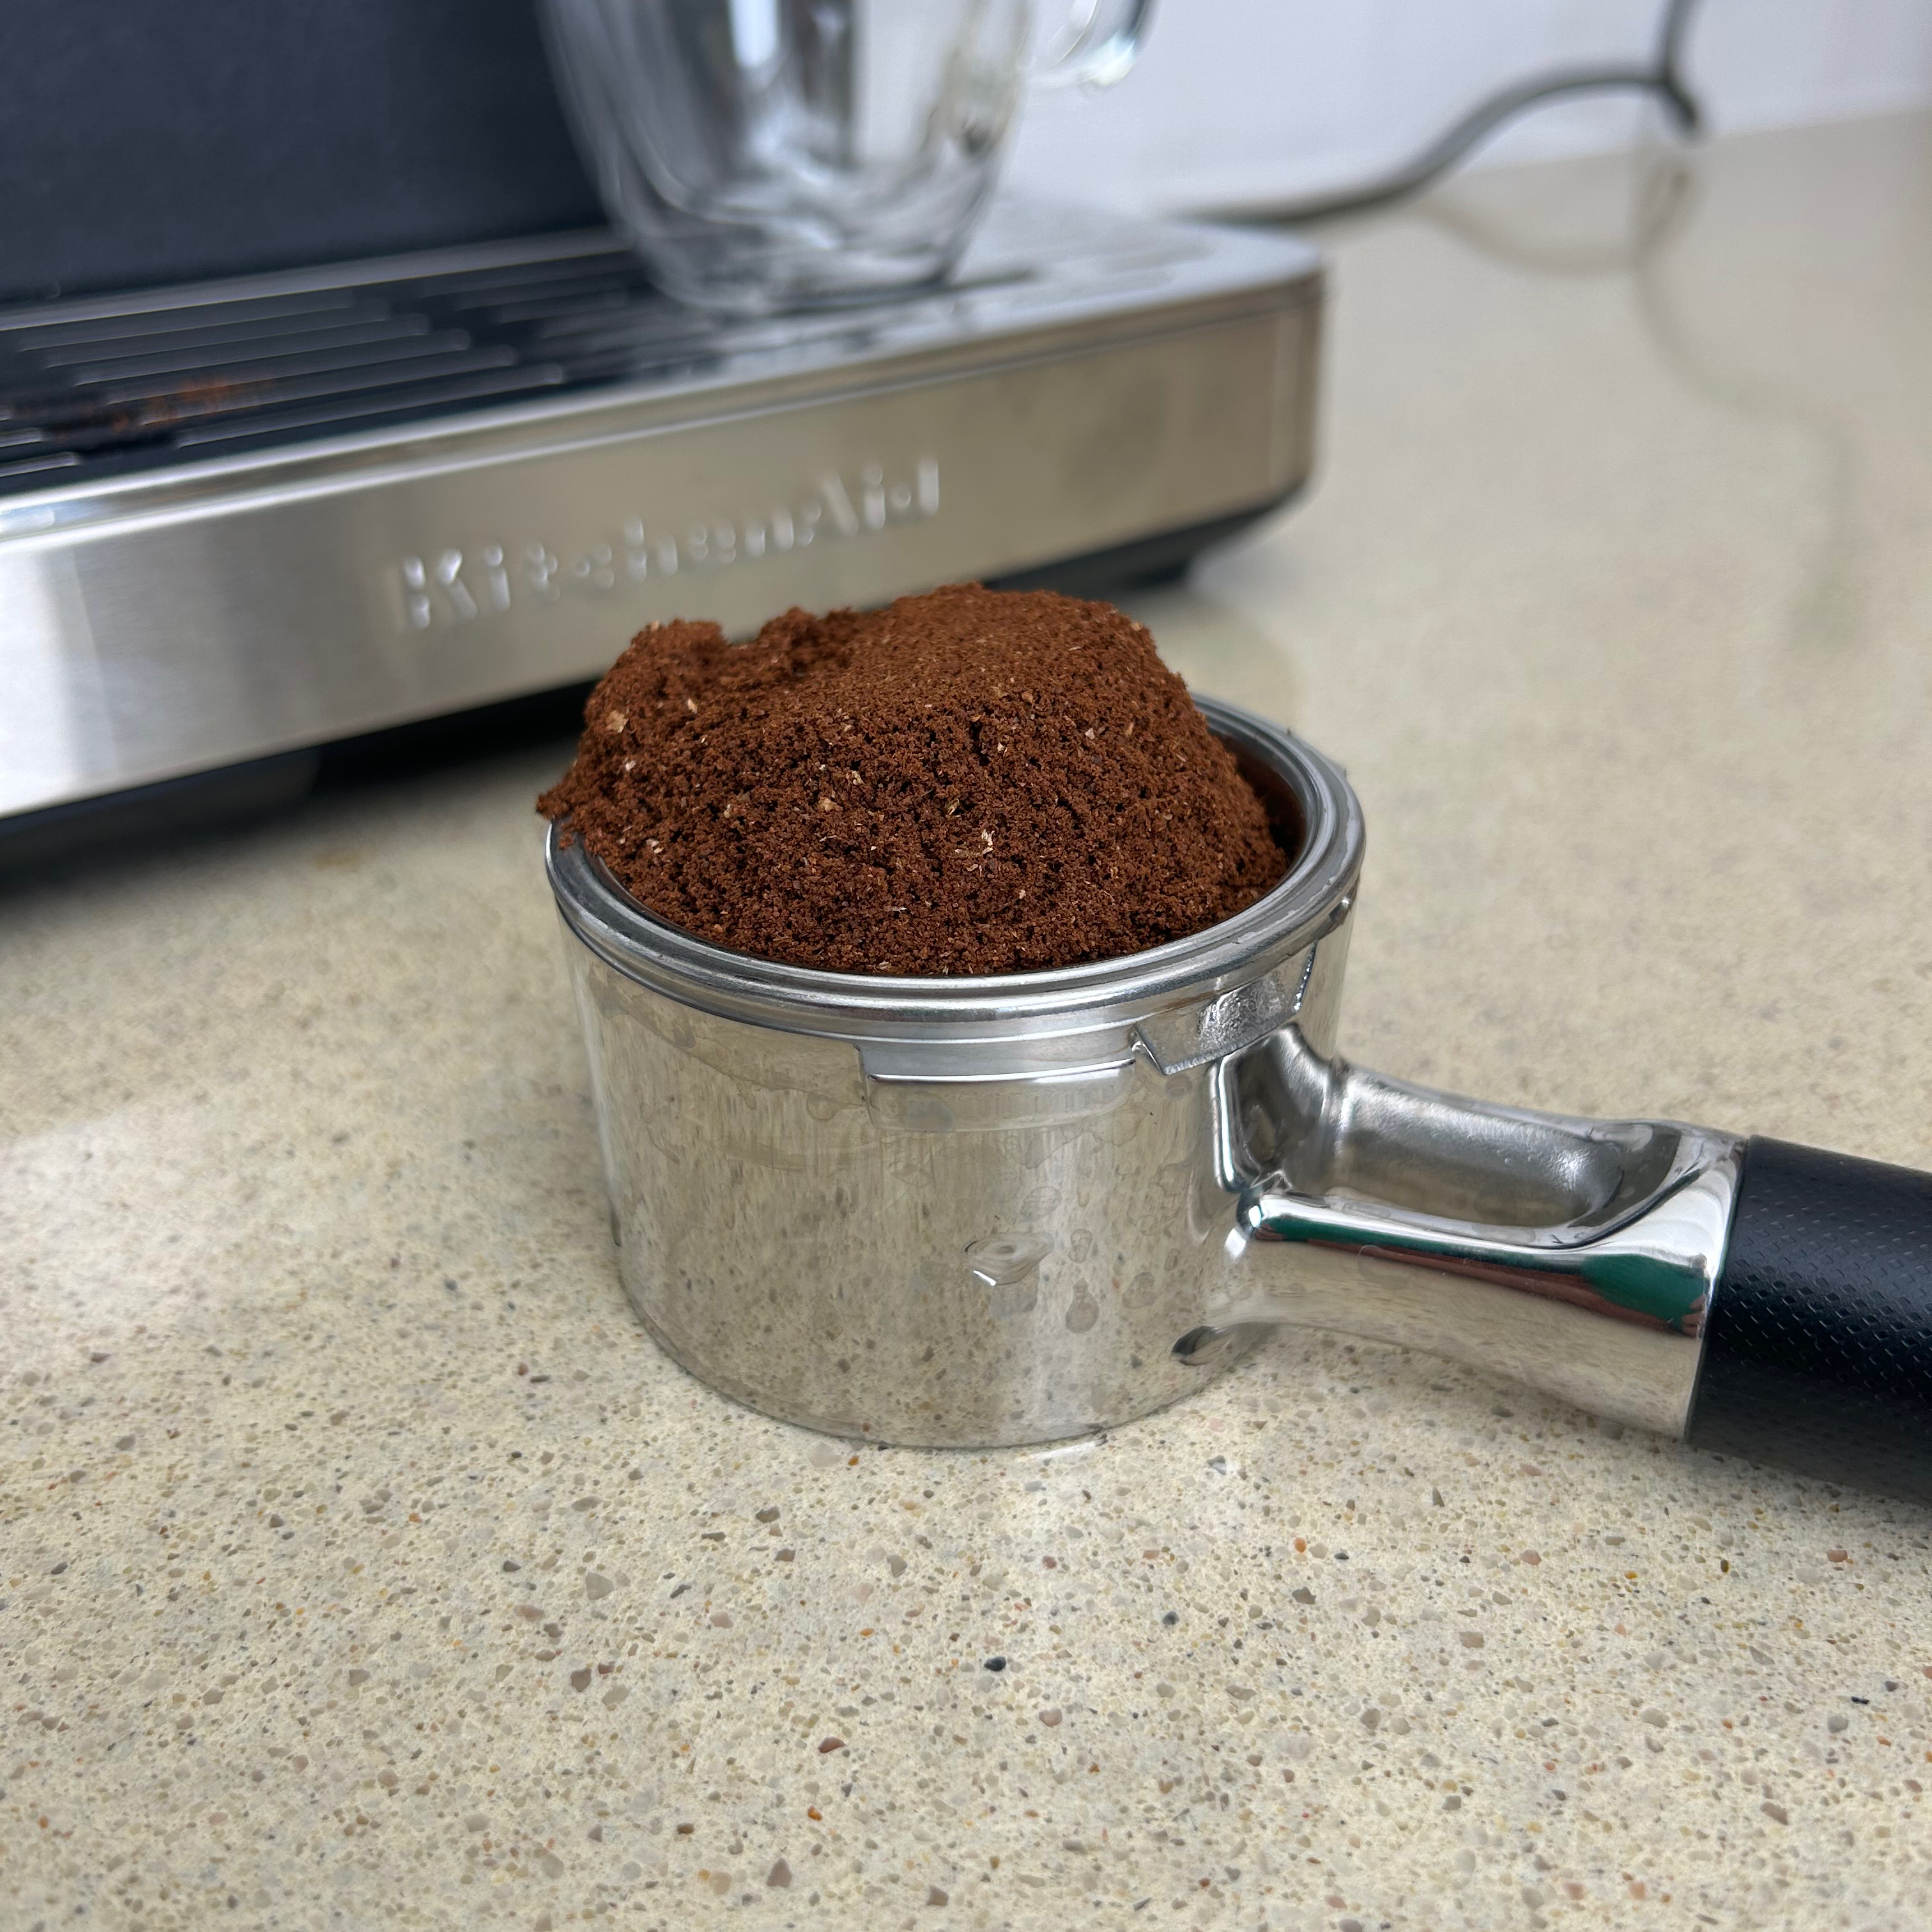
You’ll also have to get to grips with tamping the ground coffee into a good puck. This is another skill that can take time to perfect. But one of the joys of an espresso machine over a fully automatic coffee machine, is the process of learning some barista skills and having that additional element of control over the espresso.
Having reviewed lots of coffee machines with integrated bean grinders, I’m well aware that the grinding process can be, and usually is, noisy. But, since it’s a relatively quick process, it never really bothers me too much. However, if you have kids, or people in your home doing shift work, or even very thin walls between you and next door, you’ll be pleased to know this is probably the quietest bean grinder I’ve come across in a coffee machine.

Up close, the grind process averaged 75dB on my noise meter, which isn’t much louder than the noise my kettle makes when boiling.
I found the milk jug that’s supplied with the coffee machine to be annoyingly small. Which meant I tended to steam milk for one drink at a time, whereas I’m used to a bigger jug that allows me to steam milk for two drinks at once. Obviously it’ll depend on the type of drinks you’re making and how much milk you want to steam in one go. But if I was keeping this machine, I’d definitely invest in a slightly bigger stainless steel jug.

Aside from the size of the jug though, the steaming process is as expected. You’ll need some practice if you’re hoping to create fancy latte art, but it doesn’t take much time to learn to steam and froth milk.
One thing I enjoyed about the steam wand was that once your milk is steamed to perfection and you press the stop button, the steam instantly stops. With some other machines, you have to wait for the steam to gradually slow down, before stopping. It’s a small detail, but it makes a big difference if you’re in a hurry to get your coffee in the morning.

After pouring an espresso and selecting the steam function, it takes just under 15 seconds to heat up ready to steam, which isn’t too bad. During this time I emptied the coffee puck out of the portafilter and once I’d done that it had warmed up and I could get on with steaming my milk.
Flavour will be very dependent on the beans and getting the grind size right. I was able to make a good strong espresso with a thick rich crema without too much fuss. I think it’s a pretty straightforward machine.
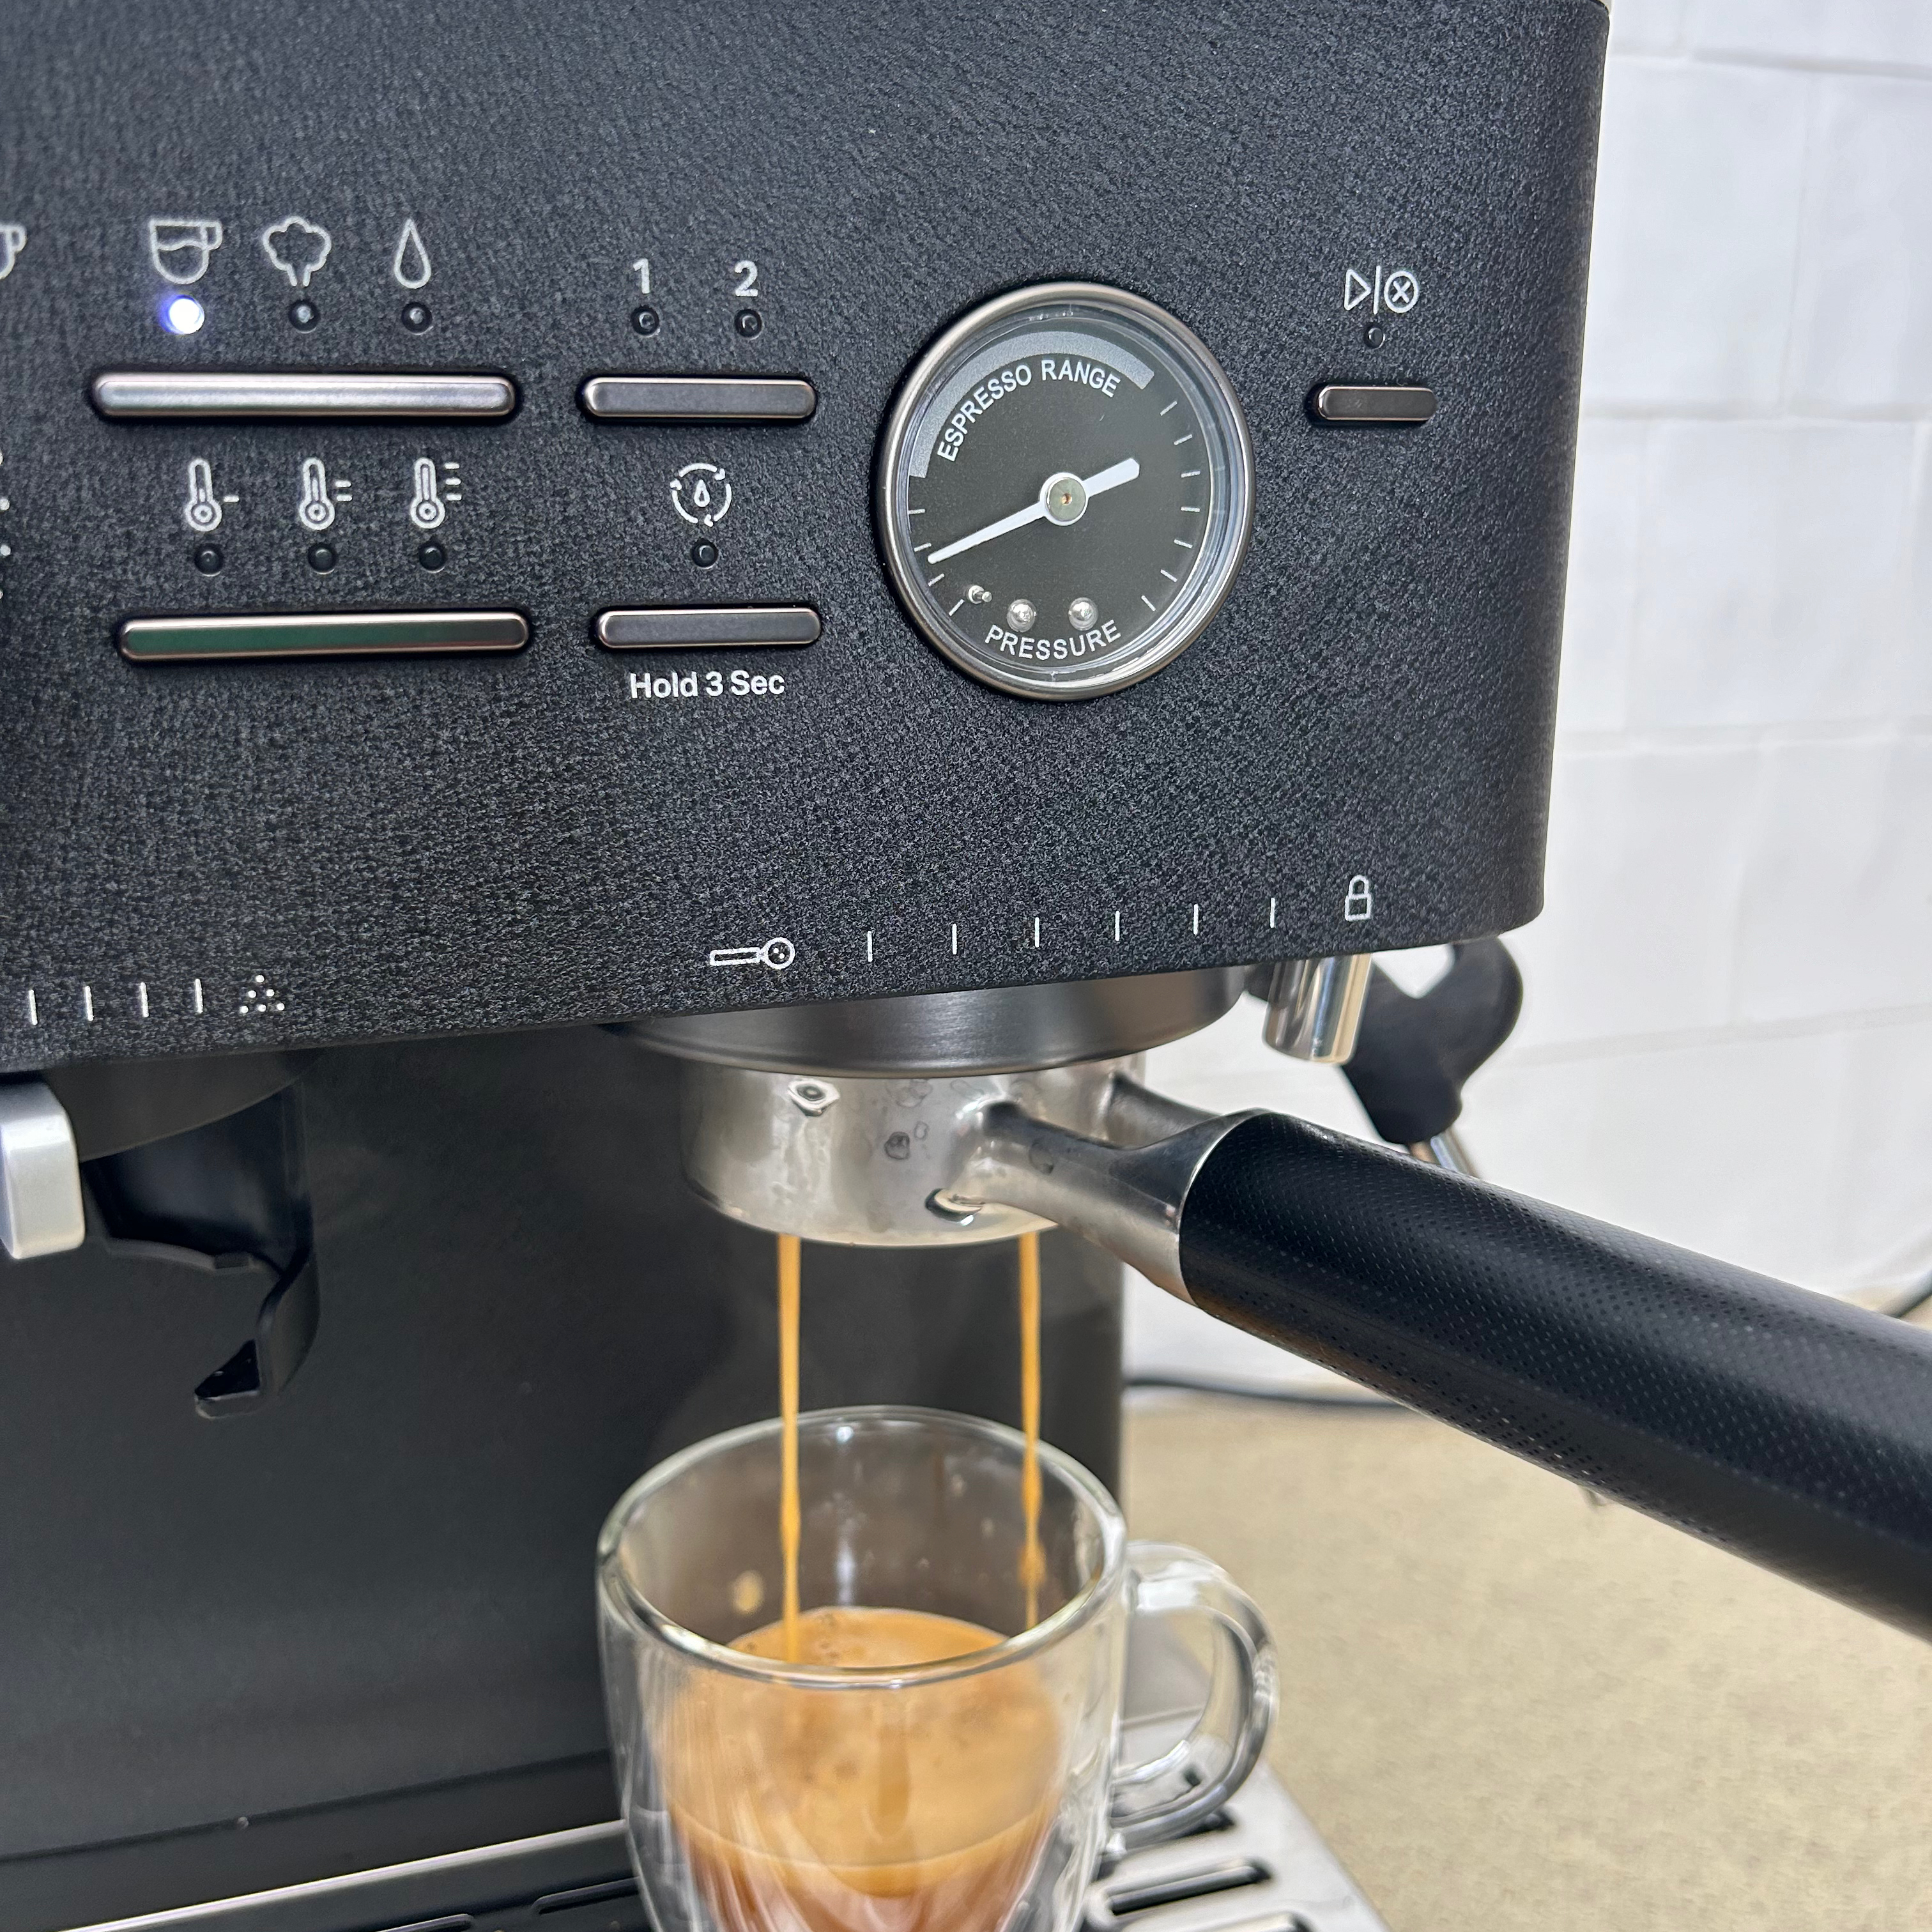
There are three temperature settings to choose from, however I soon discovered that when making espresso, it made very little difference what setting it was on. The espresso dispensed at 64-67C regardless of the temperature selection.
It’s when dispensing hot water for tea that the temperature options come into play. On the lowest temperature setting water dispensed at around 63C. It went up to 70C on the medium setting and 75C on the highest of the options.
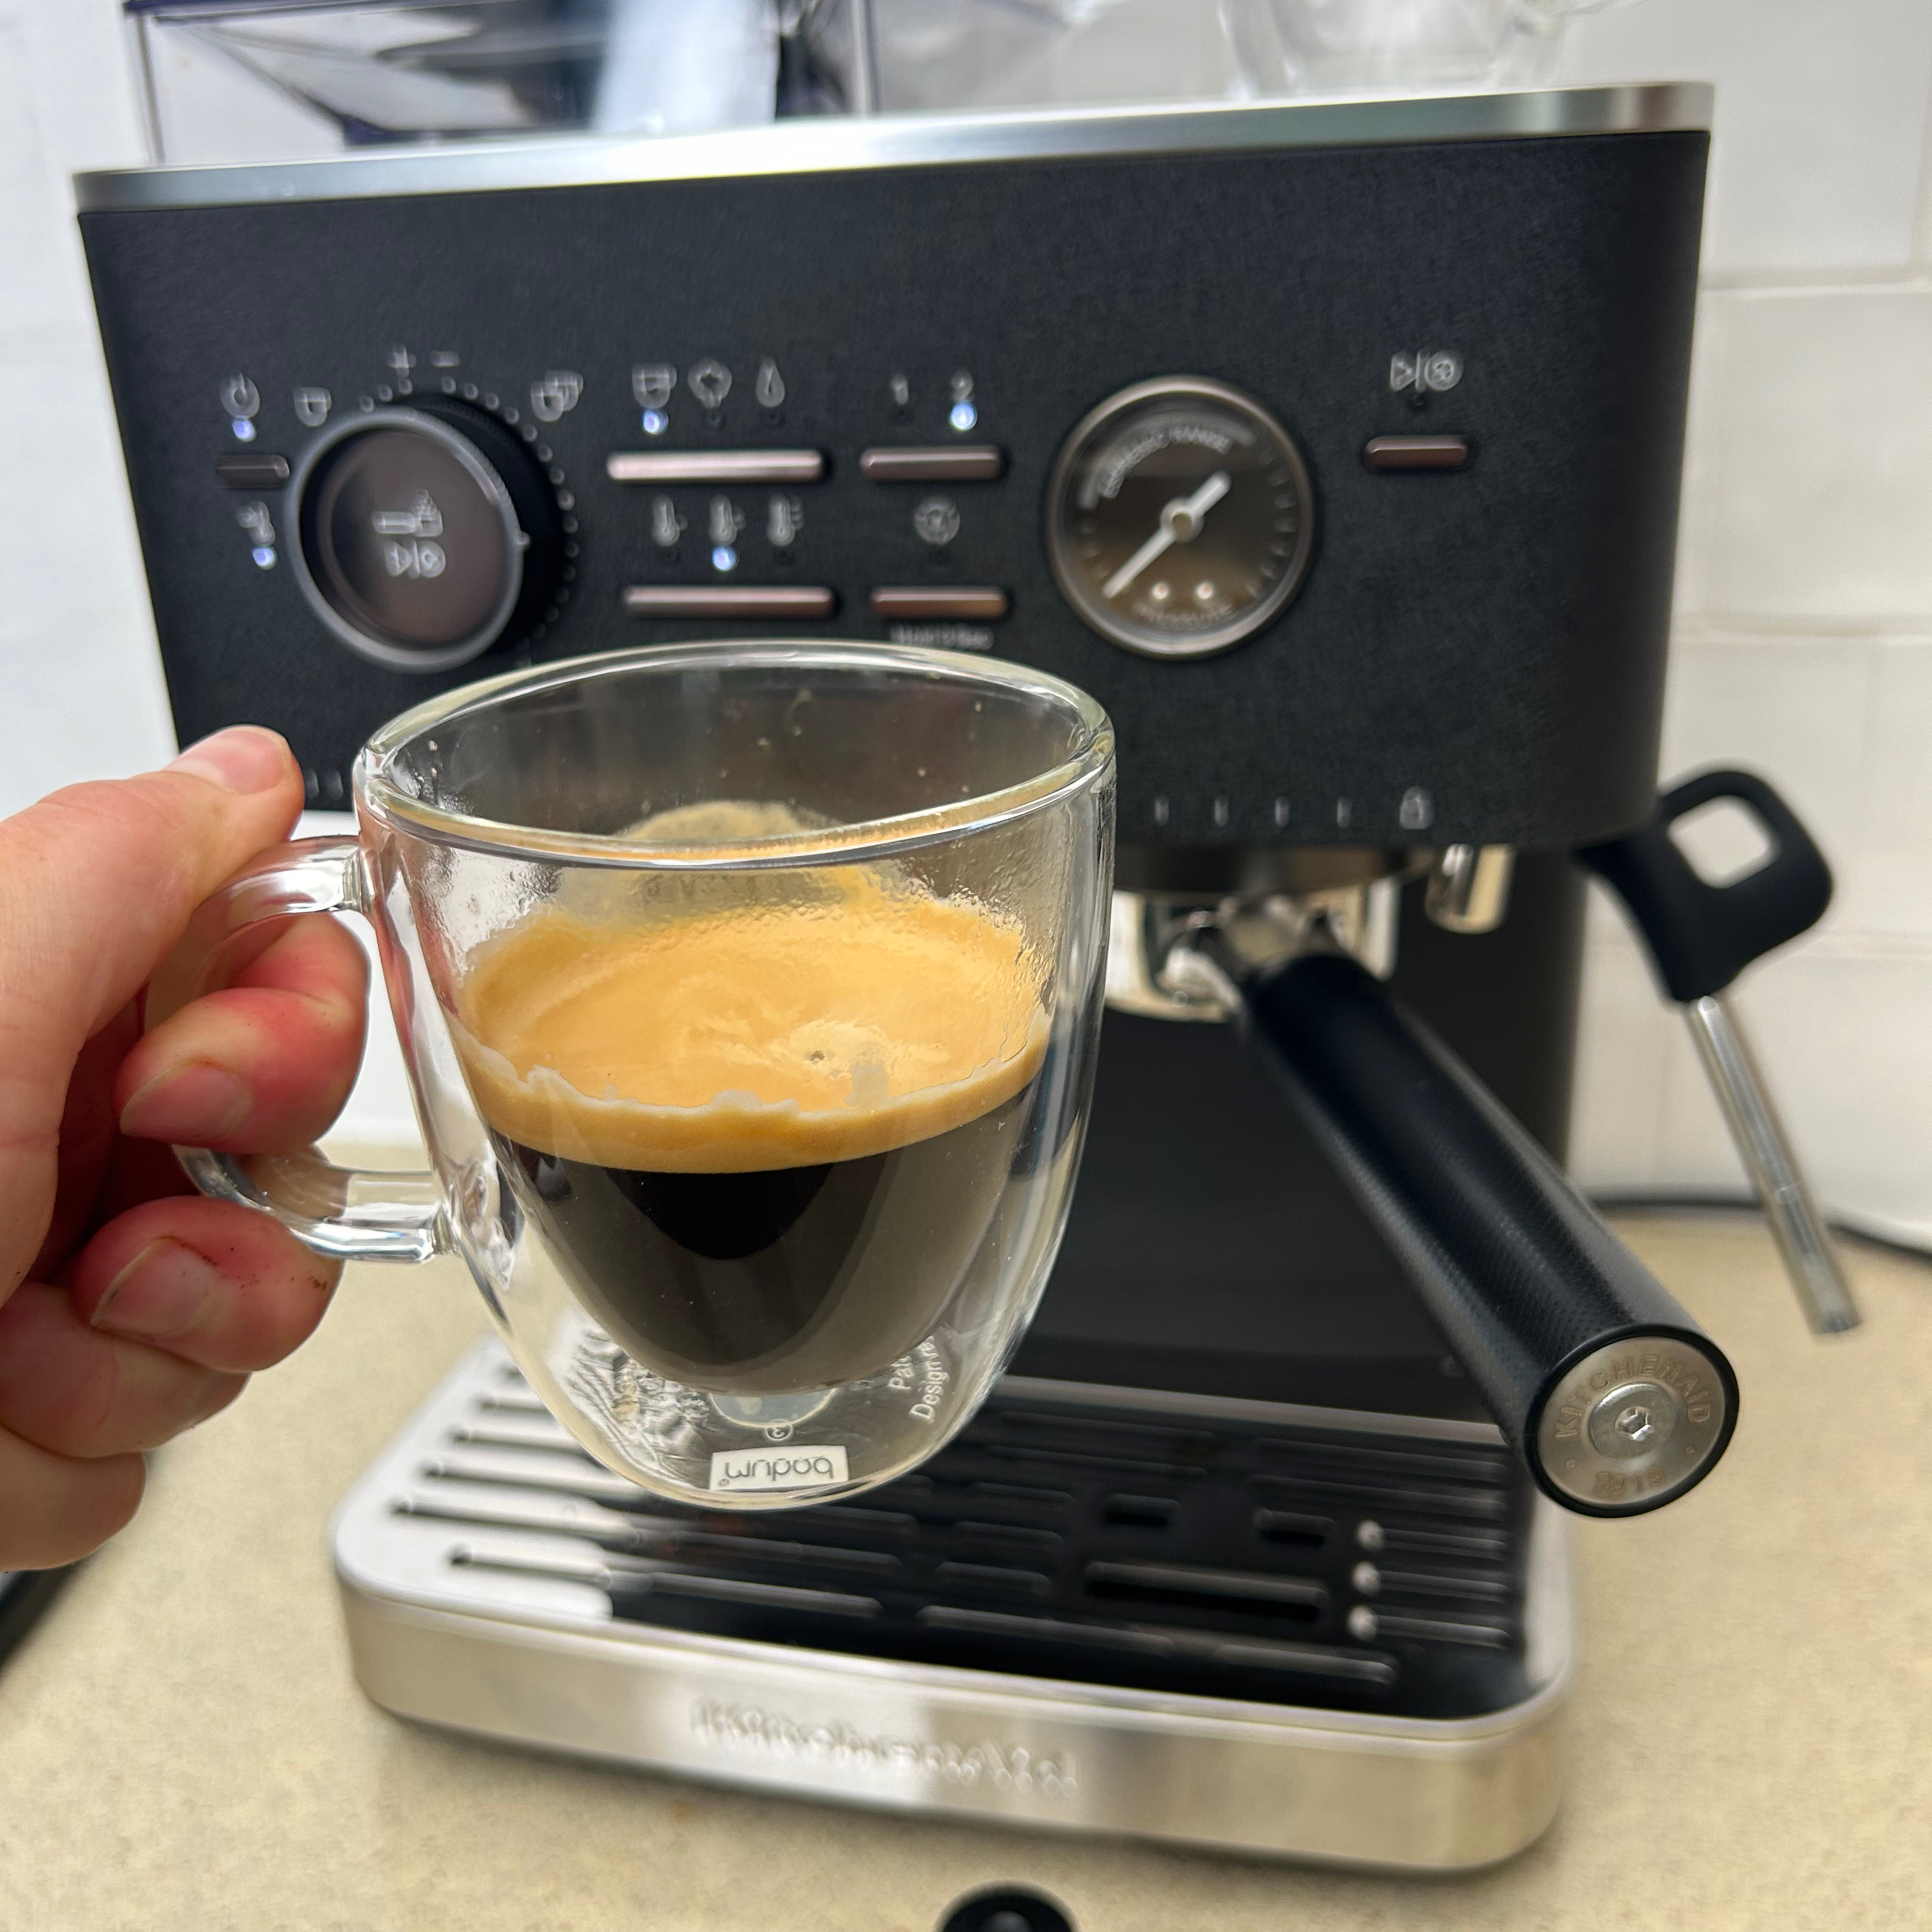
So while it’s perfect for fruit and herbal teas, you won’t get the best builders tea if you make it using this hot water spout. That said, it is fast and convenient and stops you boiling more than you need in the kettle, so there are positives and negatives.
When dispensing water, you can use the 1 and 2 espresso buttons to dispense different volumes of water. If you select 1, it dispenses around 150ml and this goes up to 200ml when you select number 2.
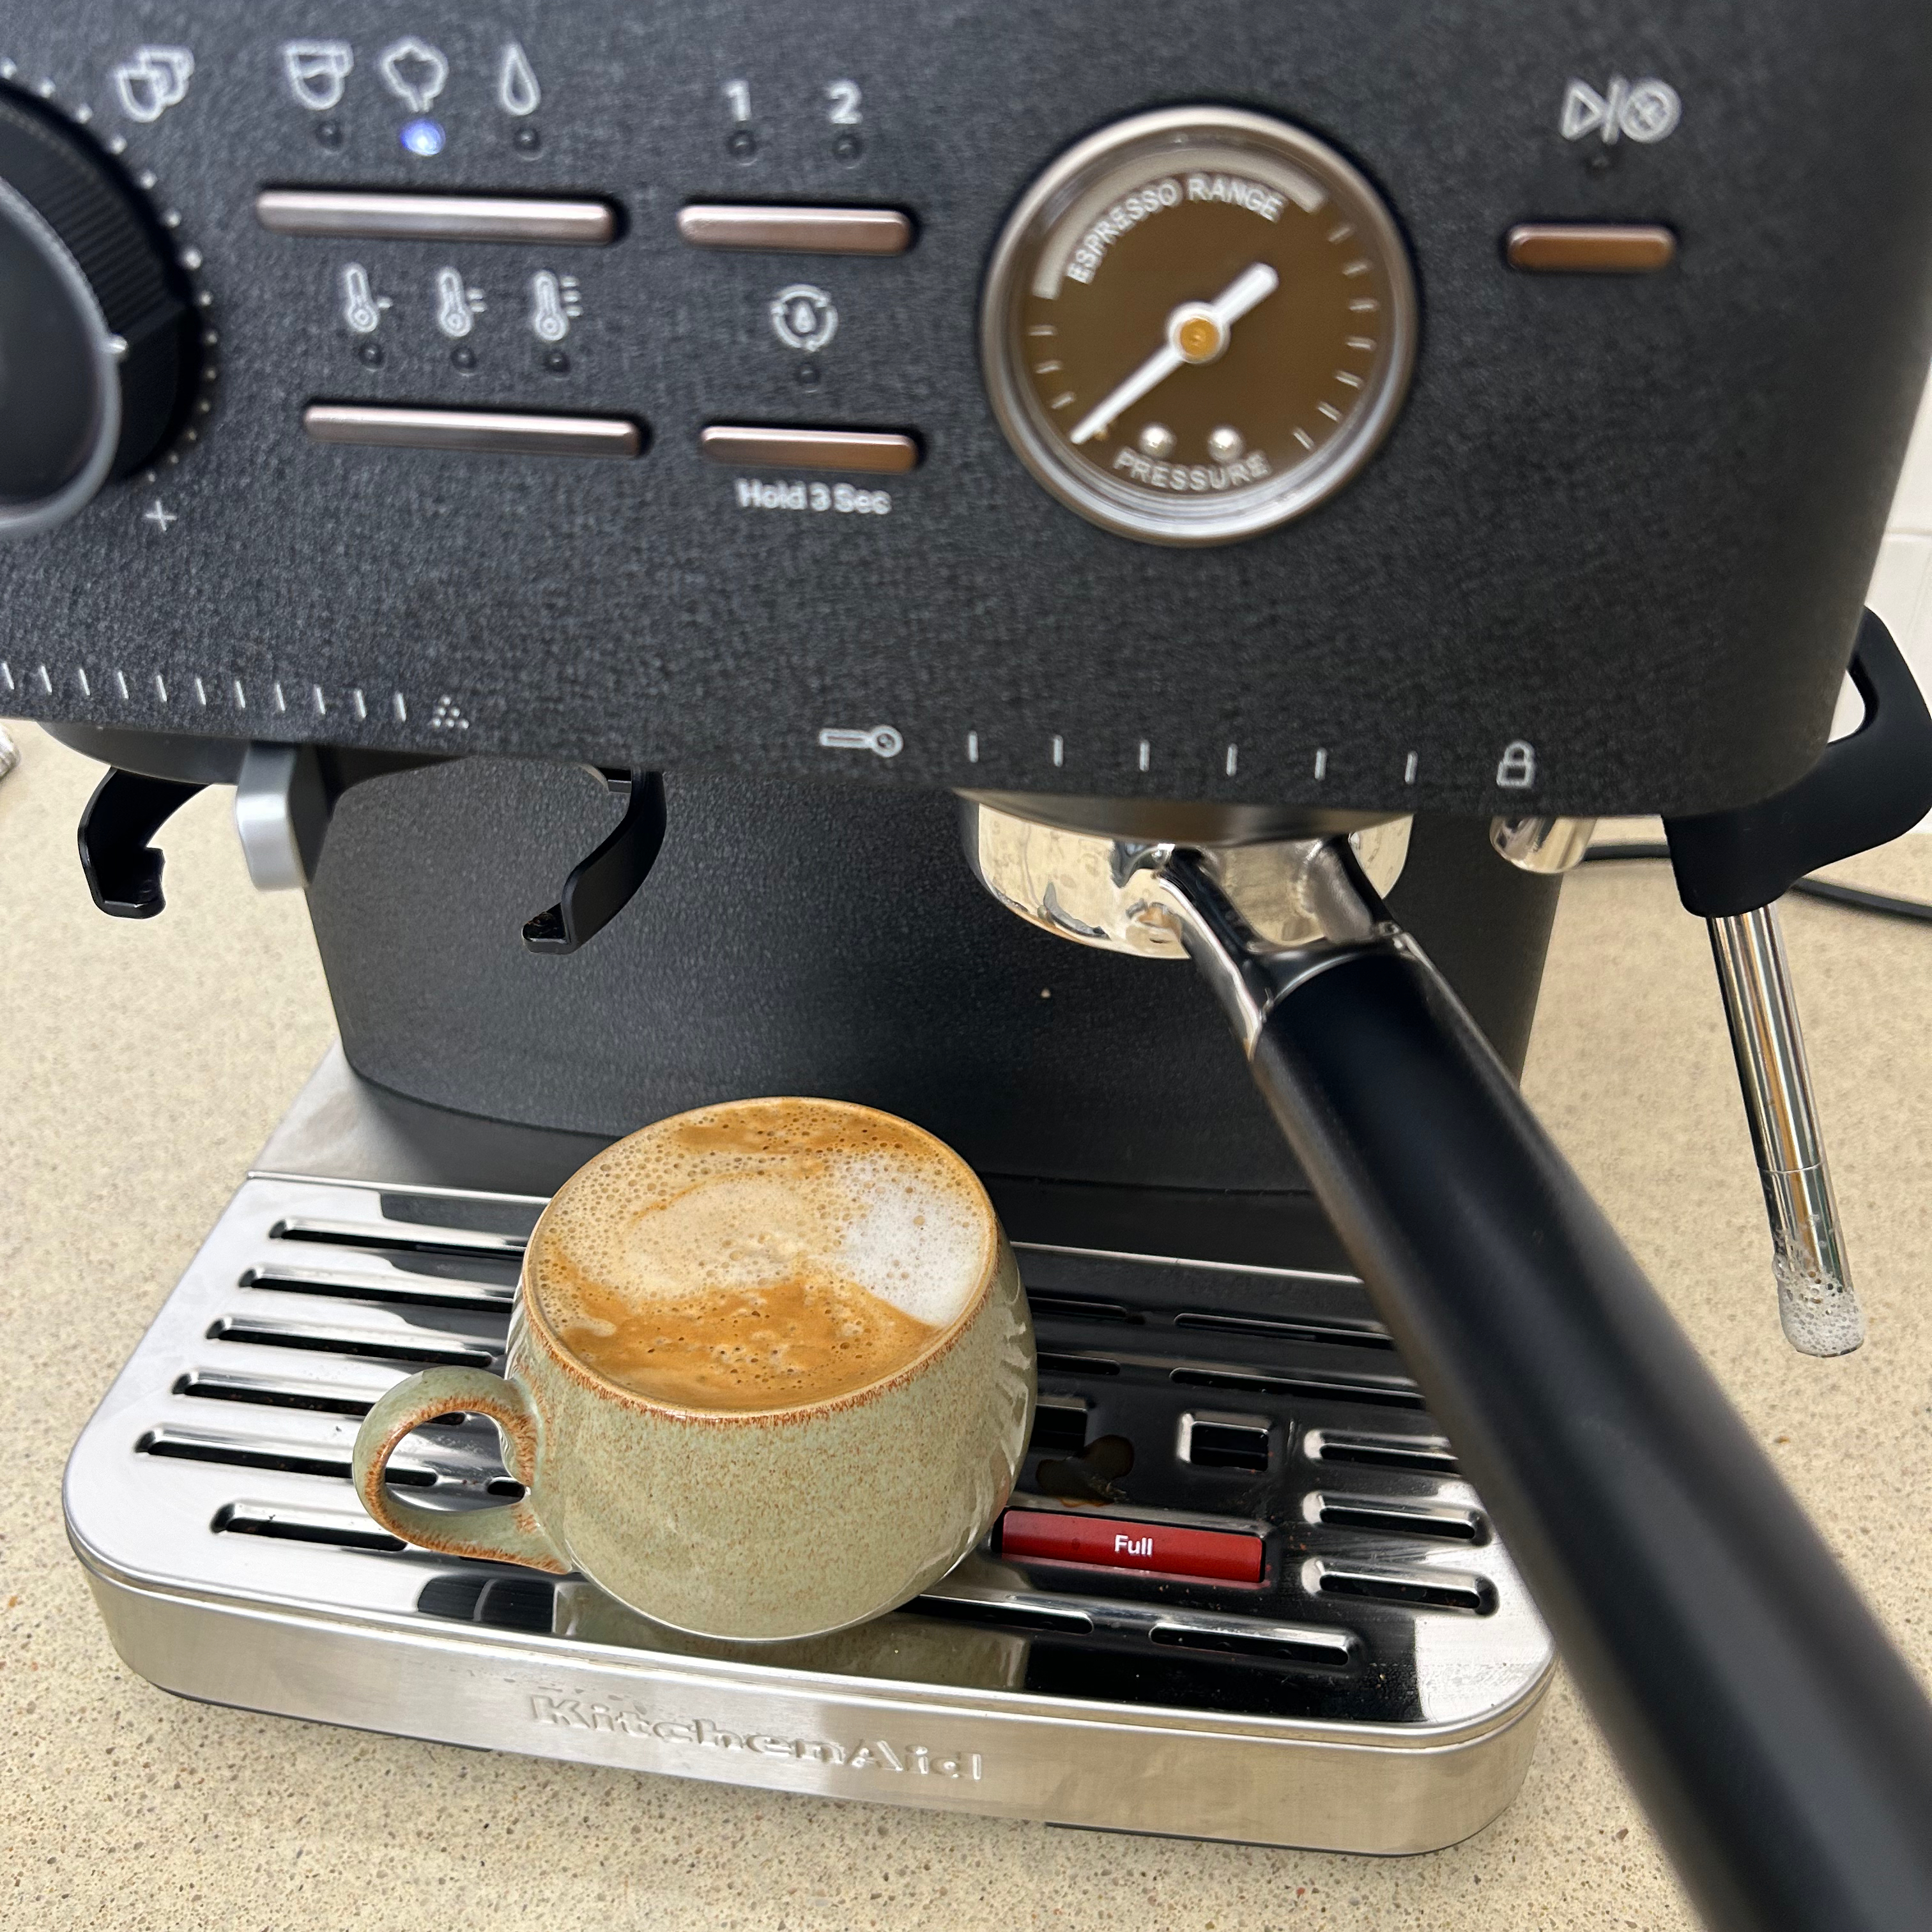
On the top of the coffee machine, there's a cup warmer section. And unlike many others I’ve come across, it does actually warm the cups. But the quickest way to pre-warm a cup is to dispense water from the hot water spout into it.
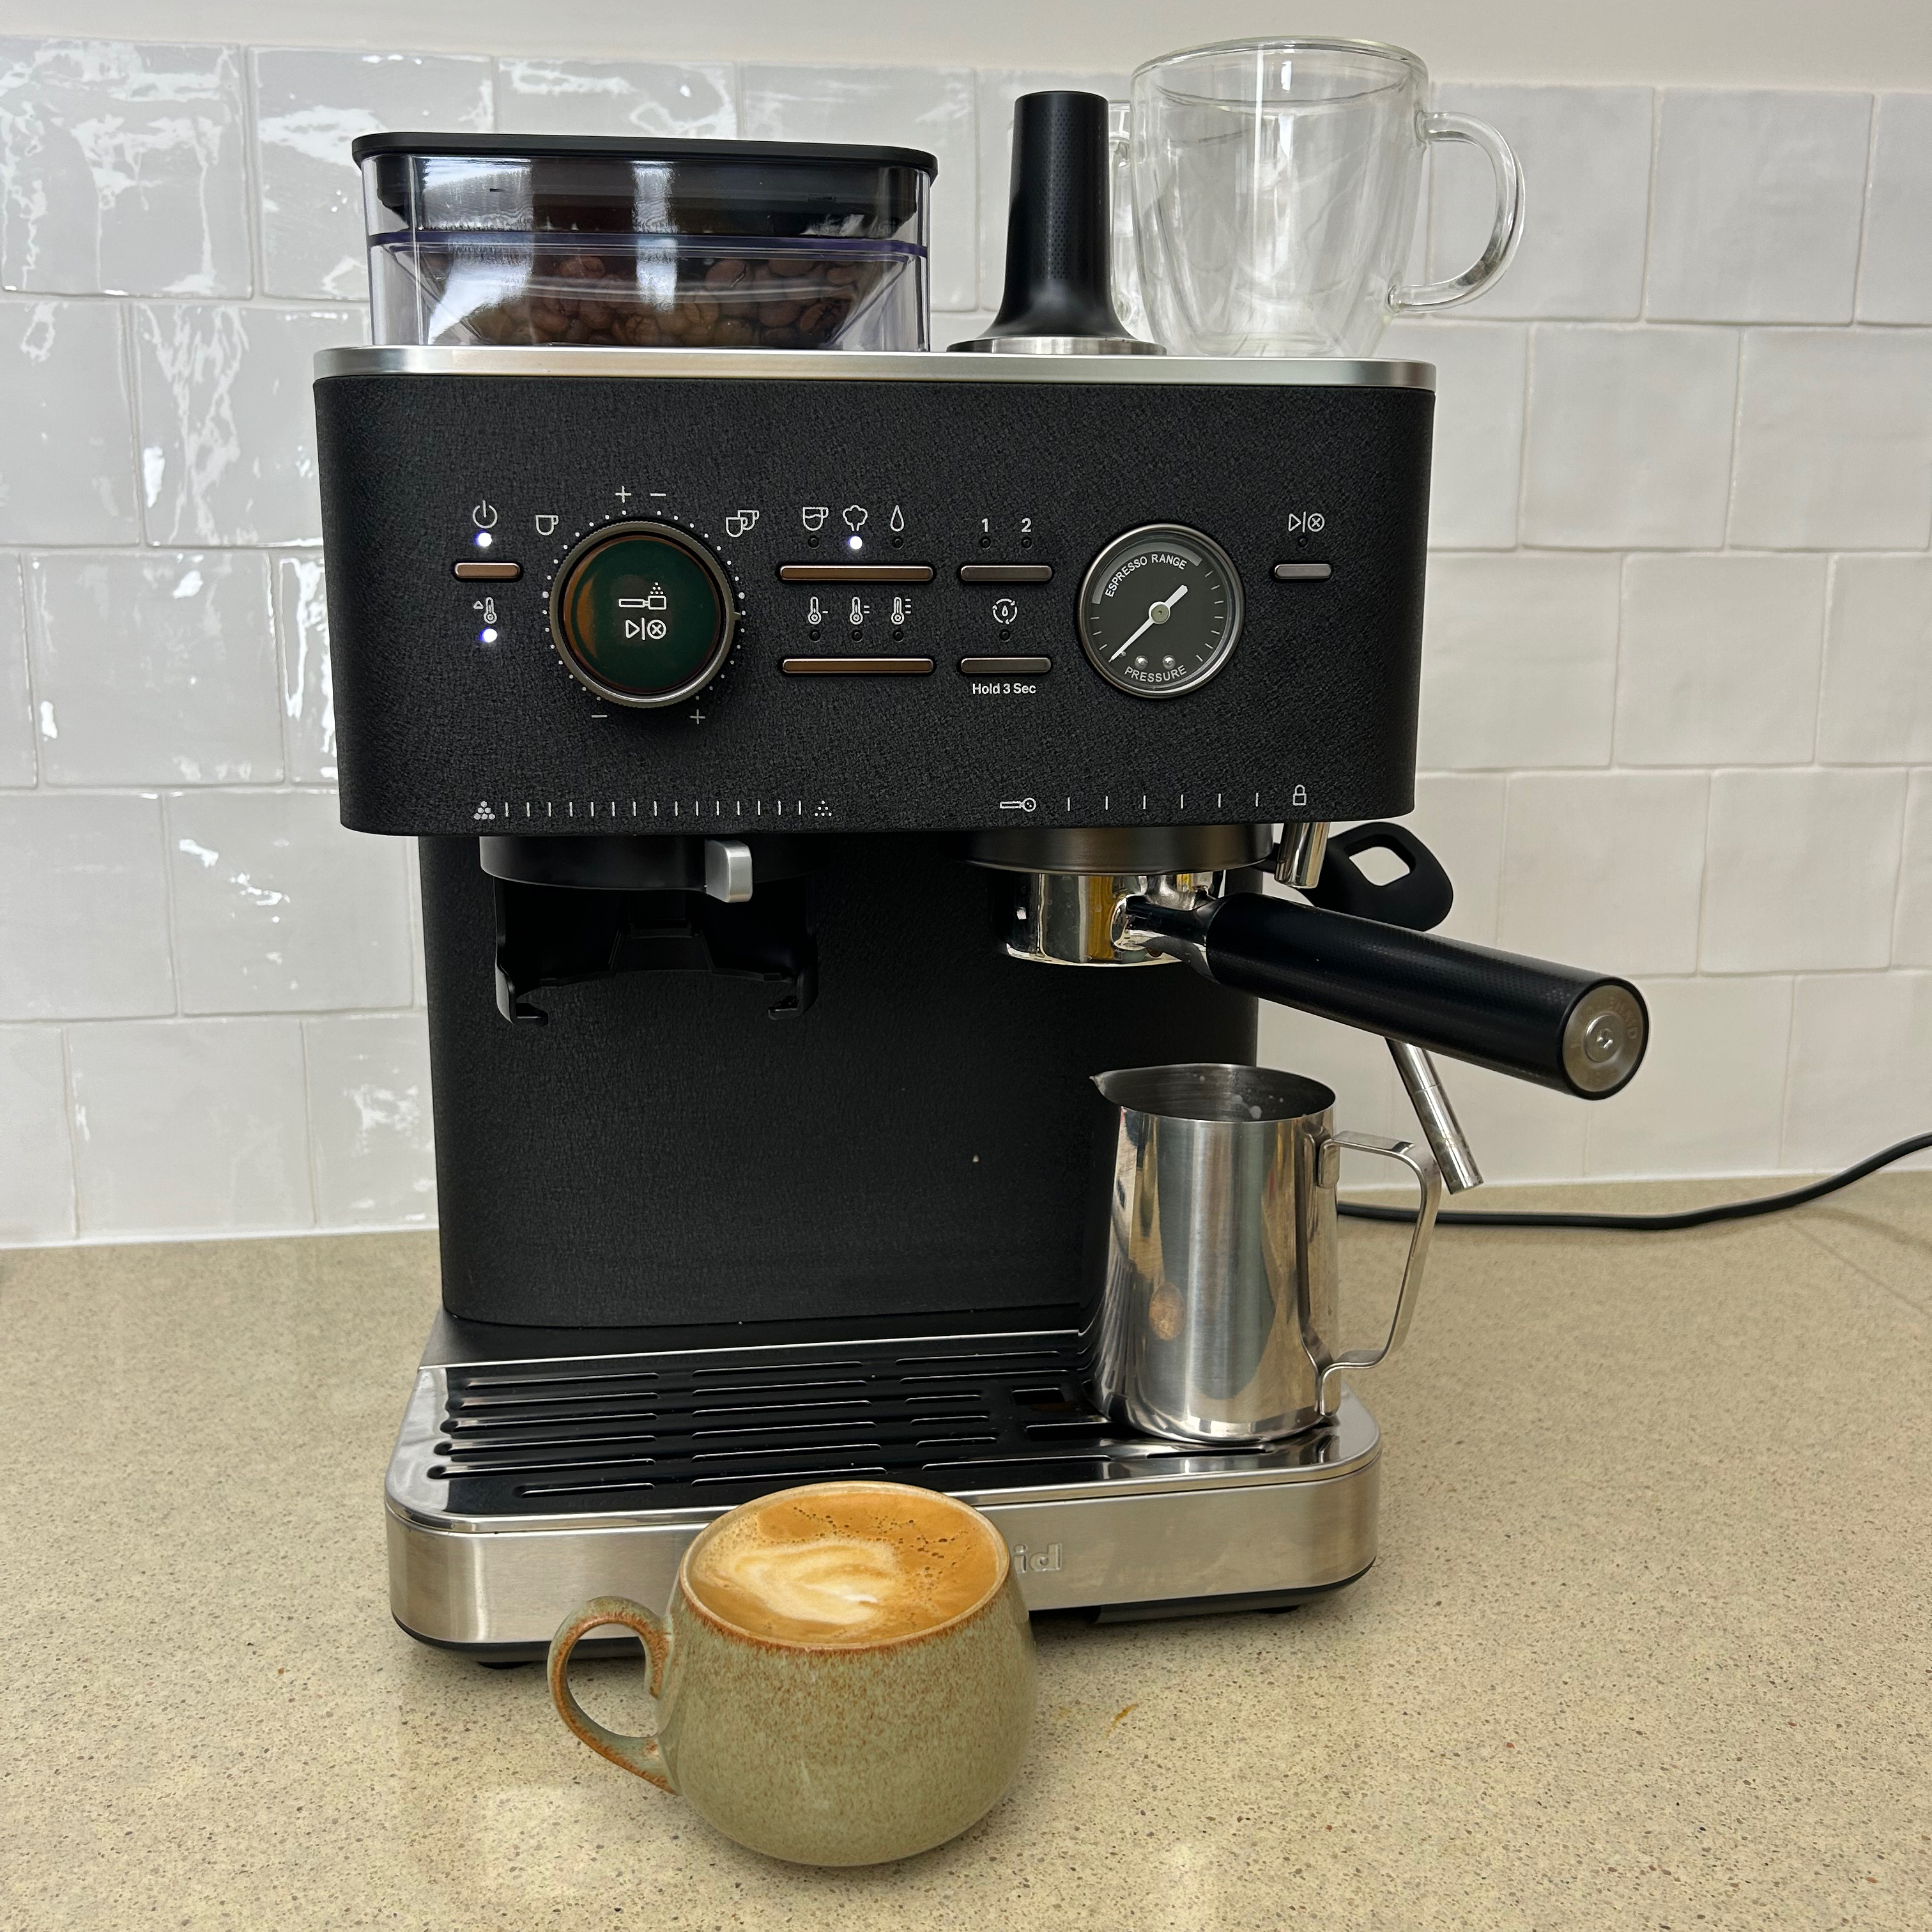
When the water tank needs refilling, the light for the hot water symbol blinks. It took me a minute to figure out what it meant. But with such a paired back control panel, it makes sense that some of the display lights will be dual purpose.
What's it like to clean?
Like it or not, espresso machines require regular cleaning, descaling, and maintenance. In general the daily and weekly jobs are quick and easy. When the drip tray needs emptying, a little red tab pops up and says ‘full’. You can’t really miss it, as it’s right by where you put your coffee cup.
You’ll also need to purge and wipe the steam wand after every use, as well as rinse the milk jug and portafilter
If you choose to use the water filter, it’ll need replacing every 2 months. And periodically the descale light will come on to prompt you that it's time for a descale. It’s an easy and mostly automatic function and there are videos online walking you through all the cleaning and descaling requirements.
How does it compare to similar coffee machines?
The Sage Barista Express Impress is an obvious comparison. It’s been the top choice in our list of the best bean to cup coffee machines for some time. It has a slightly higher RRP, but can be found at a similar price to the KitchenAid. The Sage offers a crucial extra feature in the assisted tamping, which reduces the margin for error in creating the perfect coffee puck.
And if all this chat about tamping and coffee dosage has got you leaning towards a more automatic machine, my personal favourite is the DeLonghi Rivelia. This automatic bean to cup coffee machine is user friendly and makes the best coffee I've had from an automatic coffee machine.
Should you buy the KitchenAid Semi Automatic Espresso Machine?
For me, the standout reasons to buy this coffee machine over another similar one, are the quiet bean grinding and the intuitive control panel. With so many noisy integrated bean grinders, the value of a quieter grinder can’t be understated.
It is pricey though and I think it’s a tough decision choosing between this and similar models from the likes of Sage. Aside from that all-important noise level, a lot of it will come down to size and appearance, since they both make great coffee.
About this review, and the reviewer
After completing a Home Economics degree, Helen went on to work for the Good Housekeeping Institute and has been reviewing home appliances ever since. She lives in a small village in Buckinghamshire in the UK, where she reviews all sorts of kitchen and home appliances using her wealth of experience.
With this coffee machine set up on her kitchen worktop, Helen used it daily to make coffees for herself and her husband. She had it on loan for two weeks, which was the perfect amount of time to try out two different bean types, as well as to get to grips with daily and weekly cleaning requirements.

After completing a Home Economics degree, Helen went on to work for the Good Housekeeping Institute and has been reviewing home appliances ever since. She lives in a small village in Buckinghamshire in the UK, where she reviews all sorts of home and garden appliances for Ideal Home using her wealth of experience.