Our expert reviewer loved this simple ice cream maker from Lakeland - we think it's the best way to make ice cream in a heat wave
A simple and affordable gadget for churning smooth and tasty frozen treats
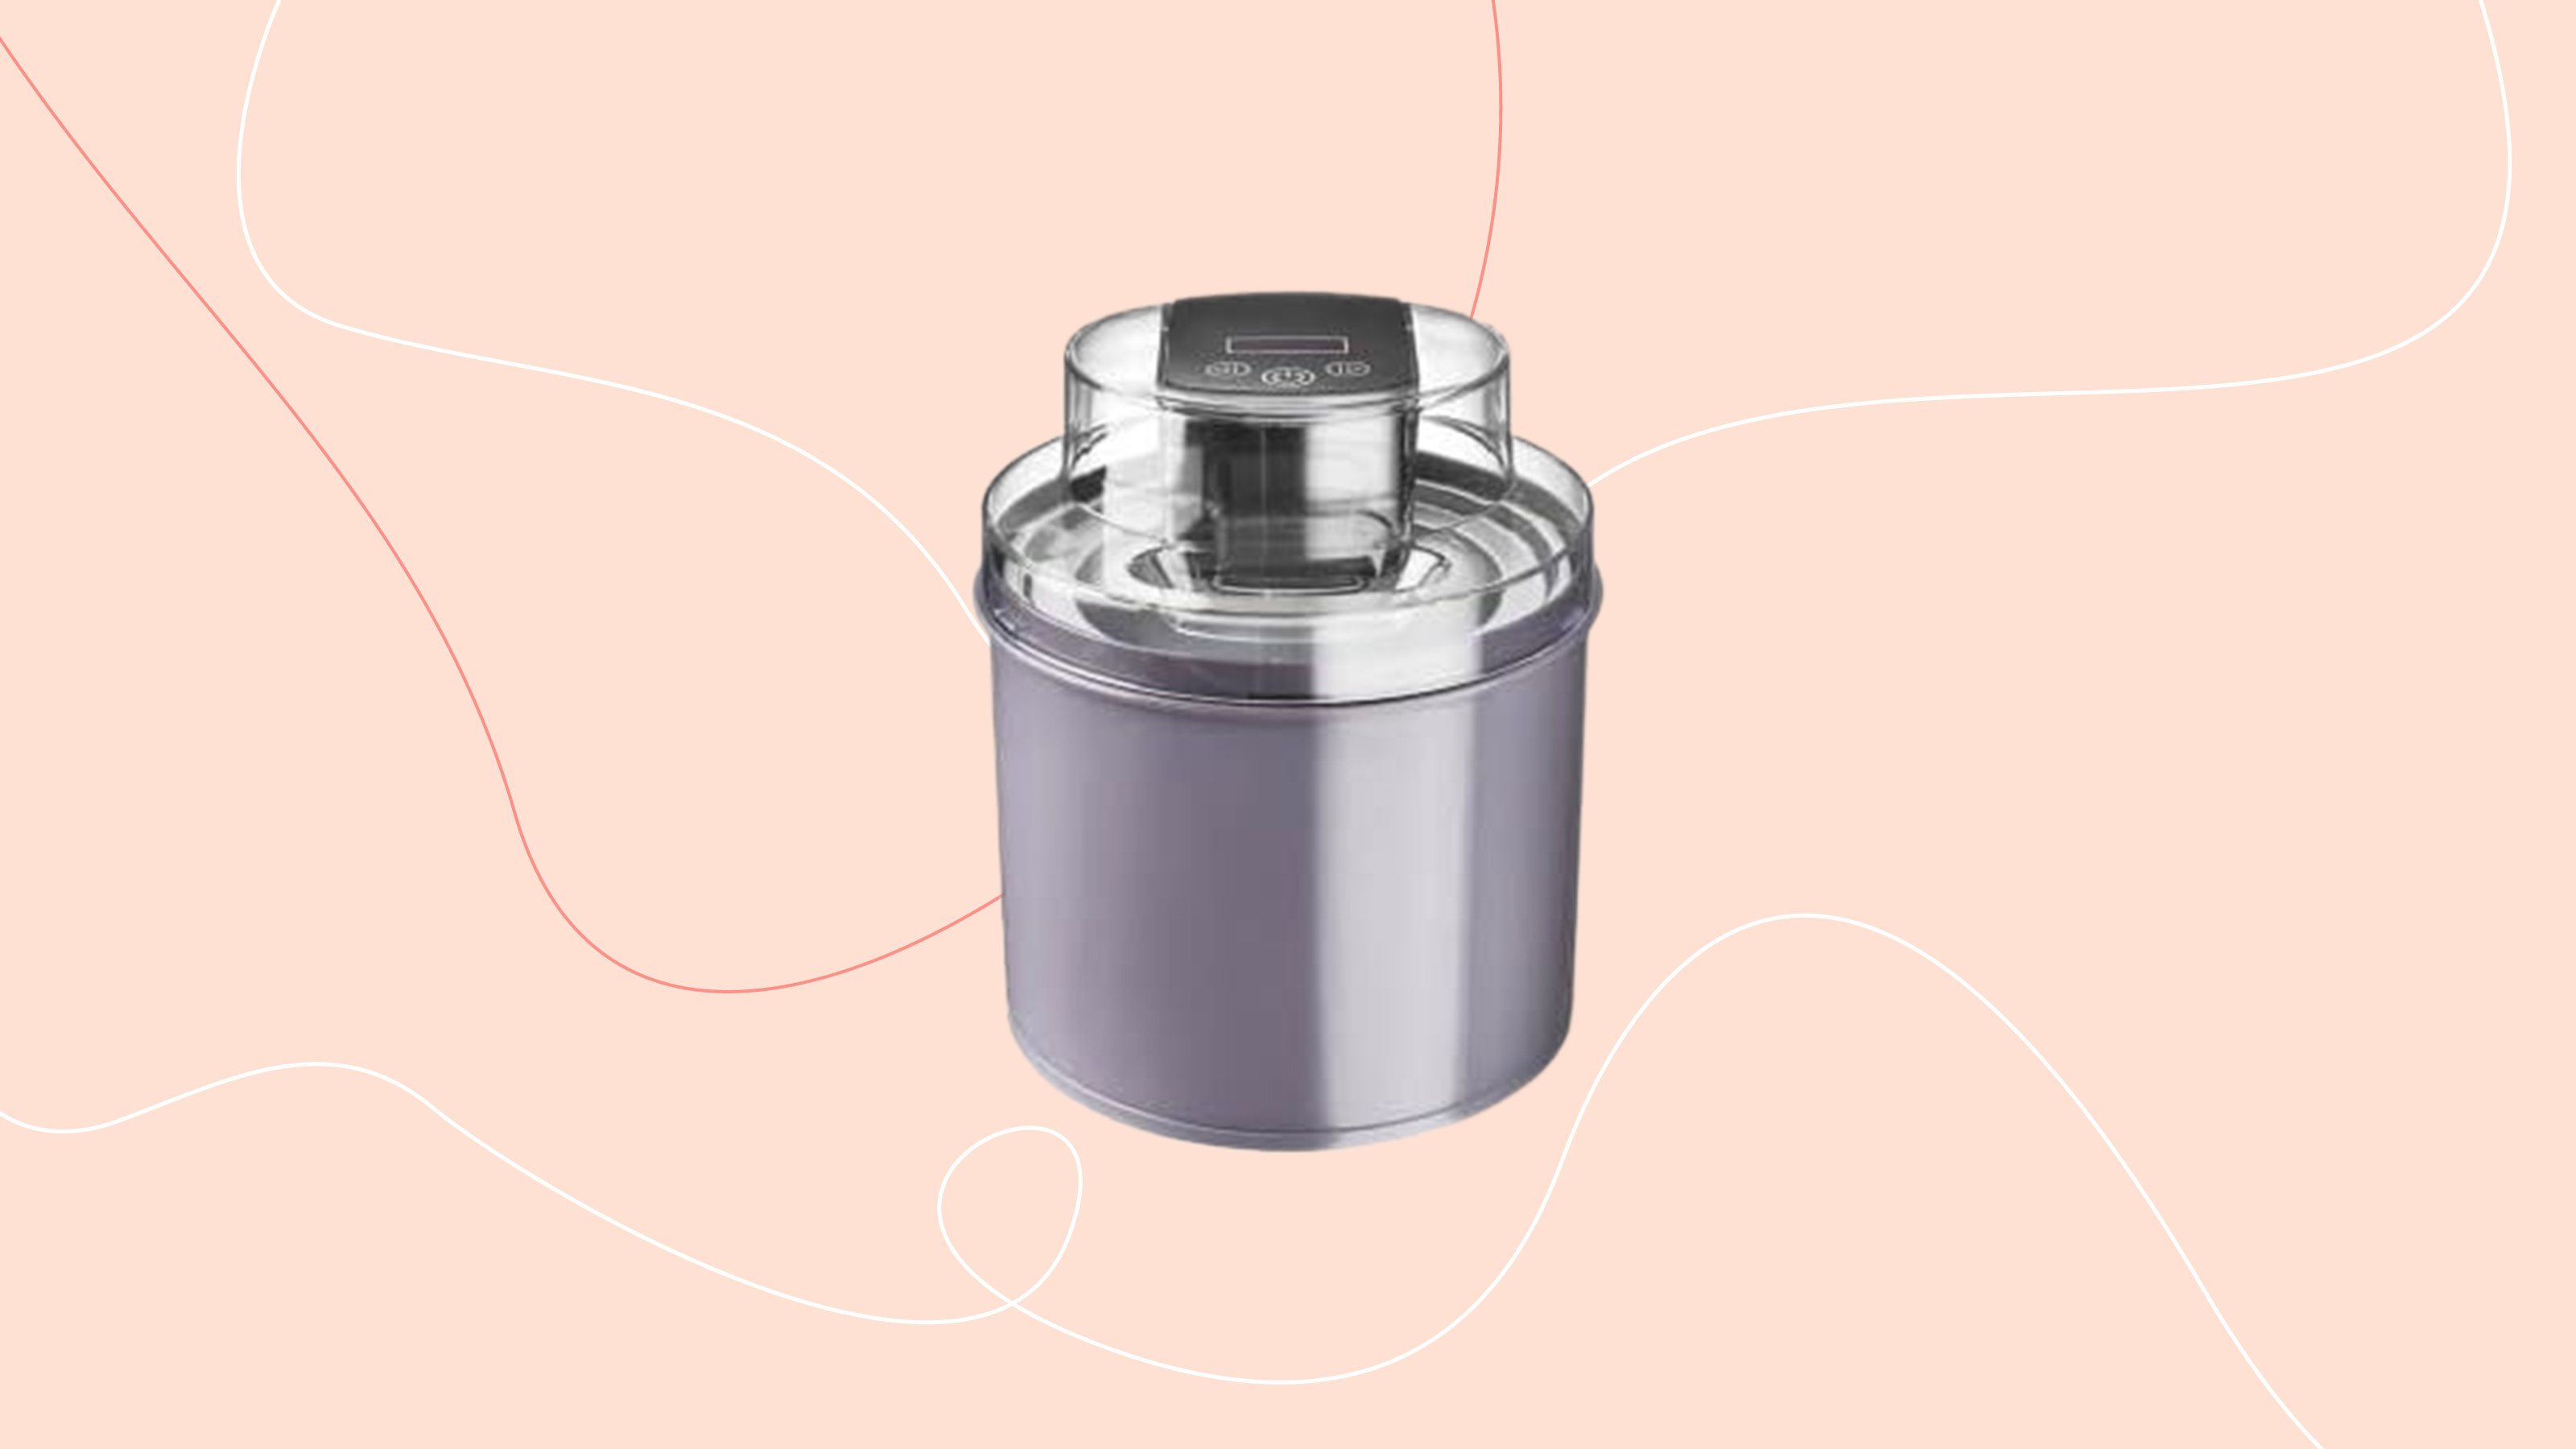
The Lakeland Digital Ice Cream Maker is, in my opinion, a great choice for novice ice cream makers. If you’ve never made ice cream and you want to give it a try without investing a fortune, this a great way to get started. There are a few drawbacks, but on the whole, you’ll be making tasty ice cream from the get-go.
-
+
Affordable
-
+
Simple to use
-
+
Compact
-
+
Quiet
-
-
Bowl requires pre-freezing
-
-
Maximum of one batch in a 12 hour period
-
-
Most ice creams require additional time in the freezer
Why you can trust Ideal Home

It’s hard to find someone who doesn’t appreciate a really good ice cream, even if you only indulge while on holiday. And because ice cream flavours are endless, if you make it yourself, it’s a dessert that you really can get creative with.
I’ve recently become very picky when I walk down the supermarket ice cream aisle. I scour the labels and try to avoid the brands that are stuffed with additives, stabilisers and preservatives - which, by the way, is most of them. So it does feel like making ice cream at home, with one of the best ice cream makers is the answer.
This Lakeland Digital ice Cream Maker is one of the cheapest you can buy from the brand. So while I don’t expect the same results as the flashy ice cream makers that cost several hundred pounds, I am hoping that it still offers good functionality. Scroll down to see if my frozen creations hit the mark.
Lakeland Digital Ice Cream Maker product specs:
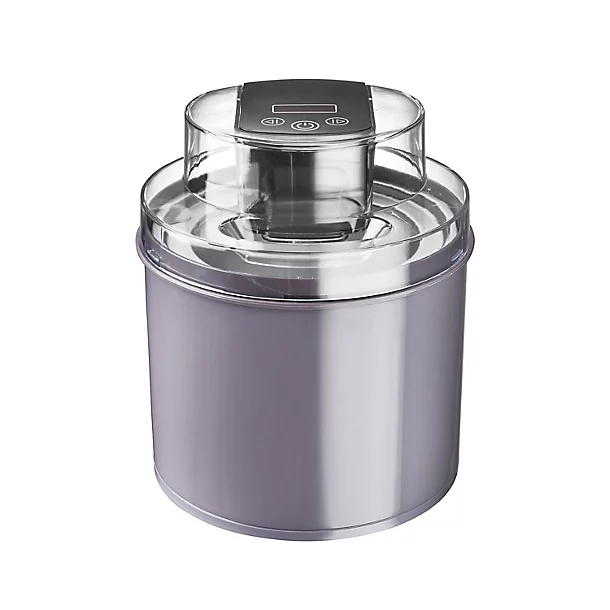
- Weight: 2.7kg
- Size: 23.5cm height x 20cm diameter
- Timer: 5-45 minutes
- Capacity: 1.8 litre bowl with working capacity of 720ml
- Watts: 12W
Unboxing and first impressions
My first impression of the Lakeland Digital ice cream maker is that it's pretty compact, lightweight and it looks straightforward to assemble.
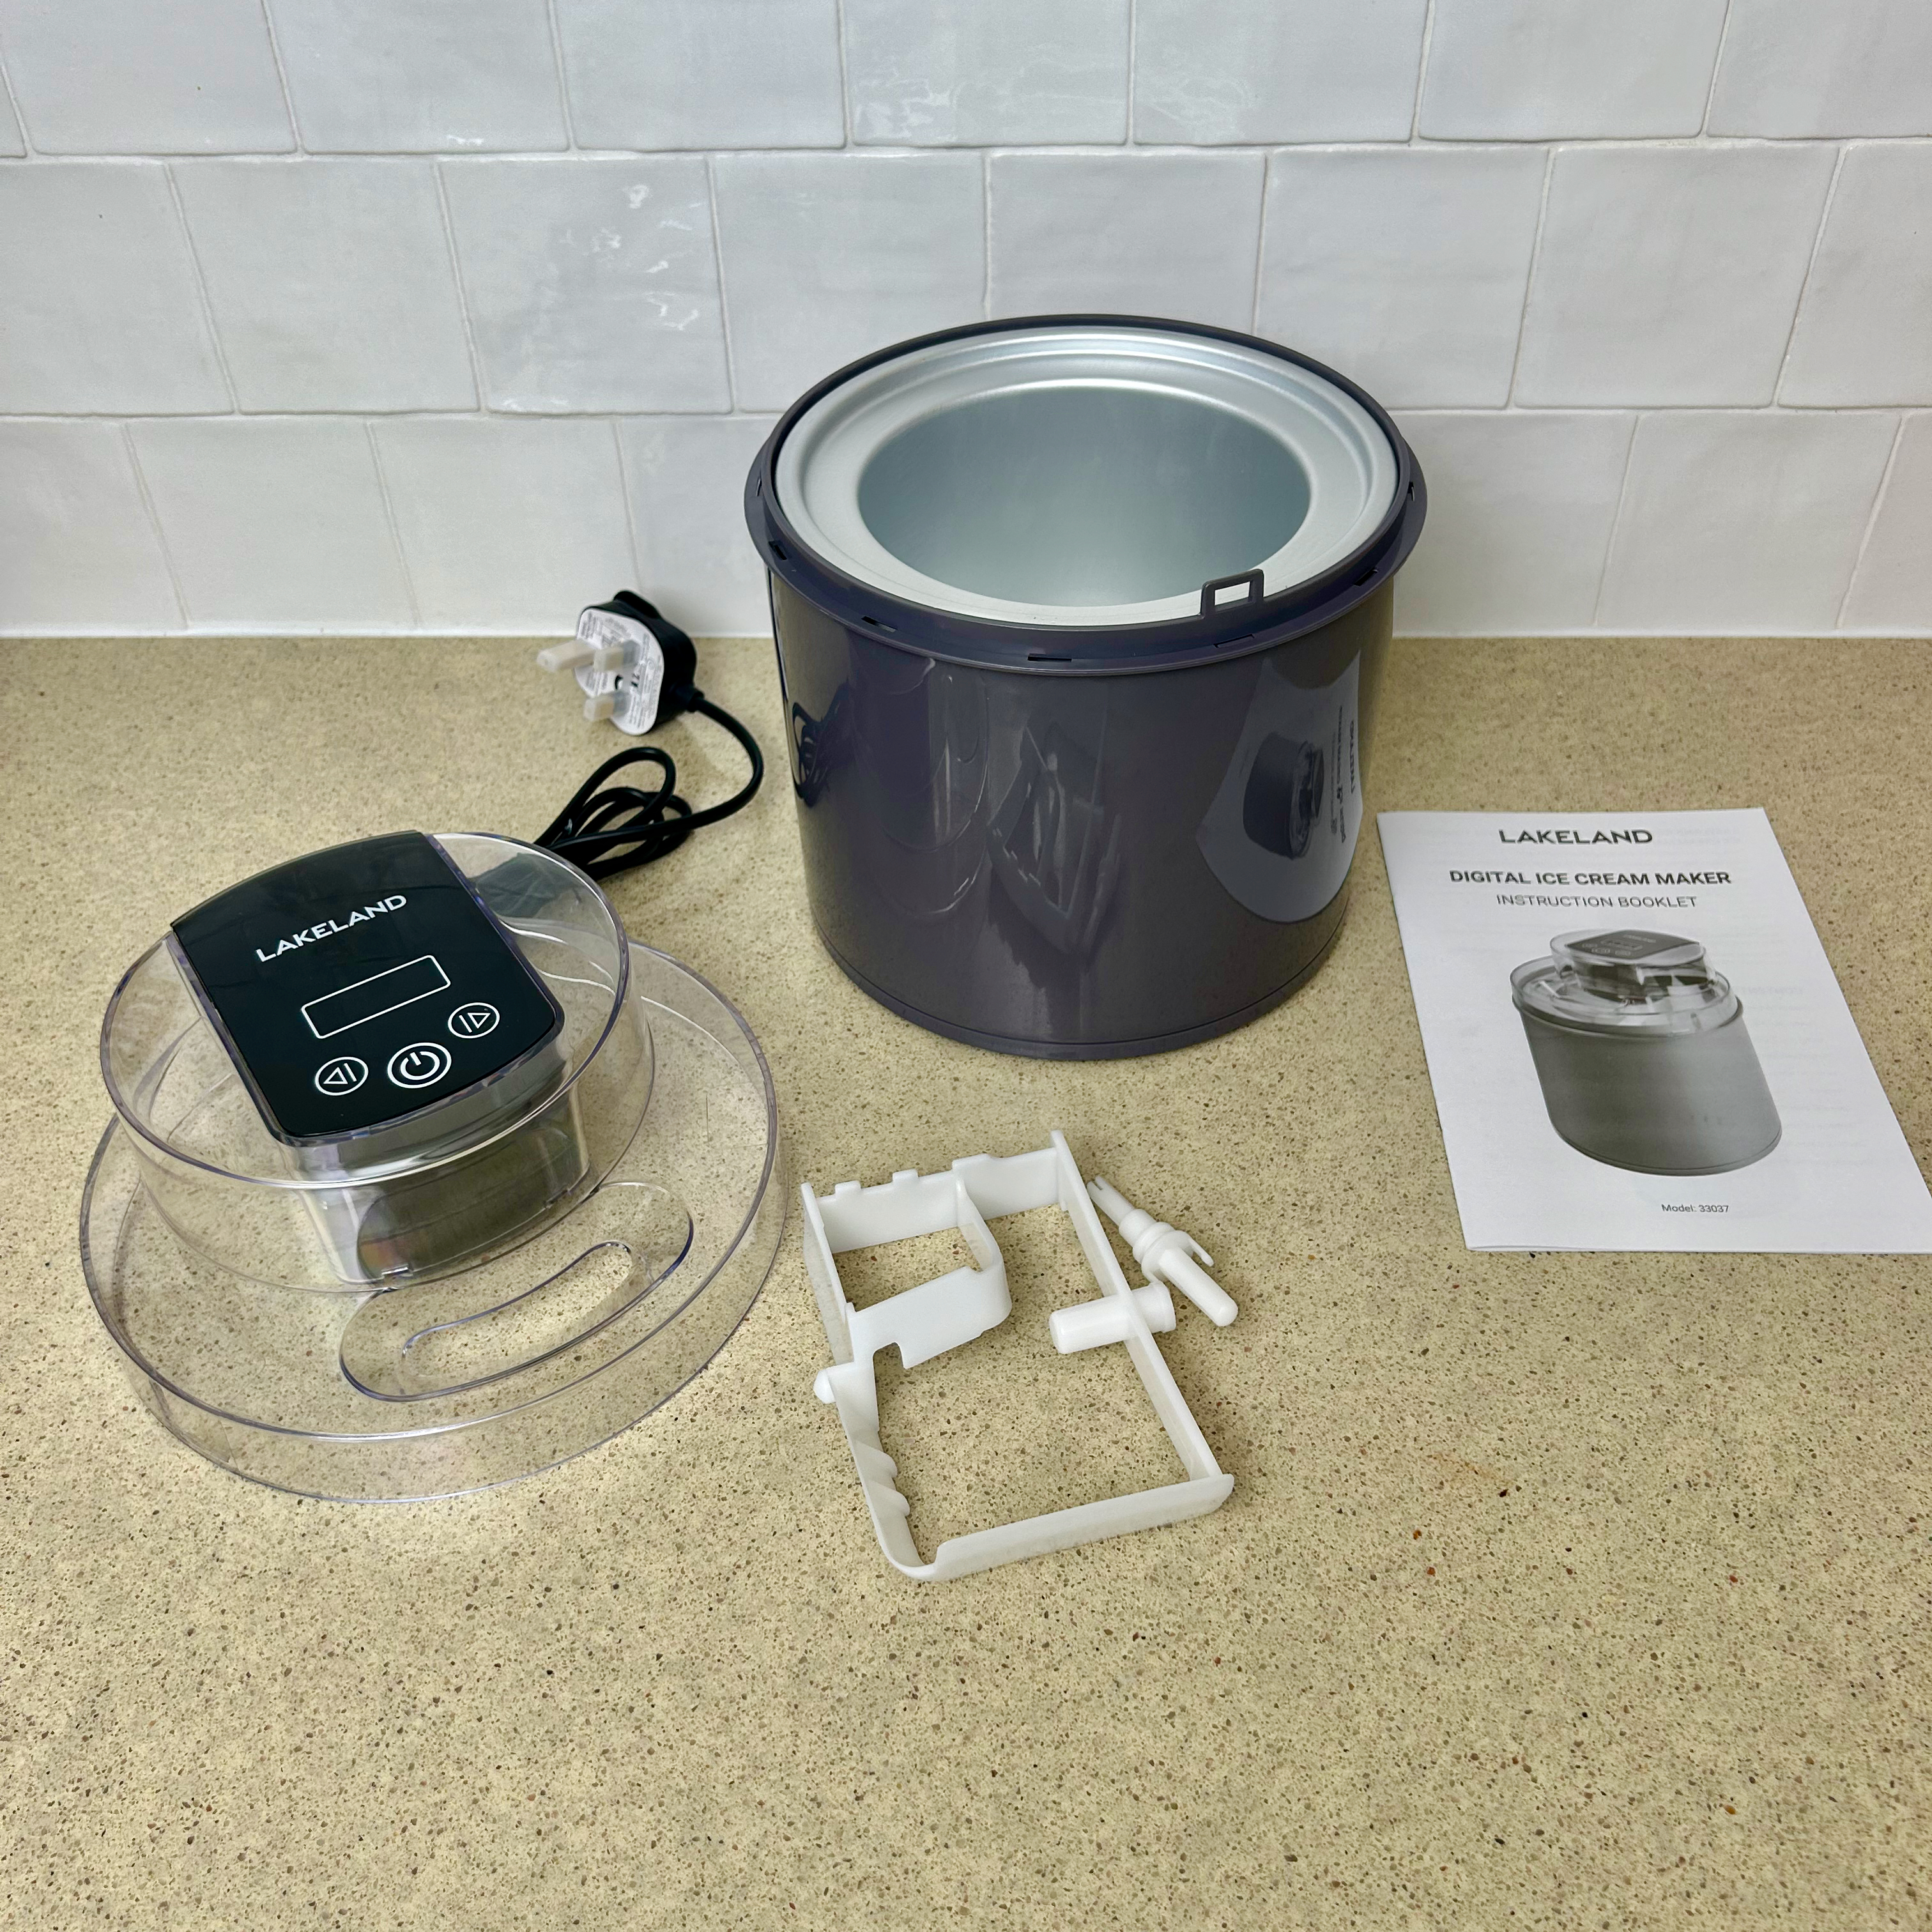
The parts consist of an outer plastic bowl, a freezer bowl with a hoop that it slots into, and a transparent lid with a hole for pouring in your ingredients. Then there’s the paddle that churns the ice cream and this attaches directly into the main motor unit. On the top of the motor there’s a timer and the controls.
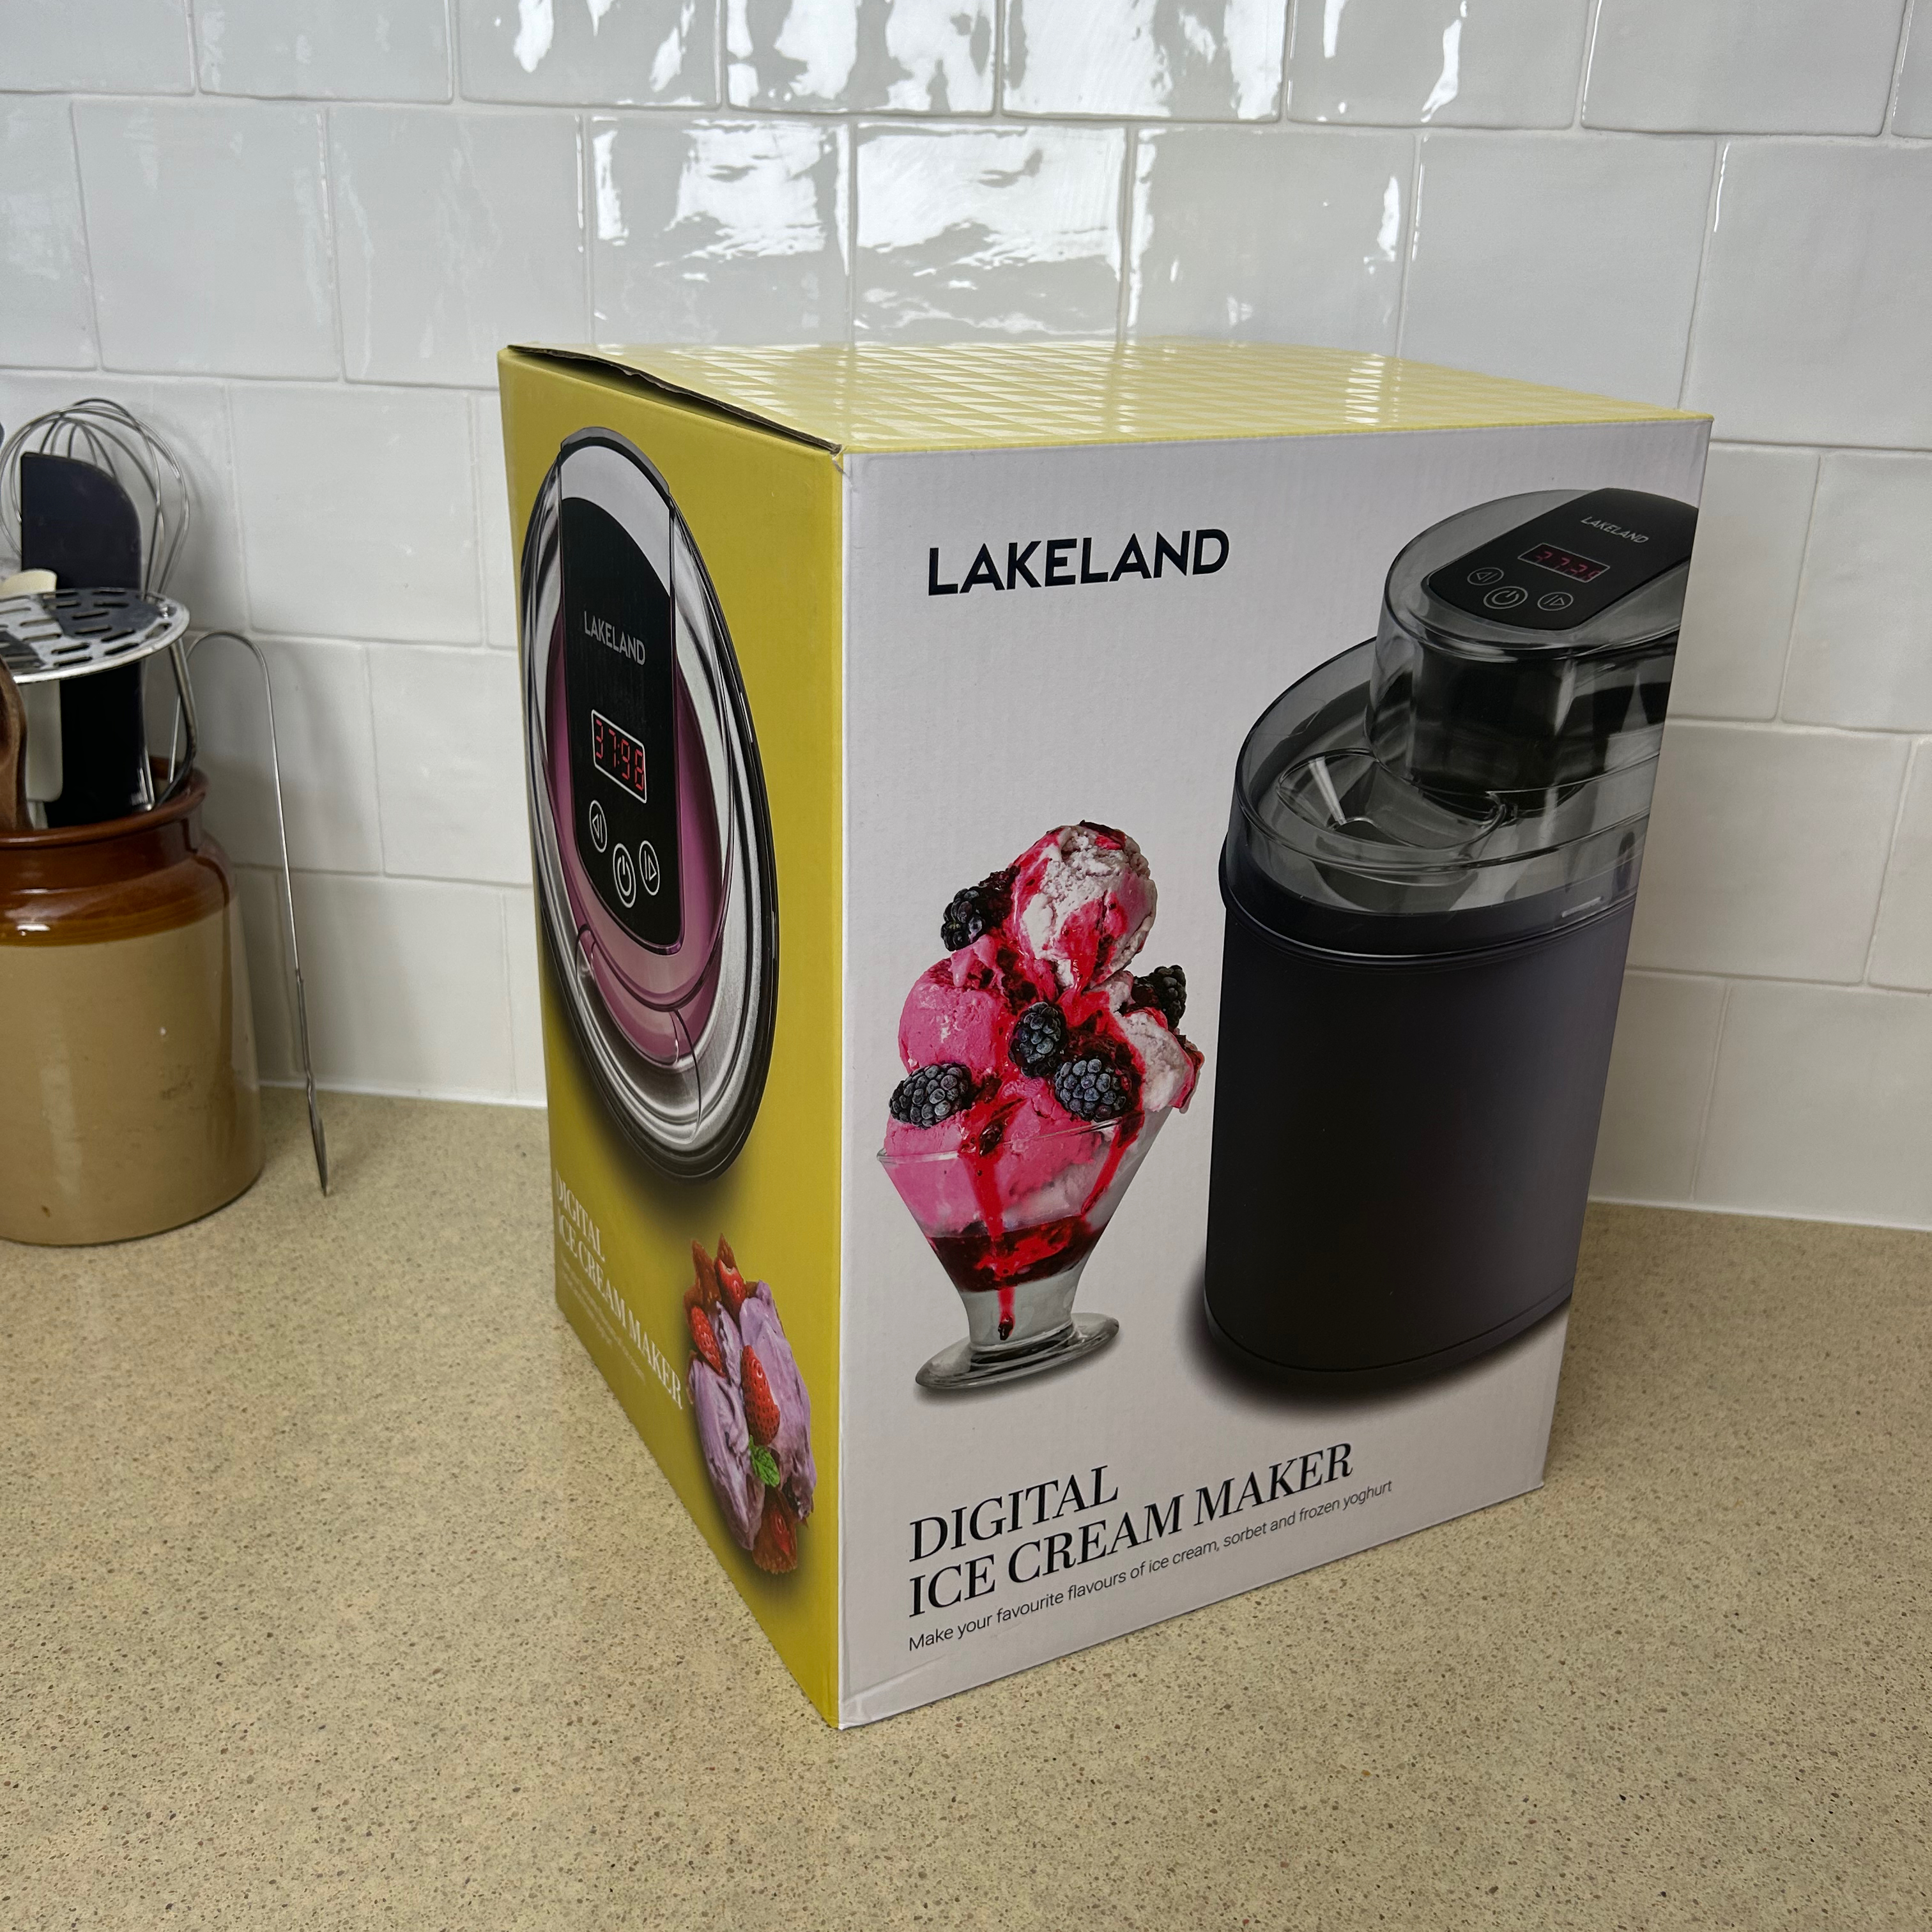
The bowl has to be frozen upright for around 12 hours before you can churn any ice cream. So I immediately found space for it in my freezer. But at 15 cm tall and 19cm diameter, it had to go in my deepest freezer drawer and took up a good ¼ of the drawer - definitely something to keep in mind if you’re usually short on freezer space.
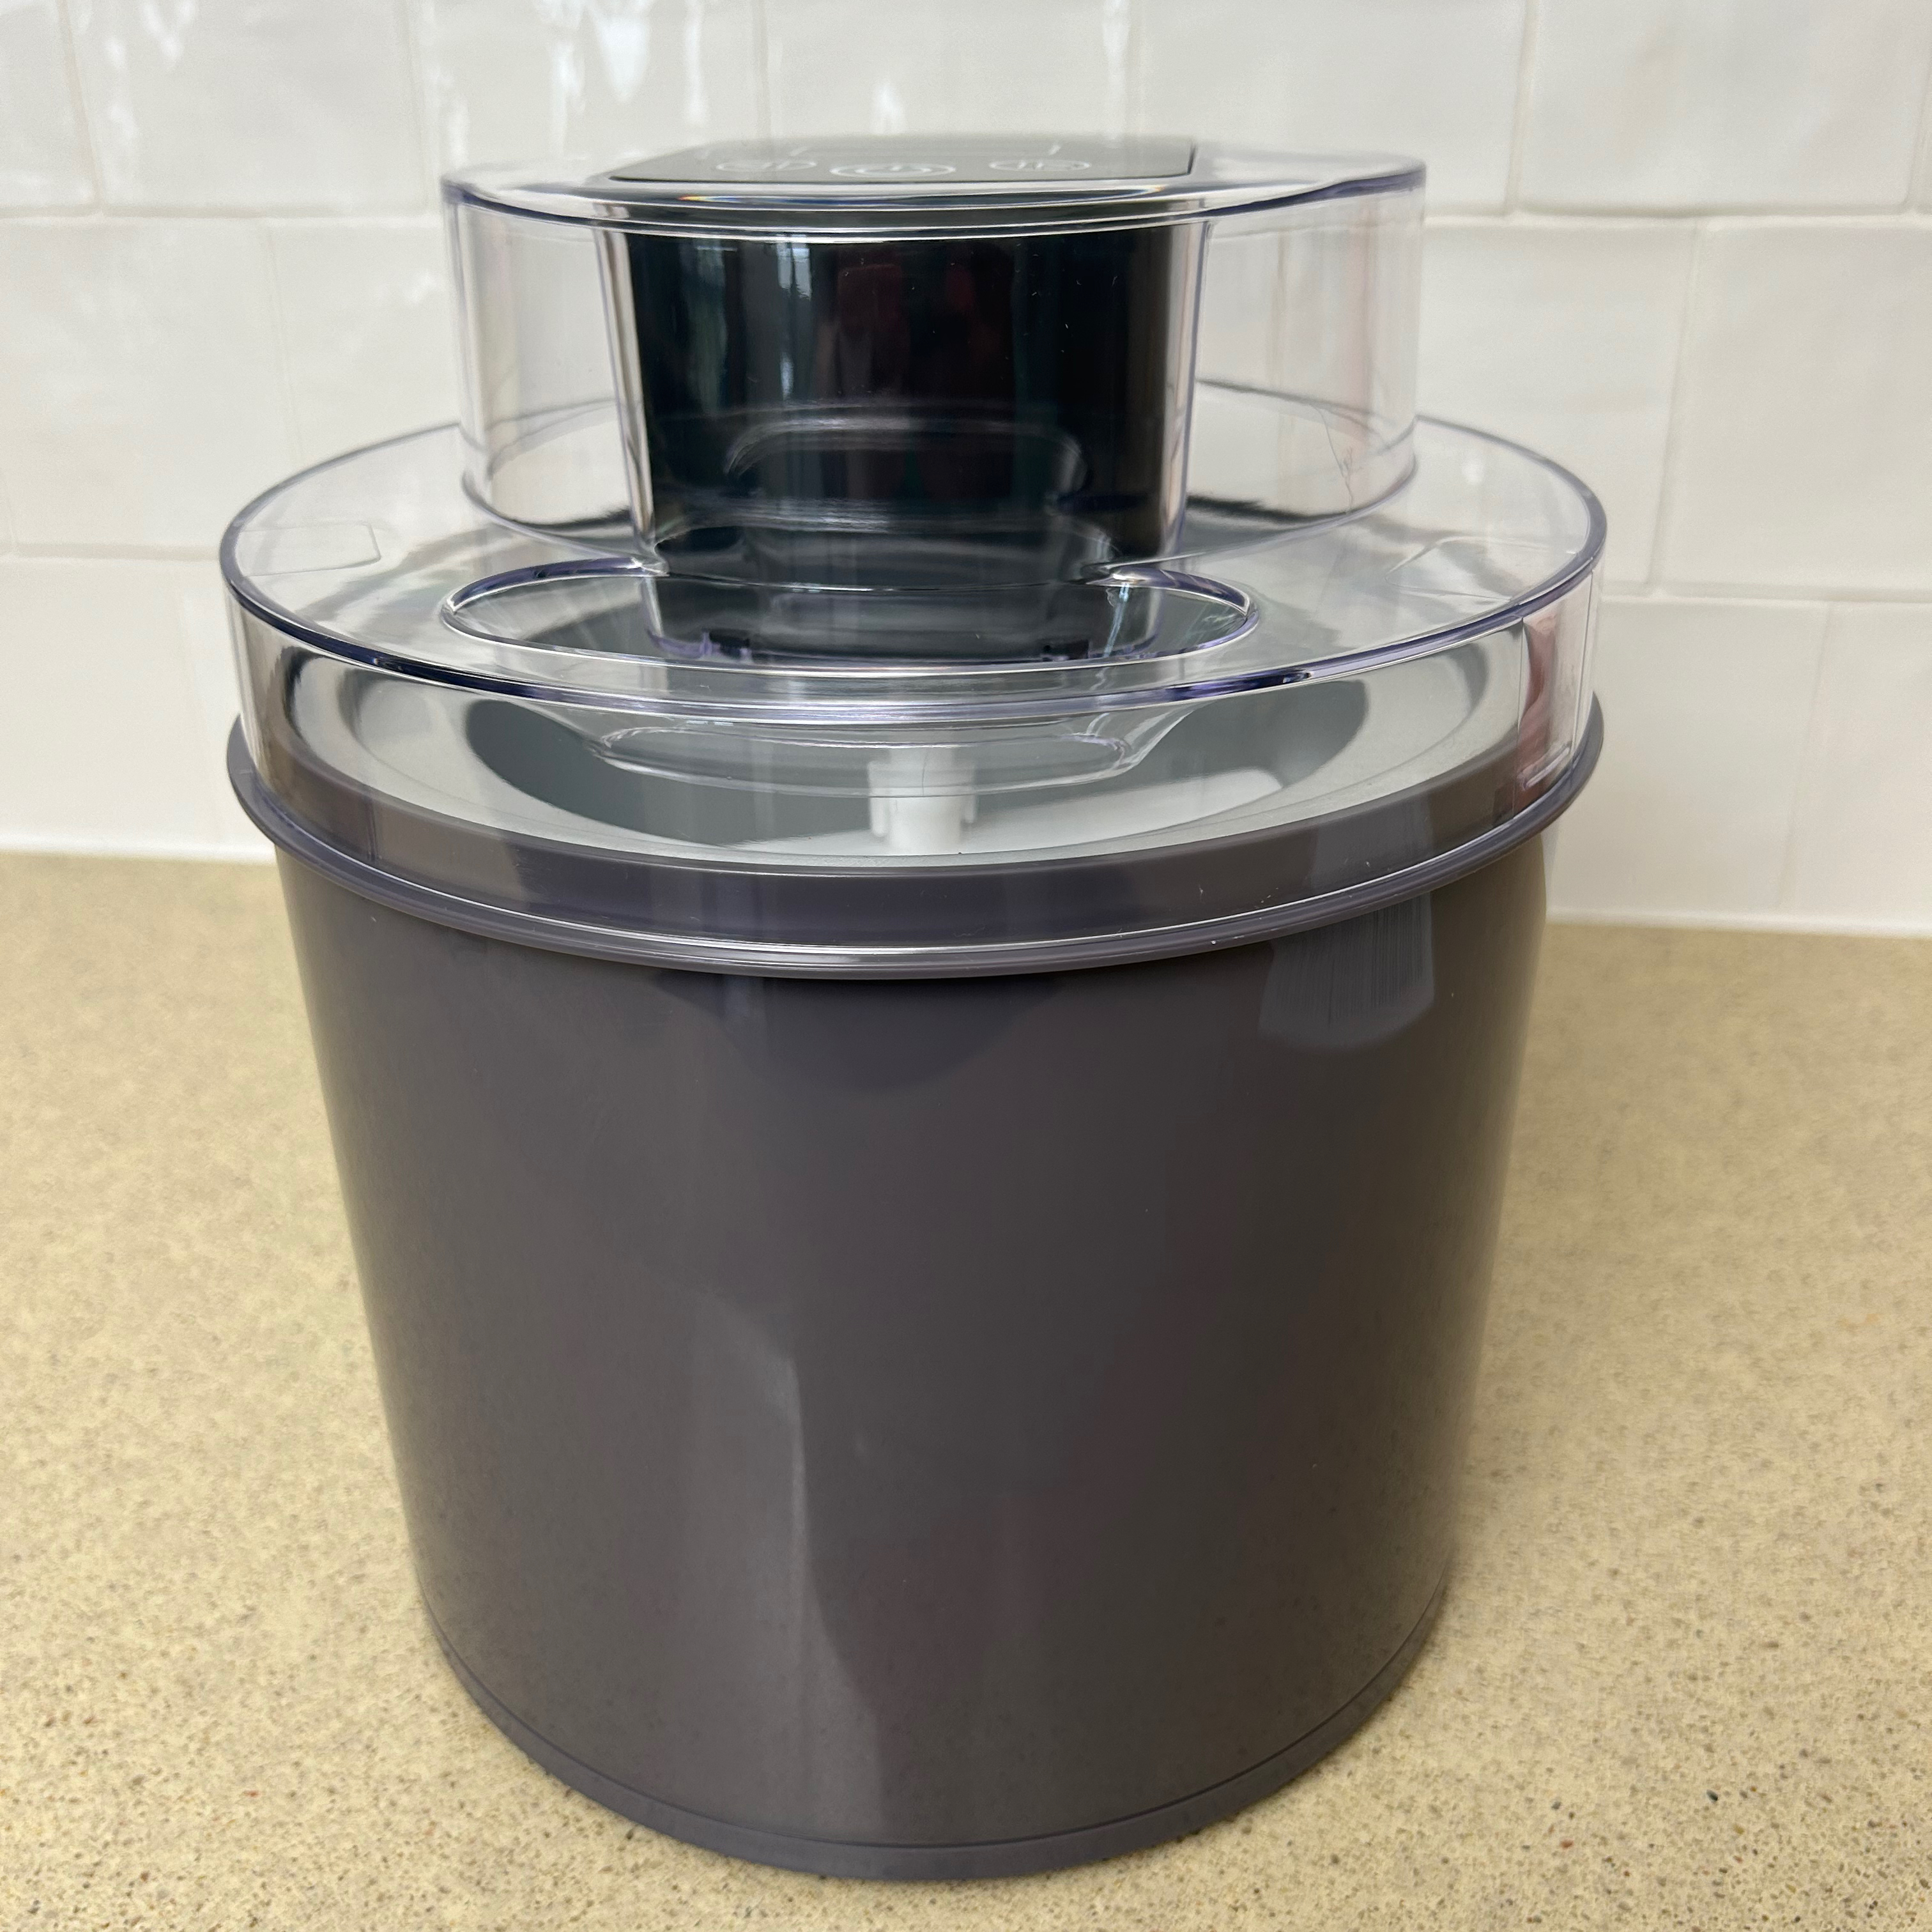
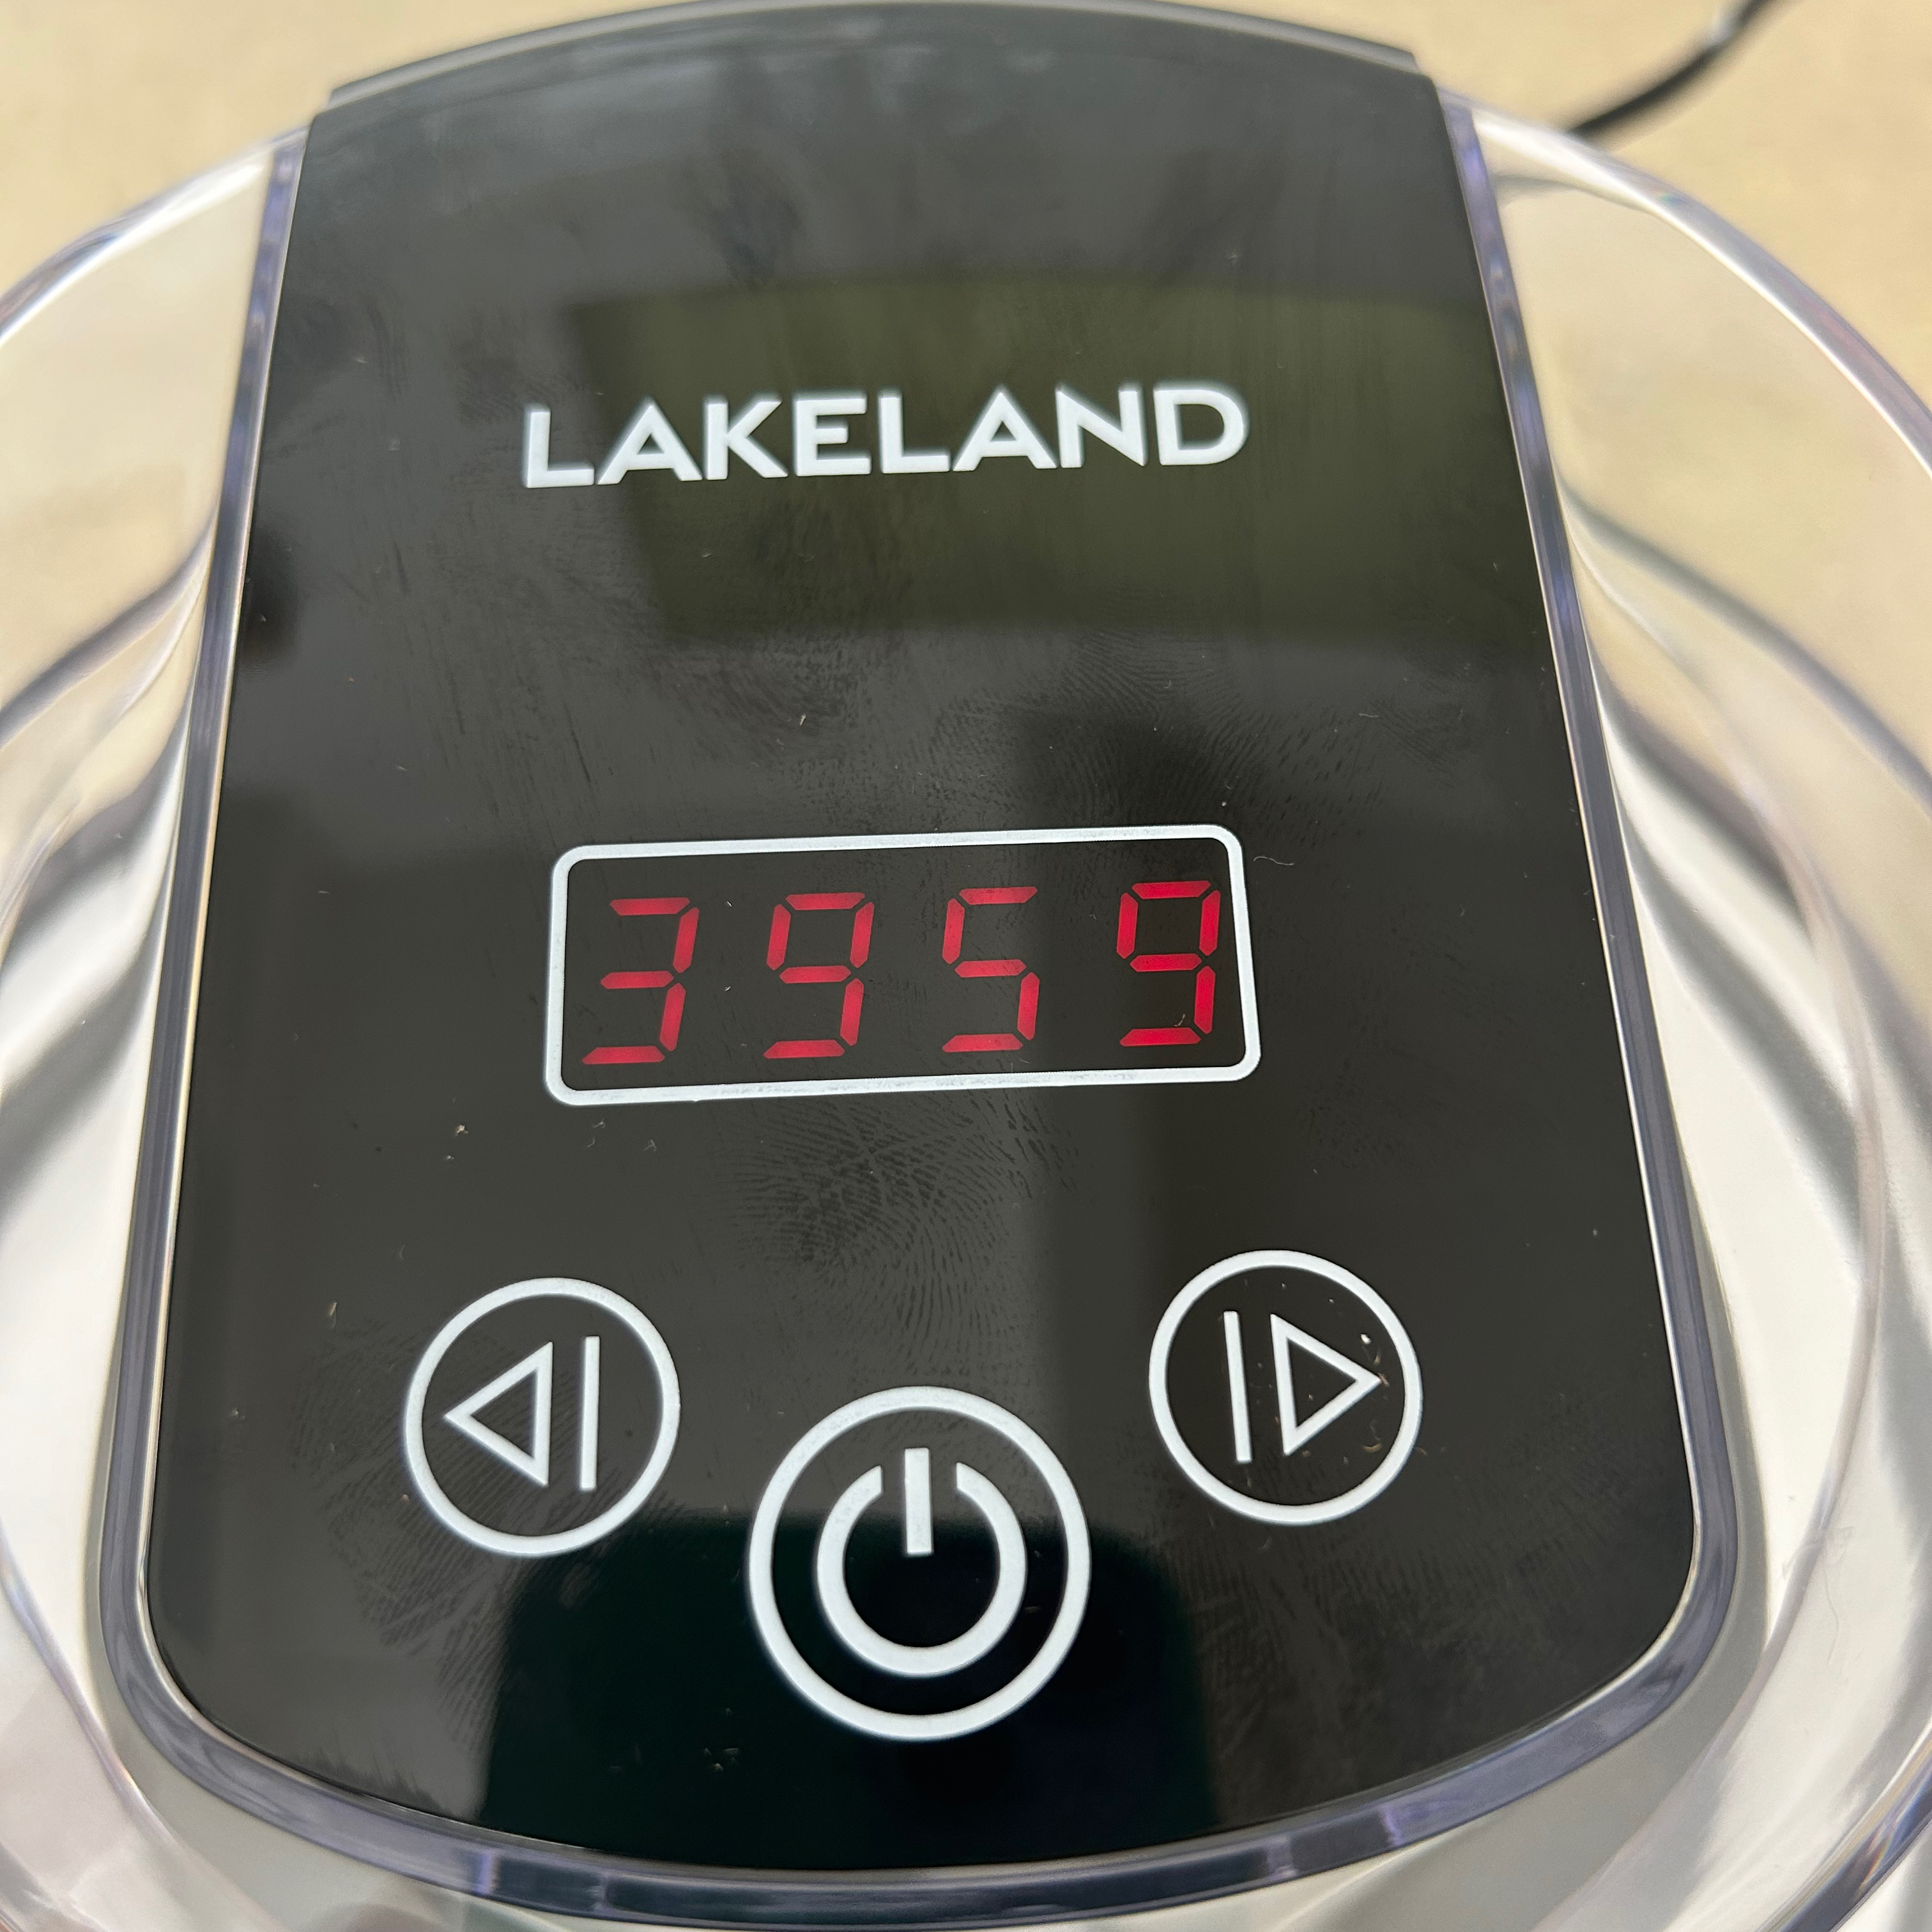
The digital timer defaults to 40 minutes every time it’s switched on. However it’s adjustable in increments of five minutes simply by pressing the arrows on either side of the display. The timer can’t be adjusted once it’s started churning though, to do that, you have to switch it off and back on again.
Be aware that once you’ve pressed the power button to switch the ice cream maker on, you have a window of about three seconds to begin adjusting the timer, otherwise it starts churning and counting down from 40 minutes.
Likewise, after you’ve set your selected time, it waits for the three seconds and then starts churning automatically. Once you’re used to it, this is fine, but it took me by surprise the first couple of times and started churning when I wasn’t expecting it.
What's it like to use?
Vanilla ice cream
Who doesn’t love a good vanilla ice cream? This classic treat was the first thing I churned in this ice cream maker. I went with the vanilla ice cream recipe from the manual. It includes a wholesome set of ingredients; whipping cream, whole milk, vanilla pods, egg yolks, and sugar.
There’s some pre-prep to do like whipping the cream and boiling the milk with the vanilla, but nothing too taxing. I started off with chilled ingredients, but once I’d made up the mixture I popped it back in the fridge to chill for a further 30 minutes.

Once I’d assembled the parts, including the frozen bowl that had been in my freezer overnight, I started it up and set the timer to 25 minutes. It automatically started churning and as it did, I slowly poured in the ice cream mixture using a jug. Which, admittedly, was a better plan than trying to ladle it in from a bowl - I abandoned that messy method very fast!
Because there’s a timer, you can leave it to churn and do other things, but you do need to keep an eye on it, particularly towards the end of the time. The churn times vary depending on the temperature of your ingredients as well as your kitchen, so you may need to stop it sooner or add more time depending on the consistency.
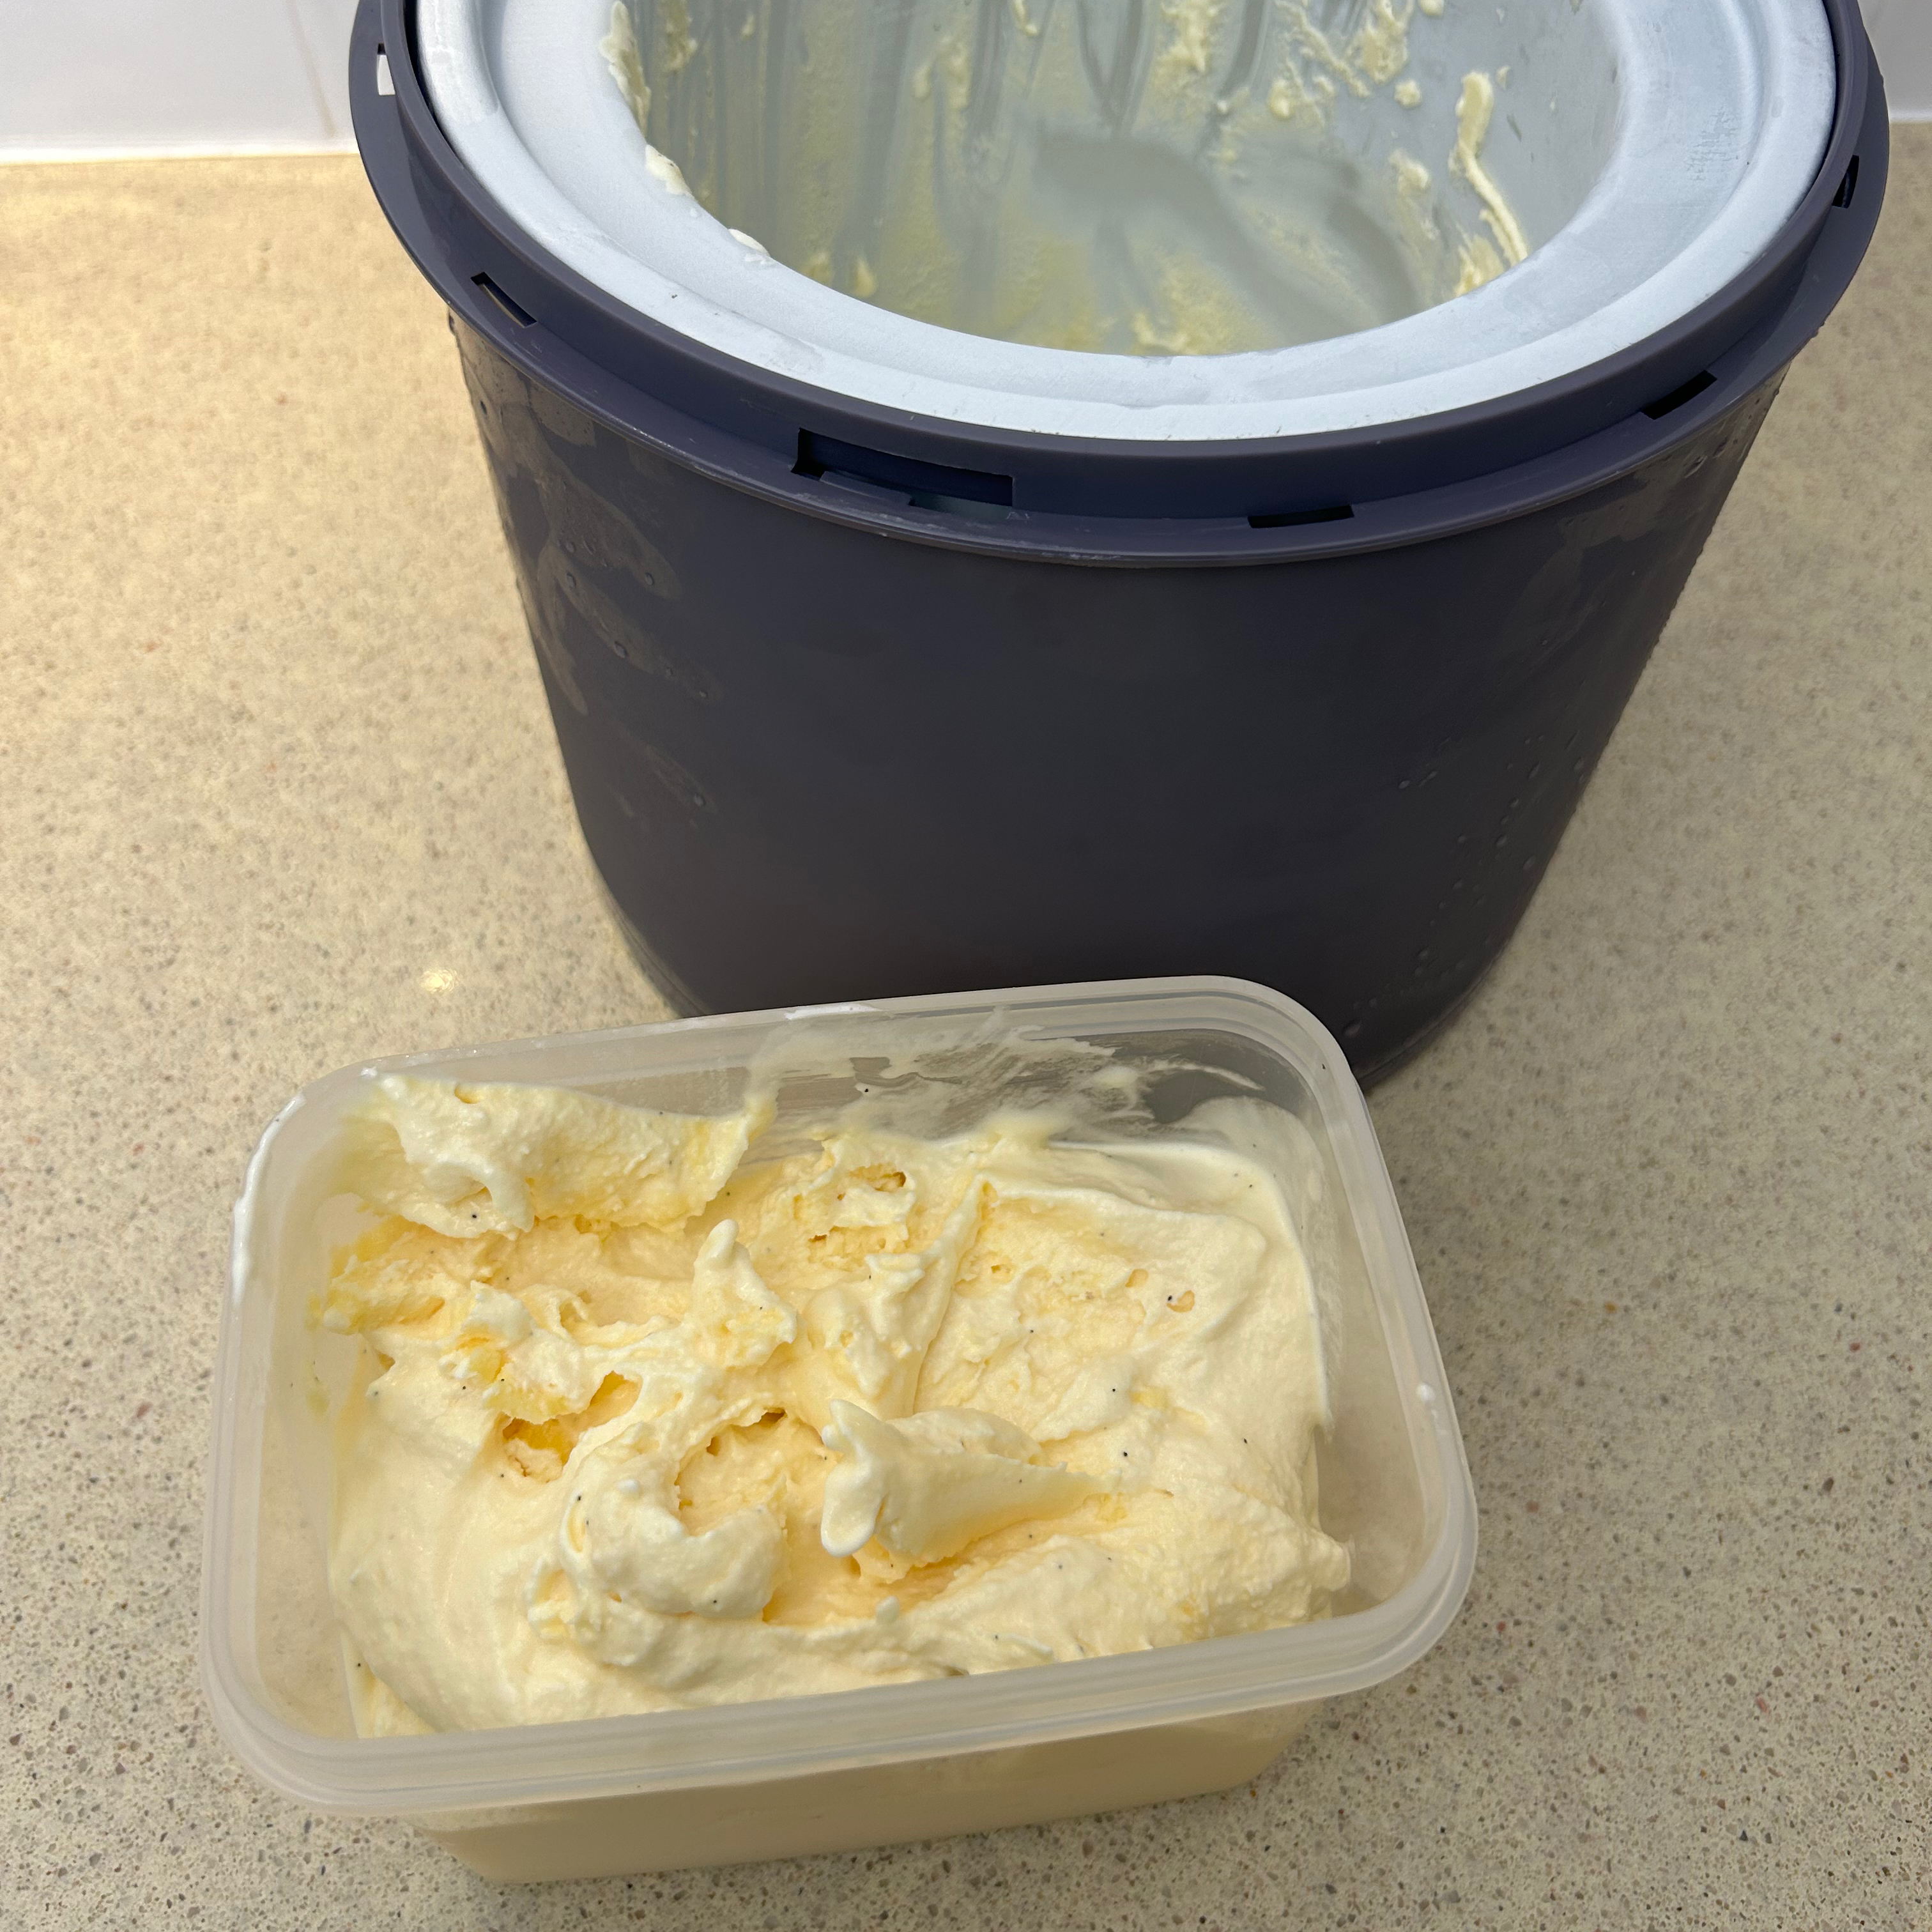
Interestingly, there’s no audible signal when it finishes. Instead, it simply stops churning. When it stopped, the ice cream was still too soft, so I switched it back on for a further 5 minutes to try and get it a little firmer. When it next finished churning it was slightly firmer, but still a soft serve texture.
I scooped it out and into a tub that I put straight in the freezer. The ice cream texture was at the sweet spot that meant it was easy to scoop out. If I’d let it continue for too much longer, it would get too hard and I’d be battling to dig it out.
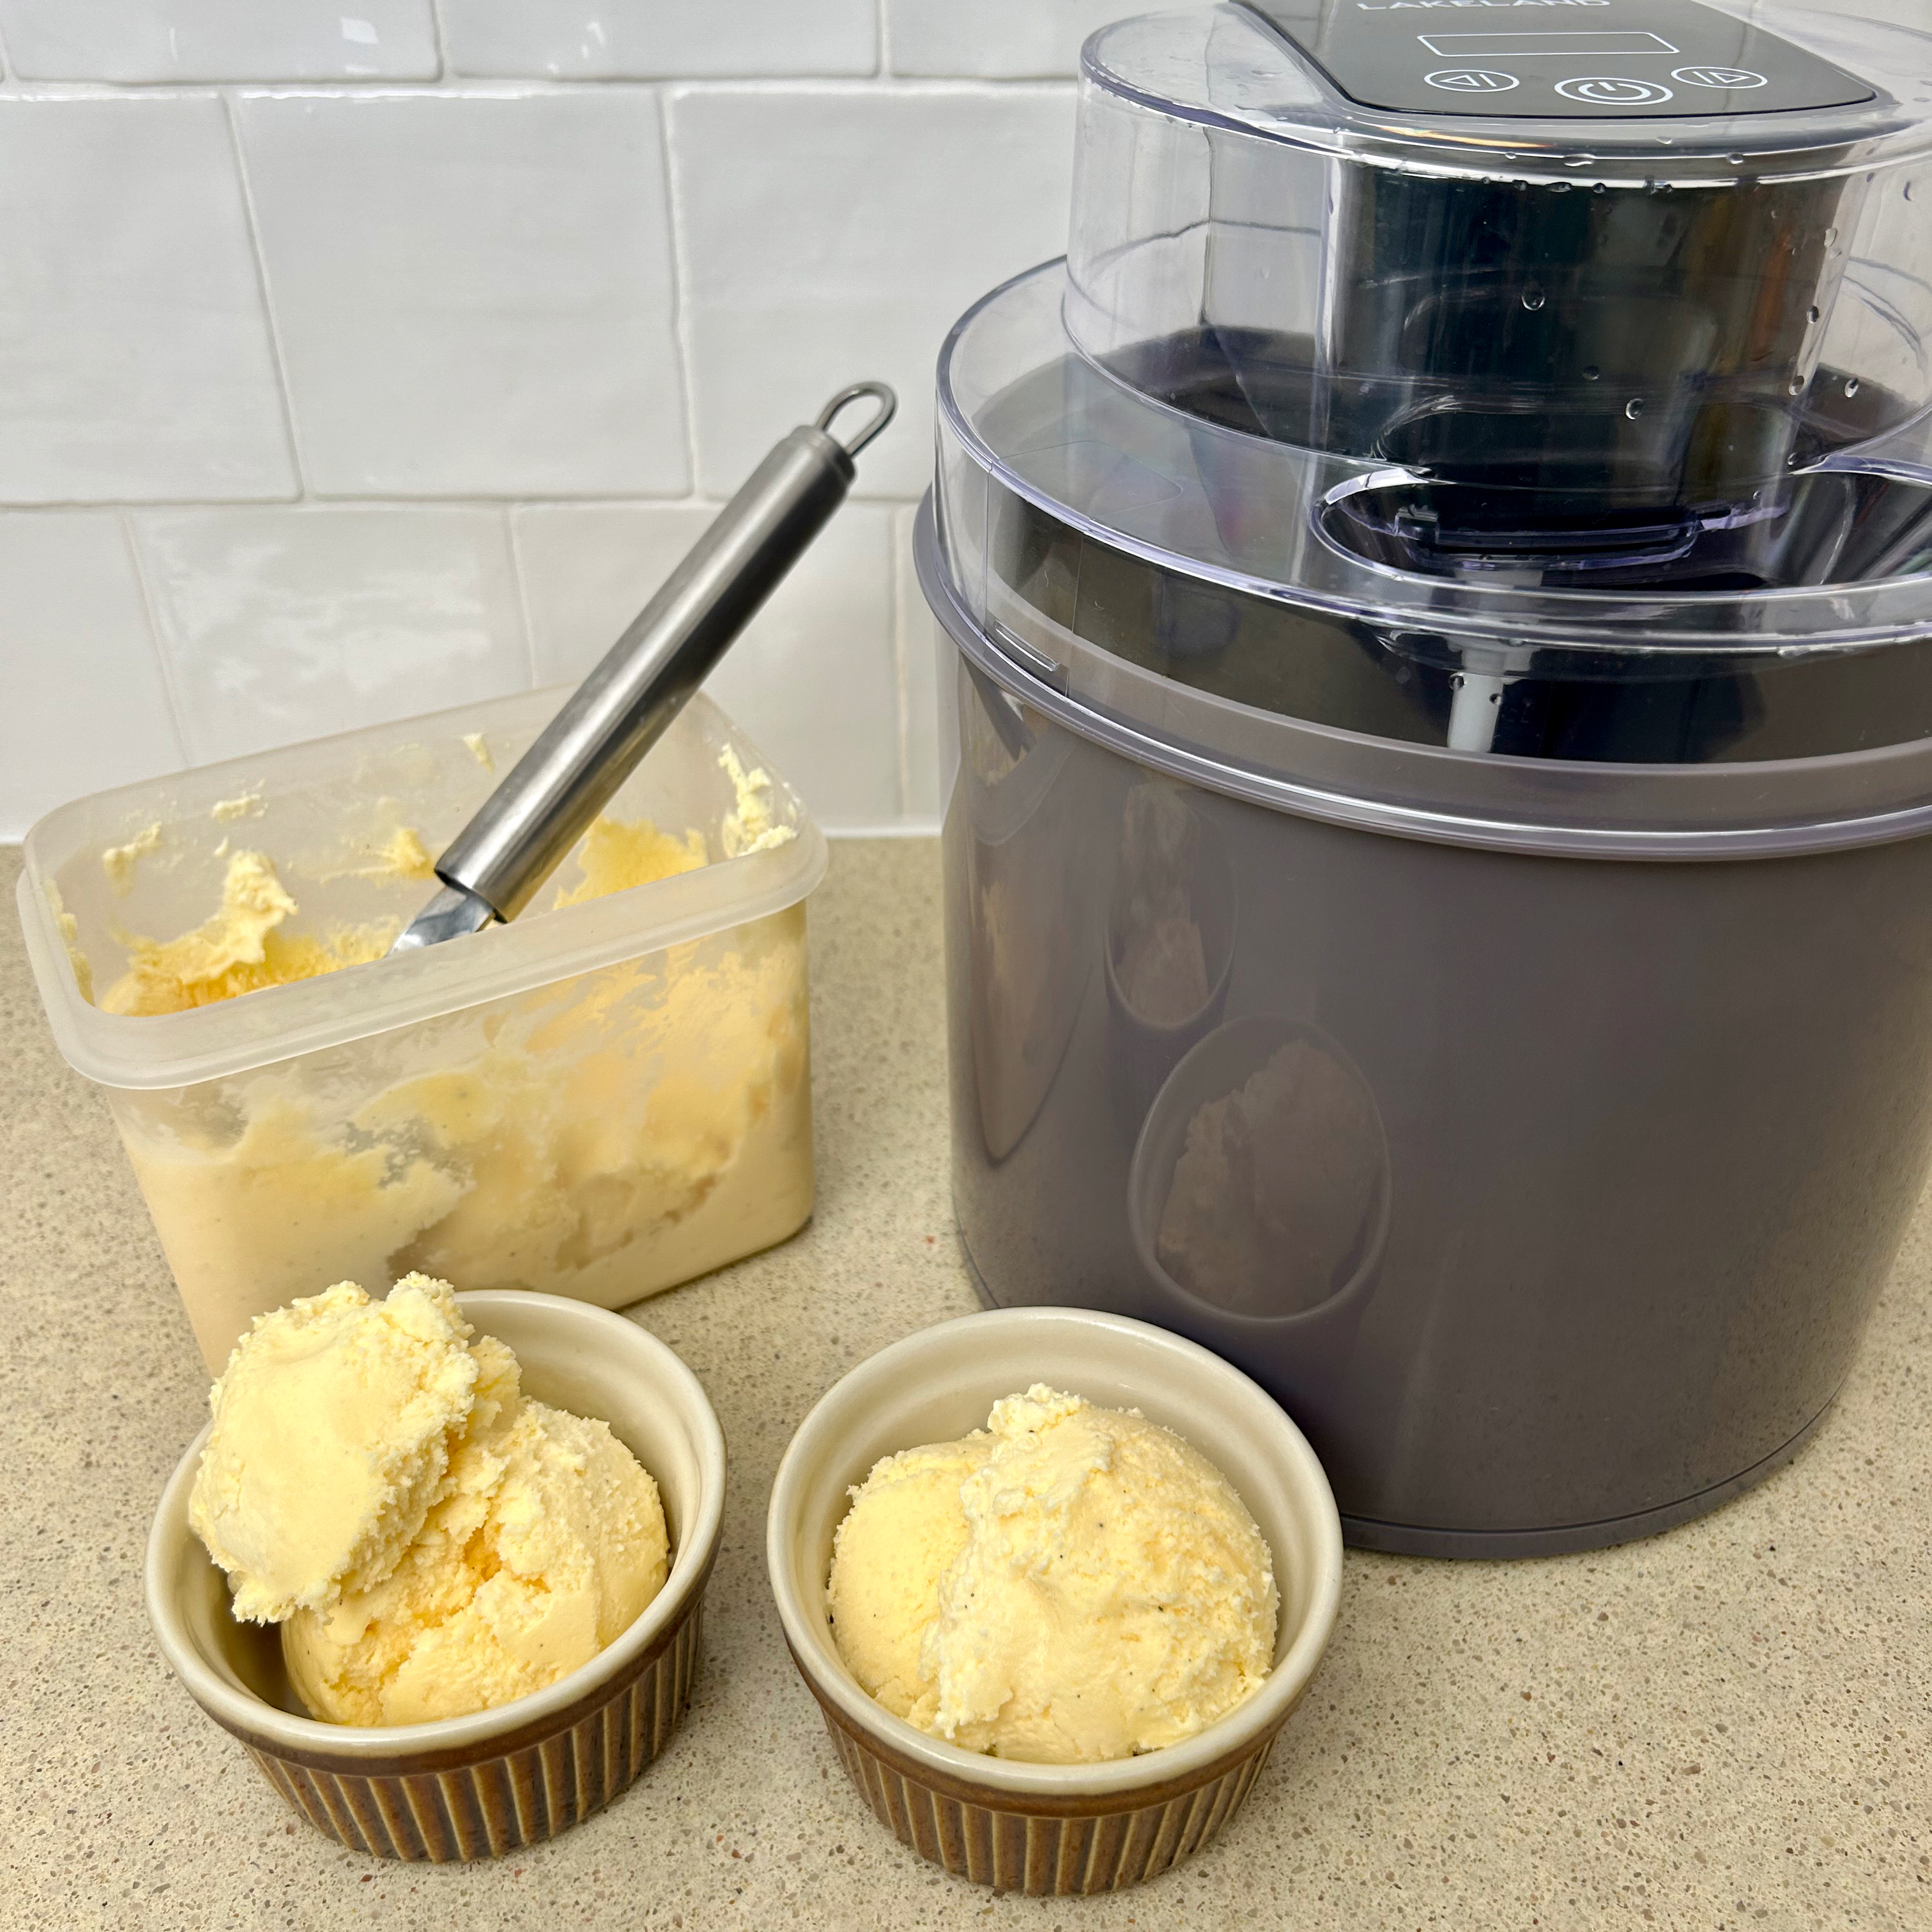
Naturally, I tasted it several times while scooping it out into the tub and the flavour was divine. I could happily have eaten a bowl full of this super soft creamy vanilla ice cream straight from the churner, but I restrained myself and let it chill down to a firmer texture in the freezer. Though I suspect my restraint had more to do with the fact it was 9am and raining, than anything else.
I left it in the freezer for a couple of hours, at which point it was soft enough to scoop out easily, but firm enough to hold its shape in the bowl without collapsing and melting too quickly. There were no ice crystals and it had a light, creamy texture, and the perfect vanilla flavour.
Making sorbet
This sweet and tangy sorbet is made with just lemons, sugar, and water. But because you use hot water to dissolve the sugar, the mixture has to be made in advance, to allow time for it to cool before churning.
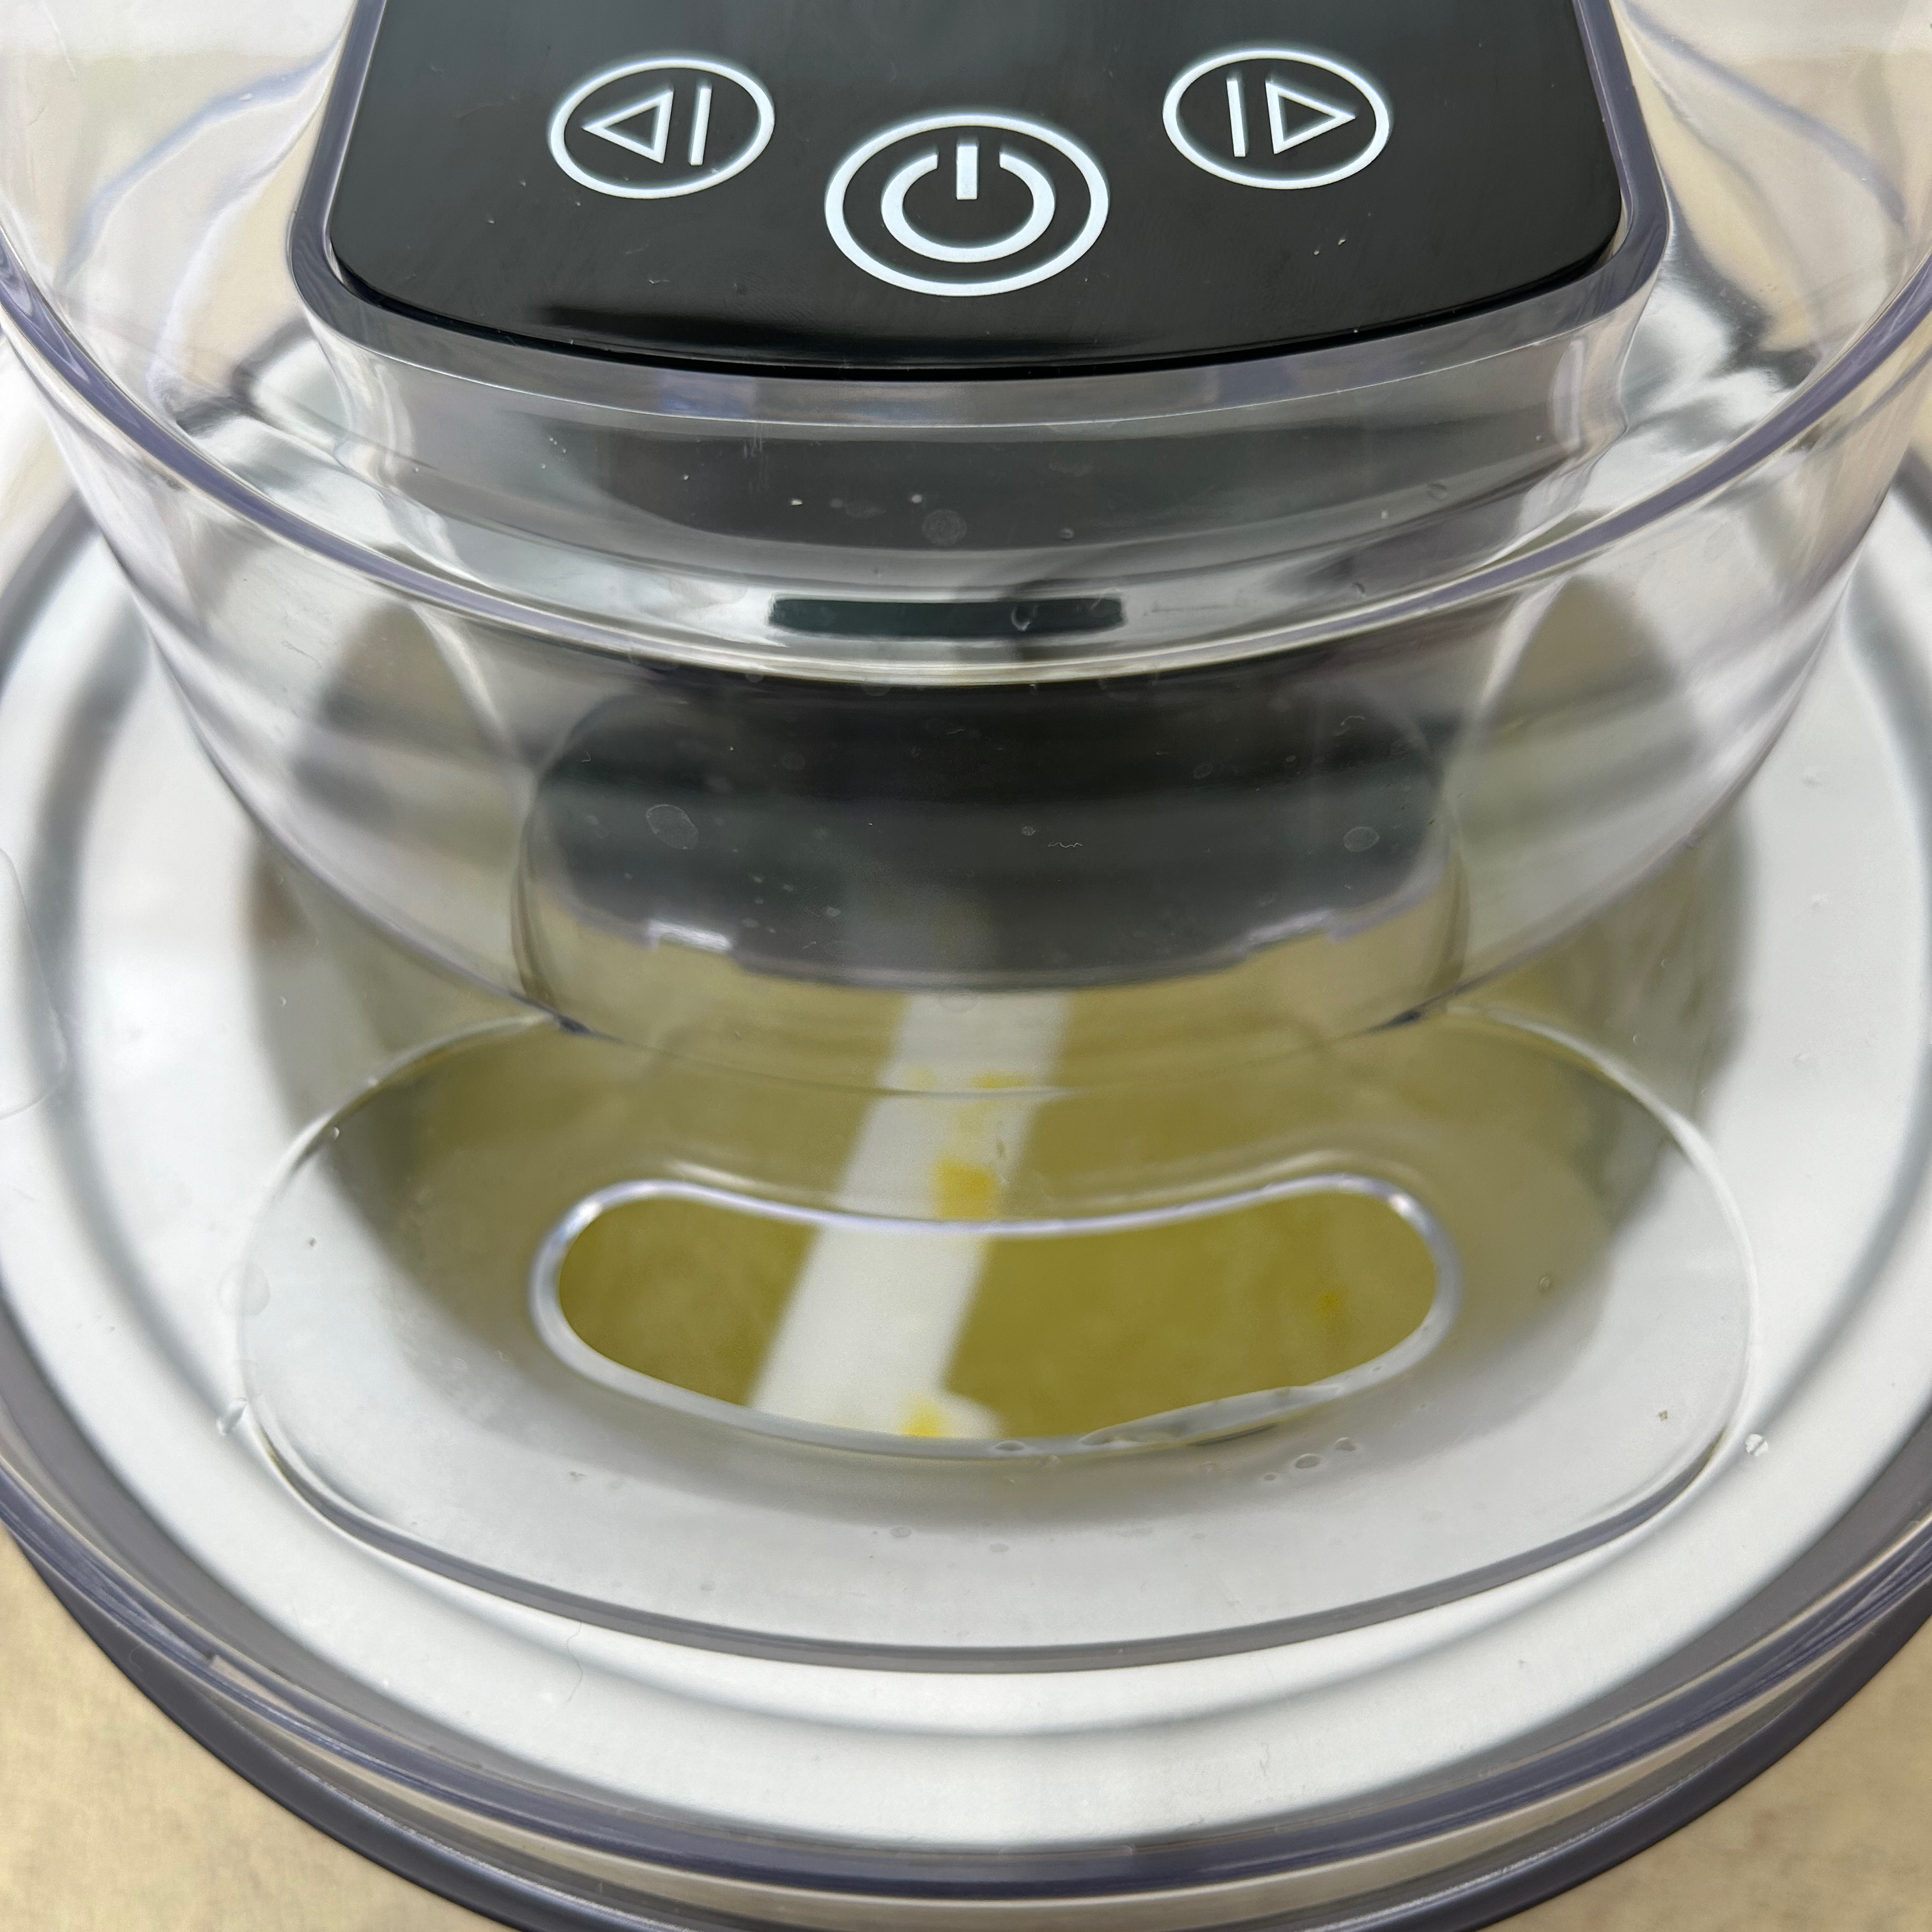
I churned it for 40 minutes, and it still had the texture of a slushy drink. So it does have to go in the freezer for a few hours to reach a firmer, more frozen sorbet texture. Thankfully though, even after being in the freezer overnight, it remained soft enough to scoop out easily.

The texture was smooth without any icy chunks, and the combination of the refreshing sour lemon with the sweet sugariness is unbeatable on a hot day. It’s also, as I found out, a great base for a cocktail or mocktail.
Making frozen yoghurt
This is another recipe (chocolate orange frozen yoghurt) from the booklet that came in the box. Now, while they’ve called it a frozen yoghurt, it does also contain cream and milk, so it’s probably more of a hybrid between a frozen yoghurt and an ice cream. Nevertheless, dark chocolate and orange is right up my street so I couldn’t wait to give it a try.
It’s pretty easy to make the mixture. You start off by warming the milk with the sugar and cocoa powder - essentially making a hot chocolate. Then, once cooled, this is mixed with all the other ingredients, including orange juice and rind, yoghurt and cream.
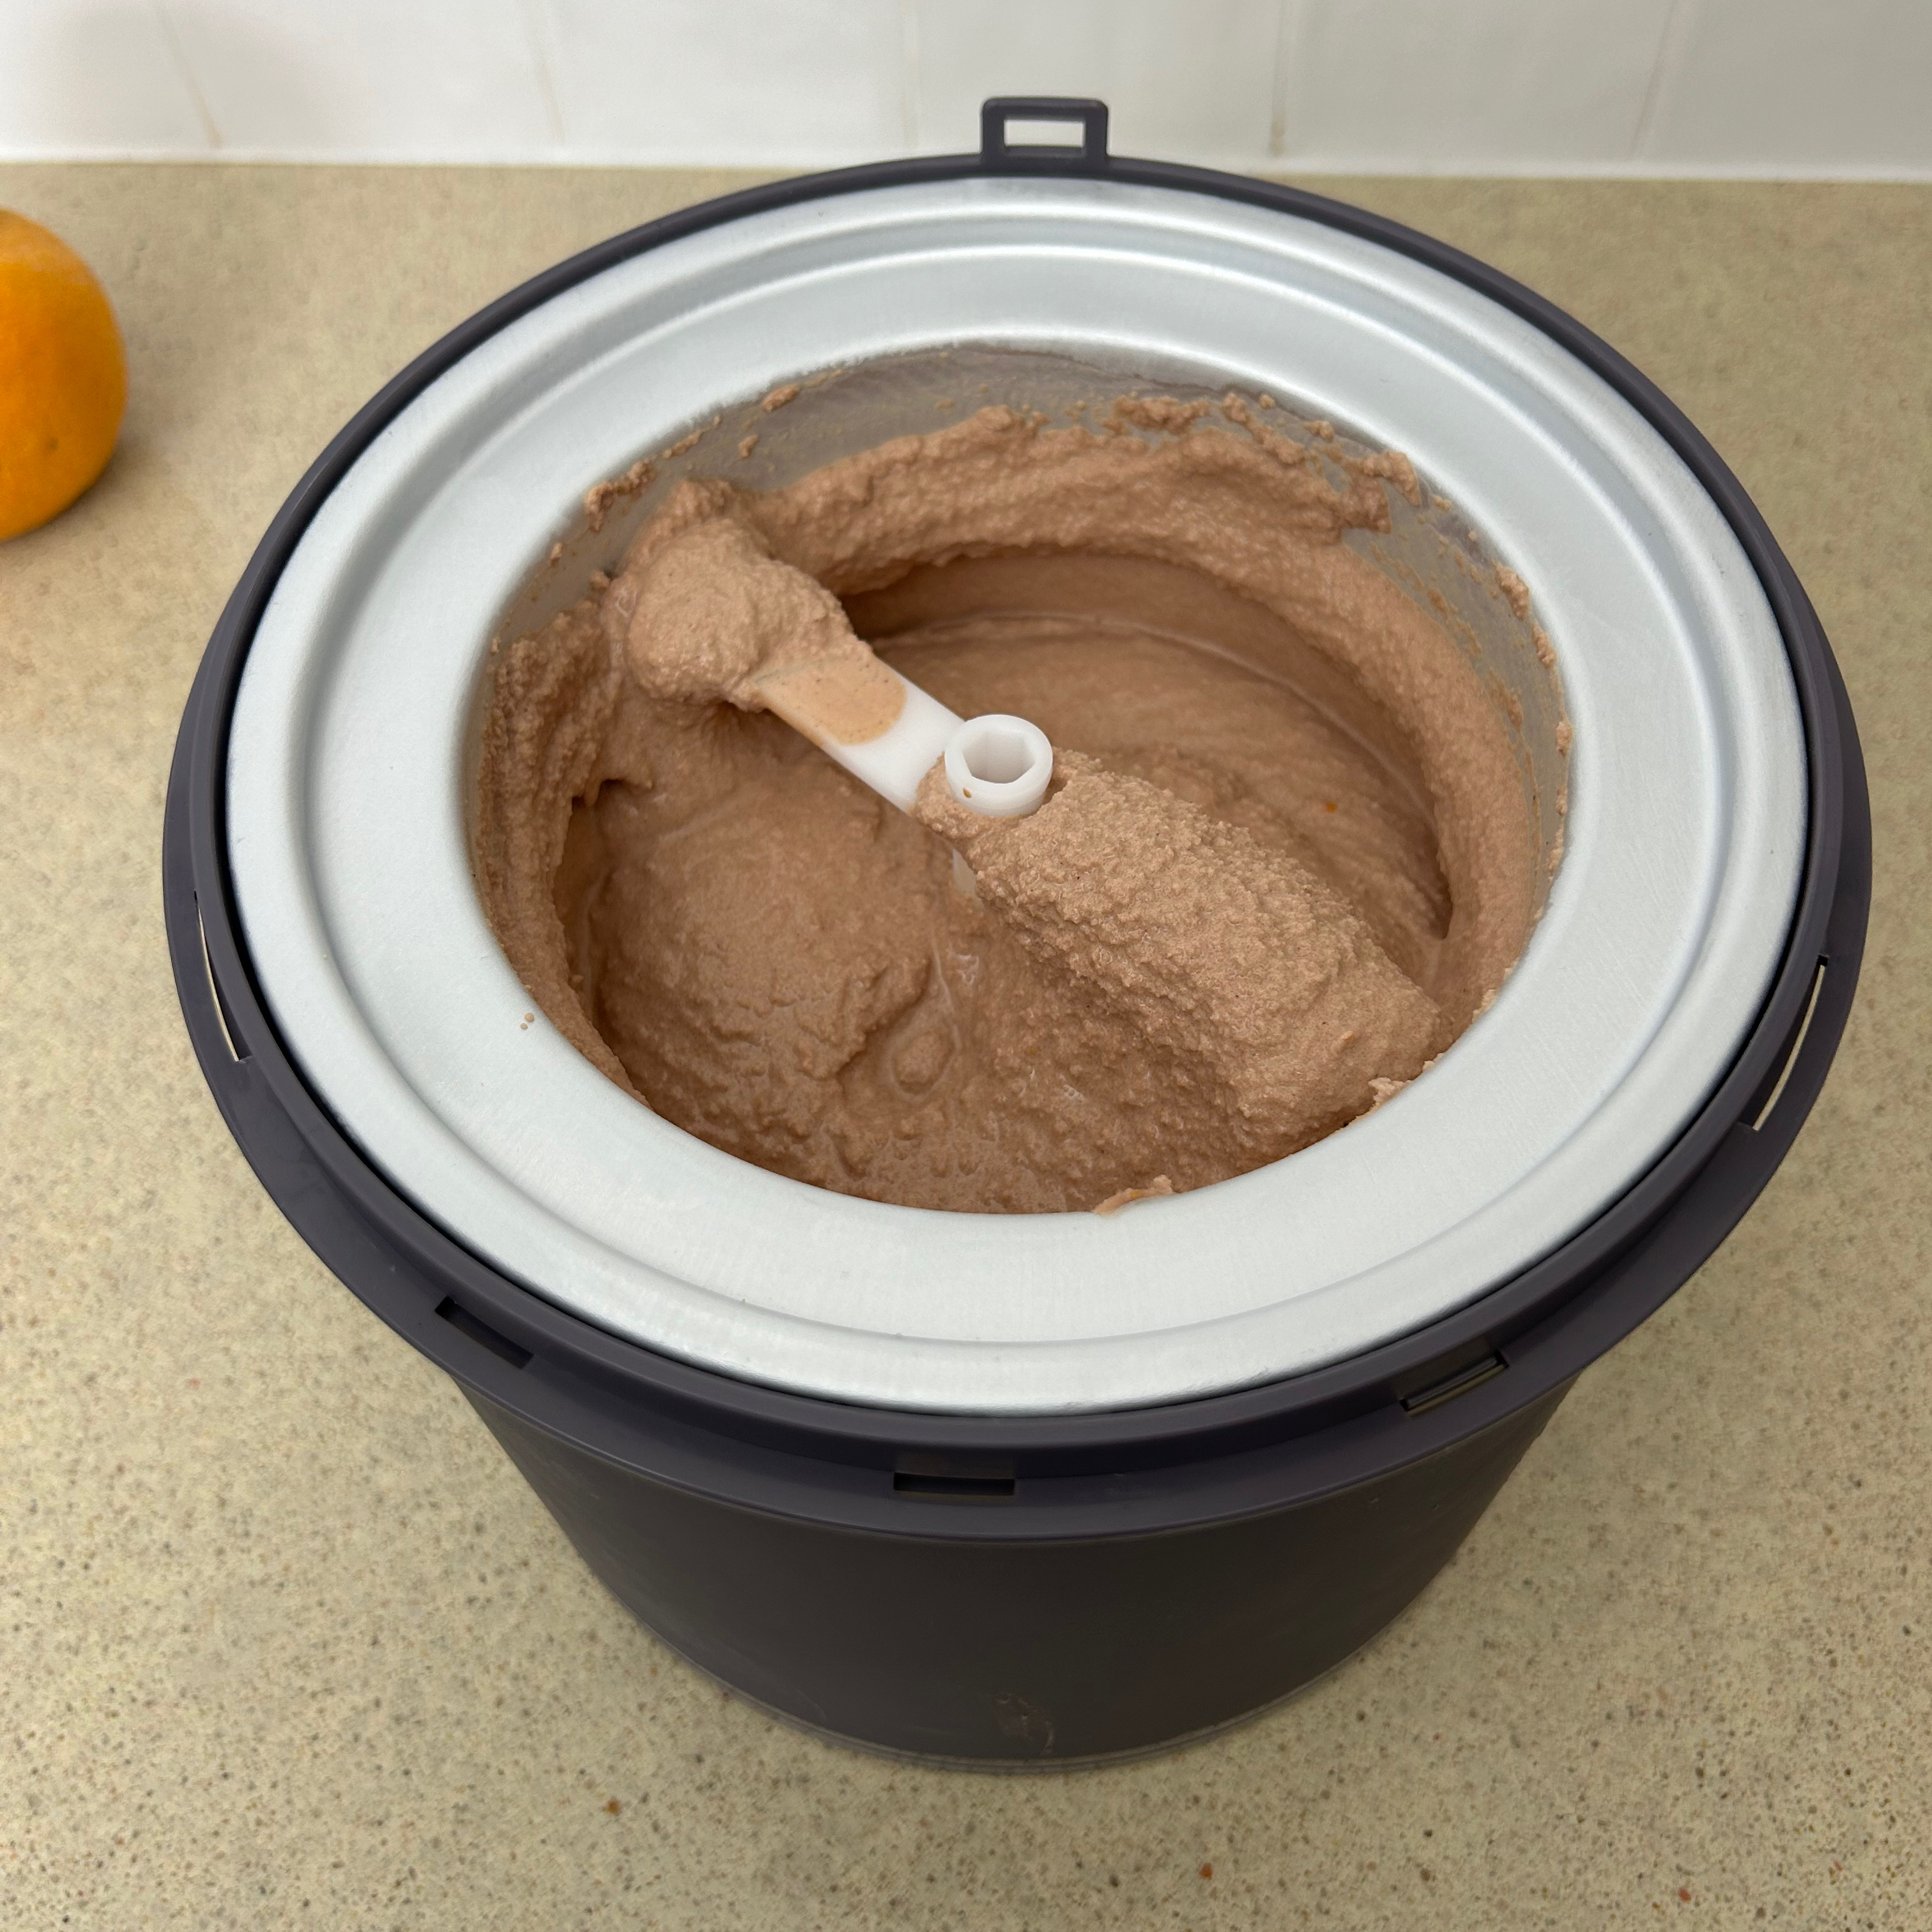
This time the recipe doesn’t give a churn time, it just says to churn until it reaches the desired consistency. So I set the timer to 30 minutes and kept an eye on it. After 45 minutes, it was still too soft to serve, so I popped it in the freezer for a couple of hours.
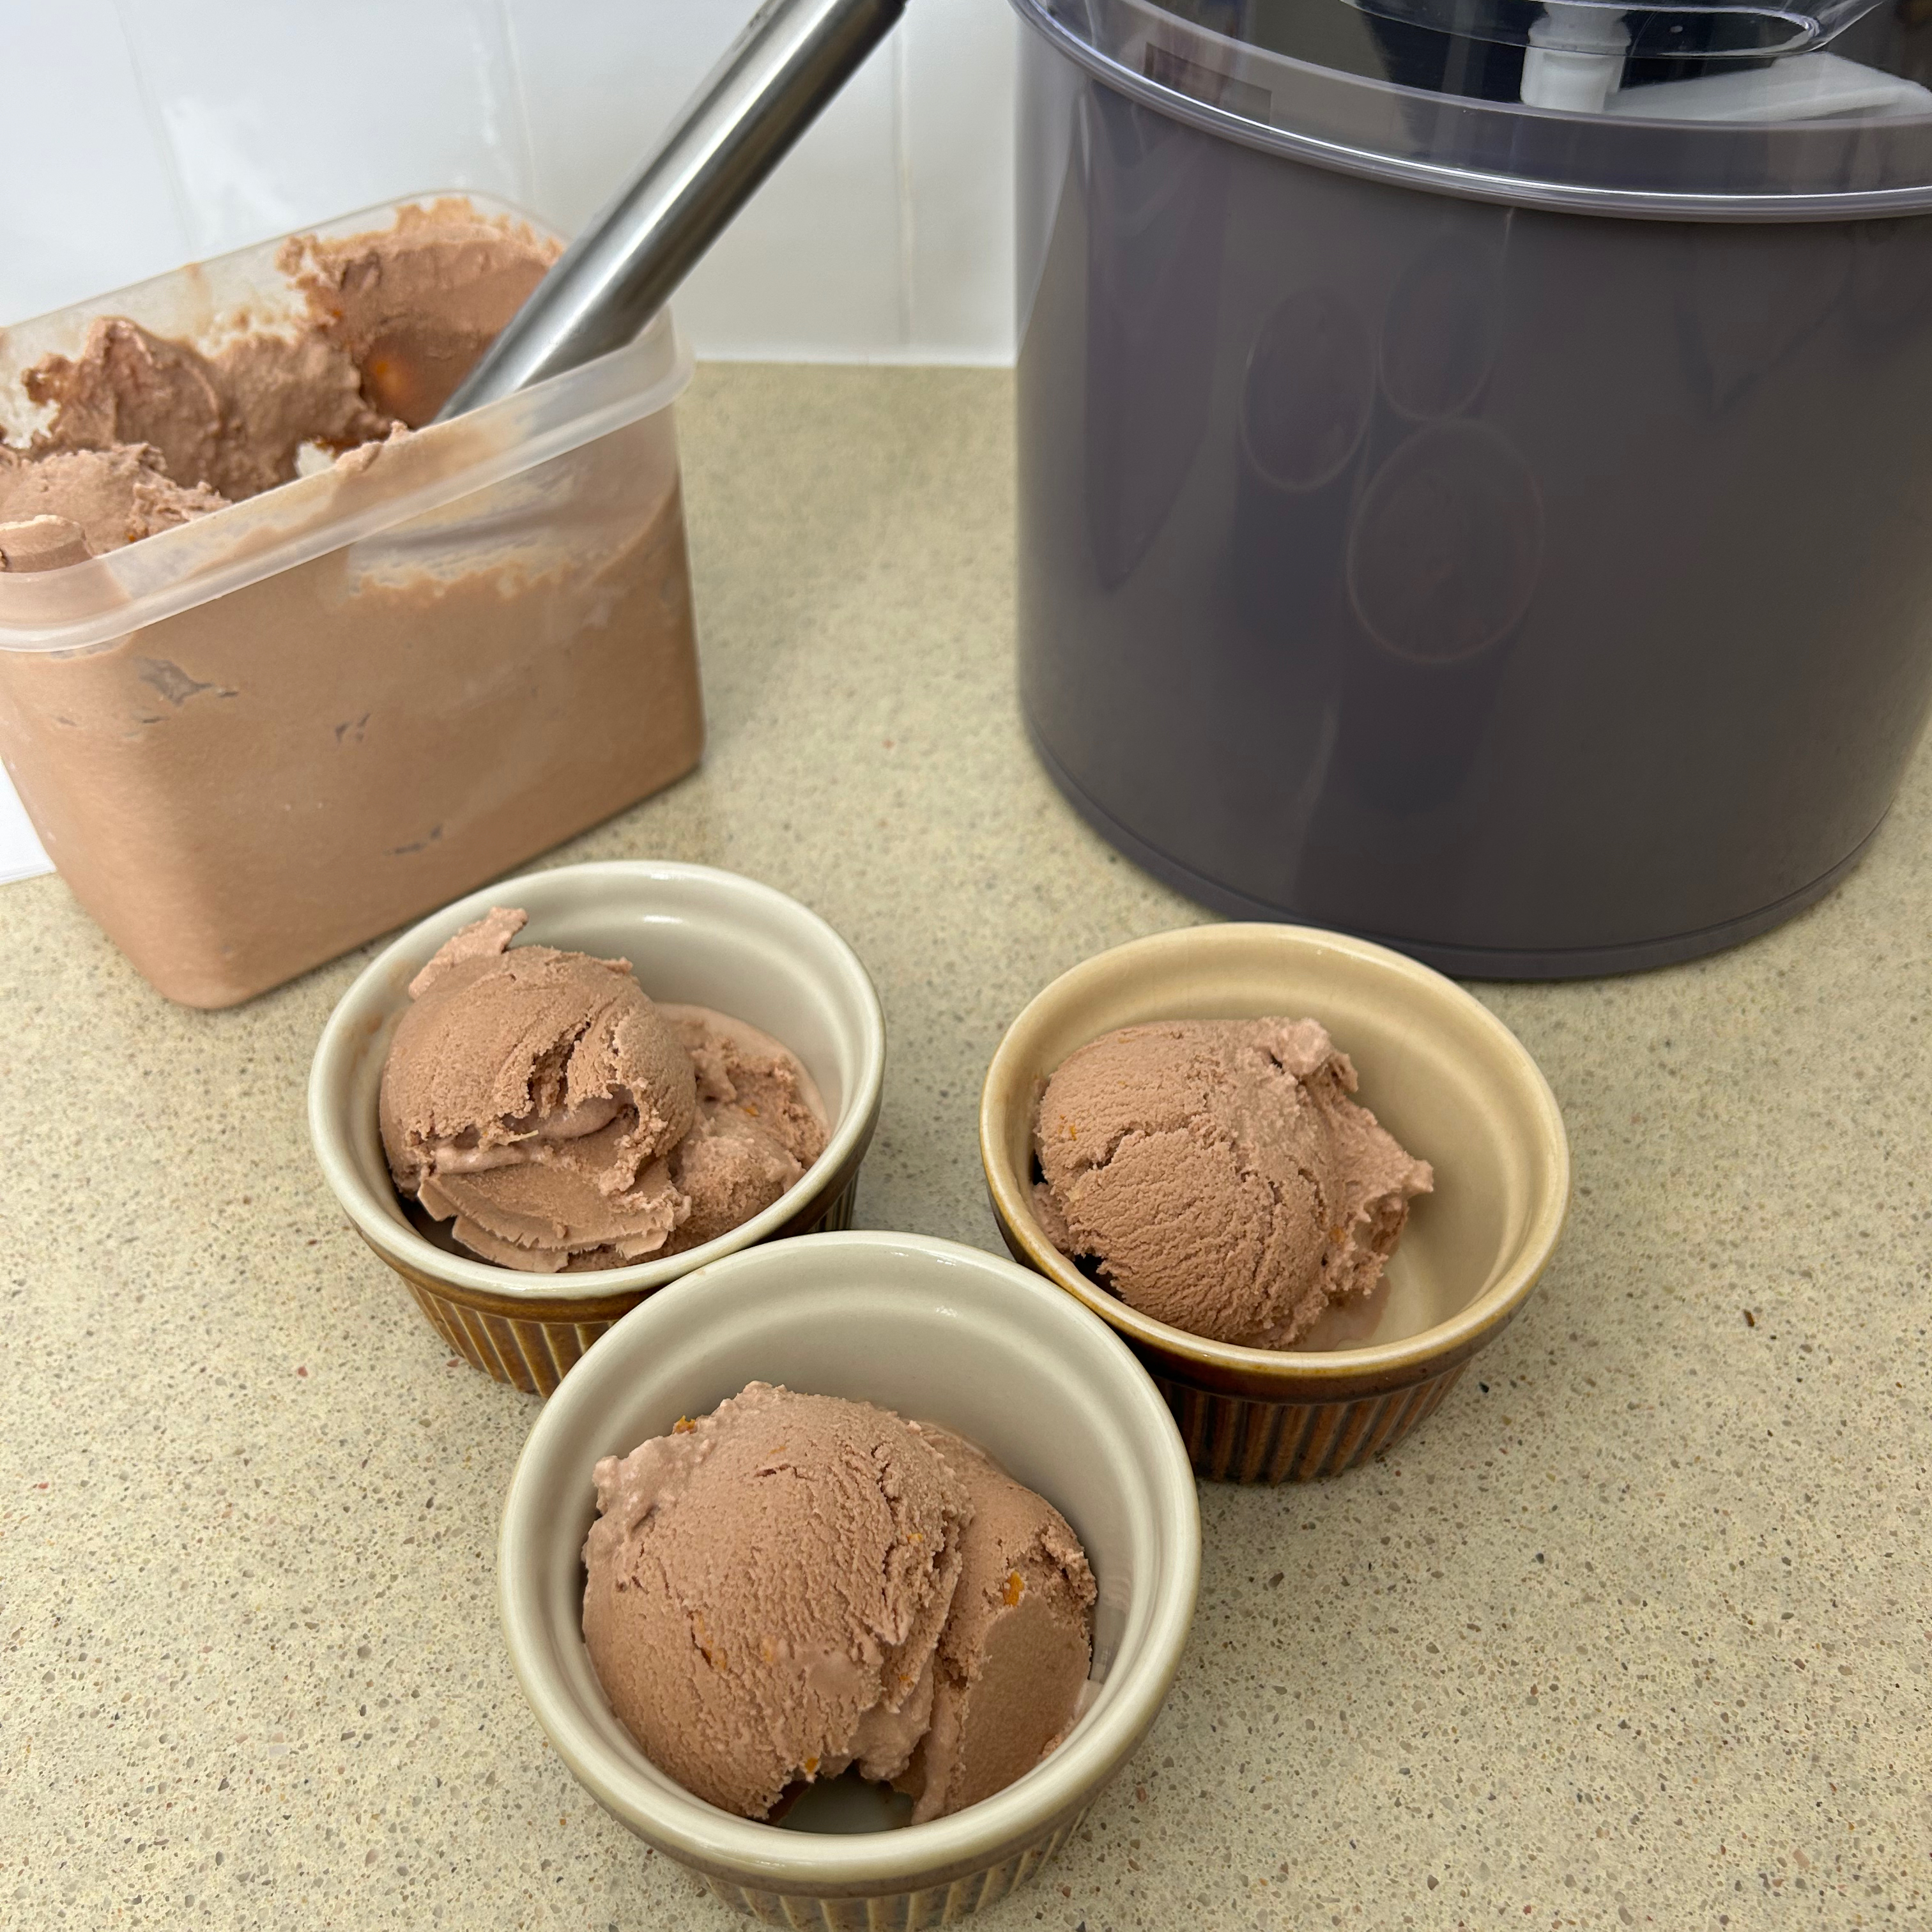
The flavour was excellent and after a stint in the freezer it was firm enough to shape into balls with an ice cream scoop. After several hours in the freezer it did go pretty solid though, so I had to leave it out on the side for 30 minutes to make it more scoopable. Nevertheless, it was super enjoyable, rich, and creamy with no ice crystals.

What's it like to clean?
Because of the nature of the ingredients, I found that for the most part a rinse under some warm water removed the majority of half frozen residues. Then a little warm soapy water was needed to rid it of the grease from creamy ice cream mixtures.
None of the parts can go in the dishwasher. And the manual says you should wait for the freezer bowl to warm up to room temperature before cleaning. Though I found this really tricky as I was so keen to get it cleaned and back in the freezer as soon as possible, ready for the next batch.
How does it compare to similar ice cream makers?
If you’ve extra cash to burn, and you like the idea of being able to whip up several flavours of ice cream without a 12 hour wait between each one, you should take a look at our Ninja Creami review. In true Ninja style, it’s an innovative ice cream maker that works in a totally different way to most. But its three tubs allow you to make three different flavours. Though you do have to freeze your mixture for 24 hours first.
At the time of writing, I’m also reviewing the Cuisinart Ice Cream & Gelato Professional (available for £279.00 from Amazon). It’s worth pointing out because there’s no bowl to pre-freeze. The ice cream maker itself chills and freezes the ice cream as it churns. However, this does mean it comes with a pretty hefty £300 price tag. So it’s probably only for the most serious ice cream fans.
Should you buy the Lakeland Digital Ice Cream Maker?
With its affordable price tag and simple settings, this makes the perfect entry-level ice cream maker. It’s not too big to store and yet it allows you to make endless delicious frozen treats at home.
The biggest drawback is having to make space in your freezer for the bowl. And if you’re the type of person who wants to spontaneously make ice cream whenever the mood takes you, you’ll need to leave it in the freezer all the time. Otherwise it’s a 12 hour wait for it to chill down enough.
However, if, like me, you’ve started paying more attention to all the additives in many shop-bought ice creams, this is an easy-to-use and inexpensive route into homemade ice cream. You can experiment with flavours and avoid all those nasties, whilst having fun at the same time. All the recipes I tried were delicious, although most needed a bit of extra time in the freezer to reach the desired consistency.
About this review, and the reviewer
After completing a Home Economics degree, Helen went on to work for the Good Housekeeping Institute and has been reviewing home appliances ever since. She lives in a small village in Buckinghamshire in the UK, where she reviews all sorts of home and garden appliances using her wealth of experience.
Helen was delighted to try this ice cream maker in the middle of summer. And while she was let down by the less-than-ideal British weather, it wasn’t too much of a chore to make and taste several frozen treats to see if it was up to the job.
Get the Ideal Home Newsletter
Sign up to our newsletter for style and decor inspiration, house makeovers, project advice and more.

After completing a Home Economics degree, Helen went on to work for the Good Housekeeping Institute and has been reviewing home appliances ever since. She lives in a small village in Buckinghamshire in the UK, where she reviews all sorts of home and garden appliances for Ideal Home using her wealth of experience.
-
 Aldi is launching a £200 day bed with four different features - its sleek design is suited to the whole family
You don't want to miss out on this Specialbuy
By Kezia Reynolds
-
 I've been waiting to try out the Ninja Slushi for months – this is what happened the first time I tried it
The Ninja Slushi is the stuff of dreams for summer entertaining
By Molly Cleary
-
 IKEA has drenched its BILLY bookcase in this year’s ‘it’ colour - but you’ll have to act fast if you want to get your hands on one
I'm obsessed with this gorgeous limited-edition colourway
By Kezia Reynolds