Living room picture wall ideas – 10 ways to create a wall with wow
All the inspiration and styling tips you need to make that blank living room wall look amazing

Sign up to our newsletter for style inspiration, real homes, project and garden advice and shopping know-how
You are now subscribed
Your newsletter sign-up was successful
It’s something that, at first glance, looks so easy, yet the living room picture wall ideas we see in magazines and on social media haven’t just happened; there’s careful thought and planning behind each one. From the choosing of art to frames, theme to scheme, there’s plenty to consider when looking at transforming that blank wall.
From living room wall décor ideas to framing what and how, we’ve got lots of inspiration and styling tips to make that blank wall amazing.
‘A lot of the success in creating a feature focus in a living room, isn’t just what you do on that one wall, but what you do elsewhere in the room,’ says Lisa Honiball, interior designer and founder of Honey Interior Design . ‘Keep everything else simple and clutter free, choose additional furniture that is the right size for your room and doesn’t fight for attention, and avoid anything that draws the eye away from your feature.’
Living room picture wall ideas
It’s not just decorating the wall behind the sofa wall that can be transformed with a picture wall gallery, as Bethan Harwood, Home Design stylist at John Lewis, says, ‘A gallery wall also looks amazing around your TV space. If you have multiple pieces of art around the tv, the “big black box” is disguised.’
‘It’s not about making one wall stick out like a sore thumb. A feature – like a picture wall – is an opportunity to give the eye a starting focal point, before the eye moves on and you take in the rest of the room,’ continues Lisa.
If you’re finding yourself in need of a little inspiration and know-how, then we’ve got lots of inspiration and styling ideas to get this living room feature just right.
1. Create a wall of curios
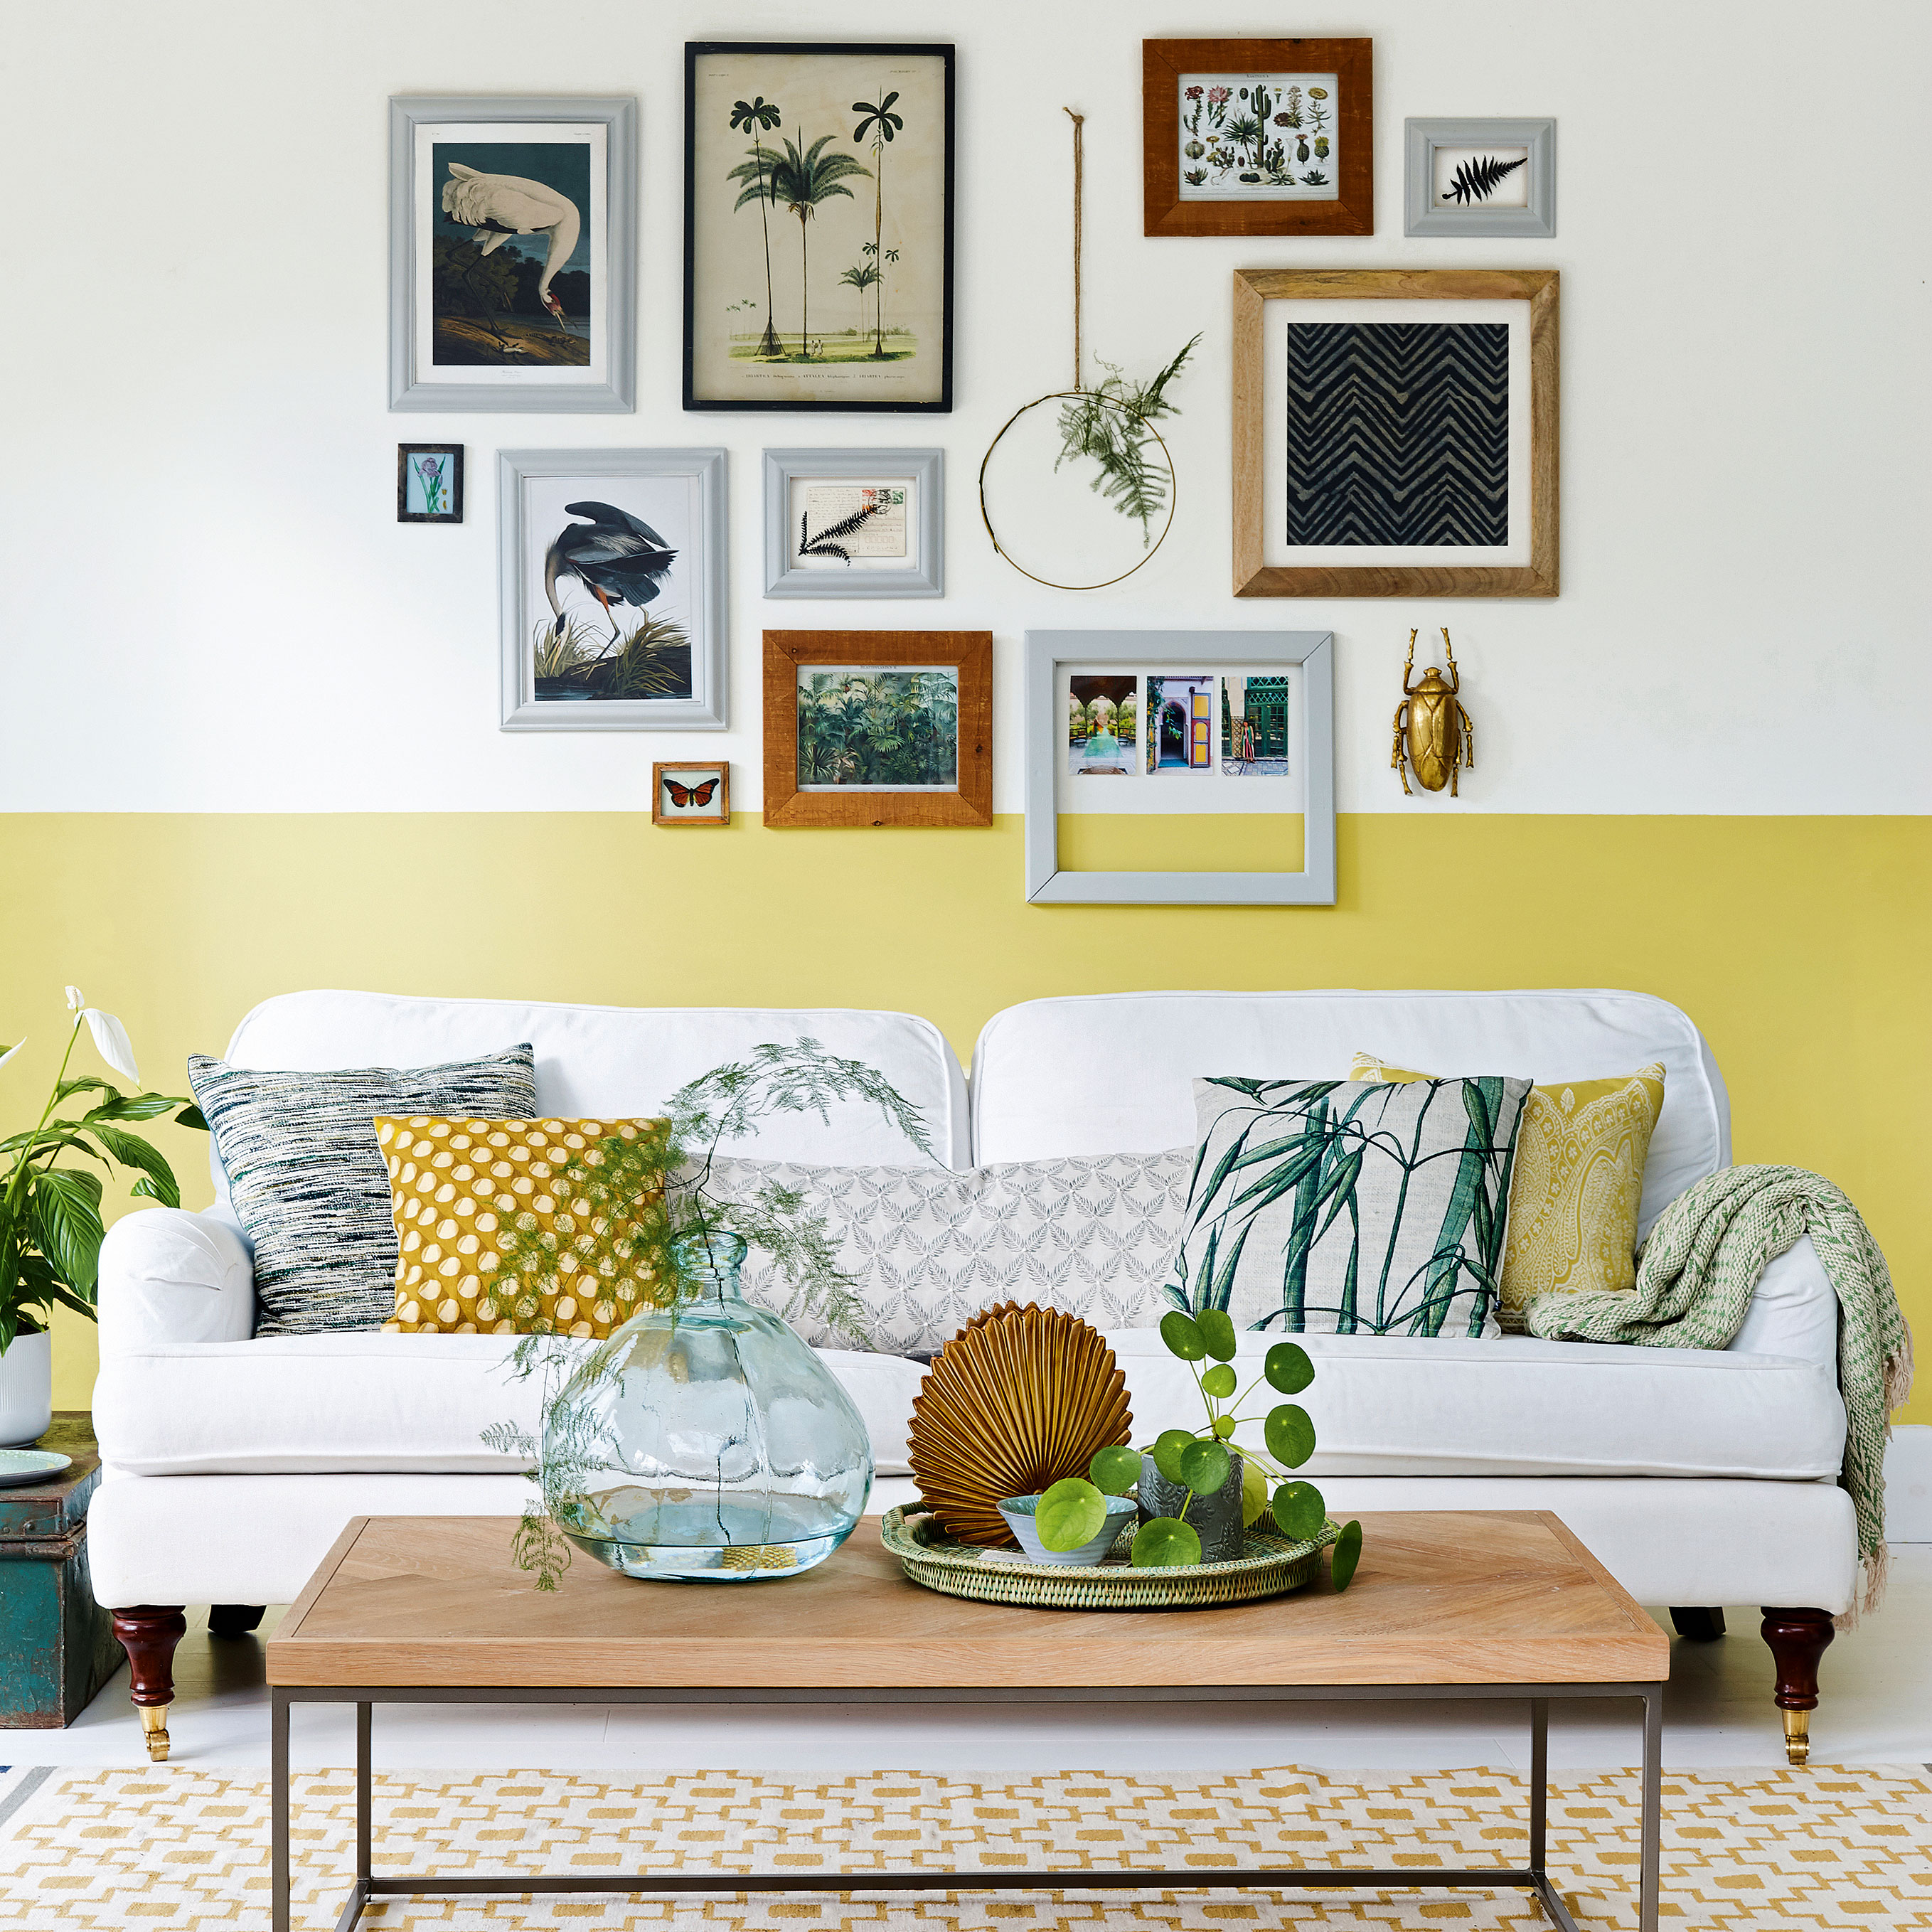
A living room picture wall idea can be a lovely opportunity to express yourself and show off the things that have caught your eye – and they don’t all need to be mounted or framed the same. Try an eclectic mix of artwork and frames that is loosely themed around nature or travel for example. Look for close-up paintings as well as botanical illustration, while a wreath with dried foliage adds a little life to the theme.
Sign up to our newsletter for style inspiration, real homes, project and garden advice and shopping know-how
Paint the lower half of your picture wall a different colour (read up on how to paint a two-tone wall), with frames just dropping into this – it will lead the eye upwards to appreciate your collection more.
2. Be creative with shape
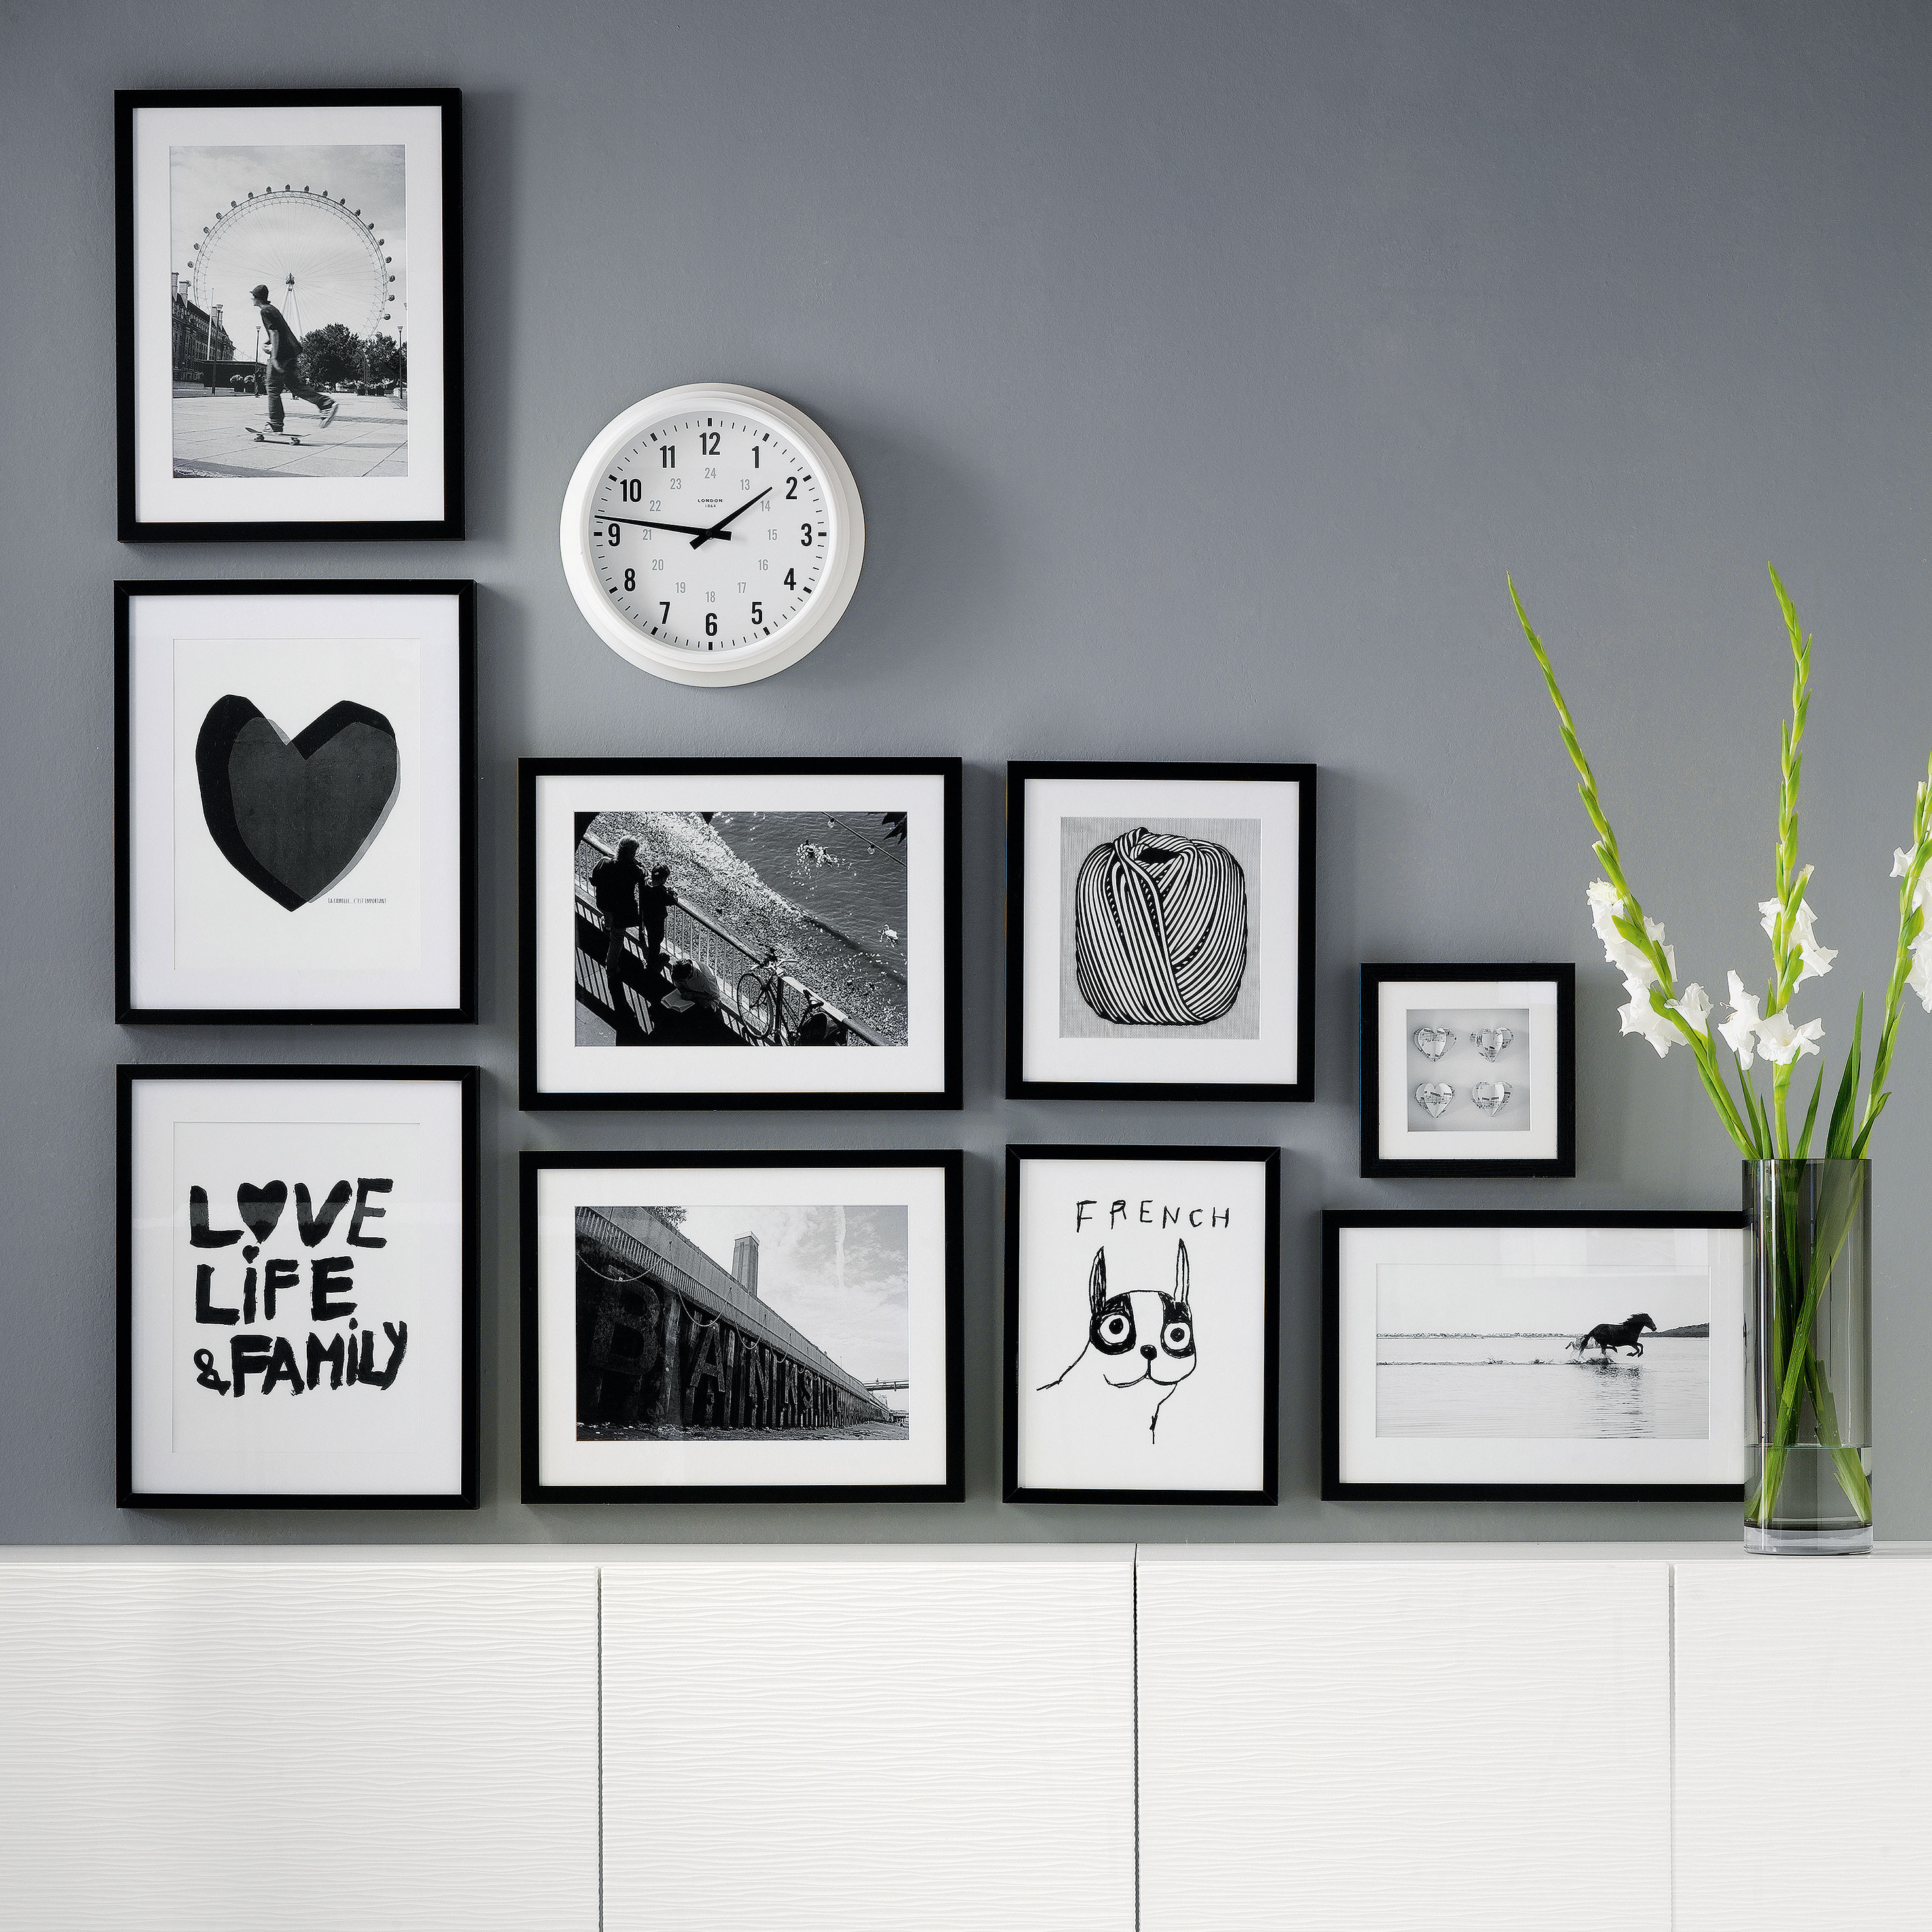
The temptation with a picture wall is to create an outer frame in which your artwork sits, but you can create also play with interesting shapes, like this right-angled one. Start with three portrait photographs to give you height, then hang frames to one side, decreasing in height, using a mix of smaller portrait, landscape and square frames.
The key to keeping this look crisp is to choose the same frame – IKEA’s Ribba series comes in a variety of shapes and sizes.
3. Keep it symmetrical
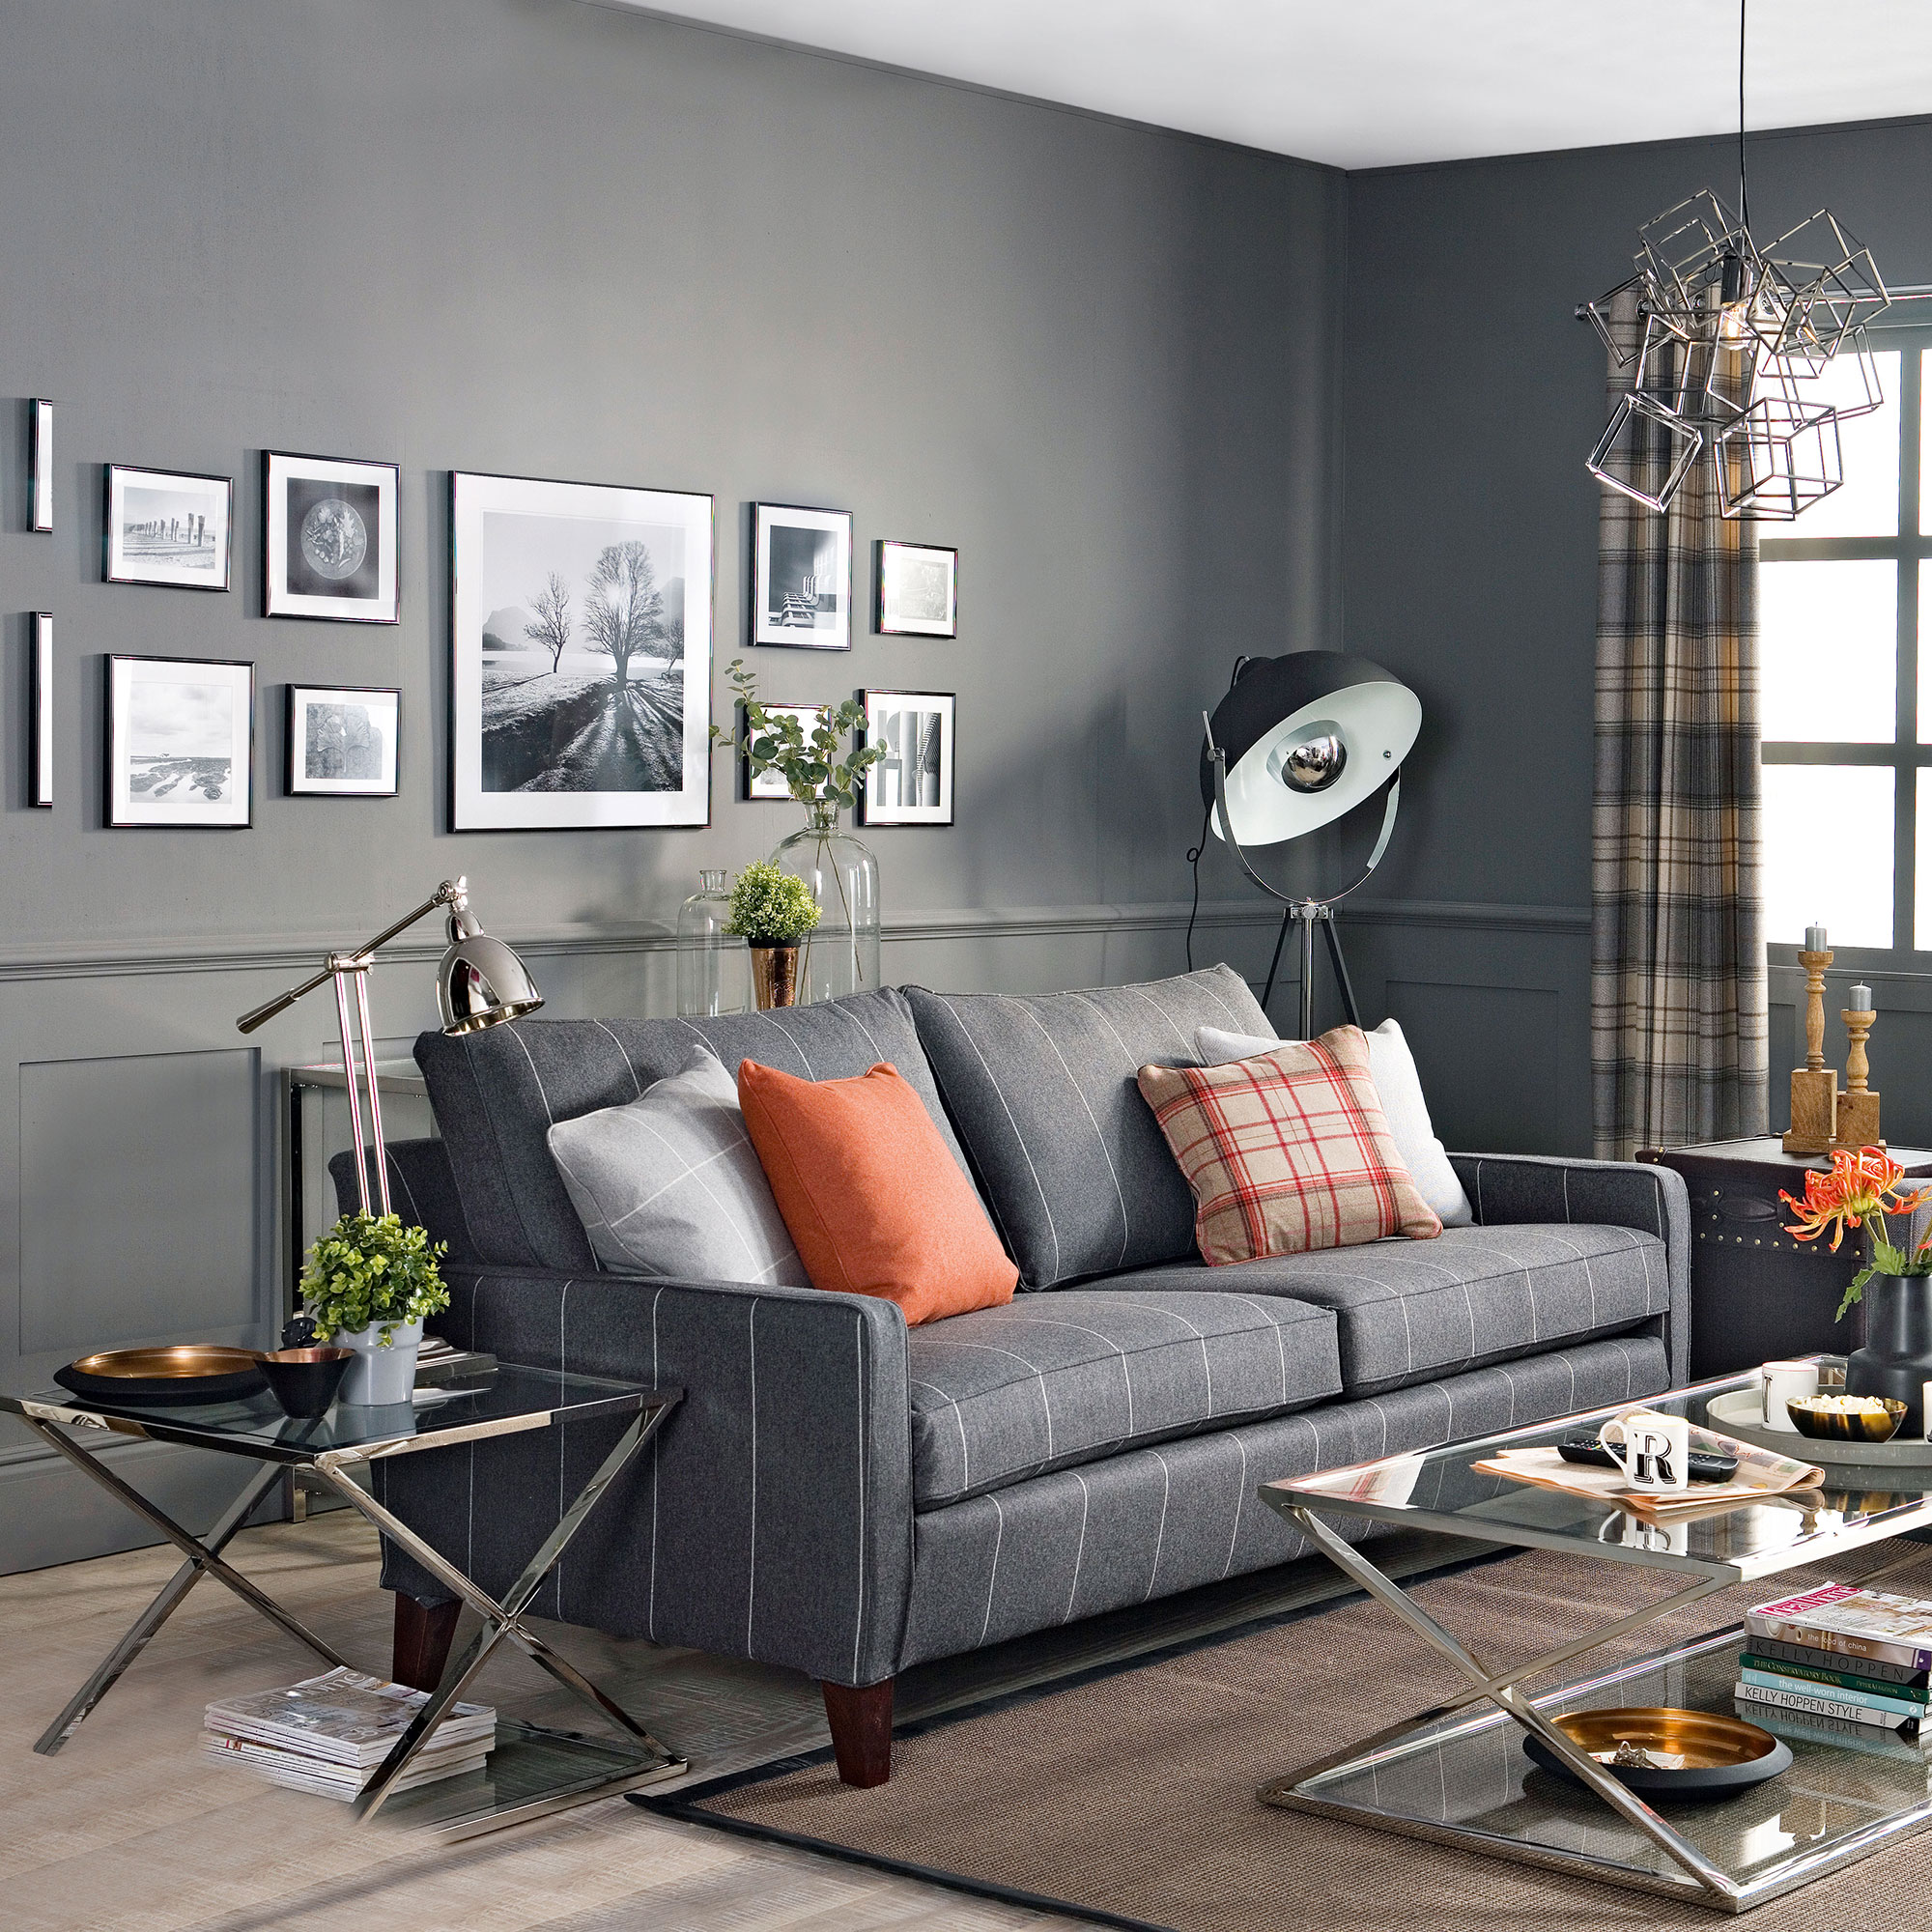
Mirror frames on either side of a hero print to create a smart, sophisticated picture wall that suits a tailored, elegant living room. Plan out your design using newspaper or brown paper cut to the same size as your frames, working one side at a time. Here, the frames have all been placed inside one large rectangle, but not all frames are touching the edges; note how in the cluster of four, just the two large ones touch the rectangle’s boundaries.
If you're not sure what to pop in your frames, you could complement a living room wallpaper idea with framed offcuts of the same paper.
4. Line them up
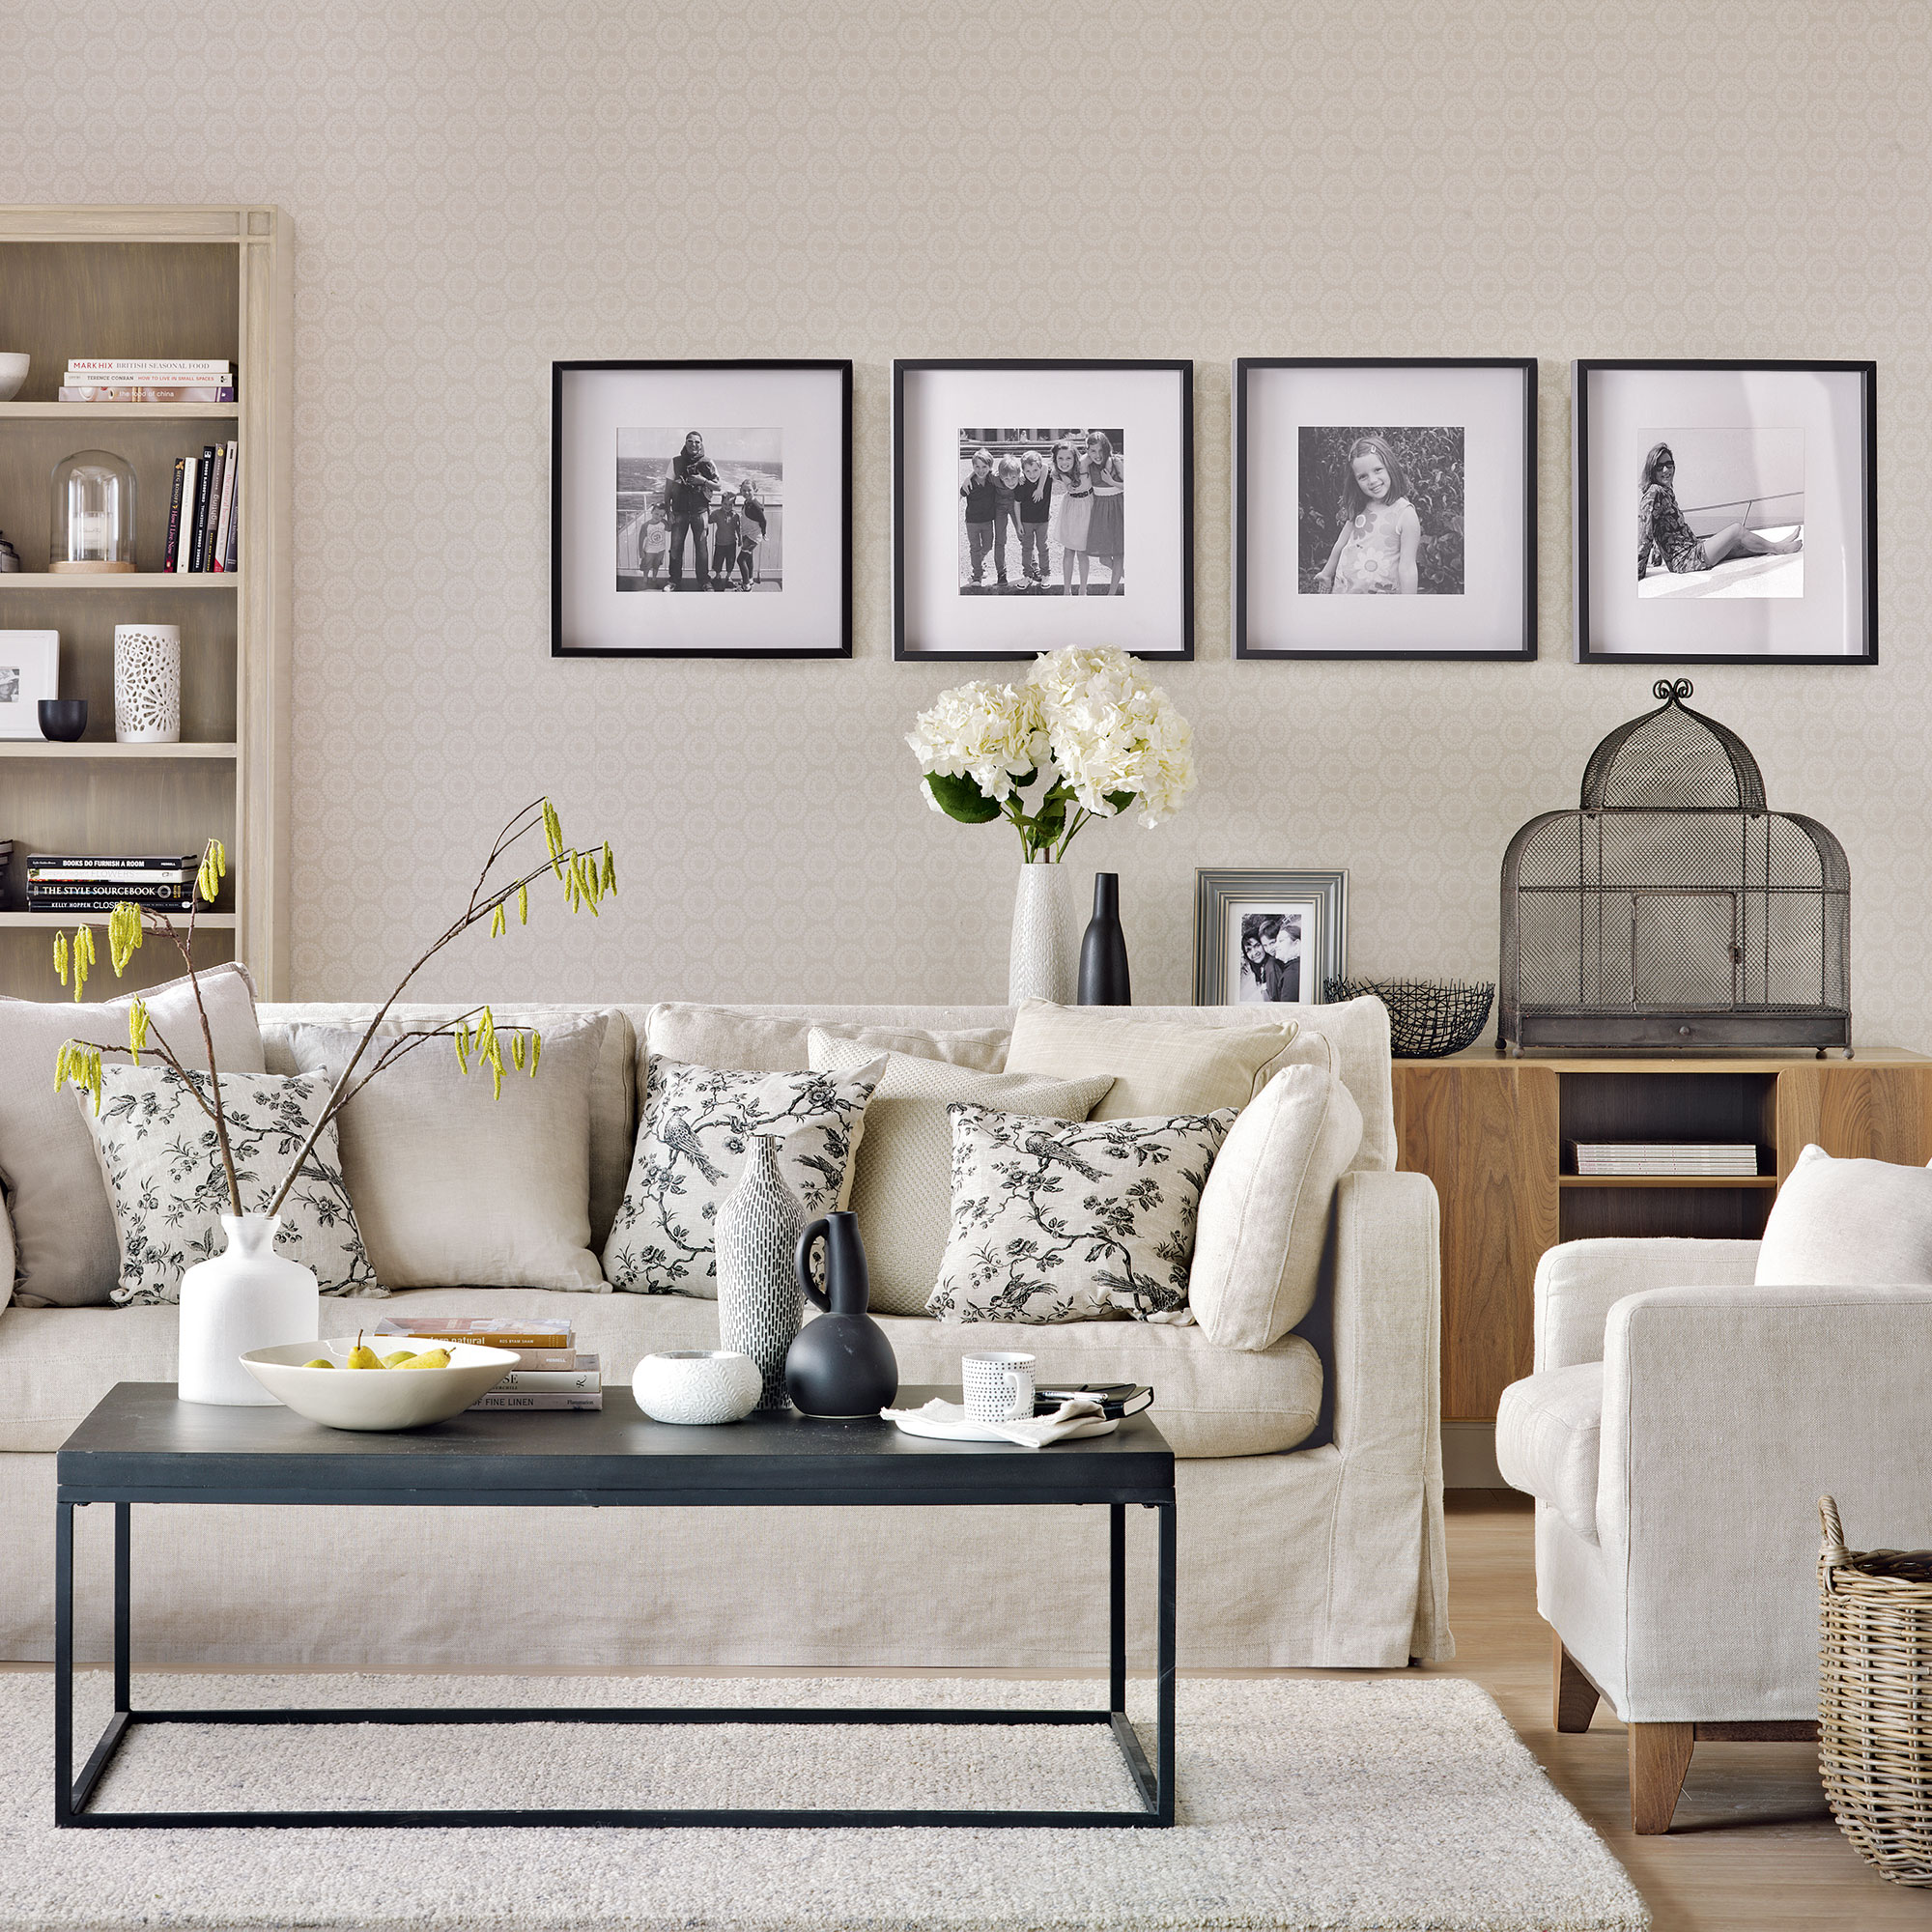
Shift the perspective behind your sofa by lining up four large, framed family photographs slightly off to one side, rather than directly above. This is a great trick for making a room seem longer. When framing photographs, black and white always looks classic, while a wide mount helps hero the image.
5. Change your display with picture ledges
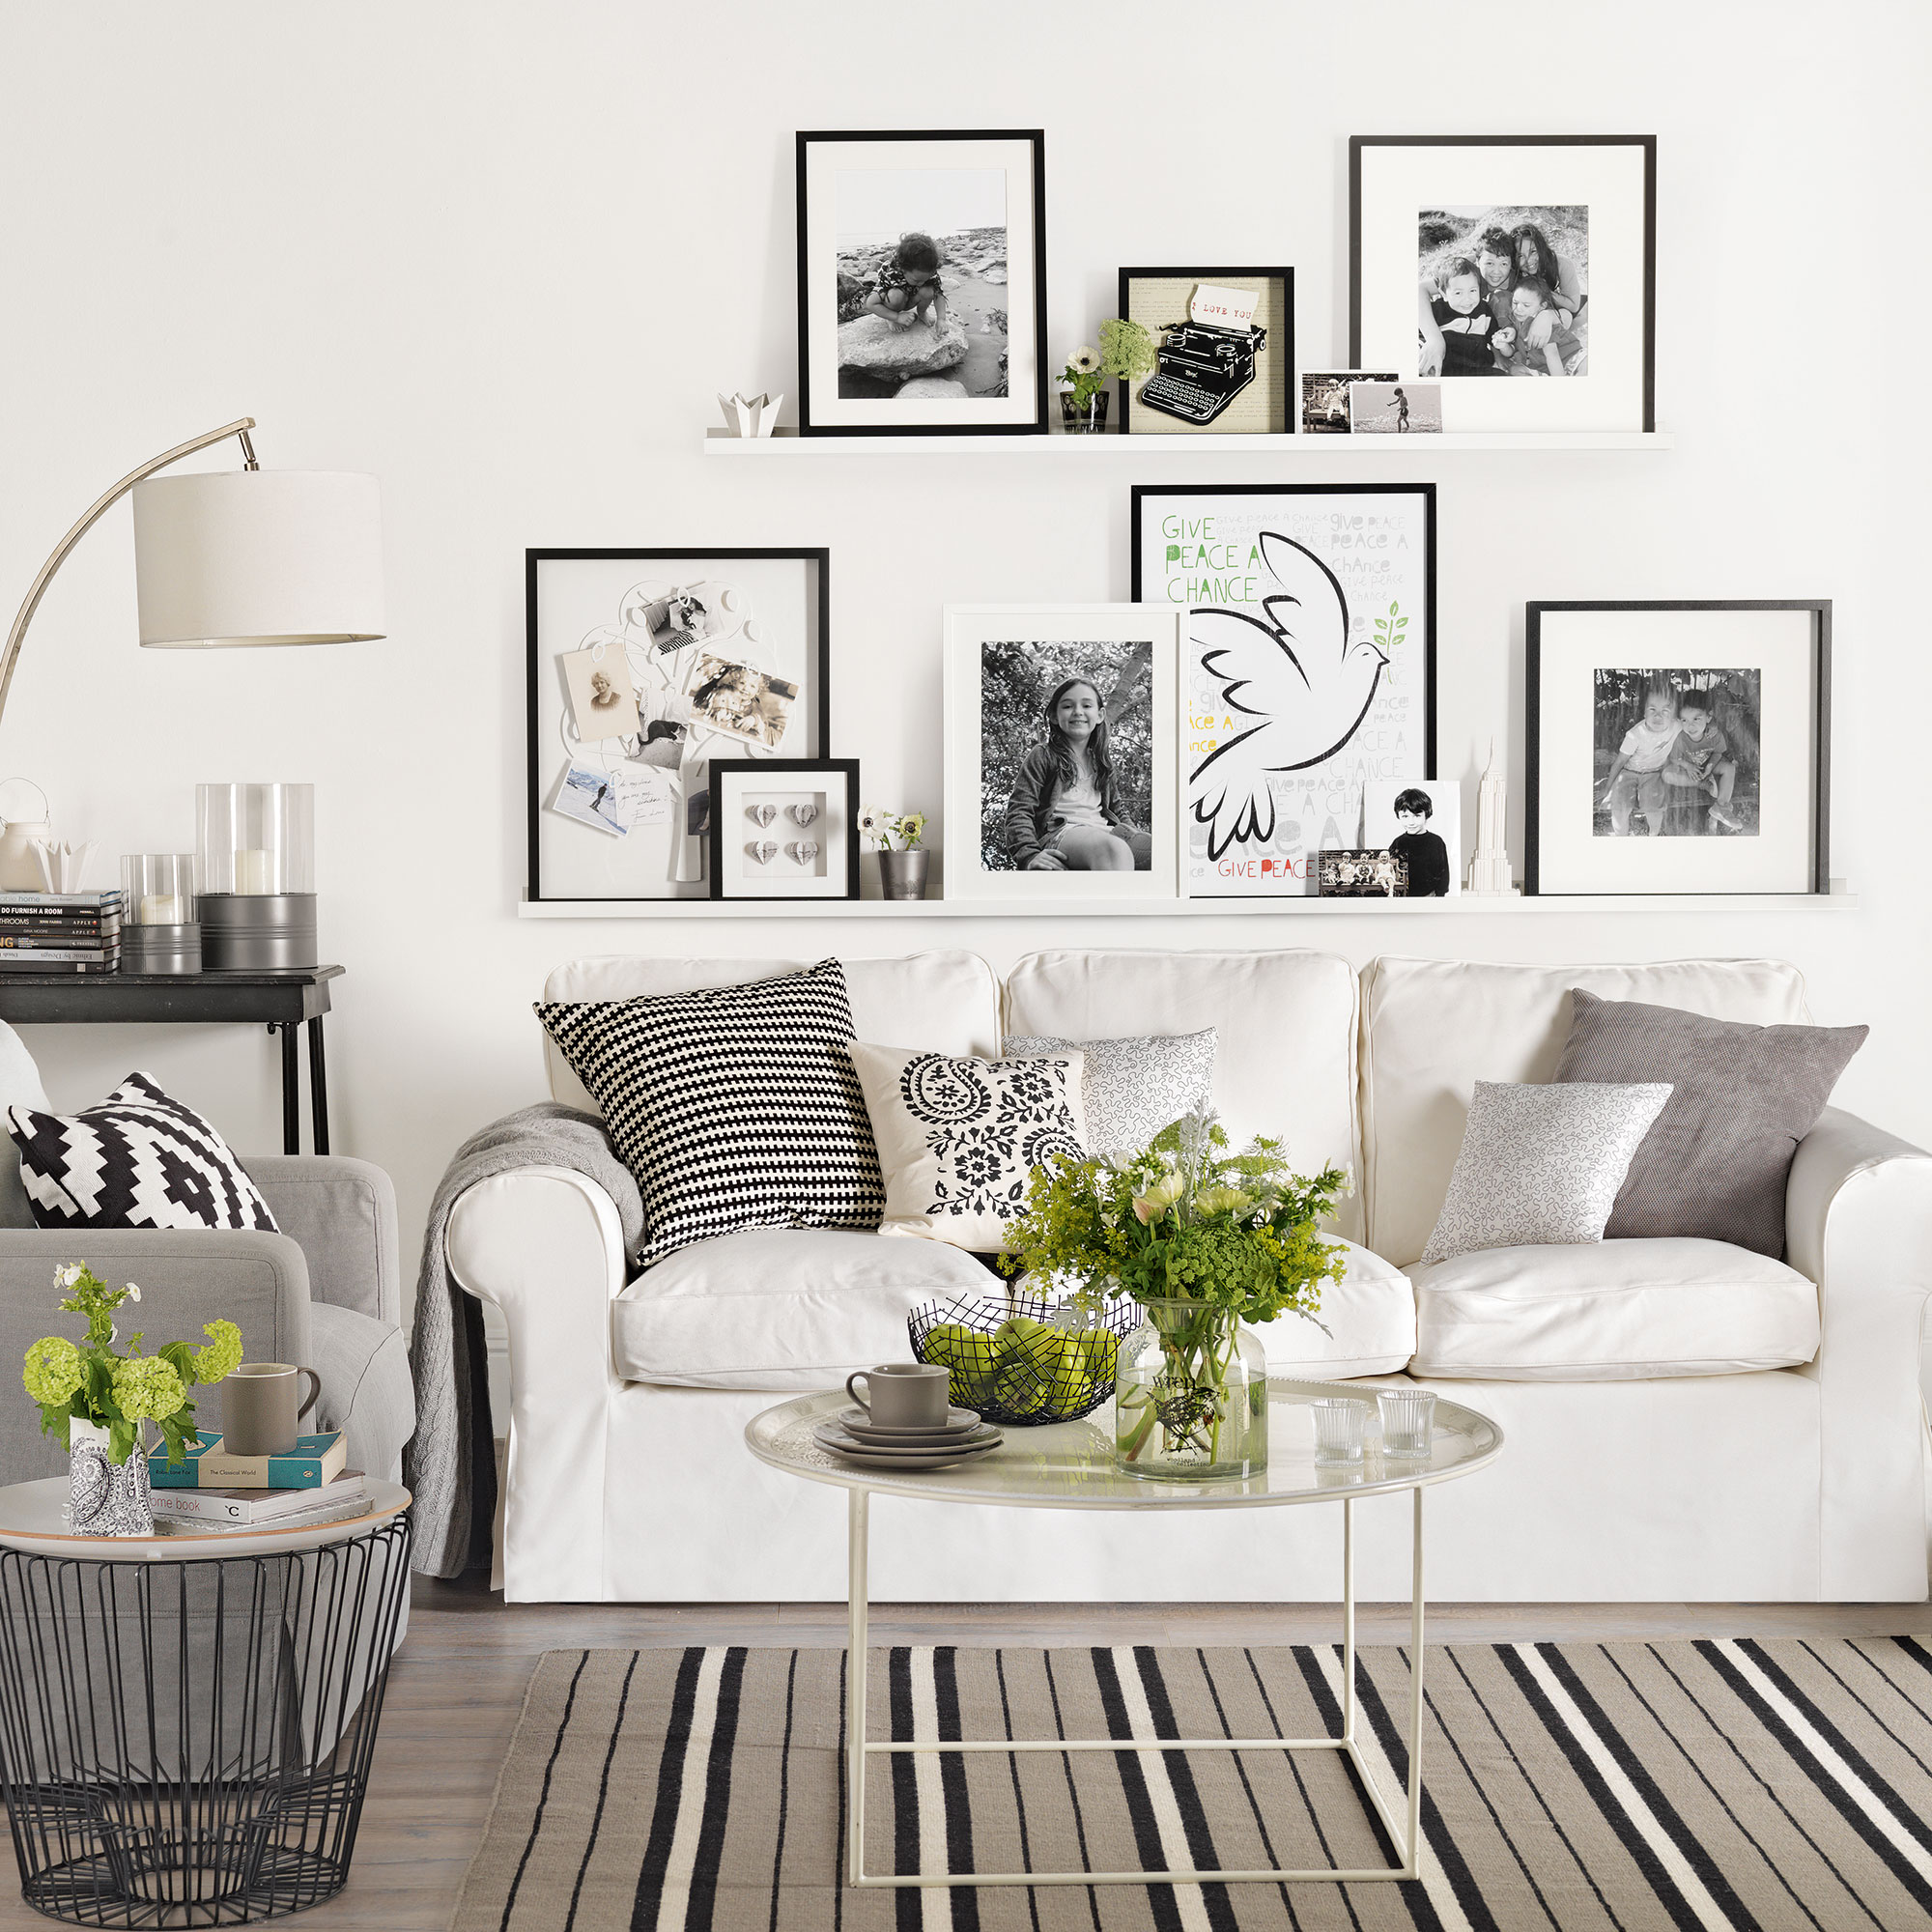
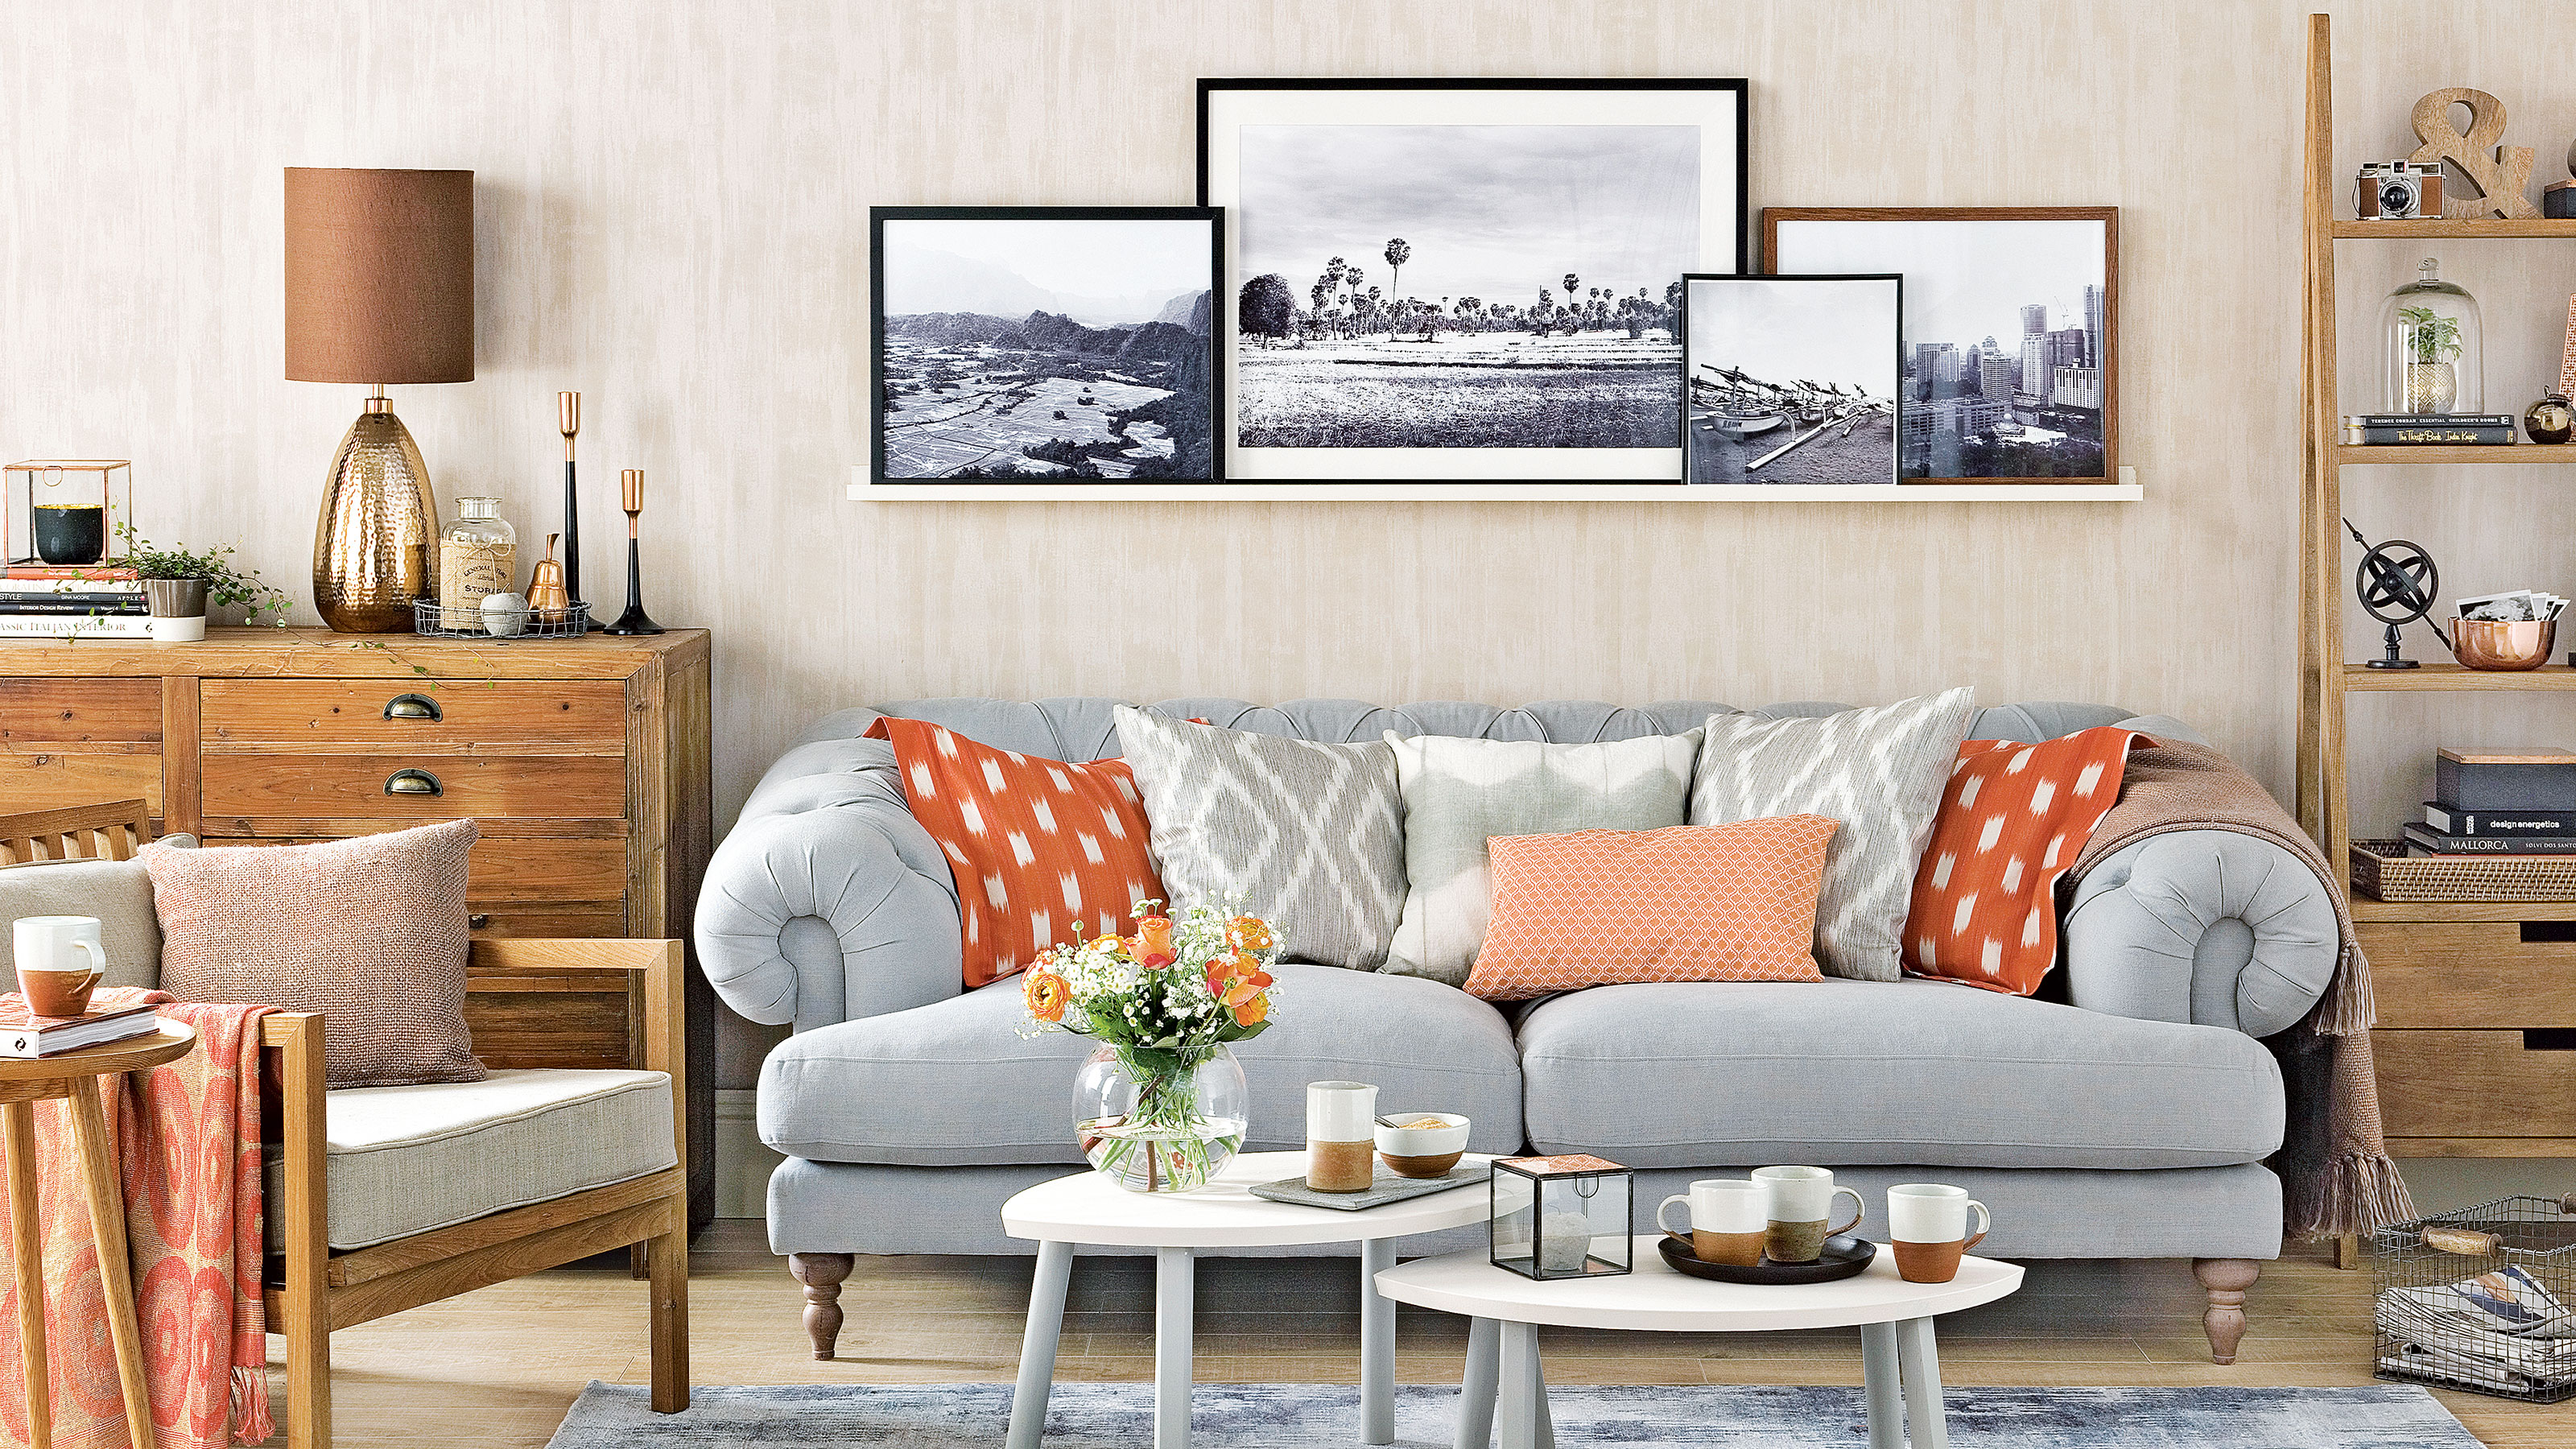
Too many favourite prints for a gallery? Picture ledges are a great way of changing your wall display without the need to fix into the wall each time, plus you can overlap, allowing you to show off more art. They're a great solution if you're looking at how to break up a large wall in a living room.
Choose two picture ledges of differing length to create a casual look and start by leaning the largest prints first, stepping back to see how your arrangement looks as you add smaller pieces of art, postcards, invitations or photos, before popping a few votives in front.
6. Display a ‘scenescape’
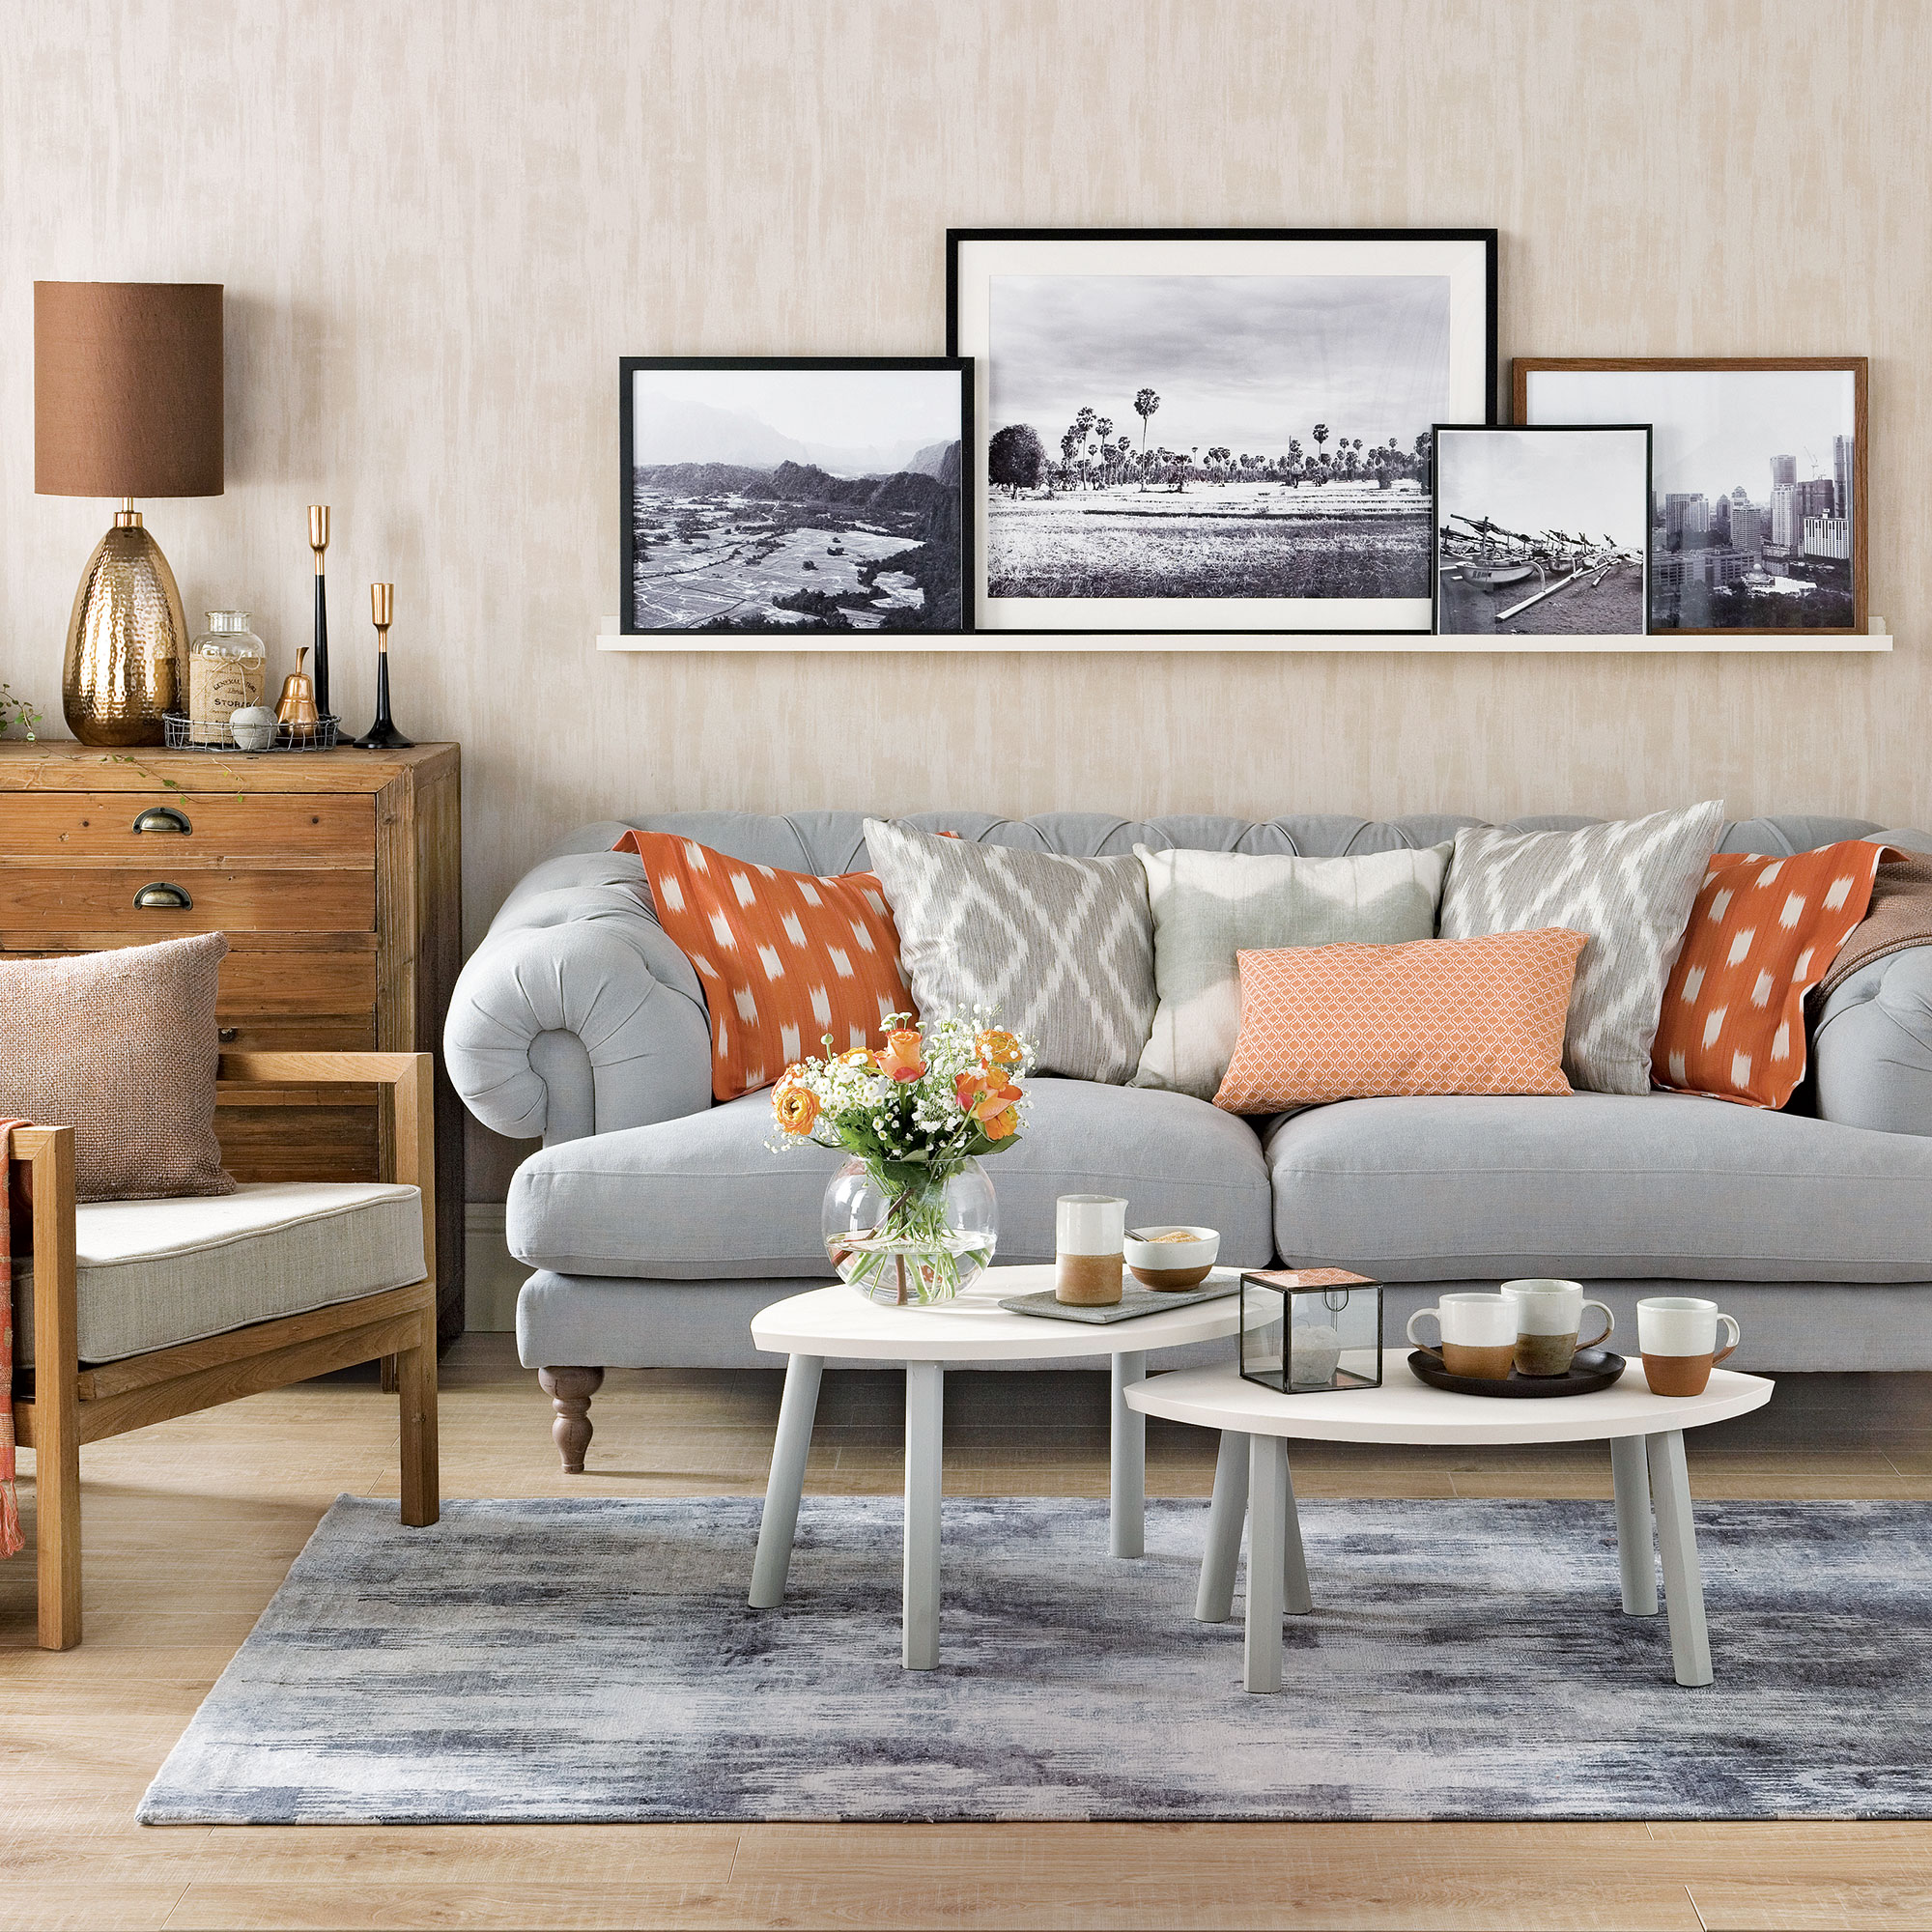
Avid traveller? Frame your favourite destination photographs and pop on a picture ledge for a great conversation starter. Keep the length of the ledge similar to that of your sofa, and overlap the frames slightly, hinting at your travel-lust lifestyle. Visitors will wonder where you are headed next.
Keep a ledge at eye-level, so your scenic collection can be appreciated whether standing or sitting on armchairs opposite your sofa.
7. Turn your books into art
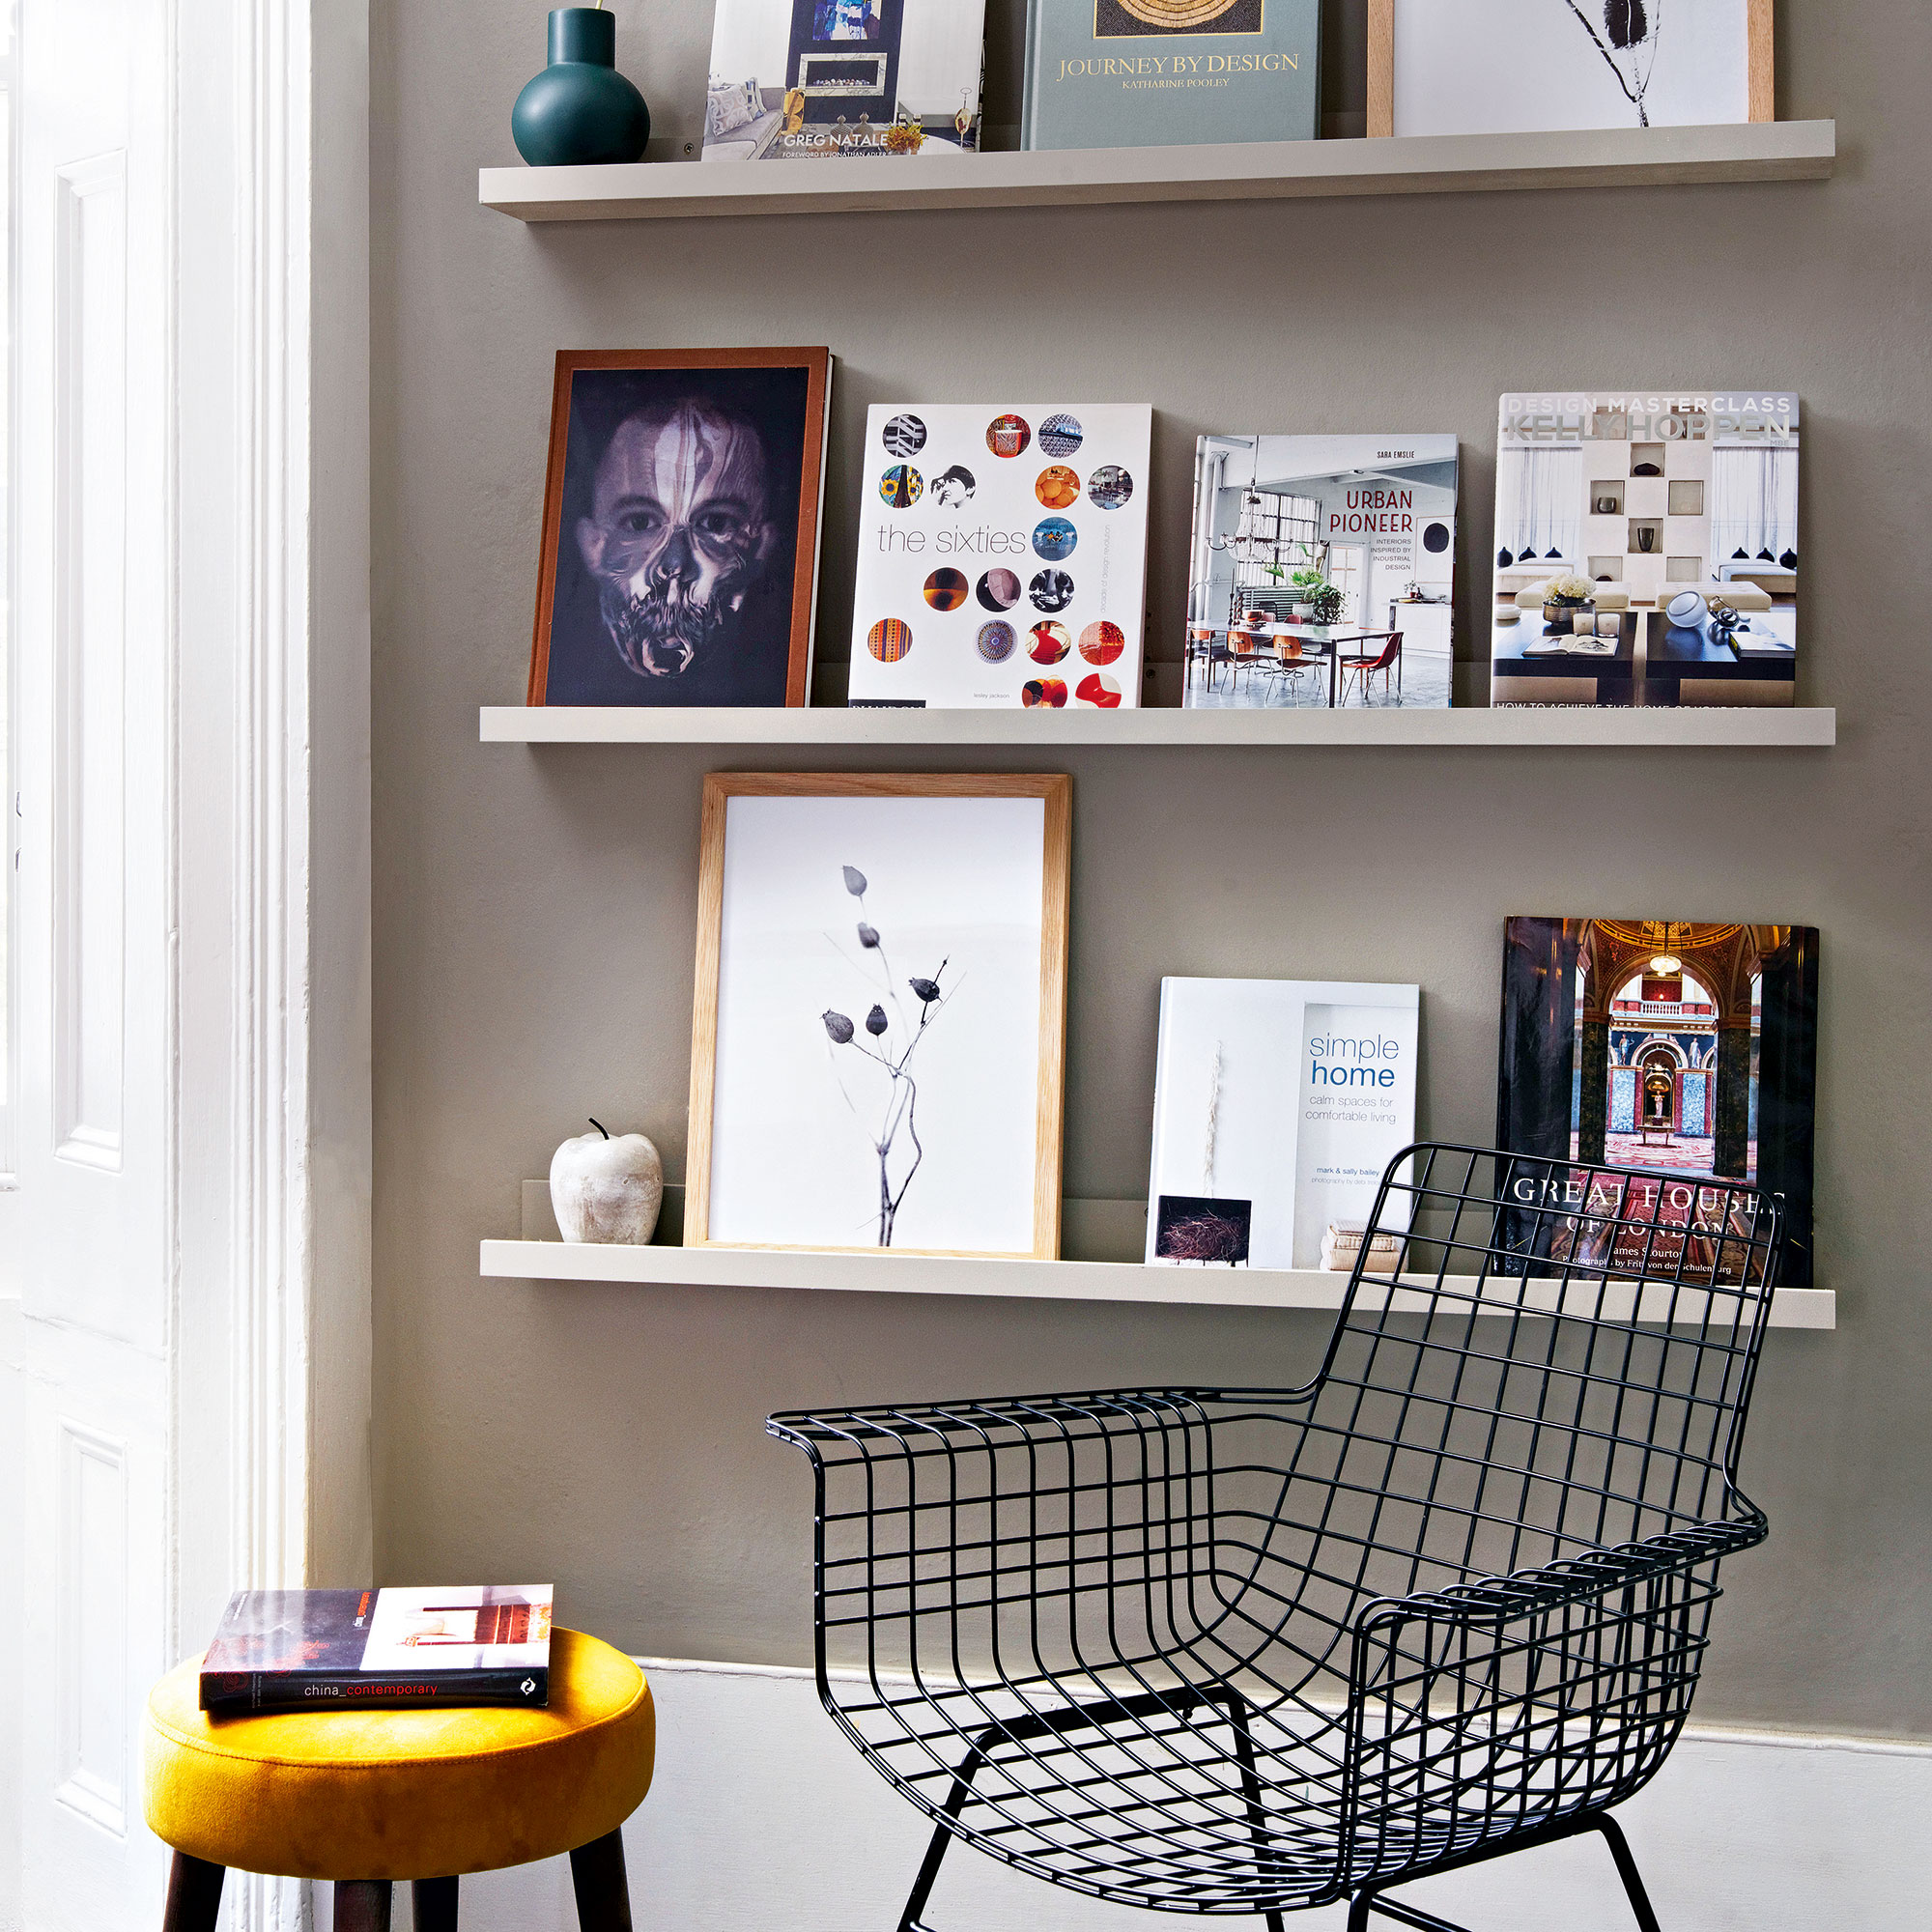
Gallery walls aren’t just for artwork or photographs. Why not show off favourite vinyl records or coffee-table books on picture ledges? Paint the ledges the same colour as the wall behind, helping your favourite finds to stand out. This is a great idea for adding colour to a shallow alcove.
You can use living room shelving ideas to do a similar job if you'd prefer a surface with a little more depth to display other objects along with your pictures.
8. Hang a series of prints
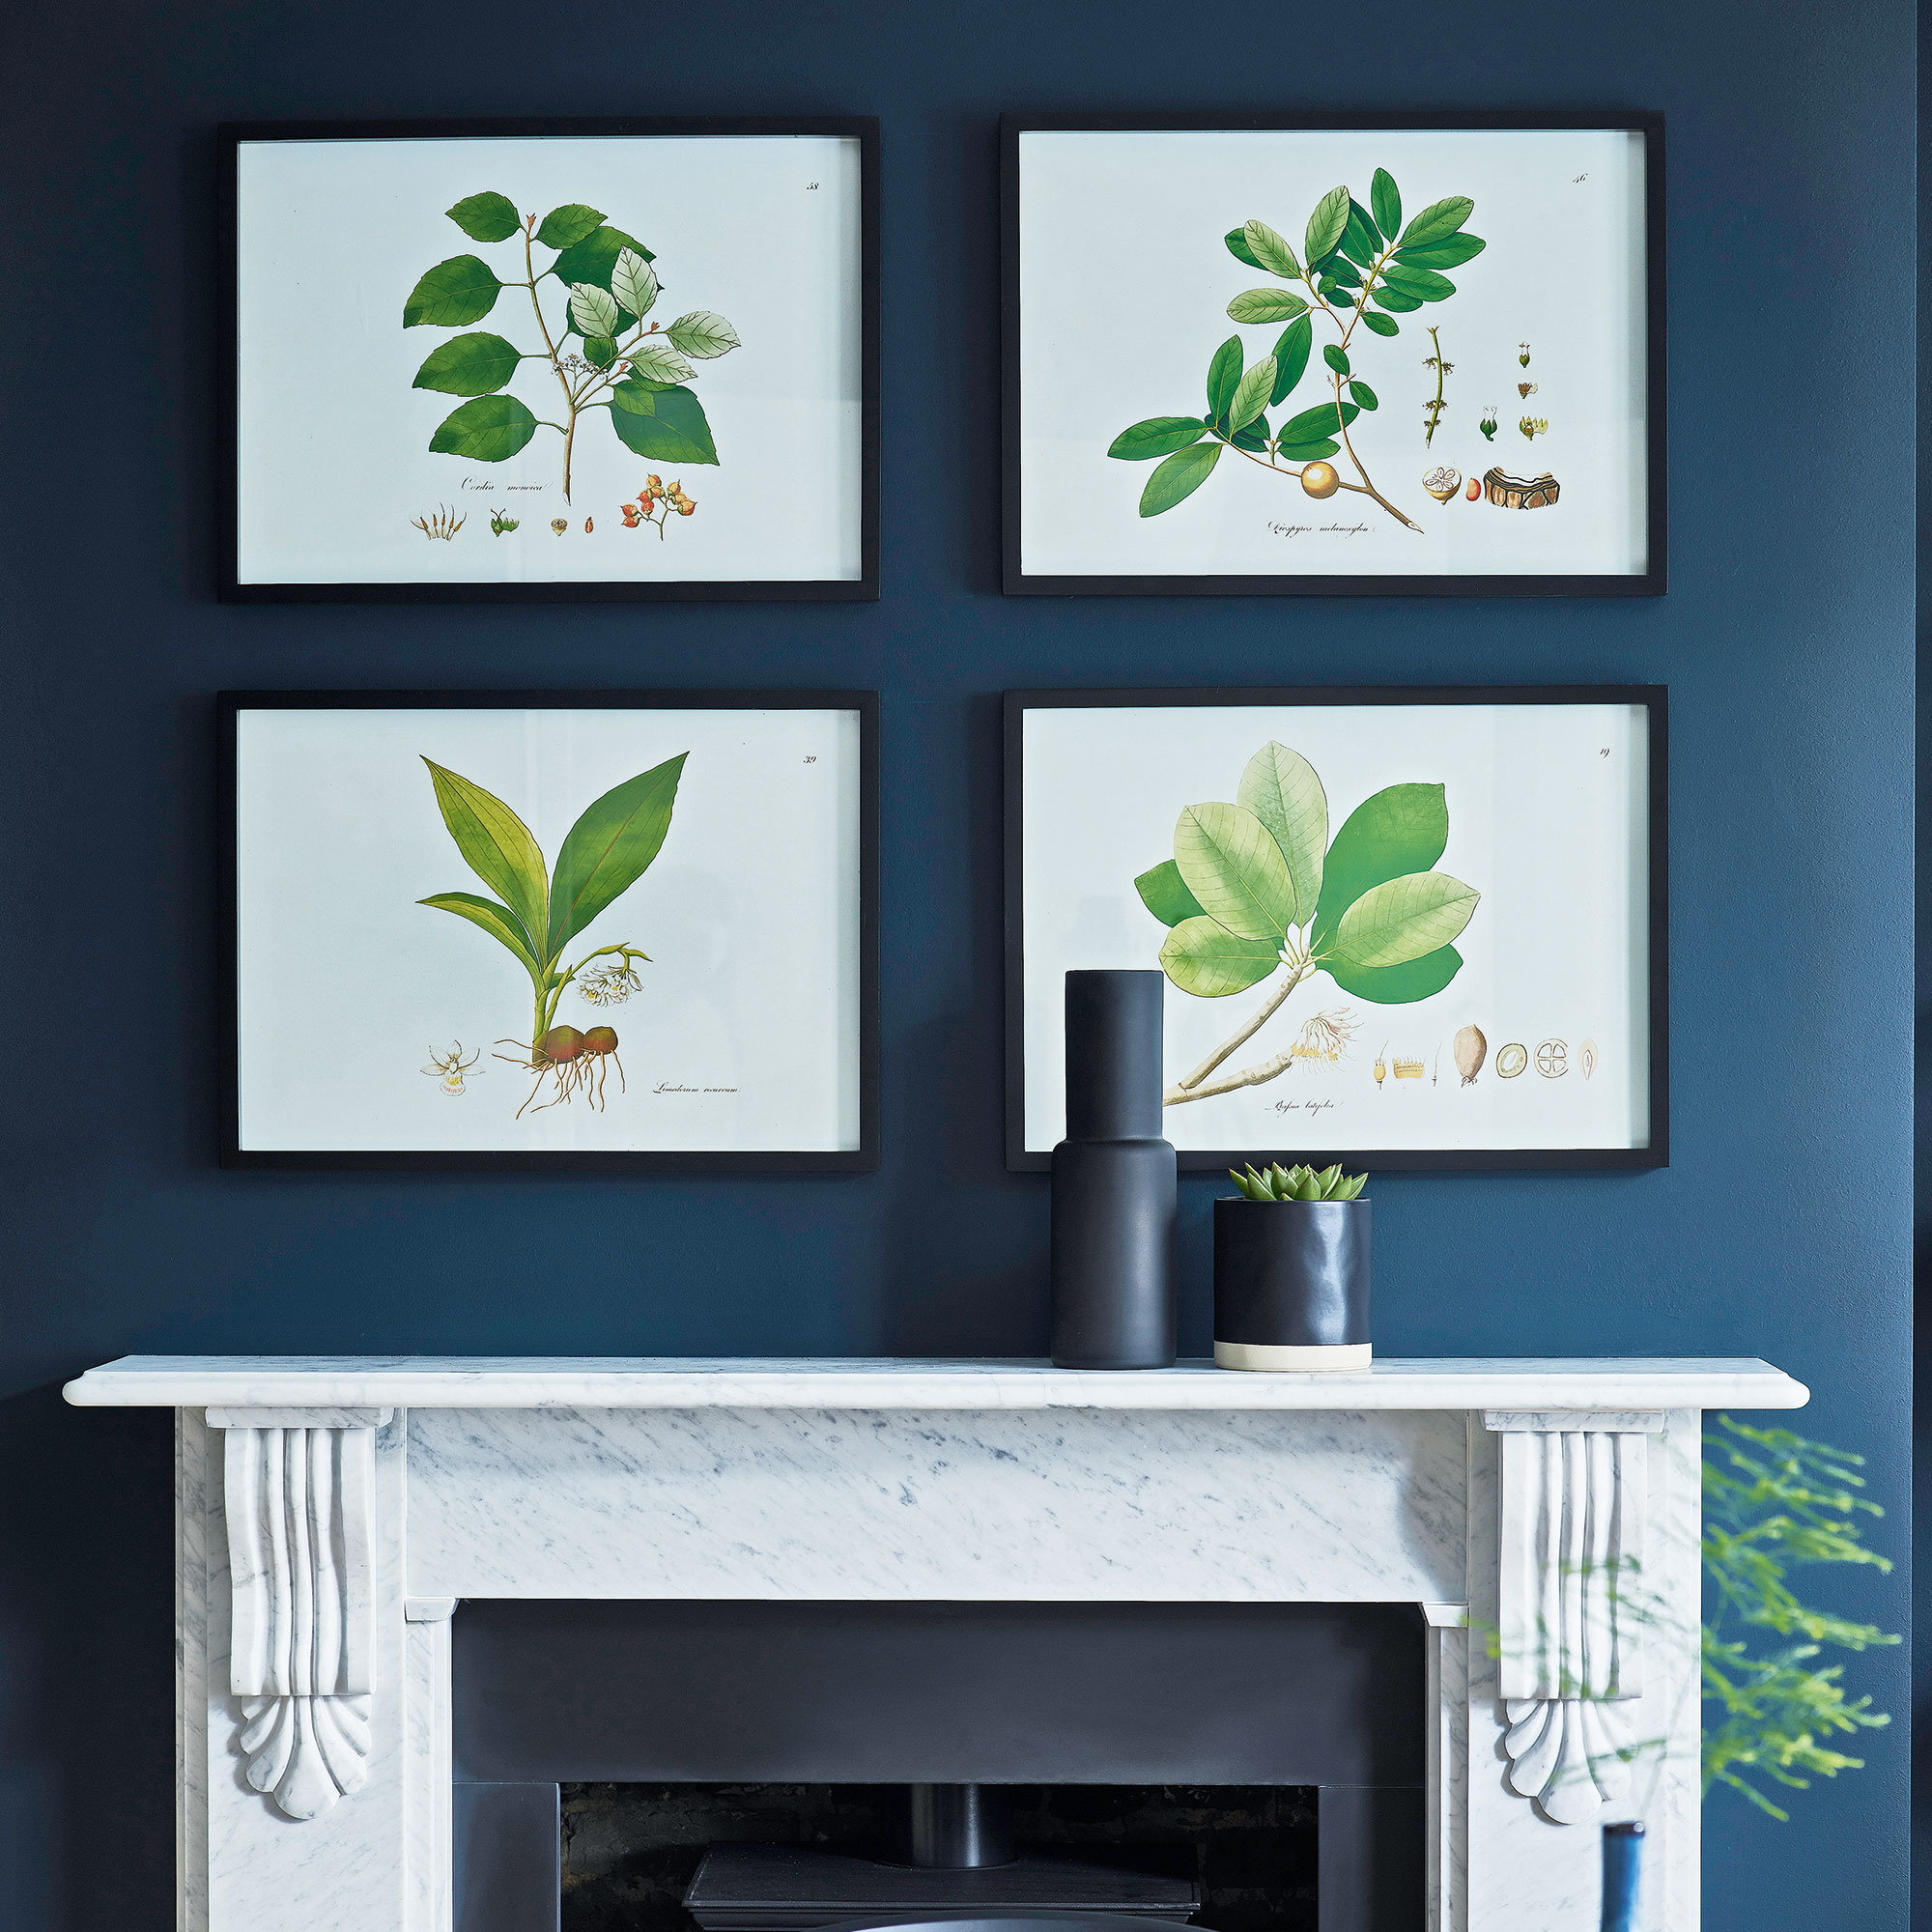
For an easy living room picture wall idea, buy a set of prints and identical frames and display above a fireplace – it’s a great alternative to an overmantel living room mirror idea. Find the central point on your wall and make a wide cross over this, then arrange so each of the four frames touches the cross at a corner.
A dark wall colour helps the artwork pop, enhancing the simplicity of your display.
9. Make it a memory wall
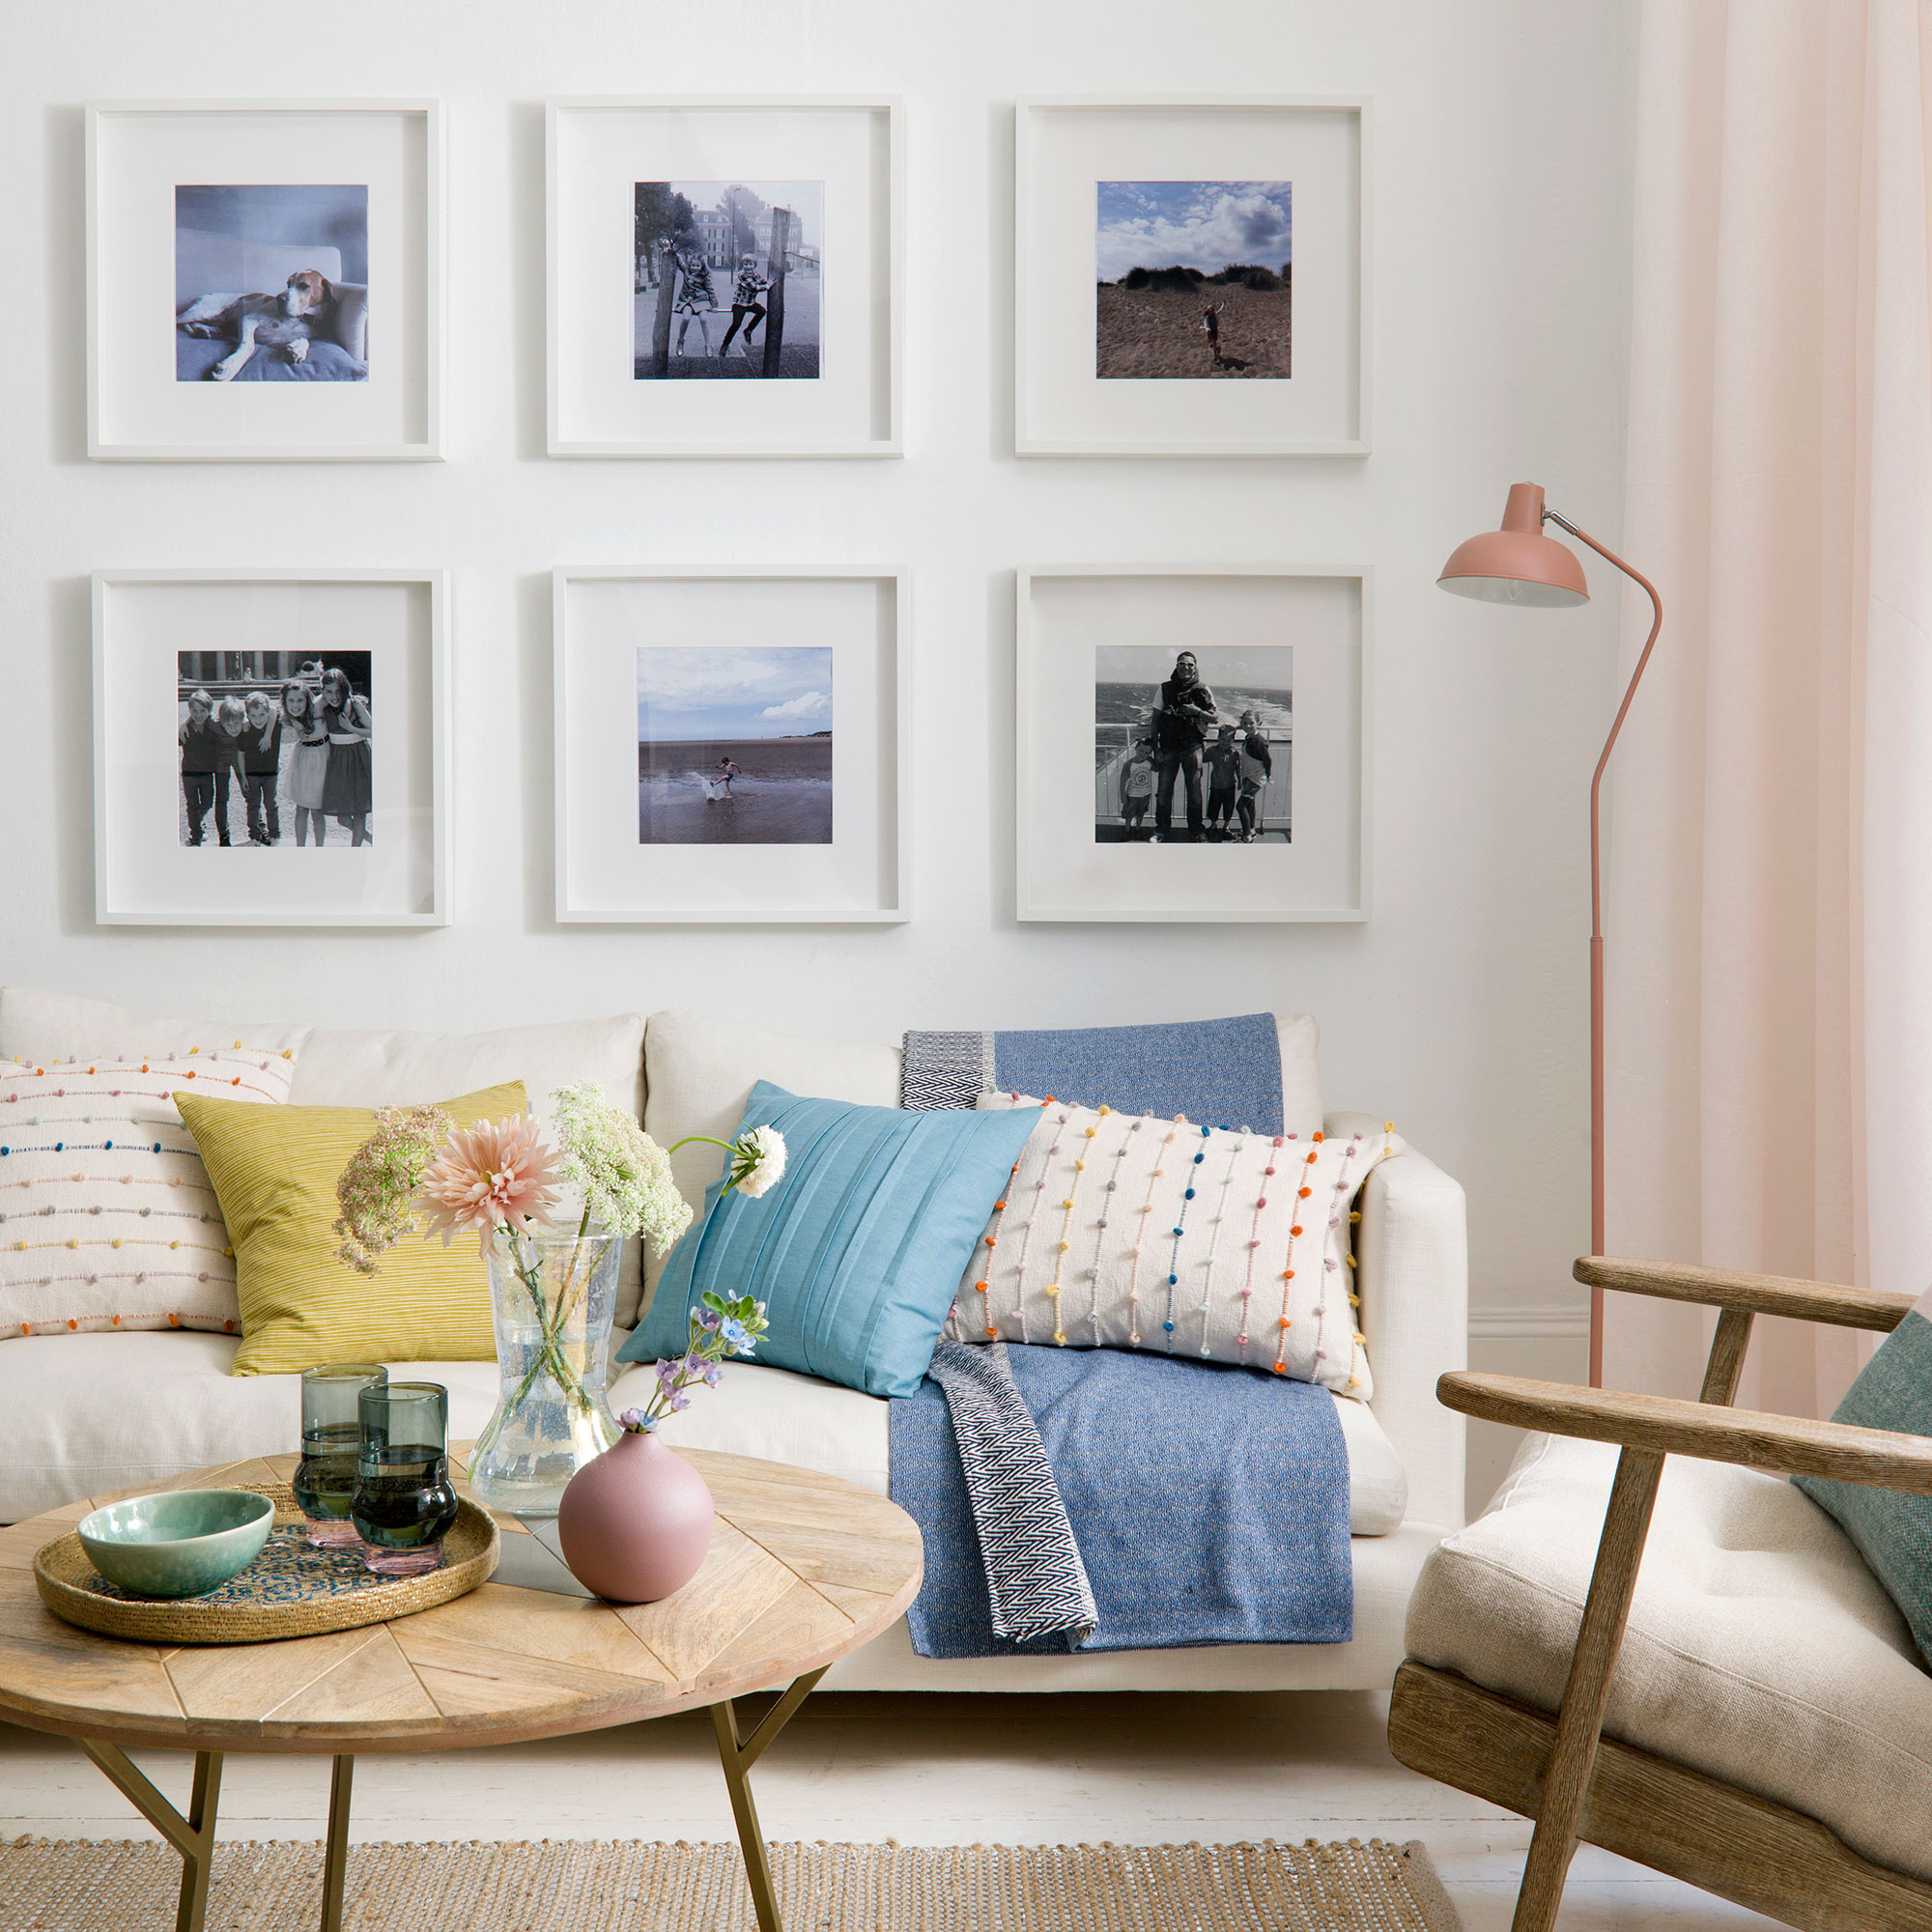
Capture the best times of a year and hang behind your sofa. Why not change the images each year, in the downtime between Christmas and the new year for a lovely family activity? Create a grid on your wall, depending on the width or height of your room – three frames across by two up will make a room appear longer, while two frames across by three up, will help enhance the sense of height.
Choose non-reflective glass or Perspex if your picture wall is positioned opposite a light source, allowing your family gallery to be appreciated at its best.
10. Add in collectables
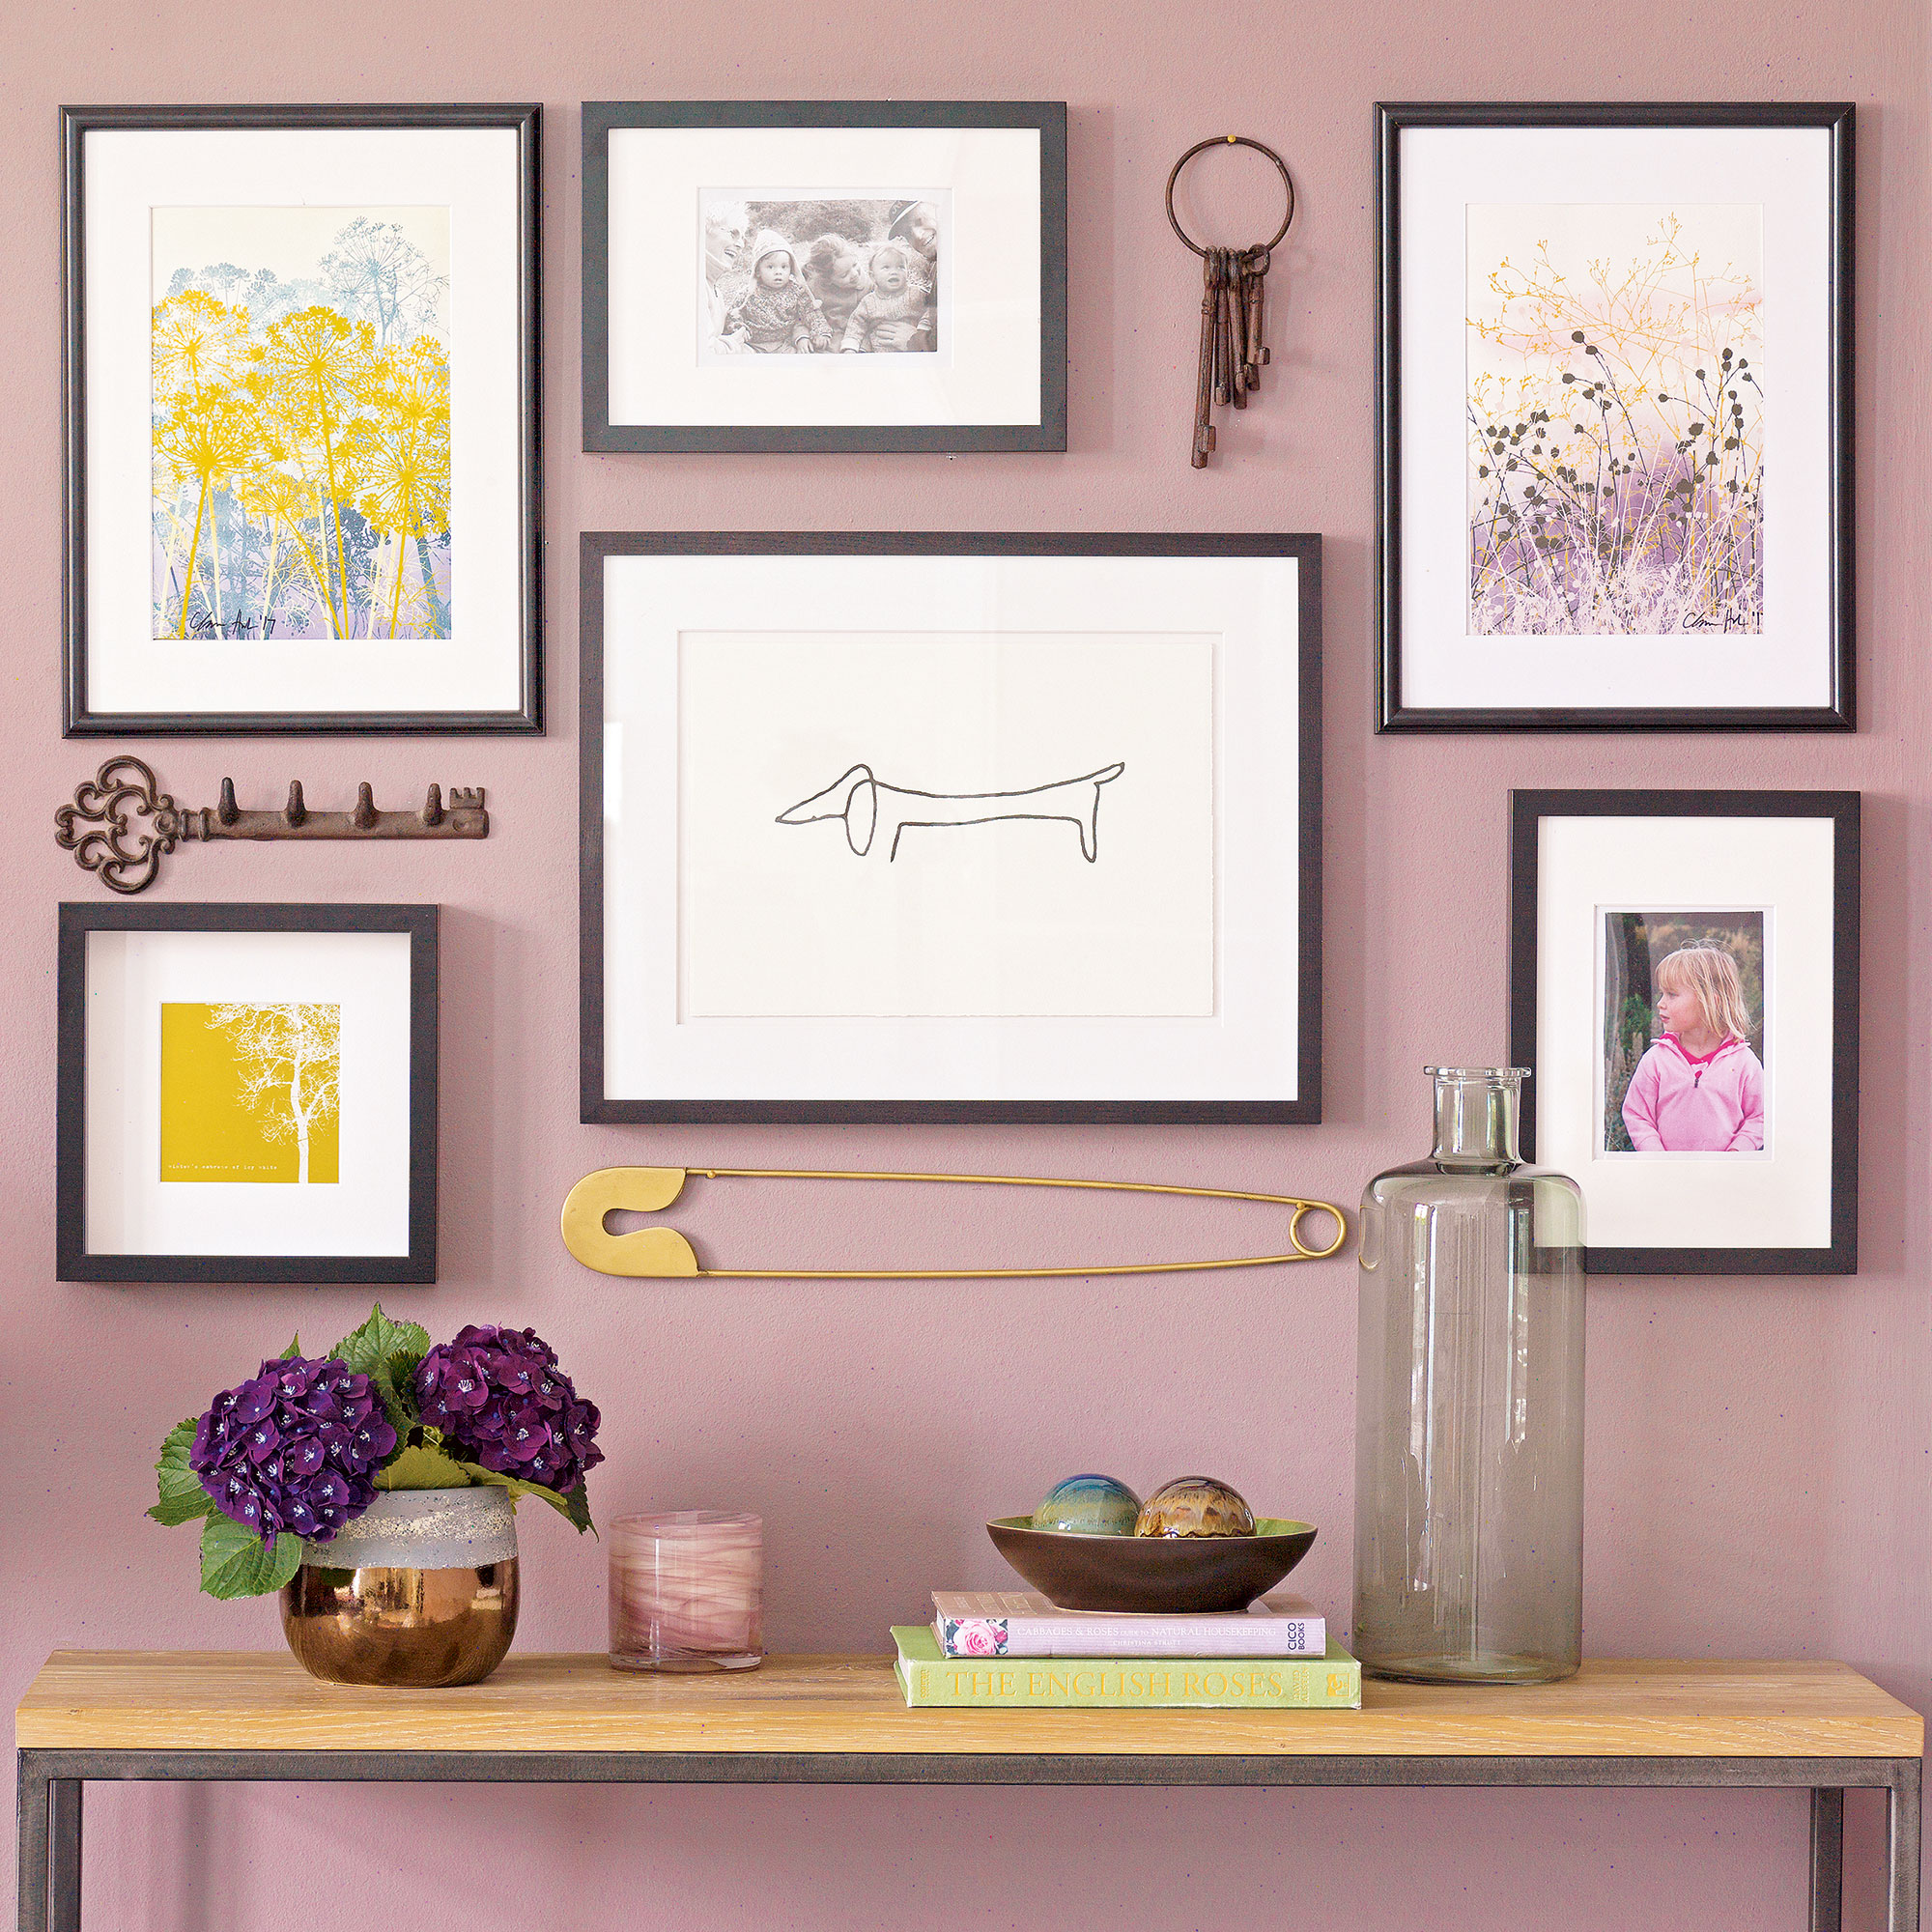
Create a mini picture wall above a console table – the sofa isn’t the only space in a living room to display favourite art and collectables; choose a spot you can appreciate while sitting down. Even though this display mixes frames with keys and hooks, lining up the edges helps it feel considered. When planning such a gallery, try creating an outer boundary to the width of the console table using masking tape, then fixing the interior frames and objects inside.
And the living room isn't the only place crying out for a picture wall idea. There are plenty of gallery wall ideas for the other rooms in your home, too.
How do you make a simple picture wall?
‘It is important when creating a picture wall that you love the prints you choose, as you want your creation to spark joy,’ says Desenio’s executive creative director, Annica Wallin. ‘Once you have chosen your variety of prints, lay them on the floor and experiment with different layouts. It is important that the colours and sizes are well-balanced to ensure the end layout is visually appealing.’
How far apart should pictures be hung?
‘Try spacing the prints 5-10cm apart,’ says Annica, ‘but, this depends on the size of the wall you are working with. Begin with a 5cm spacing and gradually increase until it feels right for your room.’
Annica’s top tip for creating the perfect grouping is to use paper. ‘Make templates the same size as your prints, (at Desenio, there’s a piece of paper that comes in the frame, which you can also use) and create a mock-grouping on your wall. This will give you the right idea of what the grouping will look like once fixed to the wall.’

Jennifer Morgan is an award-winning editor, writer and stylist, with over 25 years’ experience writing, styling and editing home interest magazines. Jennifer was the deputy editor of Ideal Home from 2008-2010, before launching Ideal Home’s sister title, Style at Home in 2010. Jennifer went on to launch several craft magazines and websites, before going freelance in 2016, with a client list that includes John Lewis, Dunlem and Nordic House. Today, she writes for Ideal Home, Real Homes, Waitrose, Woman & Home, Sainsbury’s Magazine and Homes & Gardens.