Savvy homeowners totally transforms kitchen with DIY worktops and stencilled floor
Homeowner quoted £5k spends just £144 on the new look – you won't believe it's the same kitchen!
Dreaming of a new kitchen? But can’t afford the hefty price tag involved, then let this kitchen makeover be a shining example to you – it can be done on a budget and look exceptional.
Using only three key magic materials including Fablon from ebay, a stencil and Frenchic paint this homeowner transformed a tired-looking space into the stunning grey kitchen it is today – for just £144.
More DIY to inspire: Grey spray-painted kitchen cabinets and new splashback totally transform this family kitchen
Laura's kitchen before
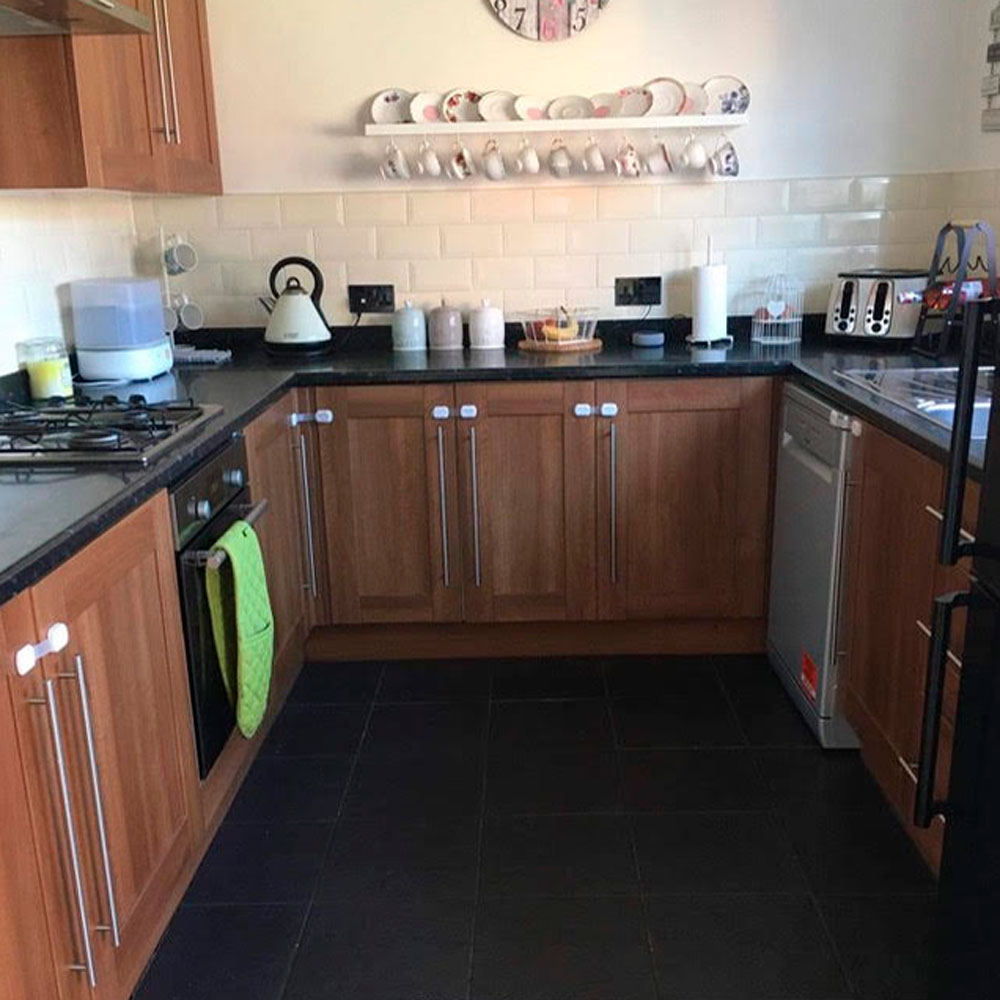
Laura Vaatstra, was quoted an eye-watering £5,000 for a new kitchen. And that’s without the cost of labour or any flooring or wall tiles, neither of which are cheap. Deciding that was an expensive too grand Laura took matters into her own hands. She decided to flex her DIY skills and transform the kitchen herself.
‘After seeing so many people transform their kitchens on a budget, I decided to give it a go myself’ she explains to Latest Deals.
Step 1 – painting the kitchen cabinets
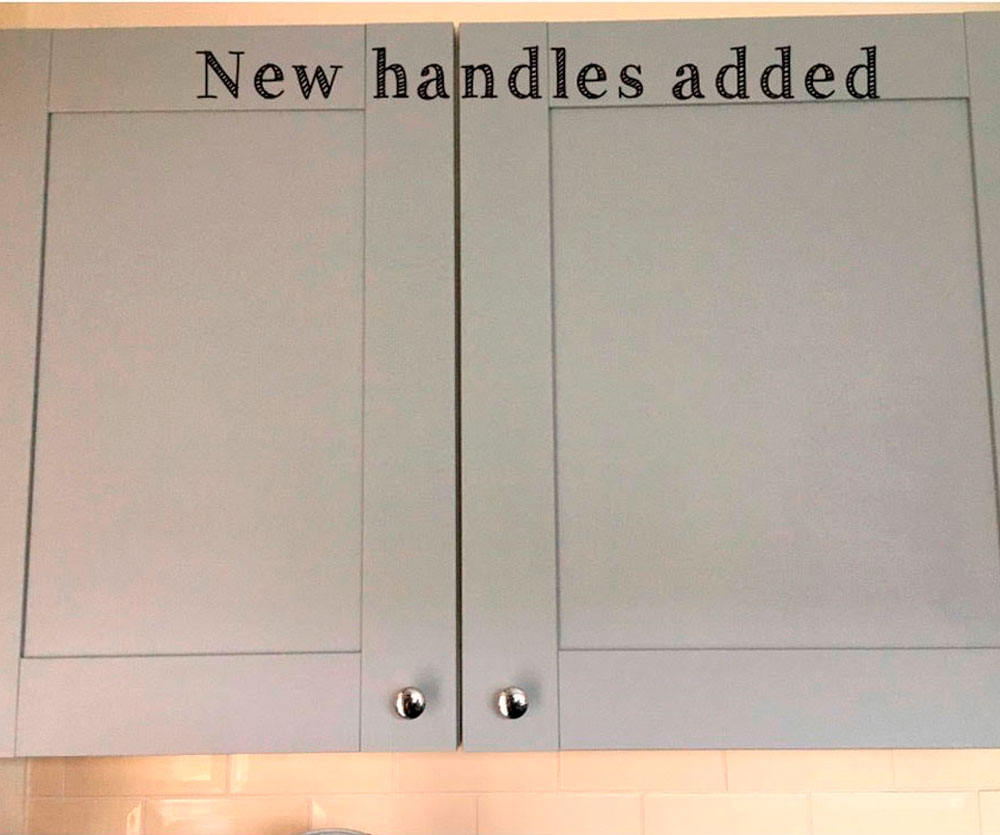
'I started off by removing all the old handles from the doors. I filled the existing holes and sanded them' Laura explains. Next she cleaned all the cupboard doors inside and out with sugar soap and sanded them lightly.
'Once they were prepped I started with the first, very light layer of the Frenchic paint. in Duckling' she details. 'Once the first, second and third coats had been applied to all the cupboards, I used a drill for the first time and put in the holes needed for the new handles.'
Get the Ideal Home Newsletter
Sign up to our newsletter for style and decor inspiration, house makeovers, project advice and more.
Buy now: Frenchic Paint in Duckling, £22.99, Amazon
Step 2 – Covering the kitchen worktops
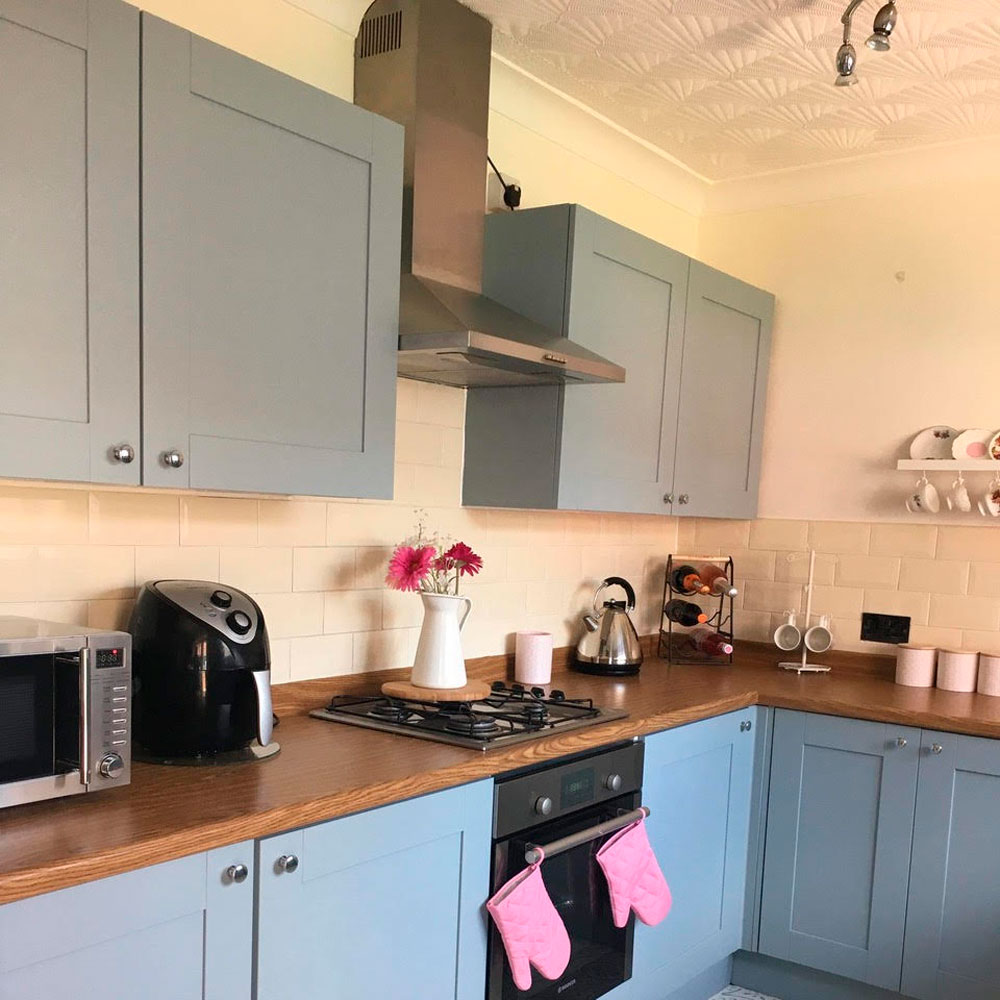
After finishing the cupboards she set to work on covering kitchen worktops. 'I’d bought one long roll (about seven metres) so that I would have as little joins as possible' Laura explains. 'The easiest way I found when applying the Fablon is to have two people – one to pull the paper off and one to smooth out the air bubbles as you go.'
Reflecting on the DIY job Laura says, 'Considering I’d never done it before, it was a lot easier than I was expecting to apply. And I’m very impressed with how it’s lasting so far. Unless you look very closely, it’s easy to think that I replaced the worktop with wood.' Job well done.
Buy now: Fablon Oak 2M Roll, £8.40, Amazon
Step 3 – Painting the floor with a base coat
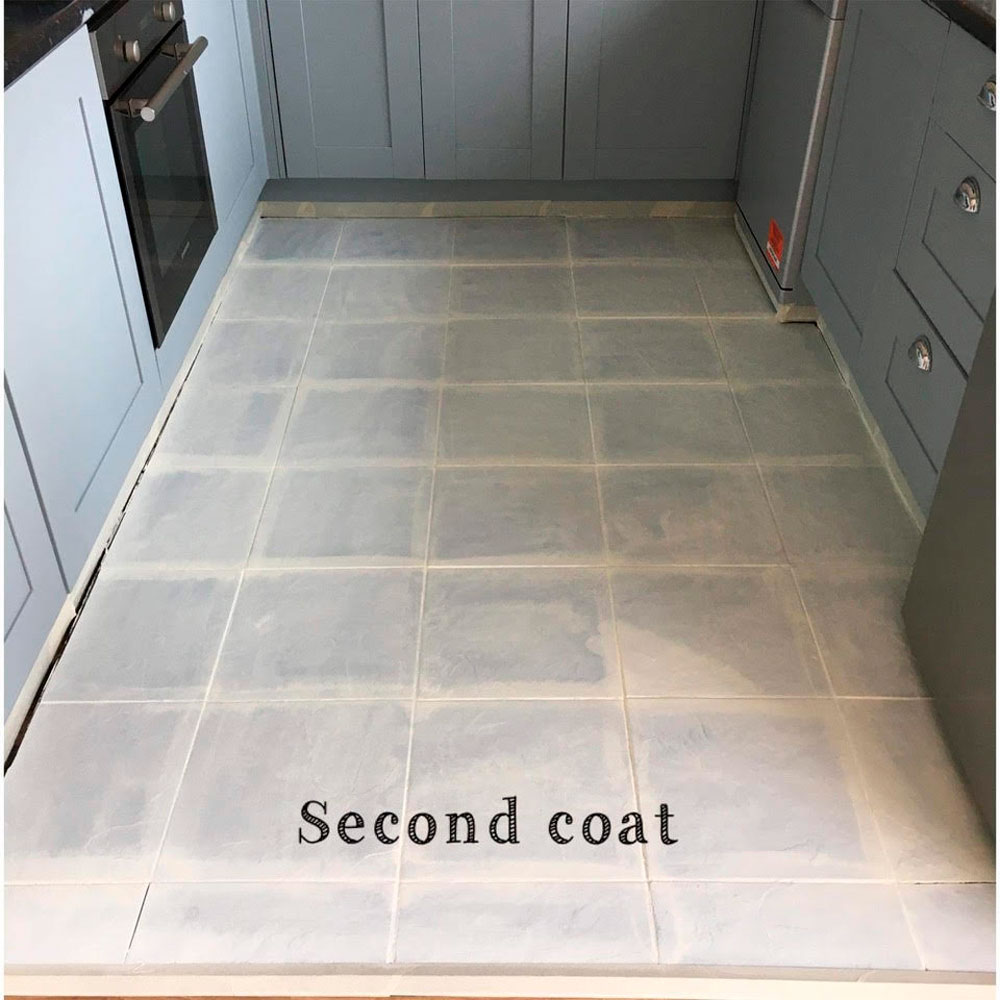
‘Next was the floor - this was the part that I knew would make the biggest difference to the kitchen and the part I was most excited about starting’ Laura exclaims.
‘I cleaned the floor with sugar soap but didn’t sand this time, as the tiles are fairly textured anyway. I put masking tape around the newly painted plinth and then used my Frenchic brush to paint the first coat of the 'Cream Dream' paint.’ She goes on to say 'I won’t lie - it looked awful after the first coat as it needs to be very light. I waited two hours between each coat again and it took me about two days as I could only do it in the evenings.'
Once the cream was finished with five coats applied, it was ready for stencilling.
Step 4 – Stencilling the floor
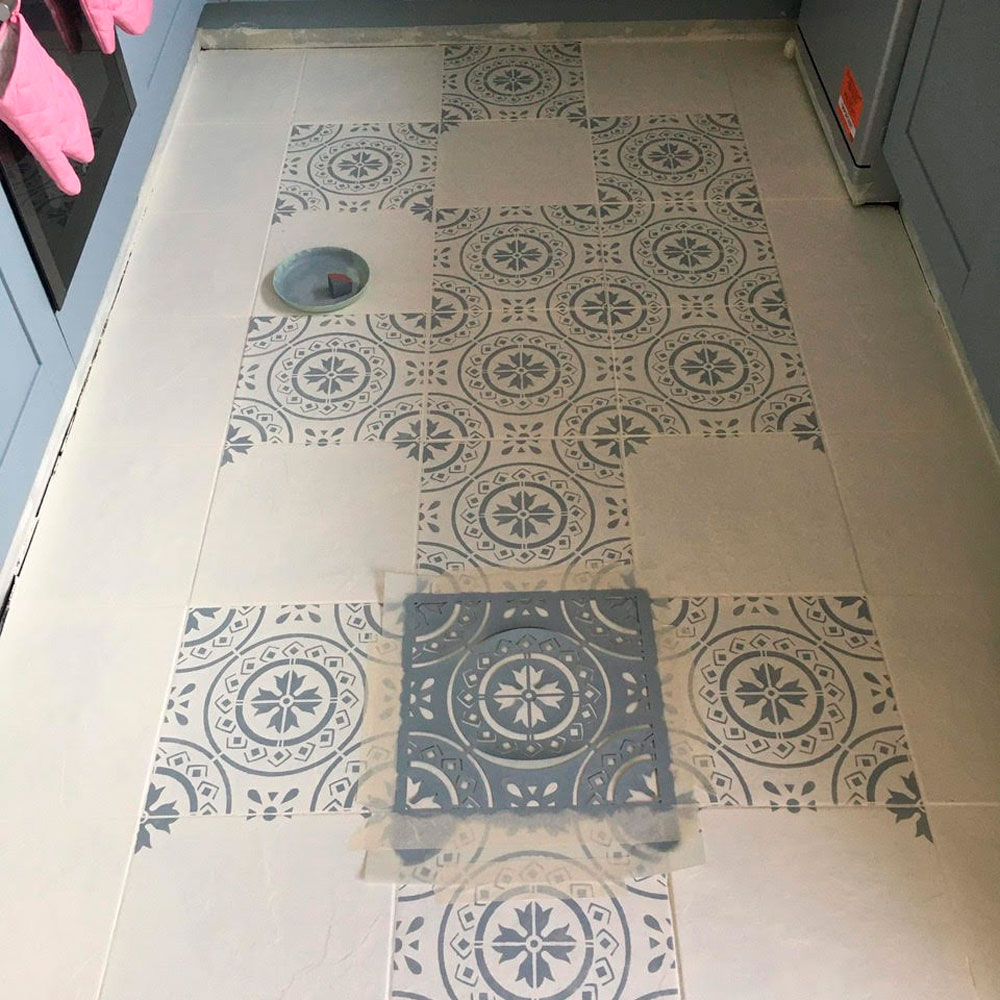
'I started in the middle of my kitchen floor and alternated the stencil, to make sure that I wasn’t touching the tile I’d just painted' says Laura, offering sound advice. 'I used masking tape to keep the stencil in place and used a face painting sponge with very little paint on to avoid any bleeding.'
'Once all of the full-sized tiles were done I started around the edges, which were a bit tricky but not impossible' she says. 'It just took a few goes to get it in the right position. I left the very tricky parts to the end (around the appliances and right in the corner) and then cut the stencil to make it easier.'
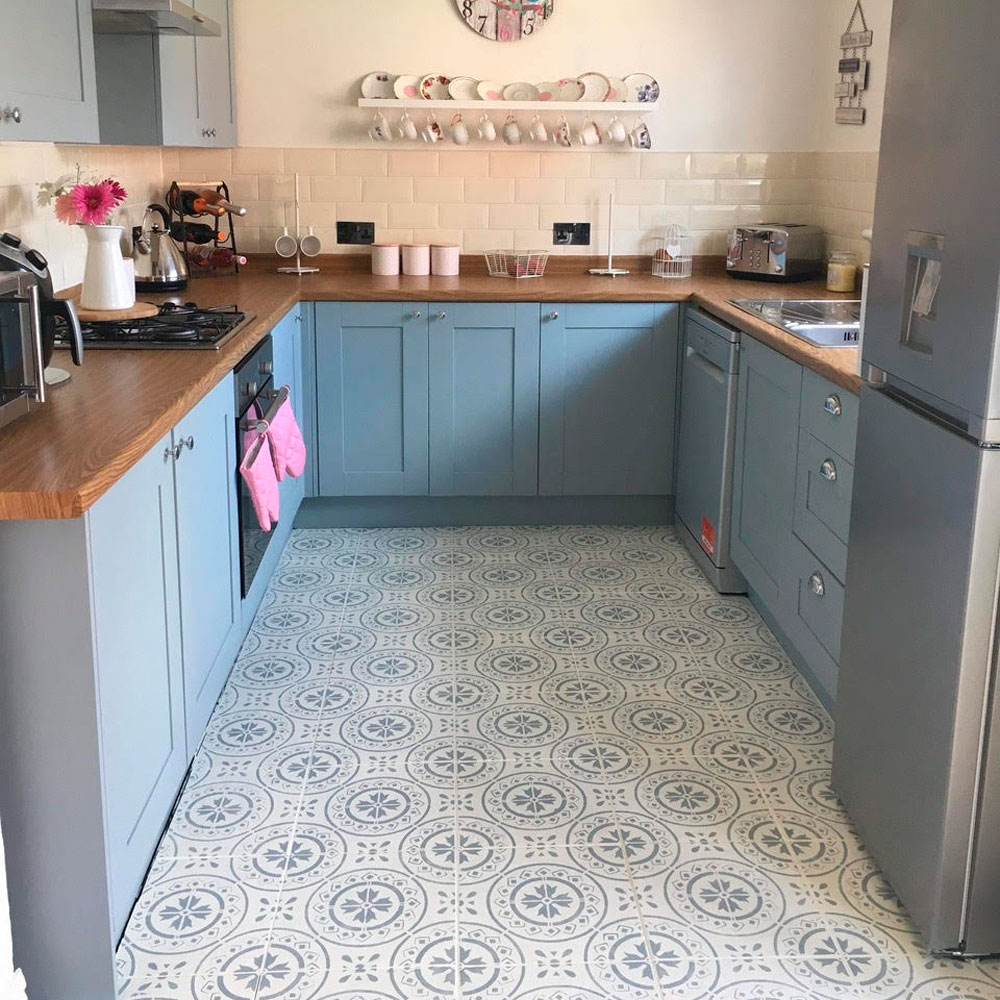
The floor is the real Pièce de résistance of Laura's new-look kitchen – it looks incredible! Laura says 'I really enjoyed the stencilling and am so happy with how it turned out. It's saved me a few hundred pounds as I had planned on laying new tiles!'.
Laura explains 'In total, I spent £144 on the whole kitchen. The Fablon cost £48 from ebay. The new handles were £30 from Amazon. The paint for the cupboards and the floor cost £36 from a local Frenchic stockist and the stencil cost £30 from Dizzy Duck Designs.'
Related: Before and after: be inspired by this industrial-style kitchen makeover with dreamy blue tiles
We LOVE seeing your home transformations, so thanks to Laura for sharing.
Tamara was Ideal Home's Digital Editor before joining the Woman & Home team in 2022. She has spent the last 15 years working with the style teams at Country Homes & Interiors and Ideal Home, both now at Future PLC. It’s with these award wining interiors teams that she's honed her skills and passion for shopping, styling and writing. Tamara is always ahead of the curve when it comes to interiors trends – and is great at seeking out designer dupes on the high street.
-
 This potato hack for removing rust on garden furniture is getting rave reviews – cleaning experts say 'it’s a great natural alternative'
Can a potato really remove rust from garden furniture? Here's what you need to know
-
 Are white tiles going out of style? These are the 4 tile trends to try instead for a stylish kitchen
Because your kitchen deserves personality...
-
 Does salt kill ants? Yes, but pest experts warn against using it for this simple reason
Salt may kill ants, but it's not necessarily the best choice