How to make the ultimate cardboard box fort – and keep the kids entertained for hours!
Just wait until you see the finished thing

Over the past week, home deliveries have become a lifeline to the outside world for many of us. If you're now wondering what to do with all the packaging, or what to make with a cardboard box, we have just the thing.
Related: Children's room storage ideas – to create a neat, tidy and organised space
This ultimate cardboard box fort created by the team at Space Station will keep your kids entertained for hours.
How to make a cardboard box fort
What you'll need:
- 12 cardboard boxes – But you can create a bigger or smaller fort with however many boxes you have available.
- Scissors
- Pen
- Strong tape
- String
1. Gather all your boxes together
Space Station recommends using 8 medium boxes and 4 large boxes. However, you can adjust this to work for the number of boxes you have and the space available in your home.

2. Start by creating the turret
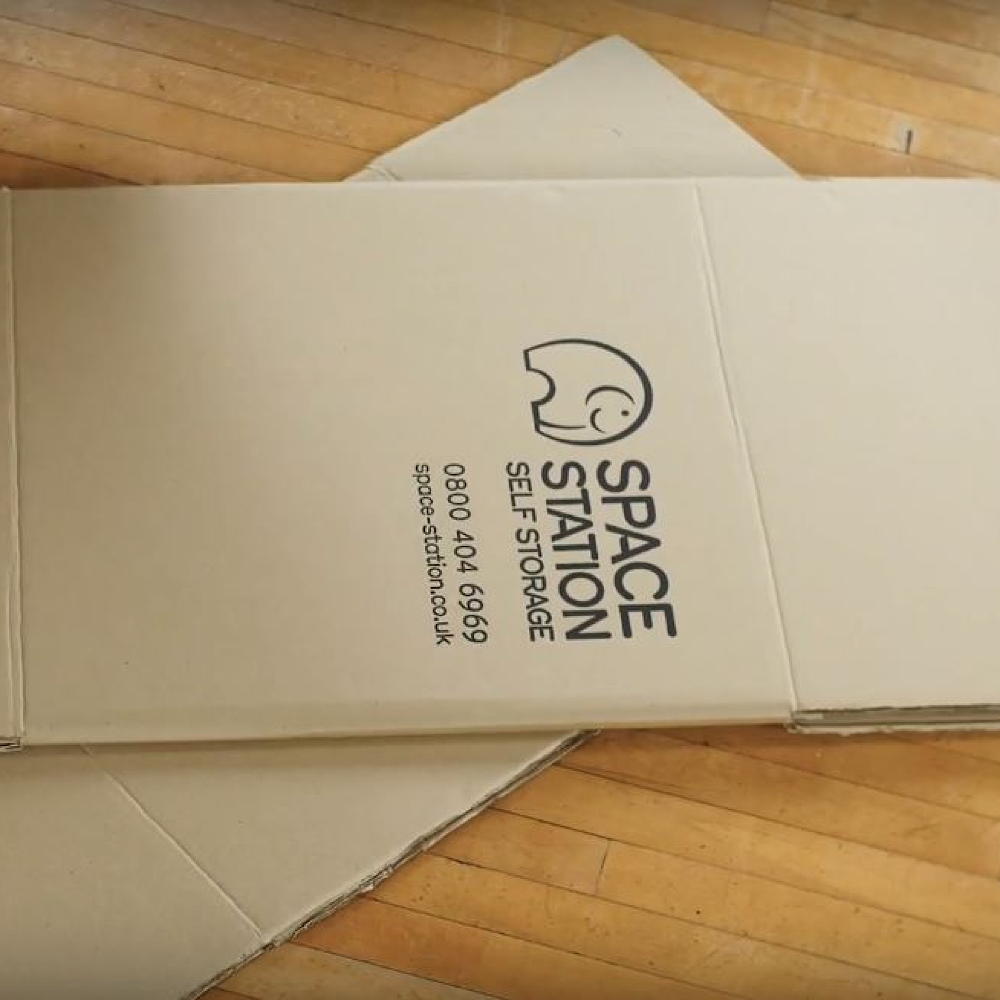
Use two medium boxes per turret. Open out all the flaps at both ends of one box. Tape the flaps together so the box stands upright.
3. Repeat...
..for the second medium-sized cardboard box.
4. Stack...
...the two taped boxes on top of each other and secure with tape.
Get the Ideal Home Newsletter
Sign up to our newsletter for style and decor inspiration, house makeovers, project advice and more.
5. Draw you chosen design on the top of the turret in pen.
Space Station opted to create a traditional castle turret. Cut out the design with the scissors – this requires adult supervision so be careful!
6. Make three more turrets
Repeating steps 2 to 5.

7. Take one of the large boxes
Flatten it out and use it to connect the turrets with tape. Fold the bottom flaps under to add stability to the fort. Repeat this step with the remaining 3 cardboard boxes until all four towers are connected.
8. Draw on any doorways and windows
Do this in pen on the fort and cut them out.
9. Create a drawbridge
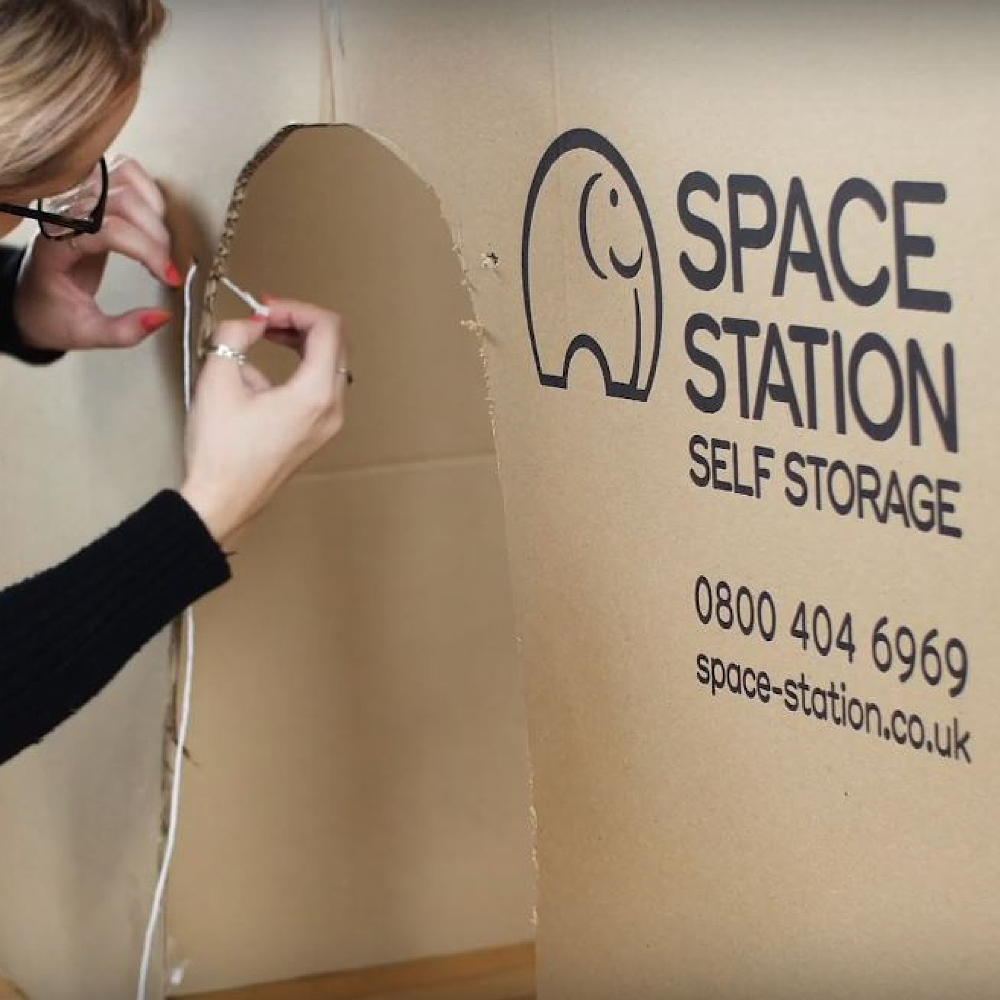
Draw the outline of a door on one of the large boxes. Cut the top of the door out, but leave the bottom still attached to the bottom flap. Puncture two holes on either side of the door and the door frame. Thread string through both both holes, so the door can be drawn up from inside the fort.
10. Decorate the fort
Use flags, house plants, ivy or anything else that you have to hand.
To see the final version you can watch the Space Station creating their ultimate fort in the video below. Please note, the how-to was created last June before social distancing.
Will you be keeping your kids entertained with a cardboard fort during lockdown?

Rebecca Knight has been the Deputy Editor on the Ideal Home Website since 2022. She graduated with a Masters degree in magazine journalism from City, University of London in 2018, before starting her journalism career as a staff writer on women's weekly magazines. She fell into the world of homes and interiors after joining the Ideal Home website team in 2019 as a Digital Writer. In 2020 she moved into position of Homes News Editor working across Homes & Gardens, LivingEtc, Real Homes, Gardeningetc and Ideal Home covering everything from the latest viral cleaning hack to the next big interior trend.
-
 Zoe Ball's colourful kitchen island shows how easy it is to create a characterful cooking space - here's how she did it
Being brave with colour will reap huge rewards
By Holly Cockburn
-
 7 plants that will make your patio smell gorgeous - the top fragrant picks experts recommend potting up
From aromatic flowers to fragrant herbs
By Kayleigh Dray
-
 I won't gatekeep - Magimix's new small kitchen-friendly mini chopper is my secret to delicious lazy dinners
My homemade pesto pasta has never been better
By Holly Cockburn
