How to replace front door glass
Follow this step-by-step guide to upgrading and replacing front door glass

If you want to replace front door glass, your motivation and the door material will affect what type of glass and fixing is best.
Perhaps you’re fed up with getting a cold draught through the door and want to upgrade to a more energy efficient product. Going from single glazing to double could save you money. Or maybe you simply want to change the look of your door without the cost of replacing the whole thing.
Just like replacement windows, if you have broken front door glass, it’s a risk to your home’s security and should tackled as soon as possible. If the pane appears hazy, this is a tell-tale sign the seal is damaged, which could negatively impact on the energy efficiency of your property.
Your reasoning will also impact on whether the job should be done by a professional. ‘If you have reasonable DIY skills then you can look at doing this yourself, but if it’s timber beaded or double glazed, it’s probably best left to a specialist,’ says Phil Roberts, Glazing Manager at Sheerwater Glass.
Whatever your reason for replacing front door glass, here’s what you need to know to do the job successfully.
How to replace front door glass

1. Work out what kind of glass you want to use
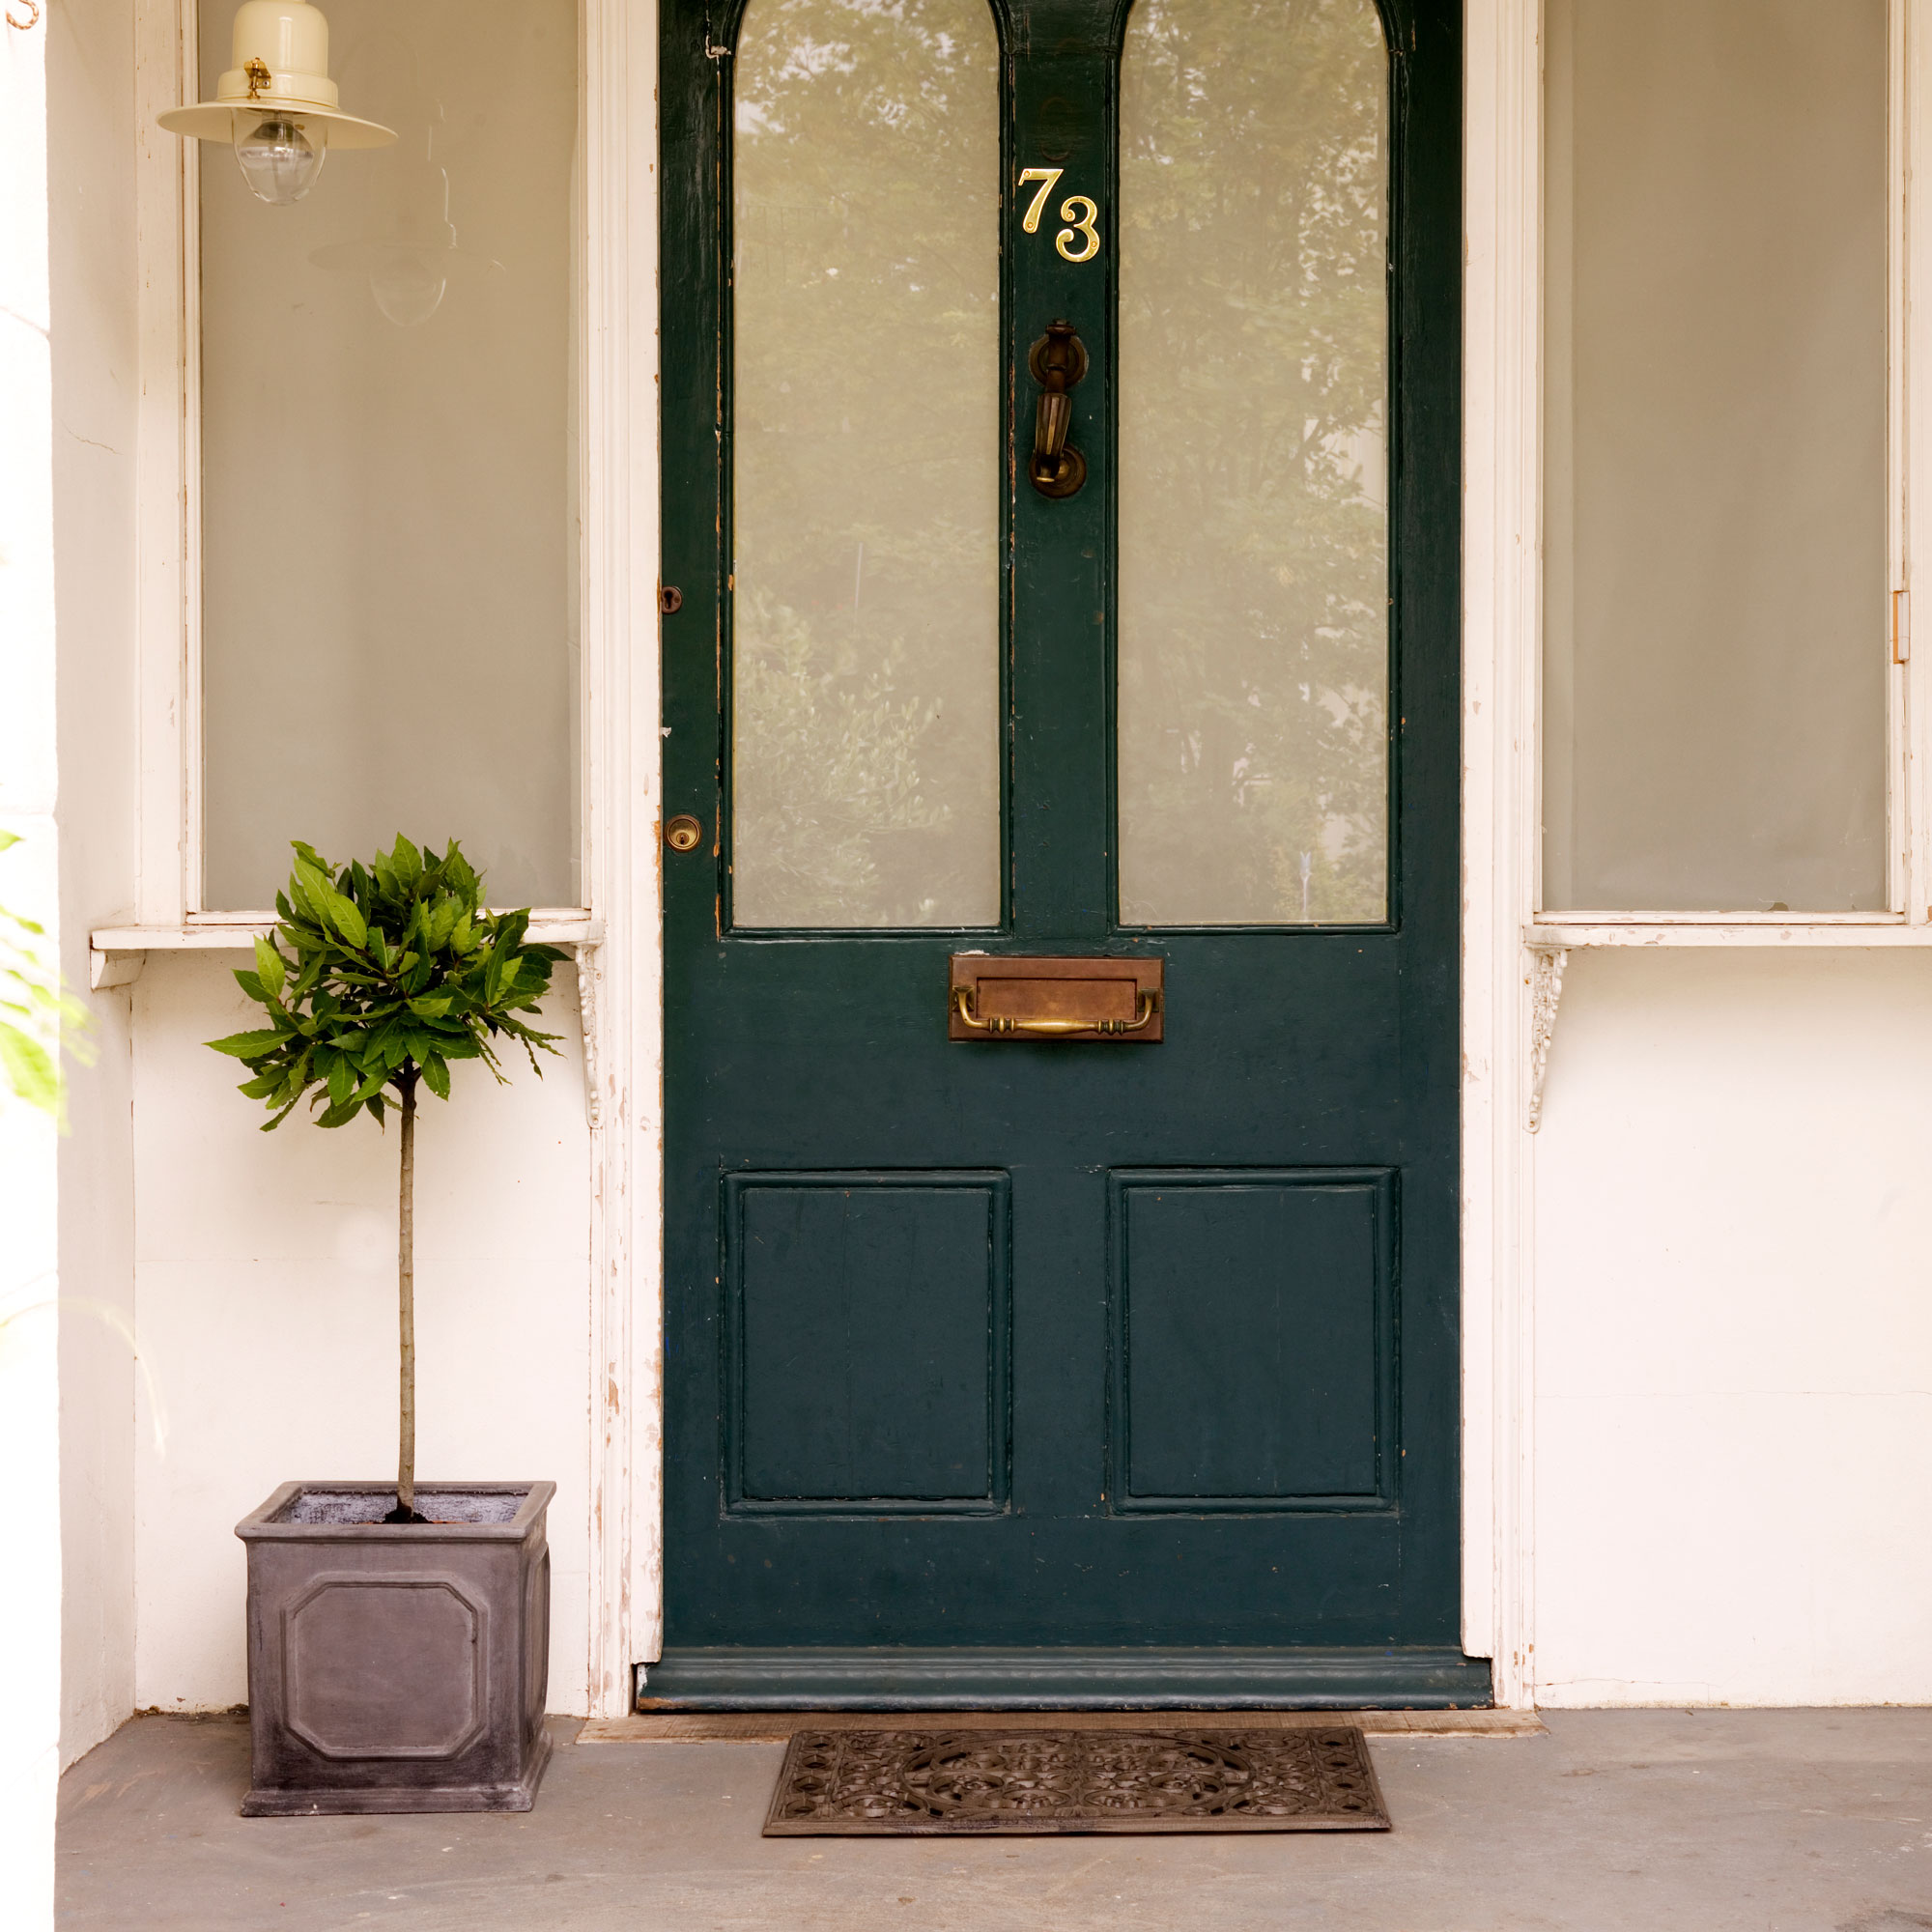
Want replace front door glass? The first step is to decide what style of glass will suit the door. Traditional-looking front doors often feature glass with decorative patterns and colours, known as ornamental glass. Seek out designs that suit the period of your property. Contemporary doors in newer properties, on the other hand, can take large glass panes. You could use frosted or textured glass to maintain privacy too.
Thermal performance is also an important consideration when replacing front door glass. Types of glazing vary, but investing in double glazing or even triple glazing will help to stop heat from leaking out of your home. You'll need to check whether it’s feasible to install thicker, heavier panes in your existing door.
Safety glass (toughened or laminated) is often needed in front doors. You can find the requirements in the Building Regulations.
2. Understand how the glass is held in place
Front door glass panes can be secured in several ways, usually depending on the door material. This will impact how you remove and fit the glass. You can usually tell what style it is by looking at the door.
• Timber doors are likely to use wooden beads (mouldings) around the edge of the glass. With some timber doors, the glass is simply held in place with putty, which doubles up as a sealant.
• PVCu doors tend to use plastic beads and silicone.
It’s important to understand the makeup of your door before you start doing the job because you might want to reuse the beads.
3. Measure and get glass cut

‘Measure the gap for the glass. Allow a bit of tolerance because the door material is likely to move a bit around the glass. Timber will swell in winter and PVCu in the summer,’ advises Phil Roberts.
Take your measurements to a glass merchant that offers the type of glass you want. Cutting glass requires specialist tools and machinery. Don’t attempt this yourself unless you know what you’re doing.
4. Have the right equipment
Working with glass is dangerous, so wear safety glasses and safety gloves. Have the right tools for the type of door. ‘You’ll need a putty knife and hammer for putty application; chisel and hammer for timber beaded doors; and PVCu doors require a sharp implement and hammer/mallet,’ says Phil Roberts.
When removing the glass, you might want an extra pair of hands to hold the glass in place as you remove fastenings to stop it from slipping out of the frame. If you’re doing the job solo, it’s probably best to remove the door from the frame and lay flat to reduce the distance any glass can fall.
If the glass is broken, put duct tape across the glass to stop pieces falling out when you remove it.
5. Remove front door glass
For glass held in place with putty, carefully remove the putty with a utility knife. The glass will then lift out.
Timber beading is usually tacked on with small nails, and possibly adhesive. This should typically come away easily with a putty knife or chisel. If the sections are in good condition and you can avoid breaking them, you might be able to reuse them.
On PVCu doors, mouldings can usually be prised away intact with a putty knife. If they are stuck fast, you may need to carefully score down the adhesive edge with a Stanley knife.
Once you’ve removed the glass, be sure to clean away any leftover glue or putty from the door. This leaves a clean space for your new glass to be fitted.
On timber doors, a light sanding may be required to provide a good key for any new adhesive.
6. Replace front door glass

To make the job easier, have someone hold the replacement glass in position while you work to avoid breakages. Timber mouldings can usually be tacked in with lost head nails. Any imperfections and joins can then be puttied prior to painting. Plastic beads are commonly stuck on with adhesive, but larger sections may be held in place with screws.
If you’re using glass putty, make sure to knead it first to become the right pliable consistency. Push the putty firmly but carefully against the edge of the glass and into the rebate (between the glass and frame). Smooth the edges with a putty knife and remove any excess. Always allow it to dry before painting your front door.
Get the Ideal Home Newsletter
Sign up to our newsletter for style and decor inspiration, house makeovers, project advice and more.

Rhoda Parry was the Editorial Director of Ideal Home and its sister titles, 25 Beautiful Homes and Style at Home from 2021-2022. She wass also Editorial Director for Gardeningetc, Amateur Gardening and Easy Gardens. Rhoda is a highly experienced editor and journalist and has worked on many women's lifestyle media brands throughout her career. For the last 20 years, she has specialised in homes, interiors and gardens.
-
 My go-to Ninja coffee machine is on sale for Easter weekend
It makes coffee shop quality achievable at home
By Molly Cleary
-
 When to plant out annual flowering plants for vibrant, colourful garden borders – and give them the best start, according to experts
Not sure when to plant out annual flowering plants? We've got you covered...
By Kayleigh Dray
-
 I'm a kitchen decor editor and didn't like this tableware trend - until I saw H&M Home's designer-look plates
They made it easy to justify a new crockery set
By Holly Cockburn