How to paint an exterior wall - a step-by-step to spruce-up your outdoor space
Smarten up outdoor walls with a fresh coat of paint
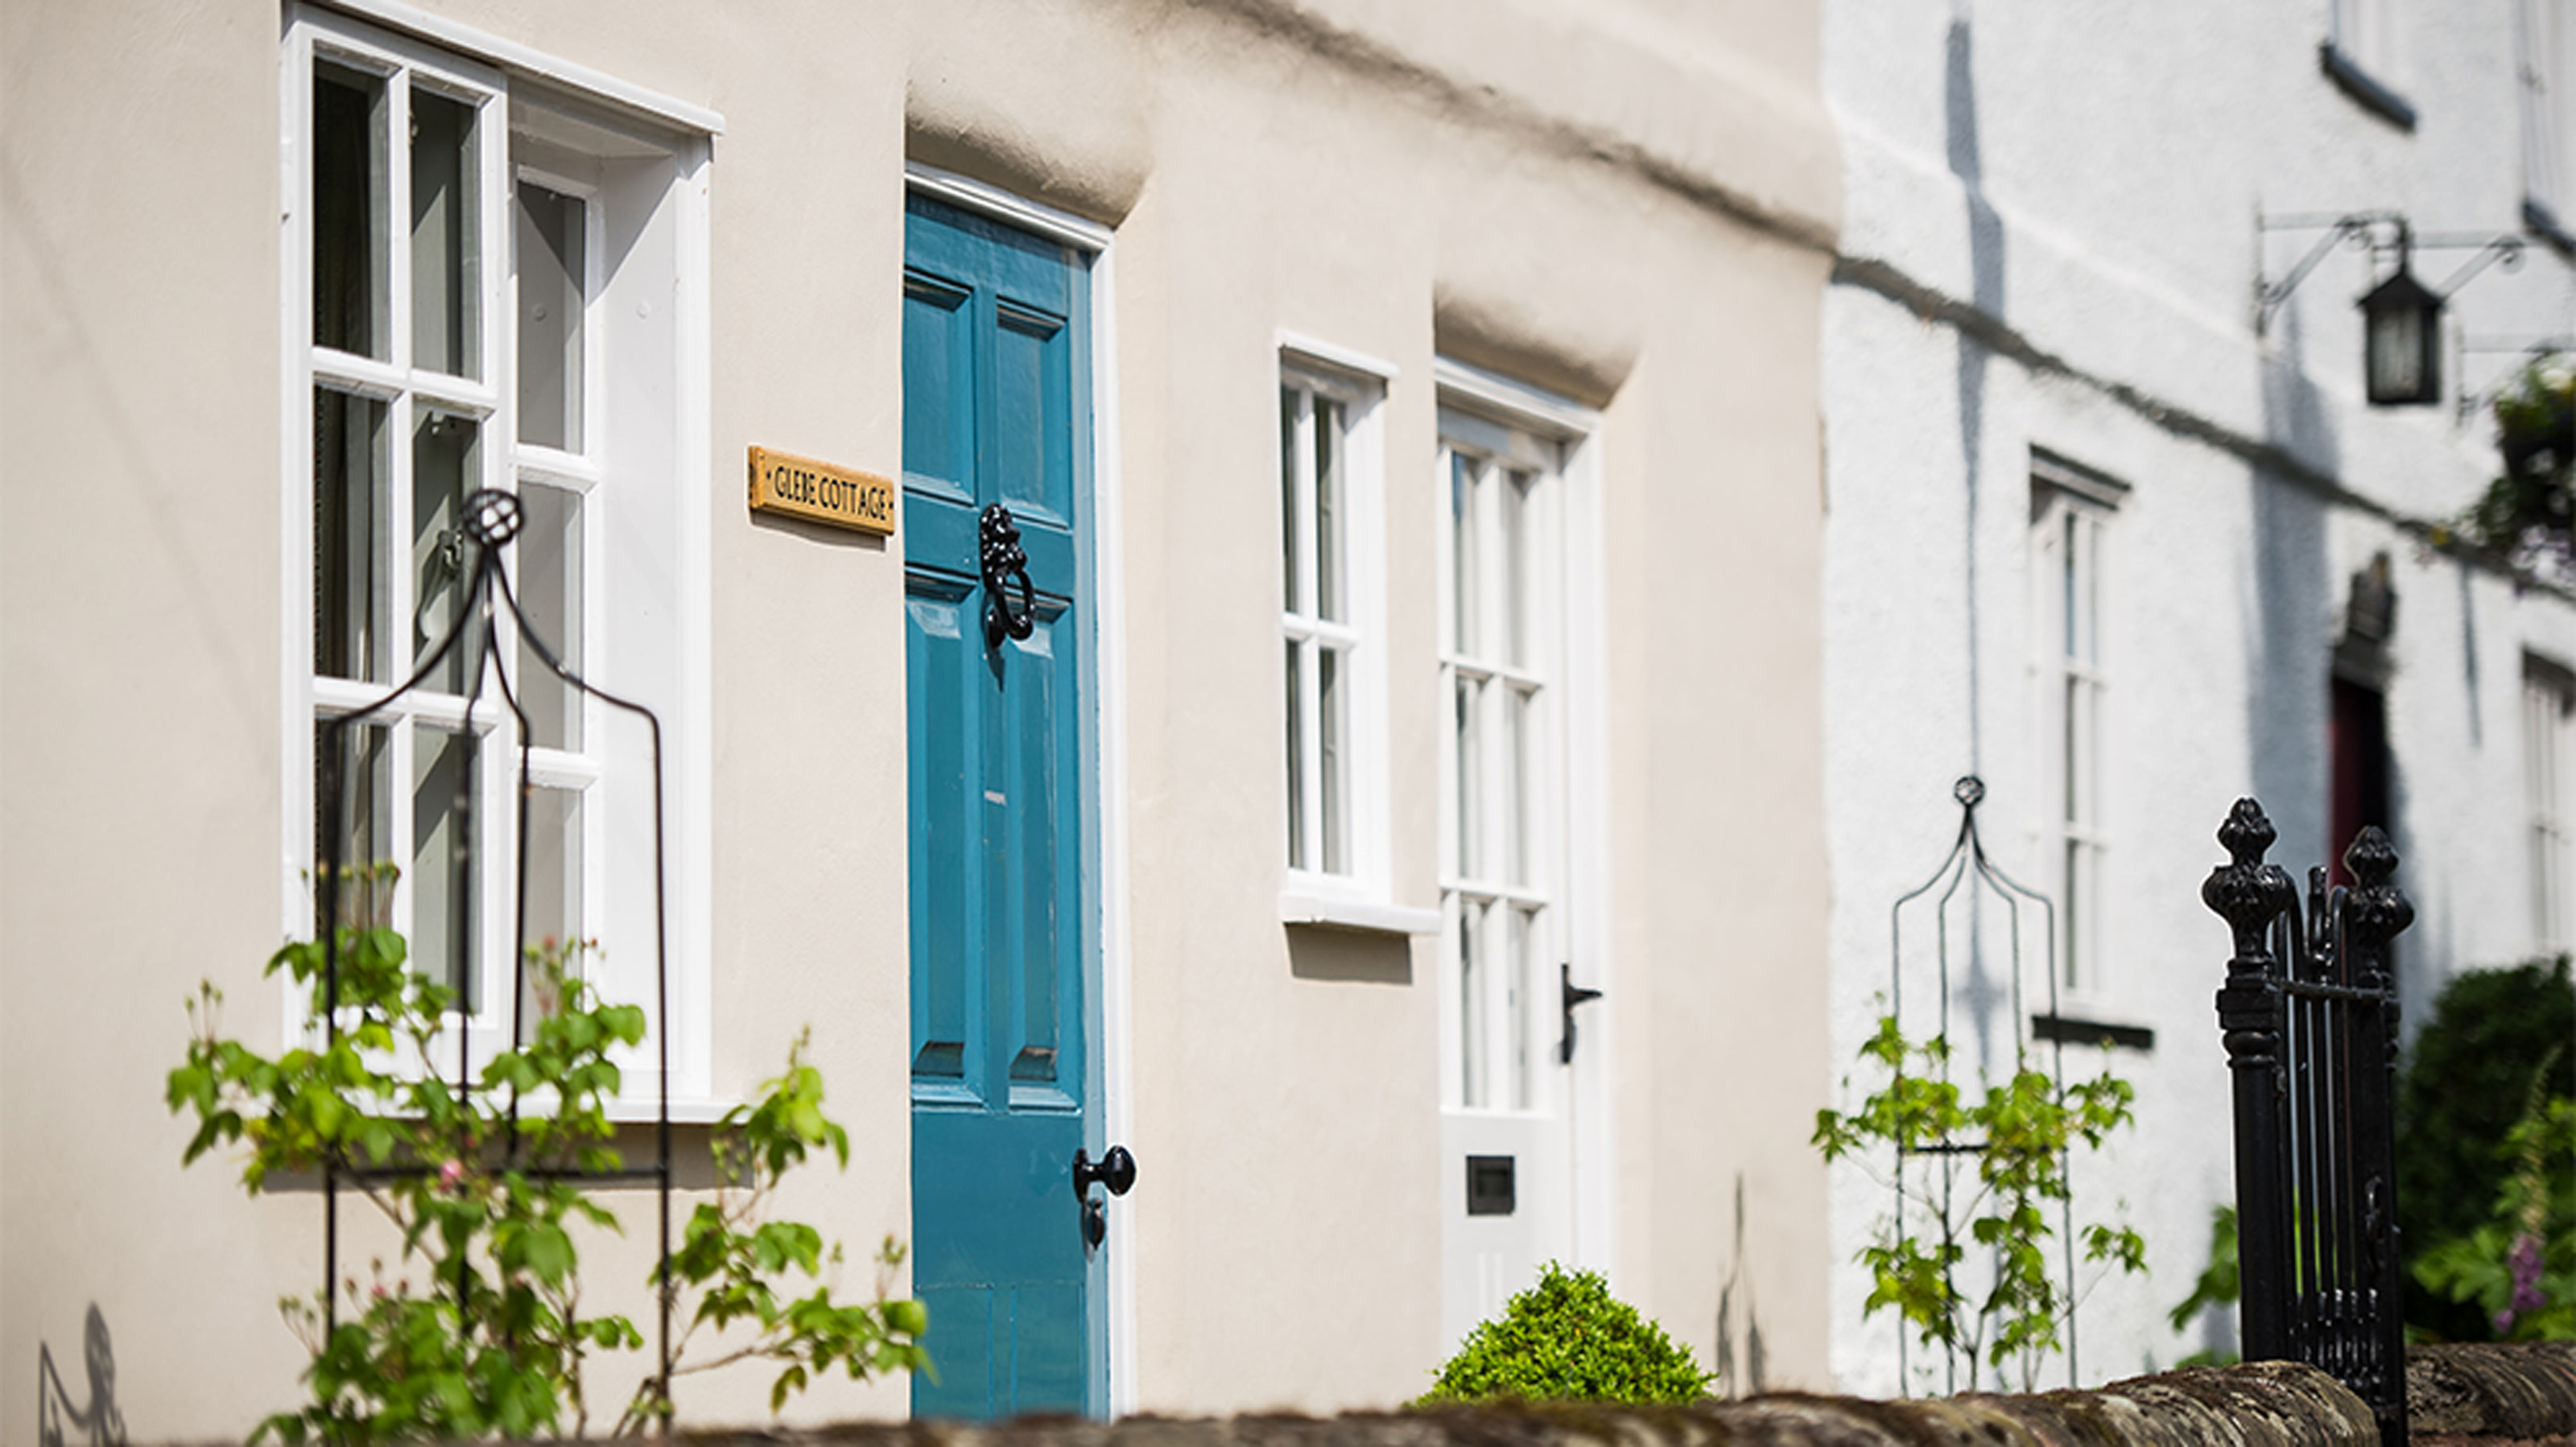

Warmer weather sees us spending more time outdoors and if you’ve noticed that the exterior of your house could do with a spruce-up, now’s the perfect time.
Whether it’s the front of your property or garden wall that is in need of some TLC, if you’re wondering how to paint an exterior wall, just follow our step-by-step guide to update your garden ideas with a lick of paint.
And with hot weather on everyone’s minds right now, paint expert Jimmy Englezos, Product Manager at Ronseal, tells us that painting exterior walls a pale colour can actually help to cool a property down.
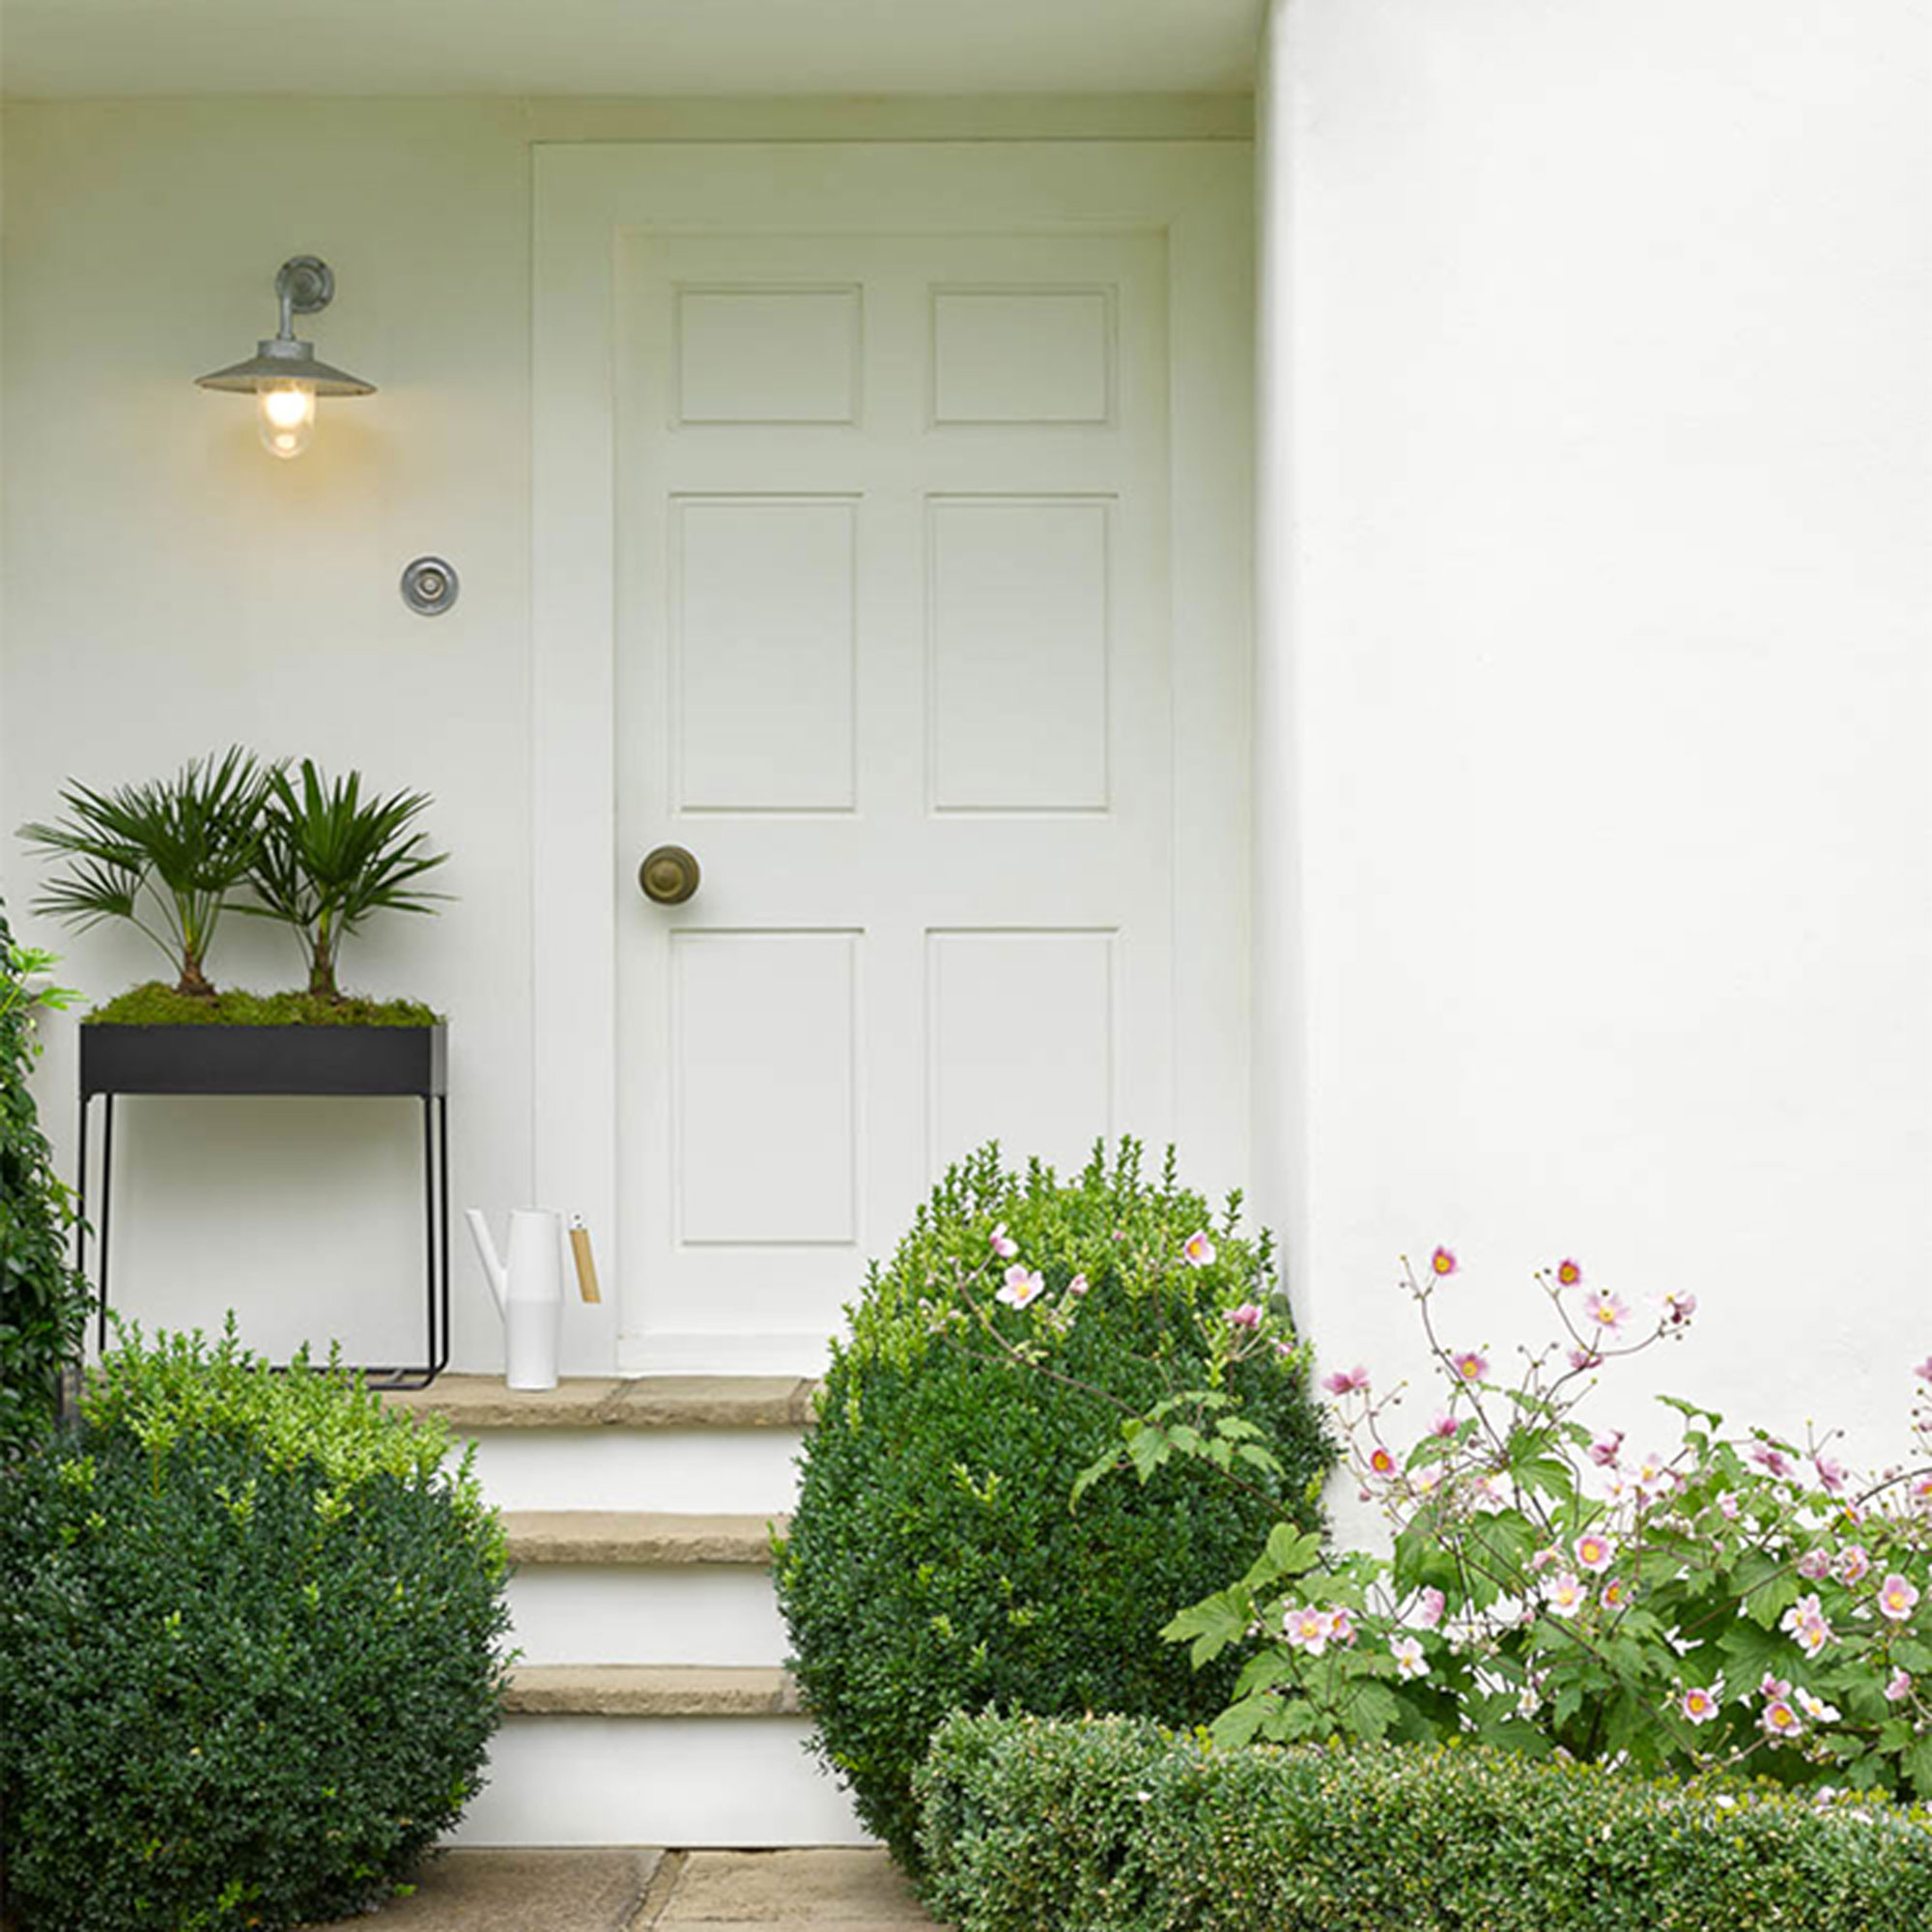
‘With summer well and truly here and many of us making do without aircon, our homes can really heat up during summer months,’ says Jimmy, ‘but if you’re looking for a reprieve, an often-overlooked DIY trick to beat the heat is an exterior update. Whereas darker paints absorb light and transfer that energy into your home in the form of heat, white paint reflects the light, keeping your home cool.’
How to paint an exterior wall
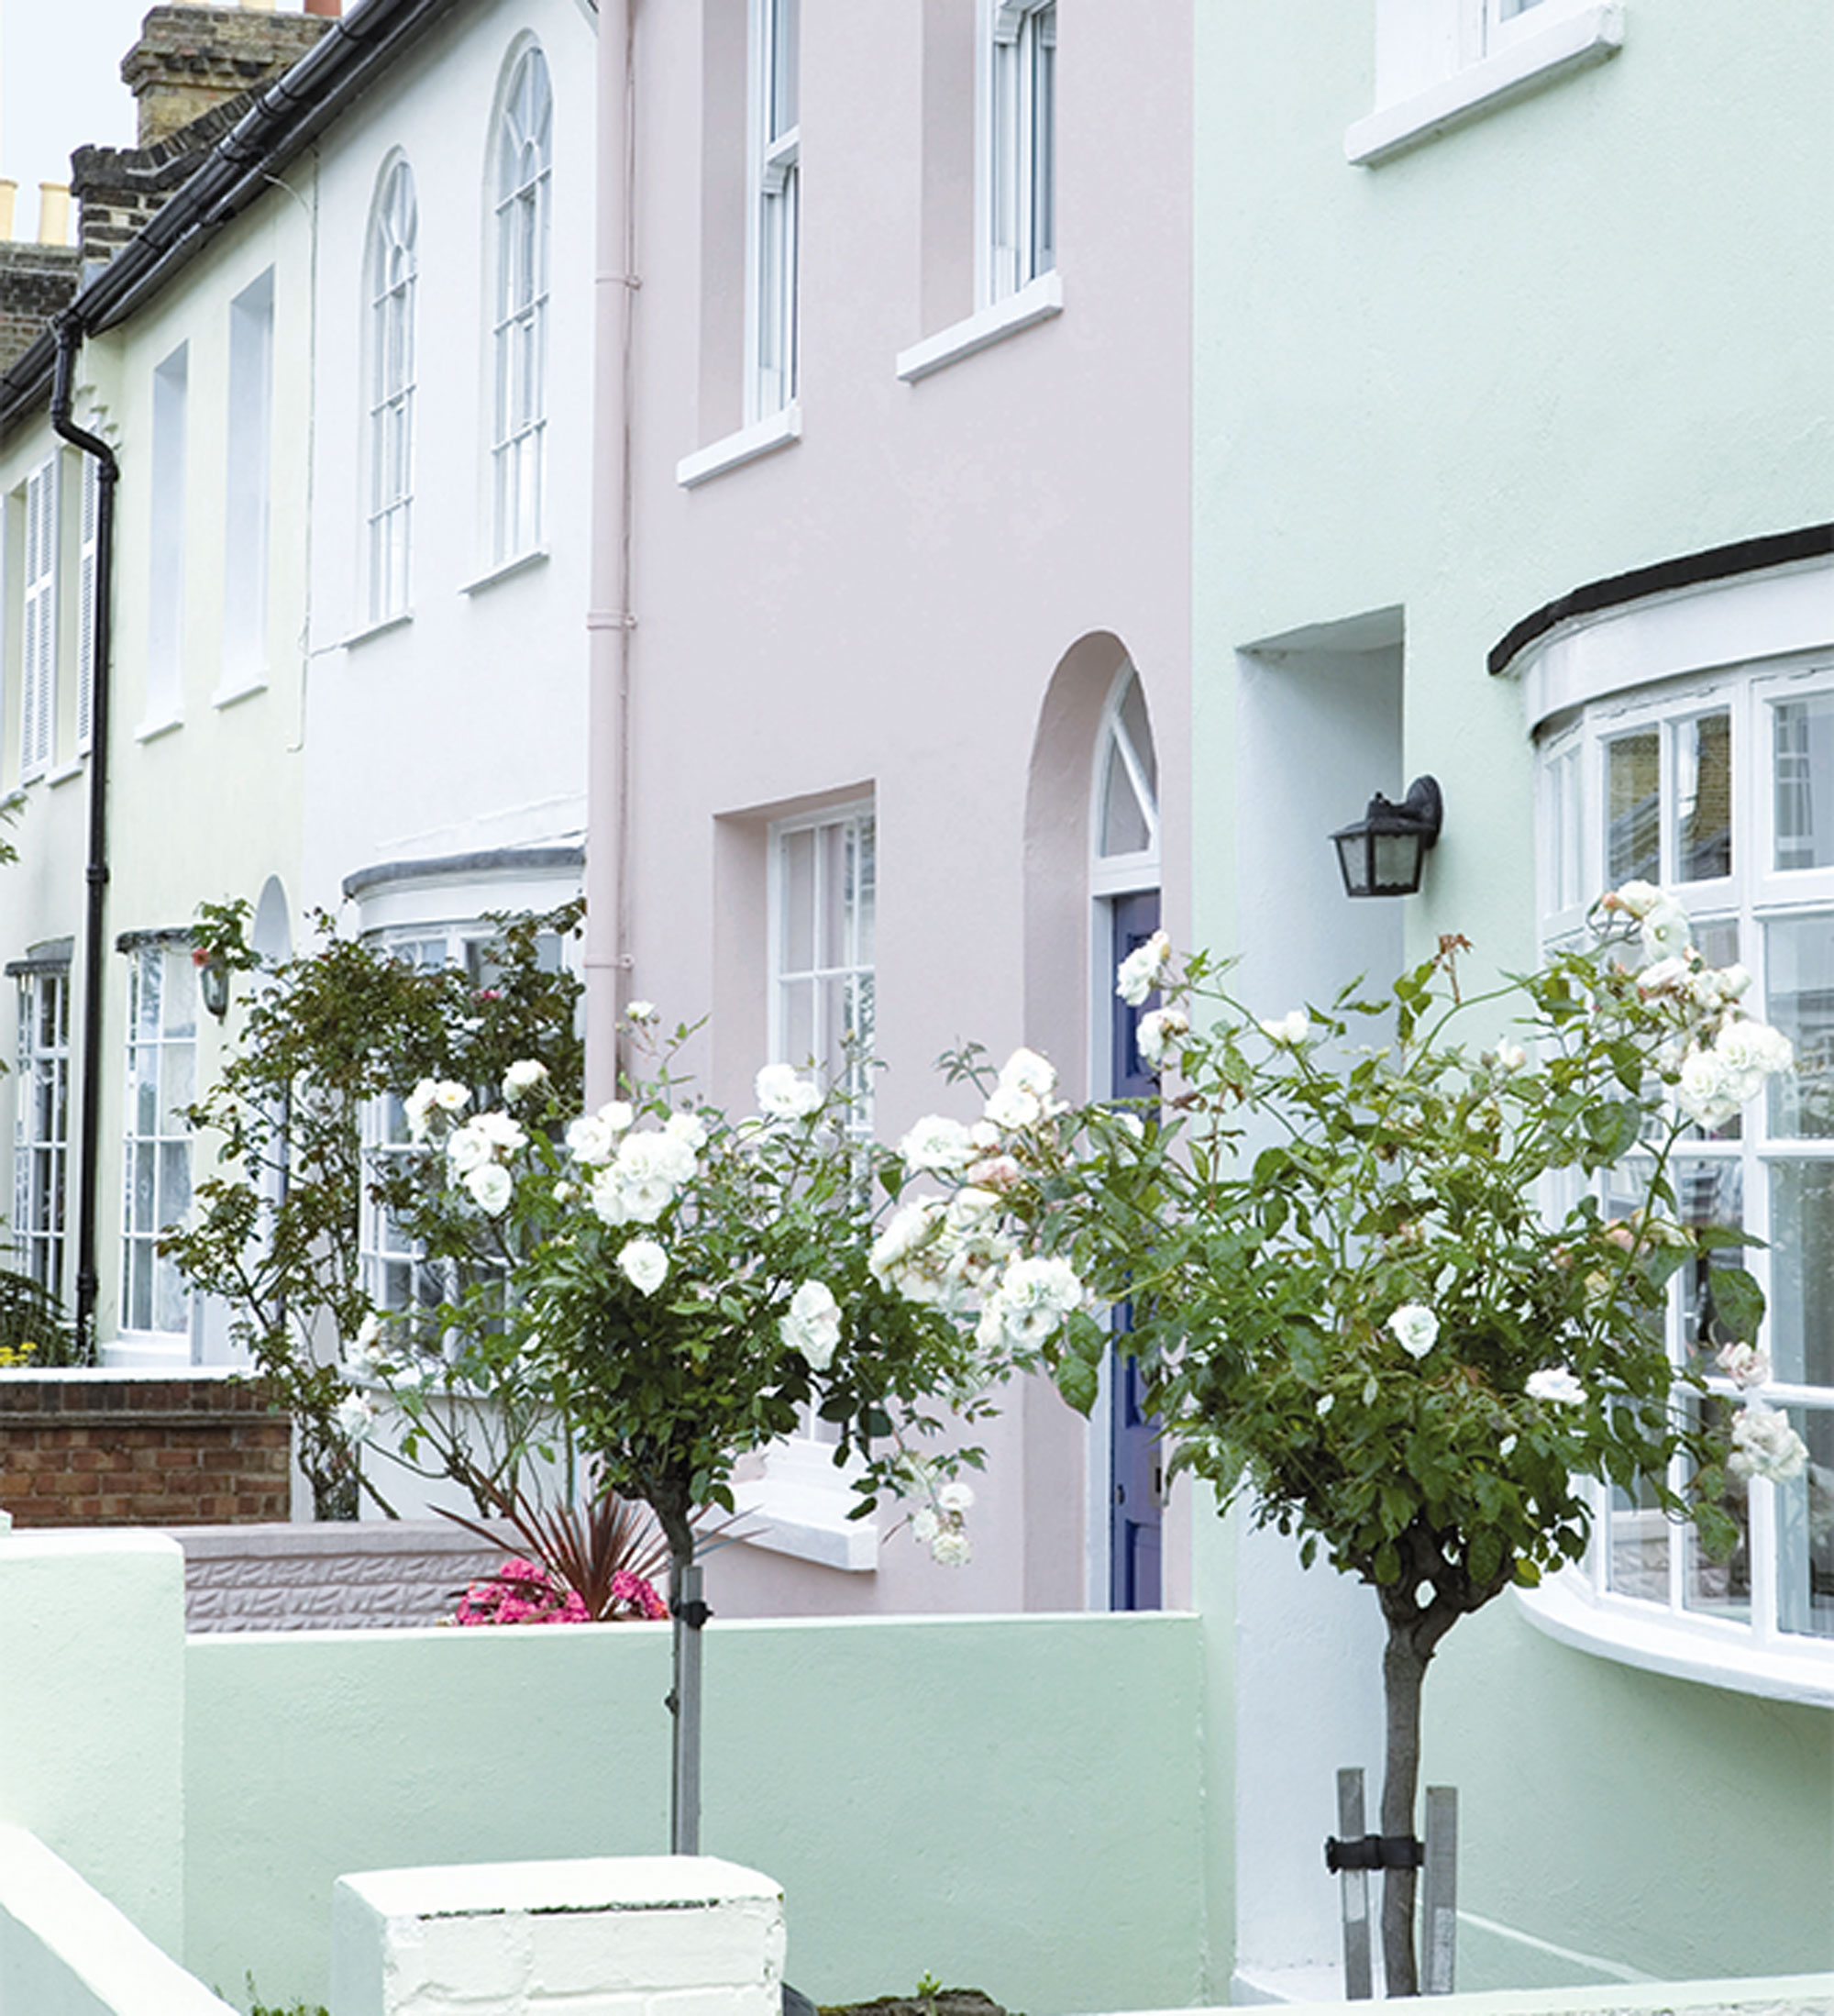
Colour plays an important part when it comes to the exterior of our houses and is an easy way of upping their kerb appeal, whether classic whites and barely-there pastels on the front facade, or bolder mediterranean brights adding colour with garden paint ideas.
‘Refreshing the exterior of a house can instantly transform your property and add value to it,’ says Matthew Brown, Technical Consultant at Sadolin & Sandtex. ‘Colours always look lighter and brighter on an exterior because there is more natural light outside than in, so we always advise to choose a shade darker and test a small area.’
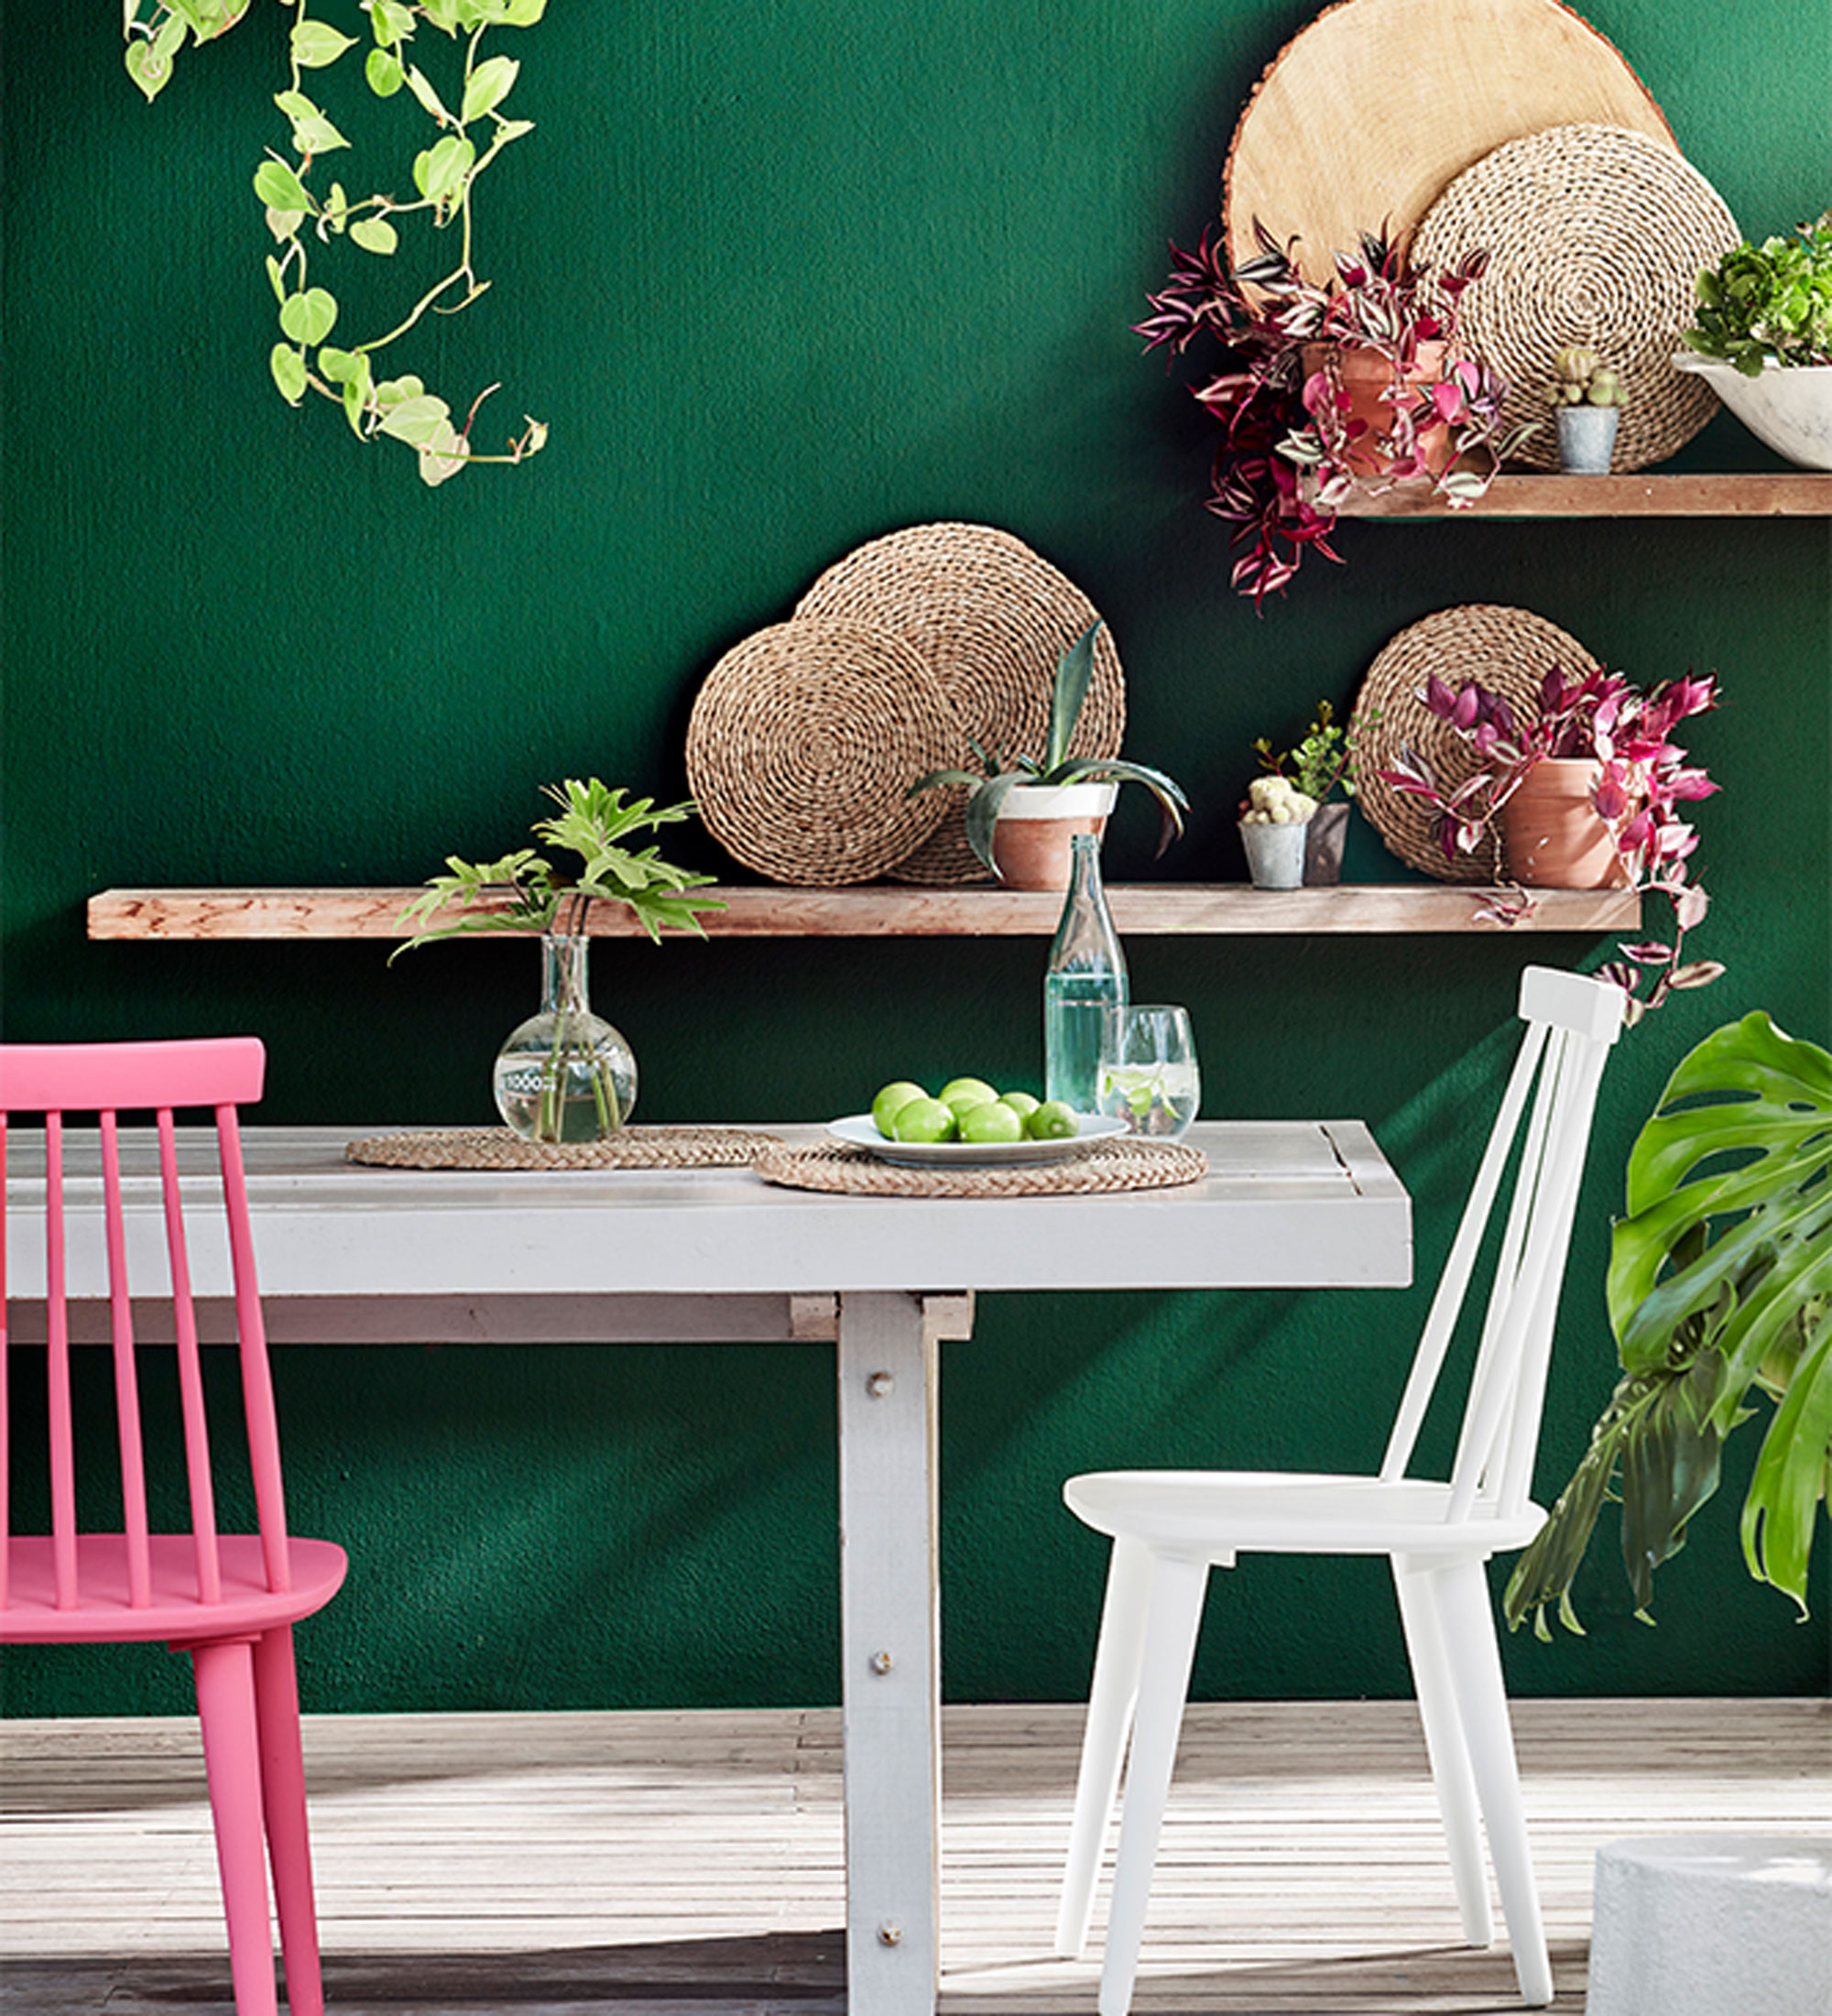
‘Consider surrounding properties too when choosing a colour,’ says Matthew. ‘Keeping in theme with the rest of the street avoids a jarring scheme and ensures a continuous dialogue – is the street colourful, classic, light, dark or varied old and new? And when it comes to the garden, try to draw the outside in using a continuous flow of colour. Colour can act as a backdrop for greenery and plants, whether subtle tones or bright, it can be the star of the show and add warmth and energy all year round.’
Get the Ideal Home Newsletter
Sign up to our newsletter for style and decor inspiration, house makeovers, project advice and more.
So if you’ve decided on an exterior colour scheme, it’s time to get cracking with a roller and some paint…
What you’ll need to paint a garden wall
• Stiff brush, detergent and bucket
• Exterior grade filler
• Stabilising primer
• Masonry paint
• Decorators tape
• Dust sheets
• Small paint brush, short or long pile roller and paint tray
• Ladder or scaffold
1. Choose a quality paint
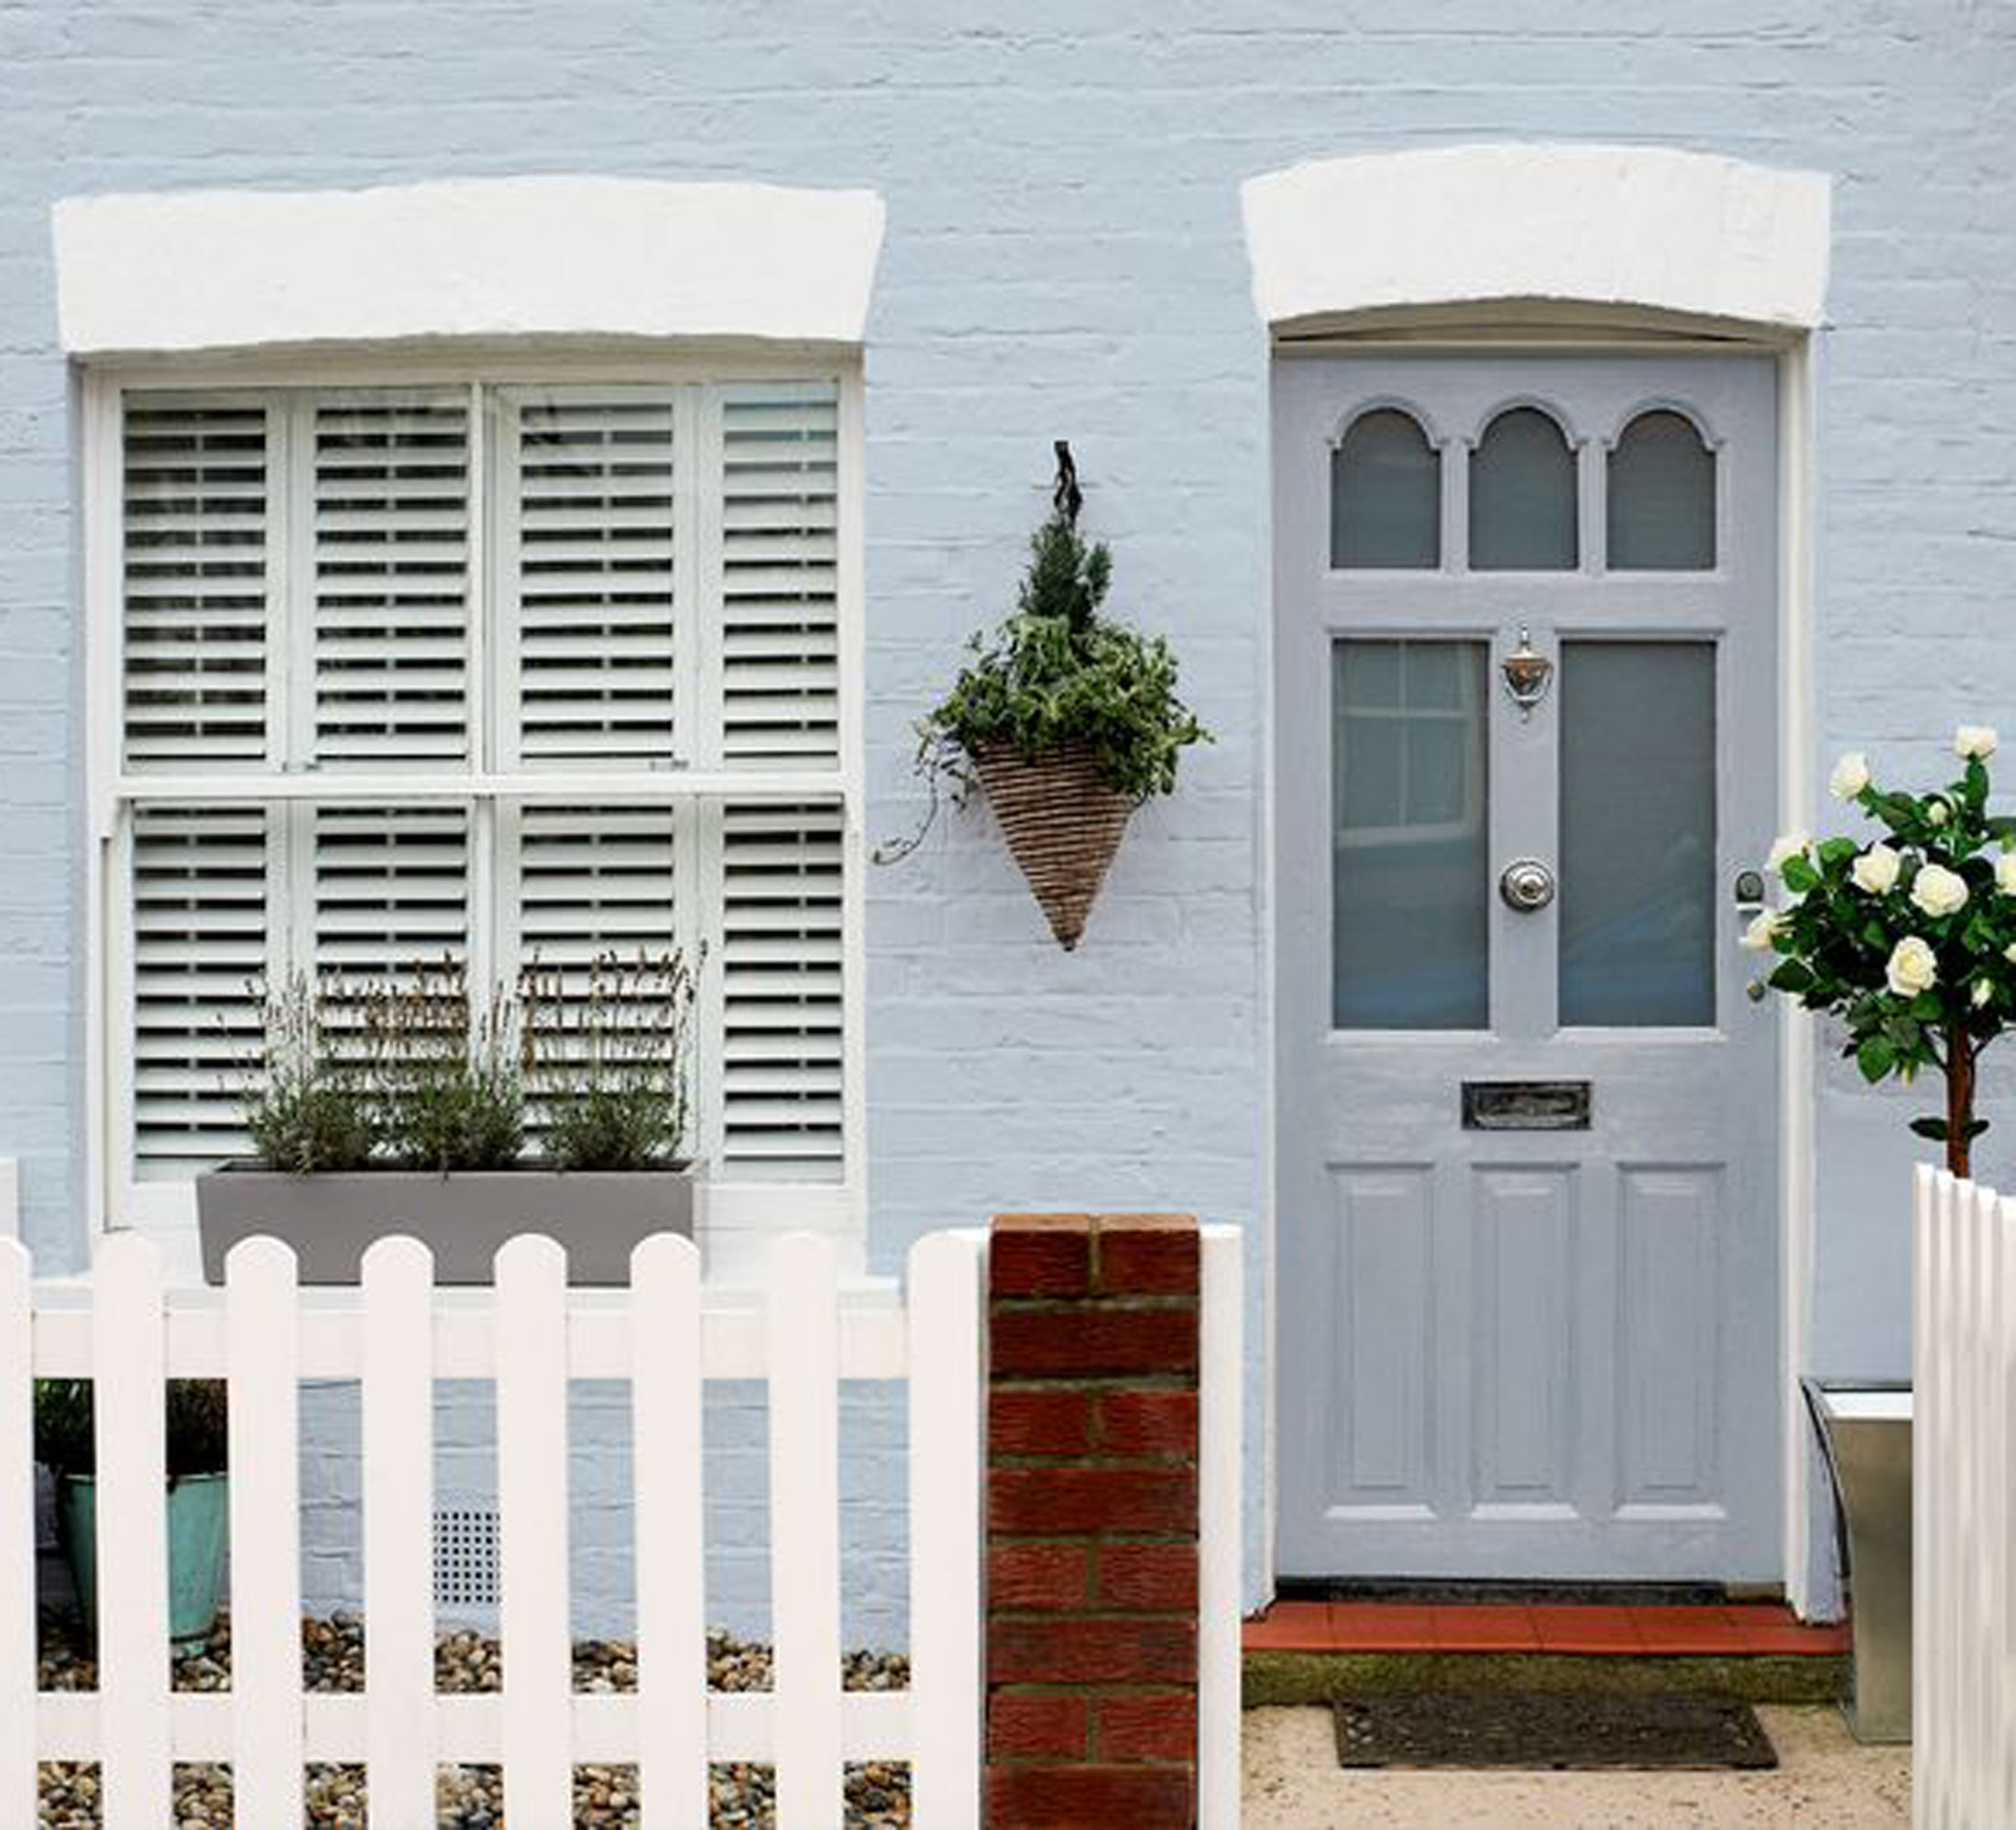
When painting exterior walls, whether render or brickwork, using a specialist masonry paint is a must to ensure a protective and long-lasting finish. Quality masonry paints are designed to last for up to 15 years, so it’s well worth spending a little extra.
‘By using masonry paints you’re giving walls and front of house décor protection from weather damage, as well as mould and algae growth,’ say the paint experts at Dulux. ‘Our Weathershield Masonry paint is also made with anti-fade technology for long-lasting colour. Two coats are usually enough, but if you’re painting over a strong shade, you might need a third.’
Masonry paint is available in either a smooth or textured finish. Smooth is easier to apply and will provide a smoother finish, much like an indoor emulsion. Textured masonry paint gives a textured finish that is good for covering fine cracks and provides better protection.
Keep in mind that a rough surface can double the amount of paint you need. Using a textured masonry paint tailored to your surface will reduce the number of coats you have to use and provides a more even coverage for uneven surfaces.’
2. Wait for a fine day
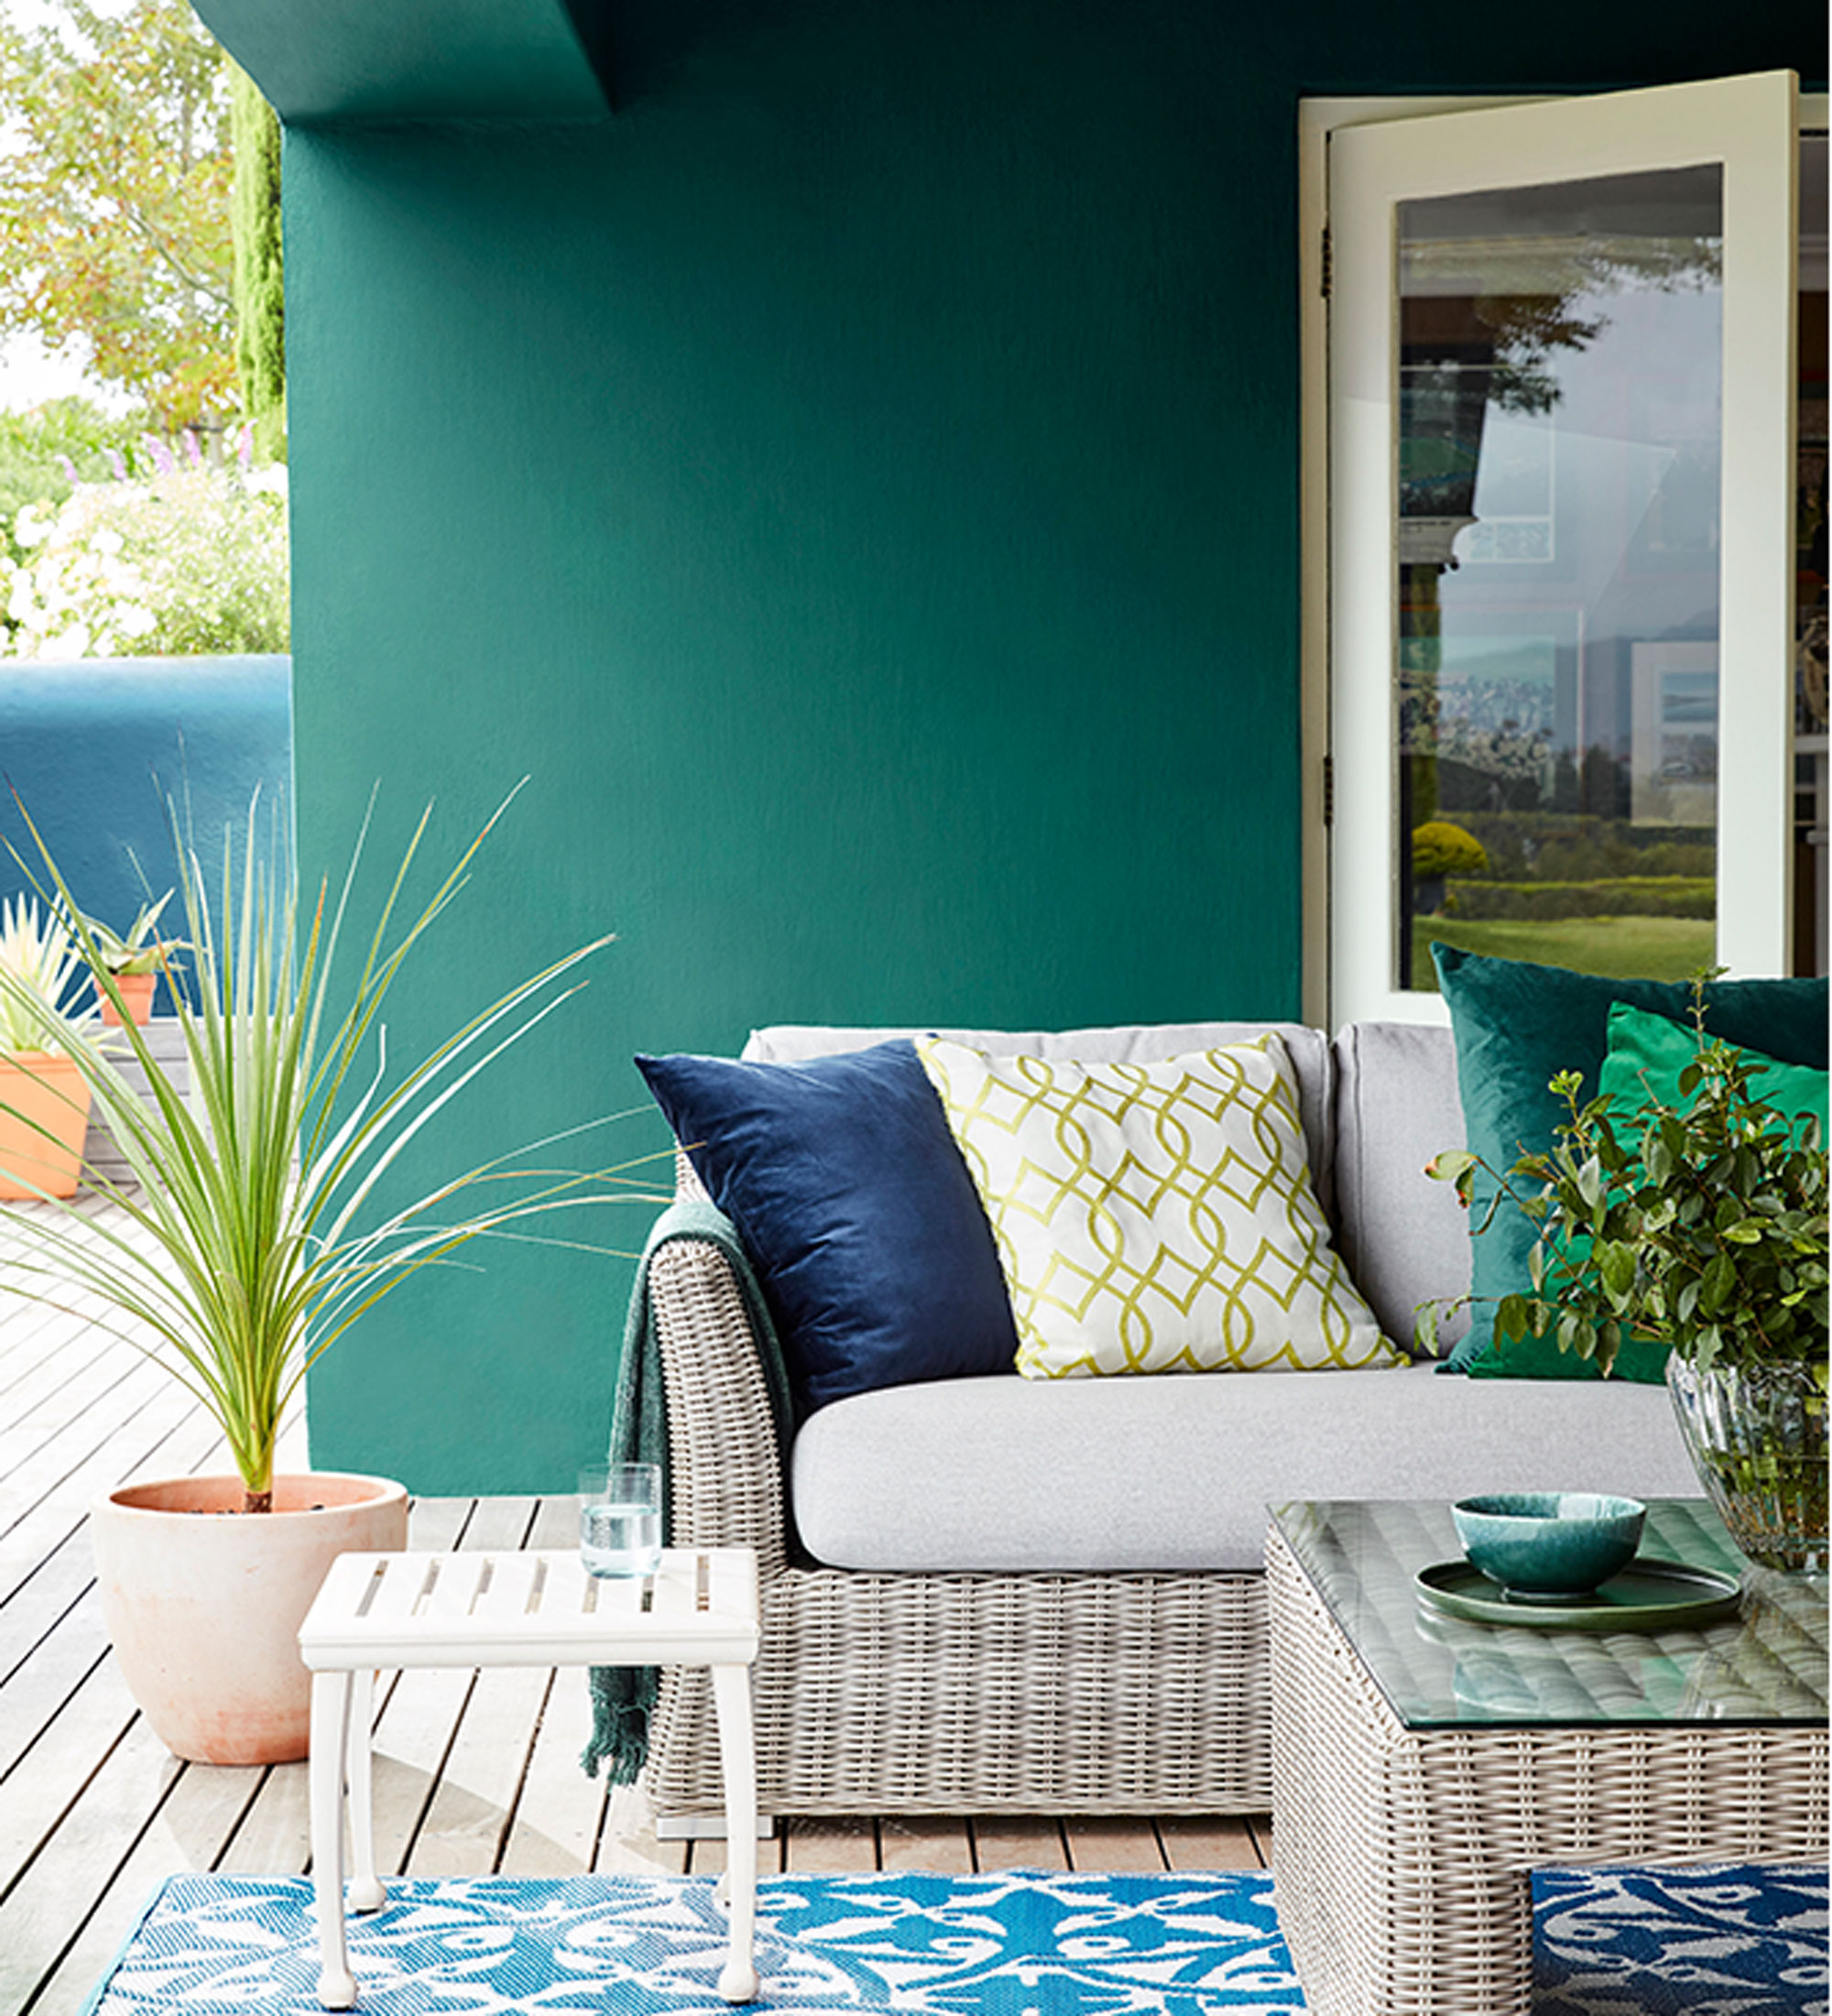
Summer is the ideal time to get any exterior painting projects done, with the weather dry and not too much rain around (hopefully). Very sunny days are best avoided, as extreme heat can cause paint to dry too quickly and give a clumpy finish. Aim for a day that’s not overly humid either, which can cause problems with paint drying. Check the forecast to make sure that it’s not going to rain on the day after painting too.
‘Before beginning your project, ensure that the weather provides good conditions for painting,’ says Ruth Mottershead, Creative Director at Little Greene. ‘The ambient temperature should be above 5°c with no risk of rain during application or drying. Try to avoid painting in full sun or on surfaces that are already warm as this will affect the way the paint dries.’
3. Ensure walls are clean
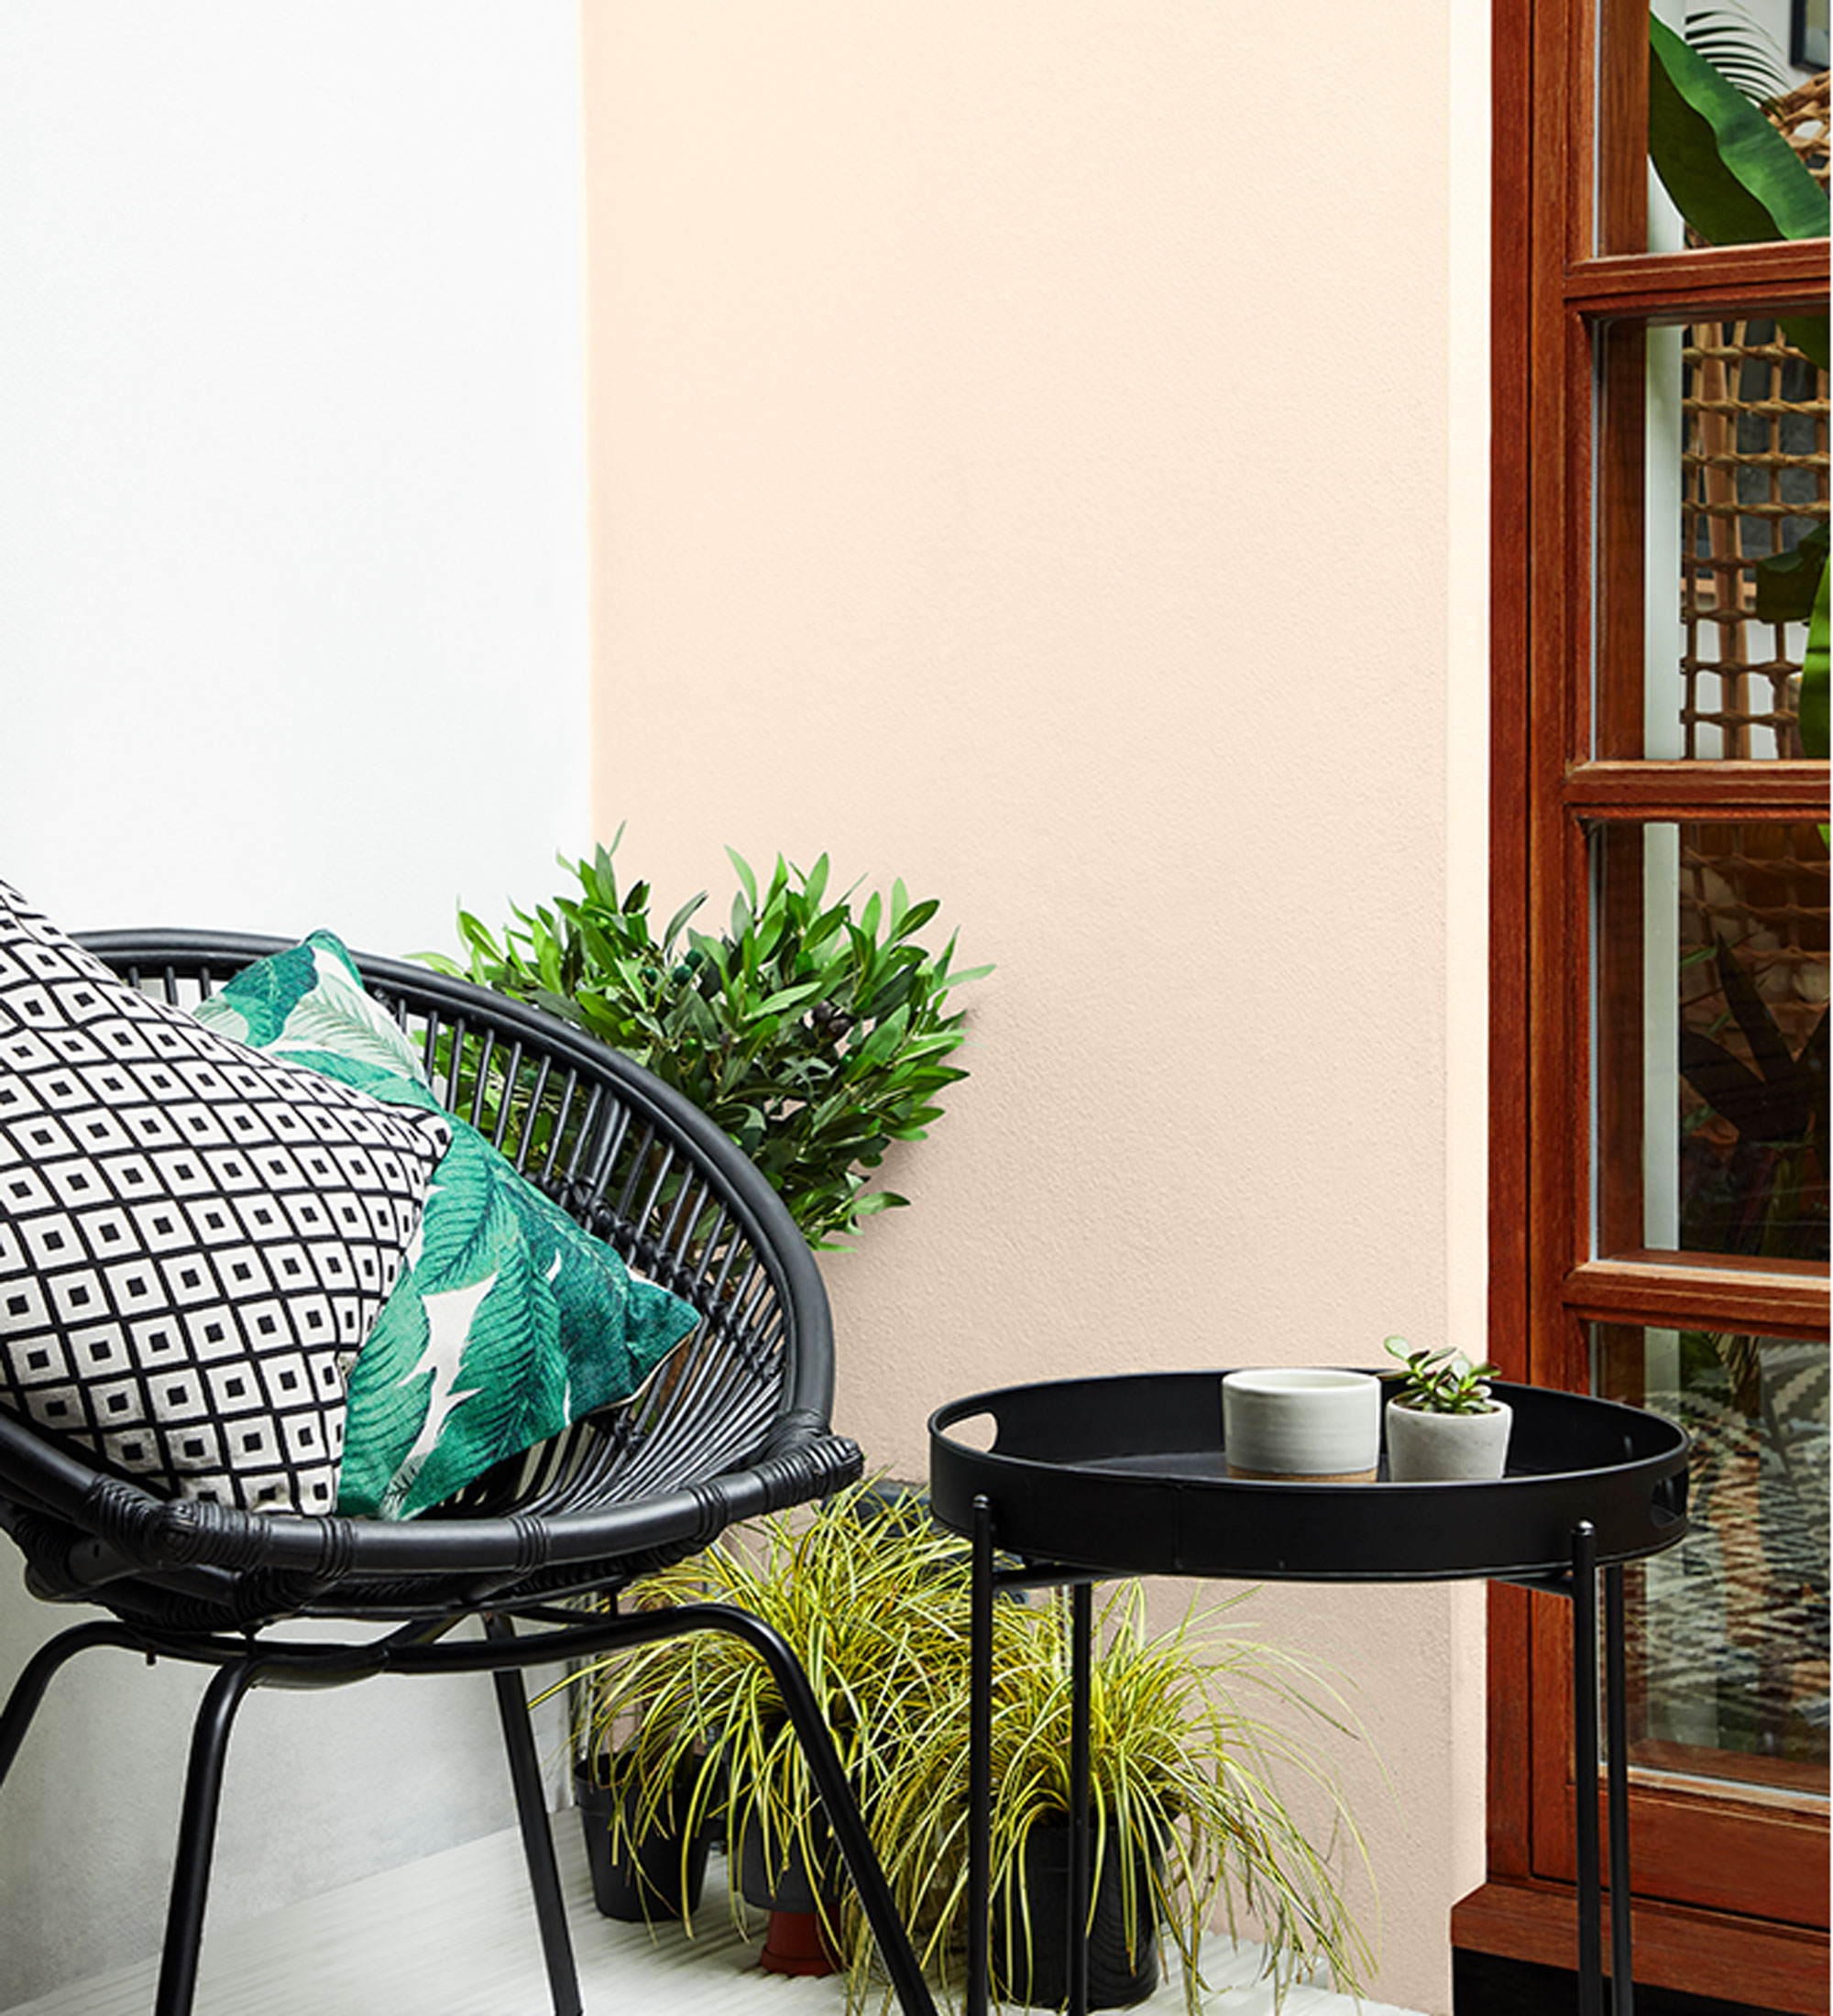
‘Cleaning your walls is an all important first step that you don’t want to skip,’ say the experts at Dulux. ‘Make sure walls are free of any dirt, debris or stains. We’d also recommend treating any patches of mould or algae with a fungicidal wash.’
‘Then, remove any surface dirt and loose or flaking paint by brushing with a stiff brush and giving the whole surface a good wash down. Make sure you then rinse the wall with clean water to ensure a quality finish that will last for longer.’
4. Prep the surface
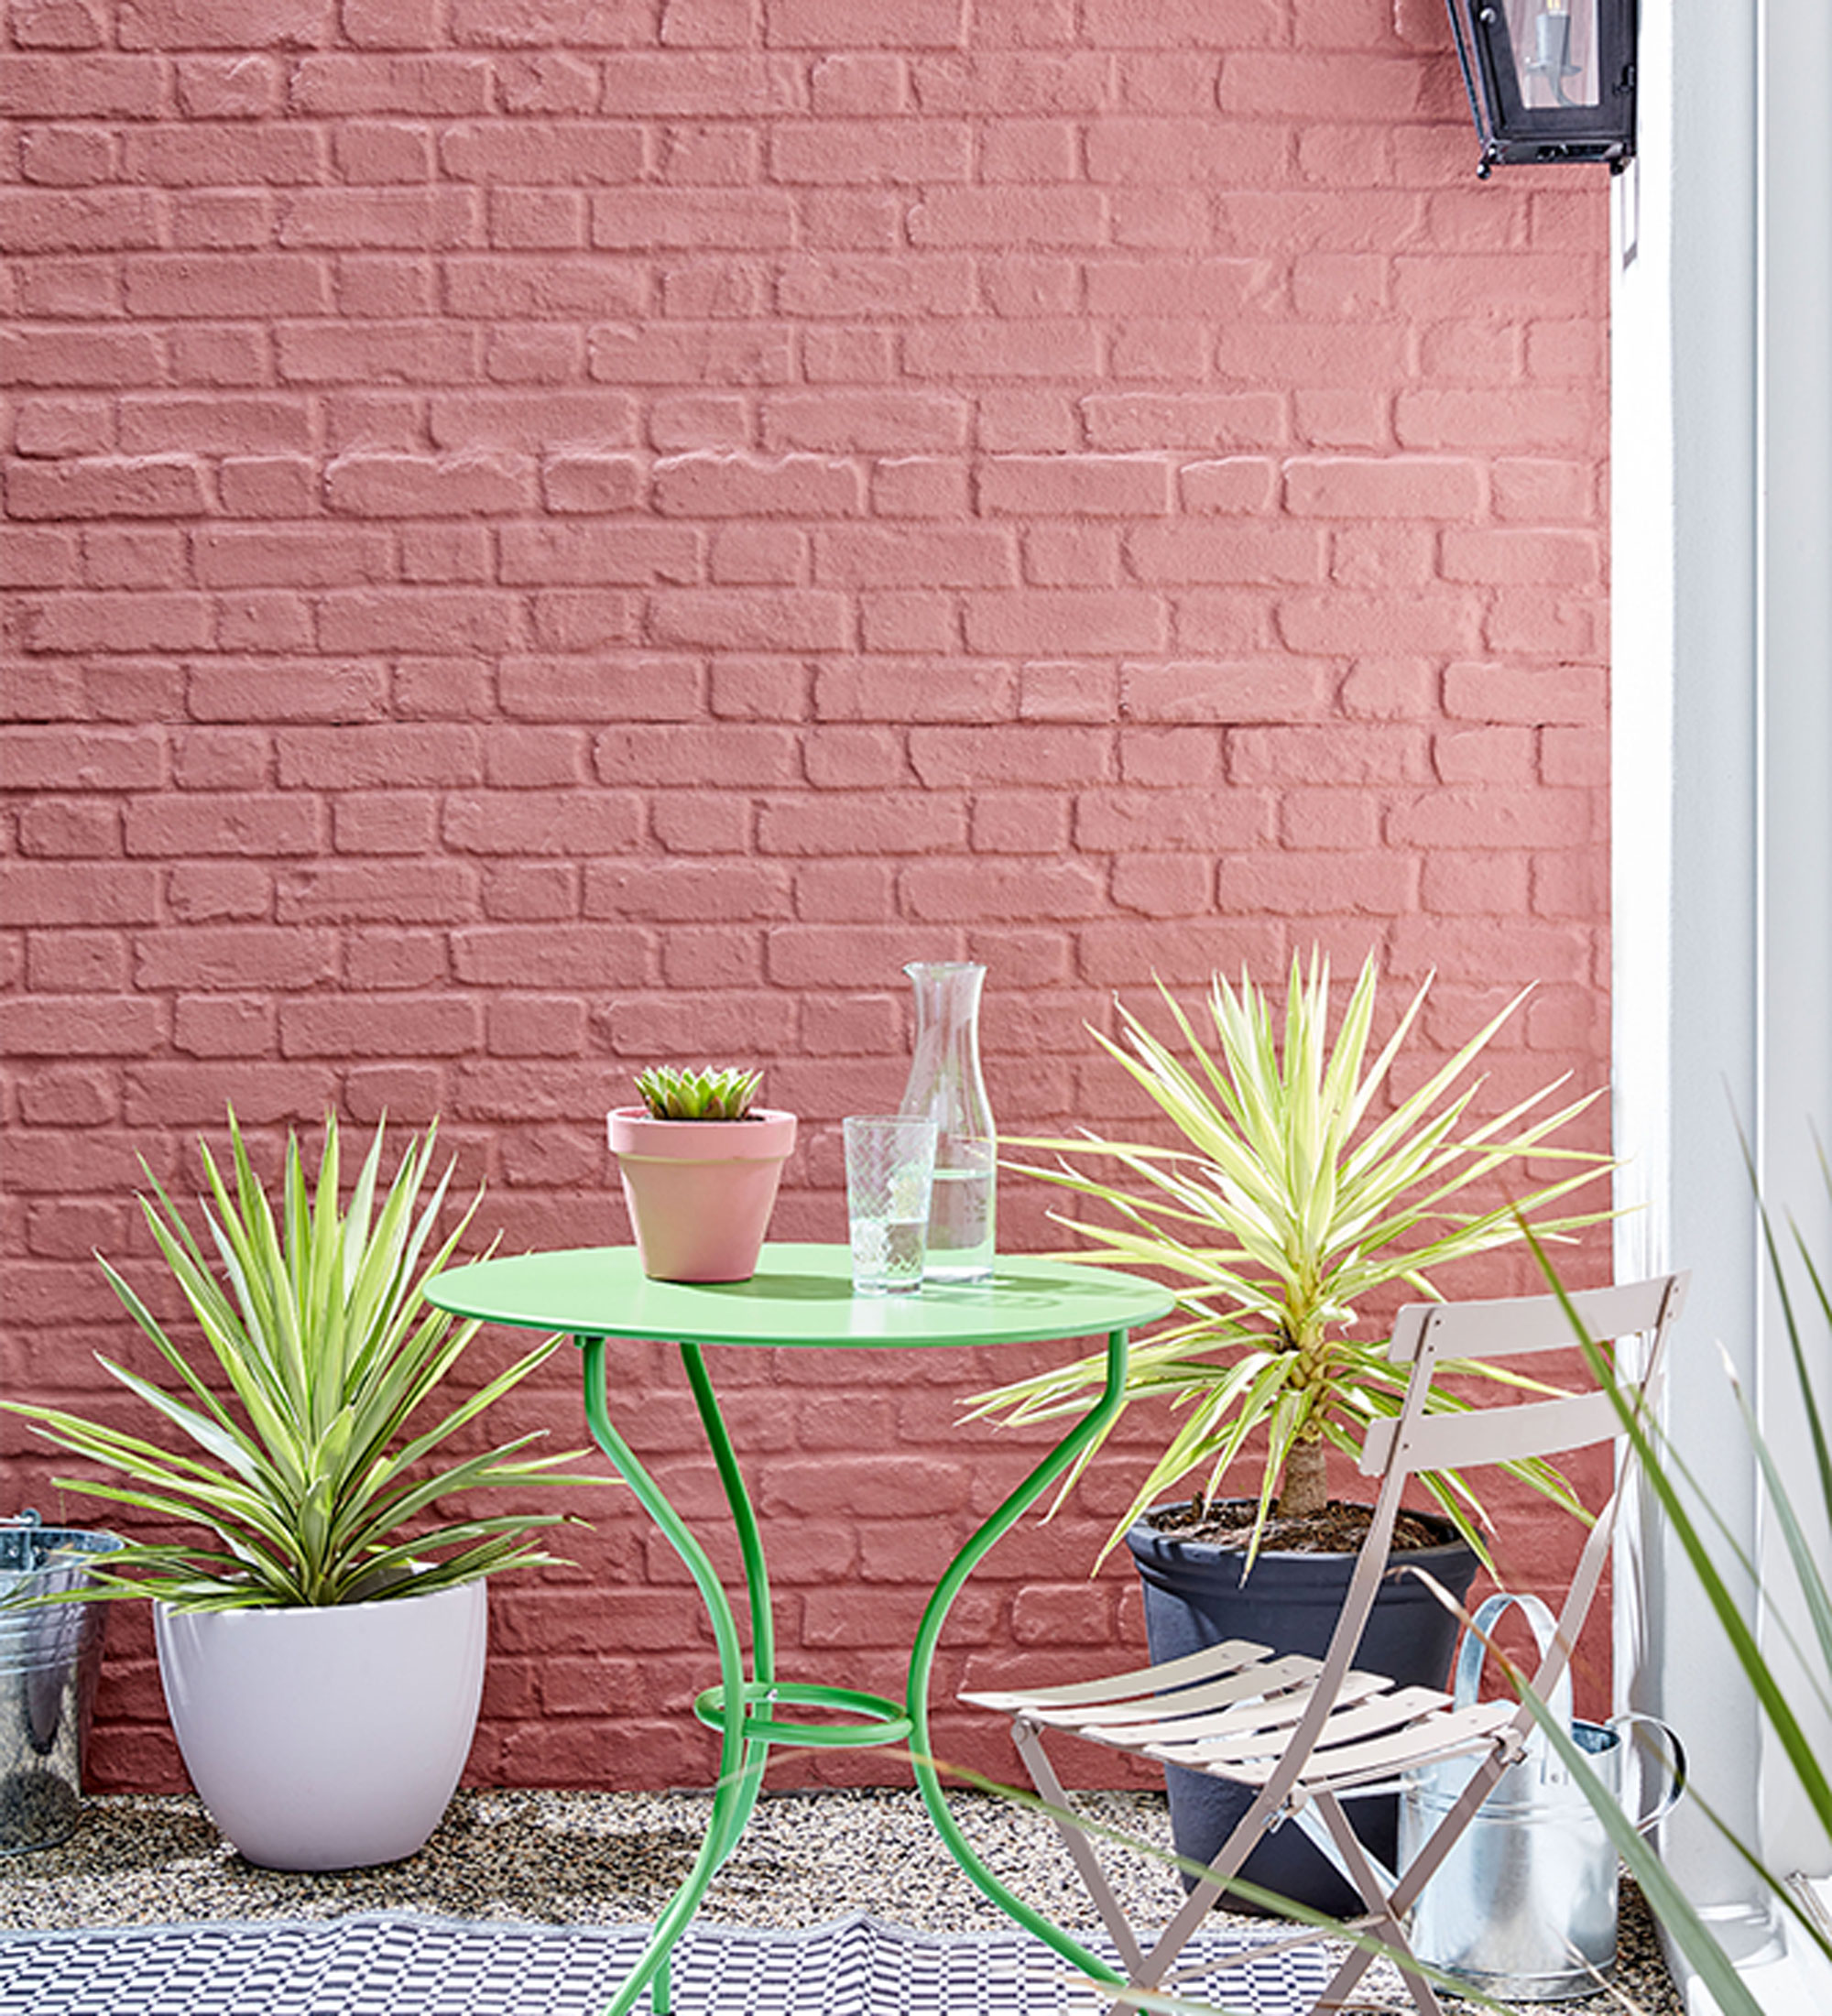
Once walls are clean, you can start painting straight away on newly-rendered or new brick or cement block walls. For older brickwork or if you are painting over an existing paint finish, you’ll need to repair any damage first before painting.
Any loose mortar or render should be replaced and cracks filled with exterior grade filler. If the surface has become powdery, it should be brushed down and the wall treated with a stabilising primer before painting which will seal any unstable areas. Primer is especially important for any shiny or porous surfaces and will ensure that the first coat of paint adheres properly.
5. Cover surrounding areas
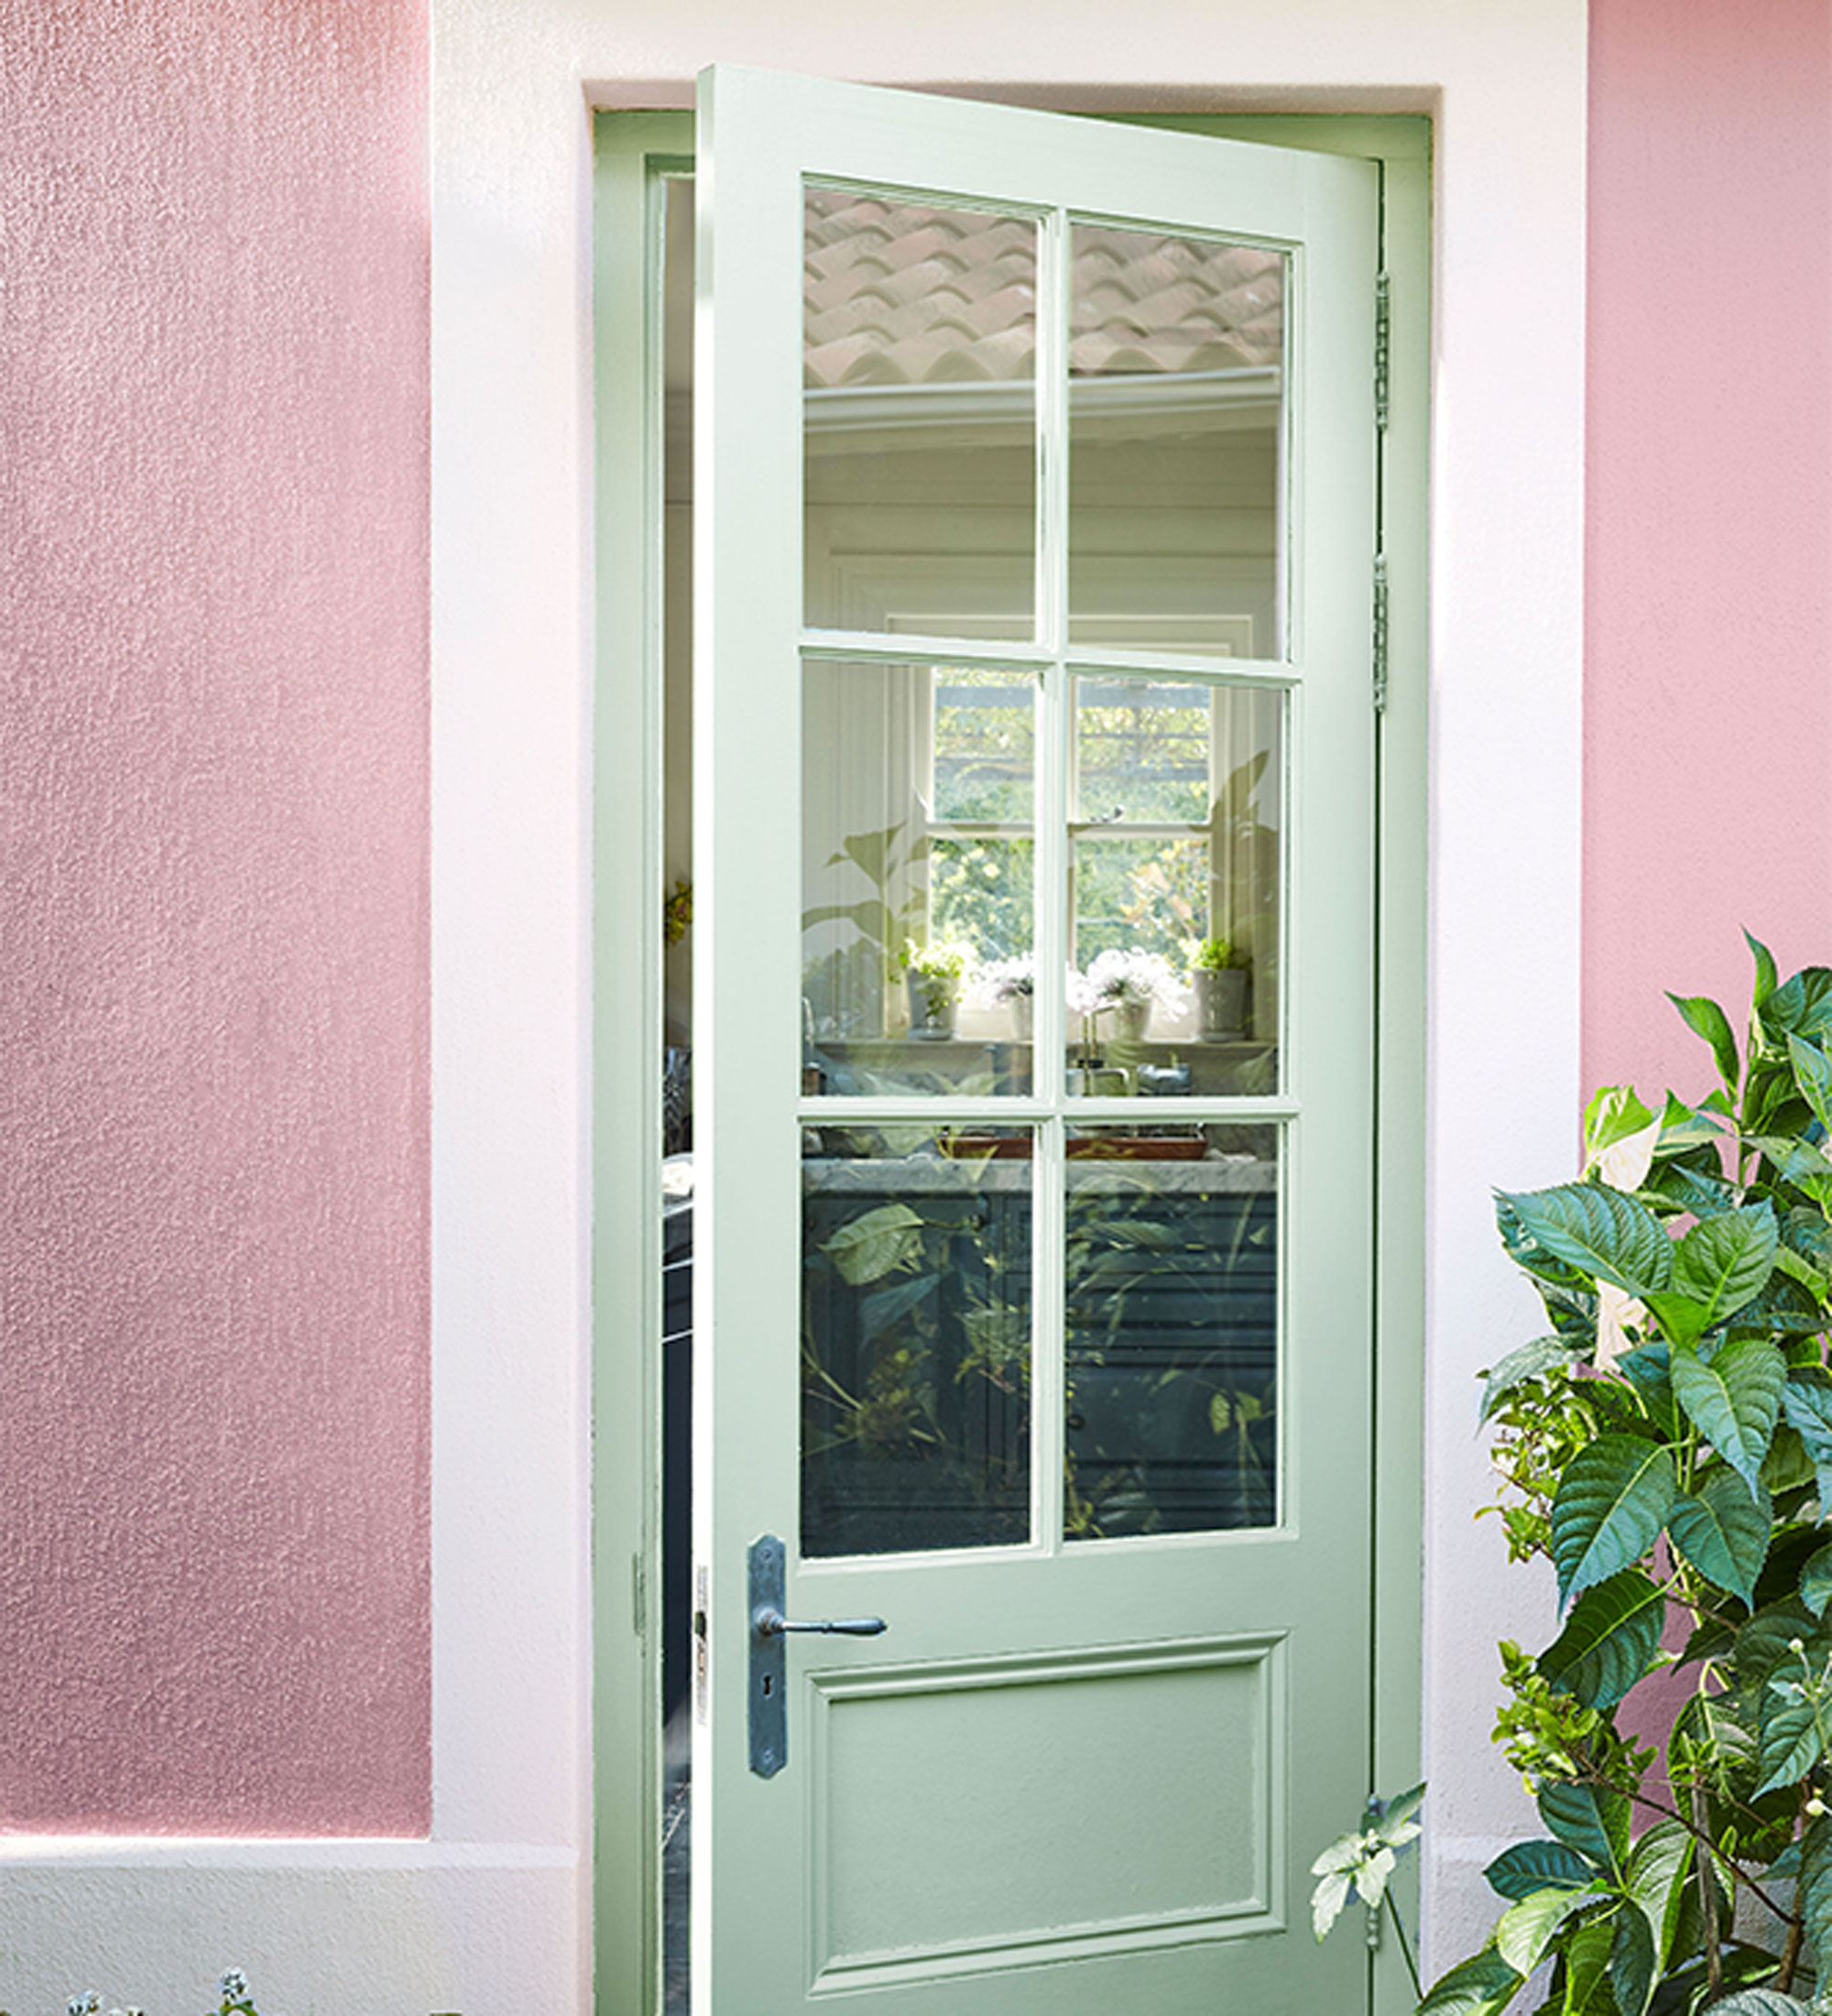
Use dust sheets or plastic to protect the ground or patio from paint splatters, as well as covering nearby plants and moving pots and tubs out of the way. Use decorators tape to mask off any areas not to be painted, such as doors, window frames, woodwork and guttering. Try masking the frame of the door, separately from the door itself, so you can still go indoors and out.
6. Stay safe with a ladder or scaffold
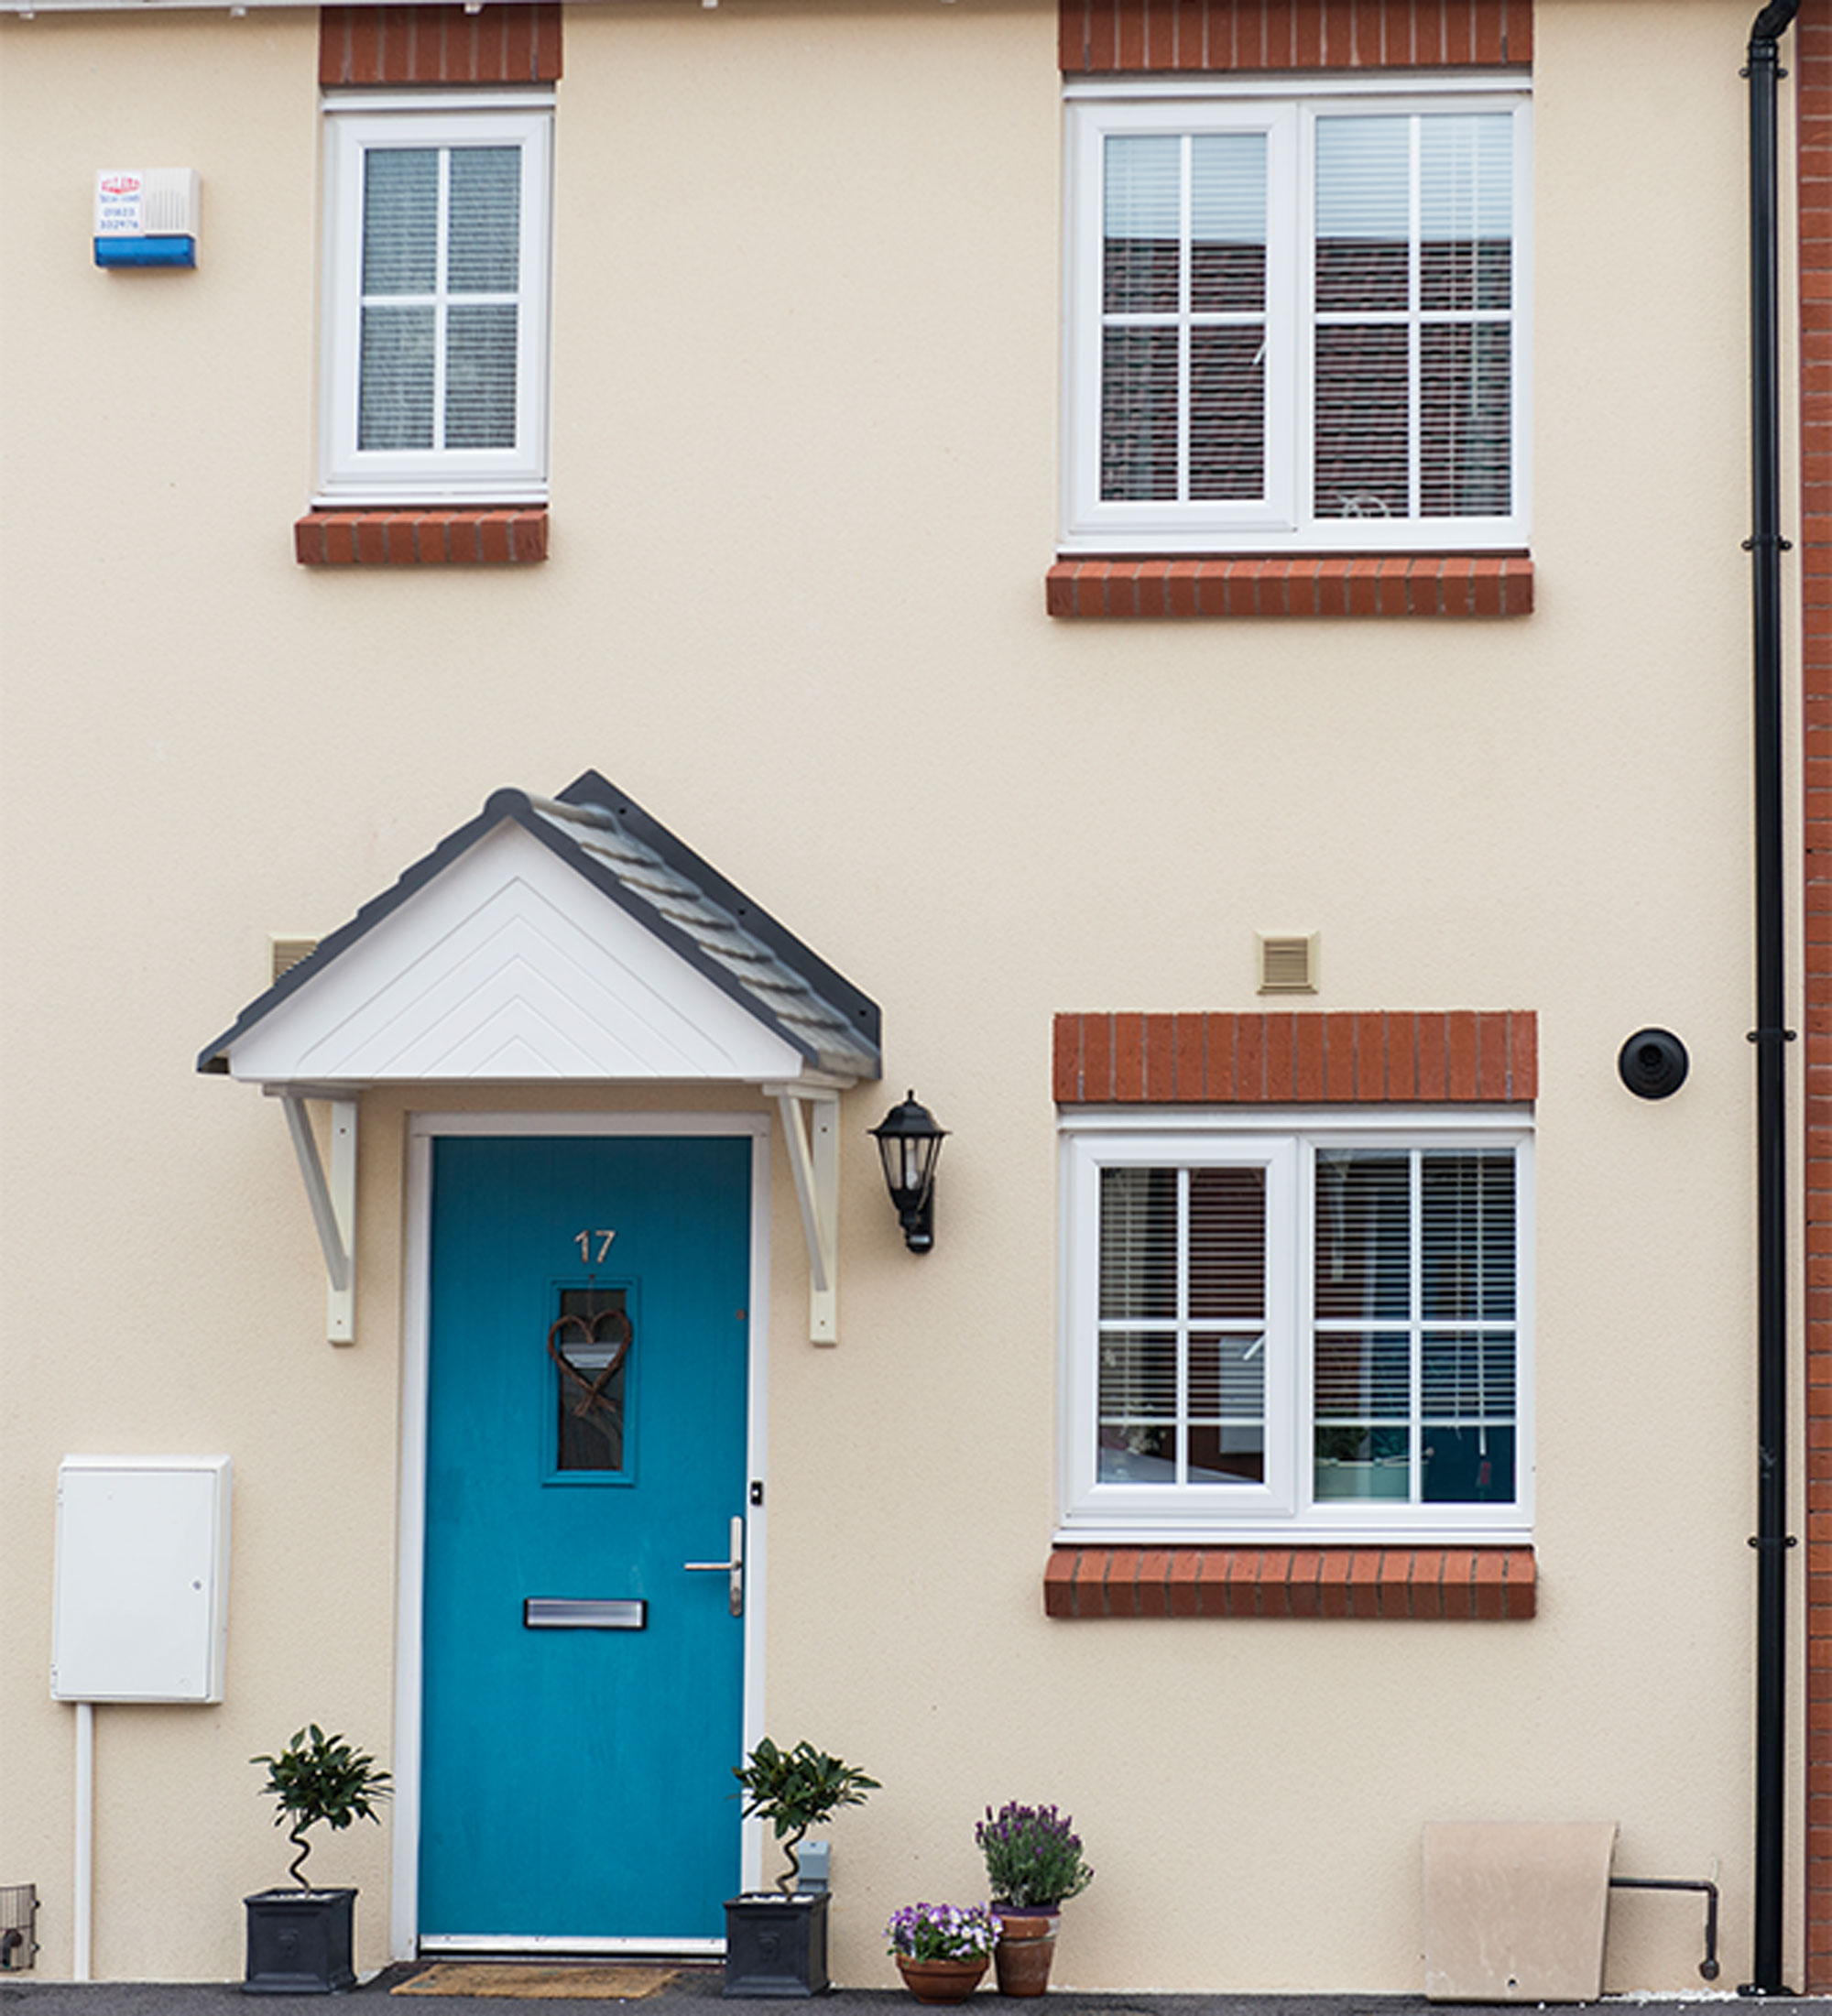
If you’re painting a high wall or the front facade of a property, always use a good ladder or erect some scaffolding to ensure that you can reach the areas to be painted safely.
Make sure that ladders are set on a stable surface and firmly supported. Move the ladder, section by section, to ensure that you don’t have to reach sideways by more than an arm’s length while you’re painting.
7. Kit yourself out with a brush and roller
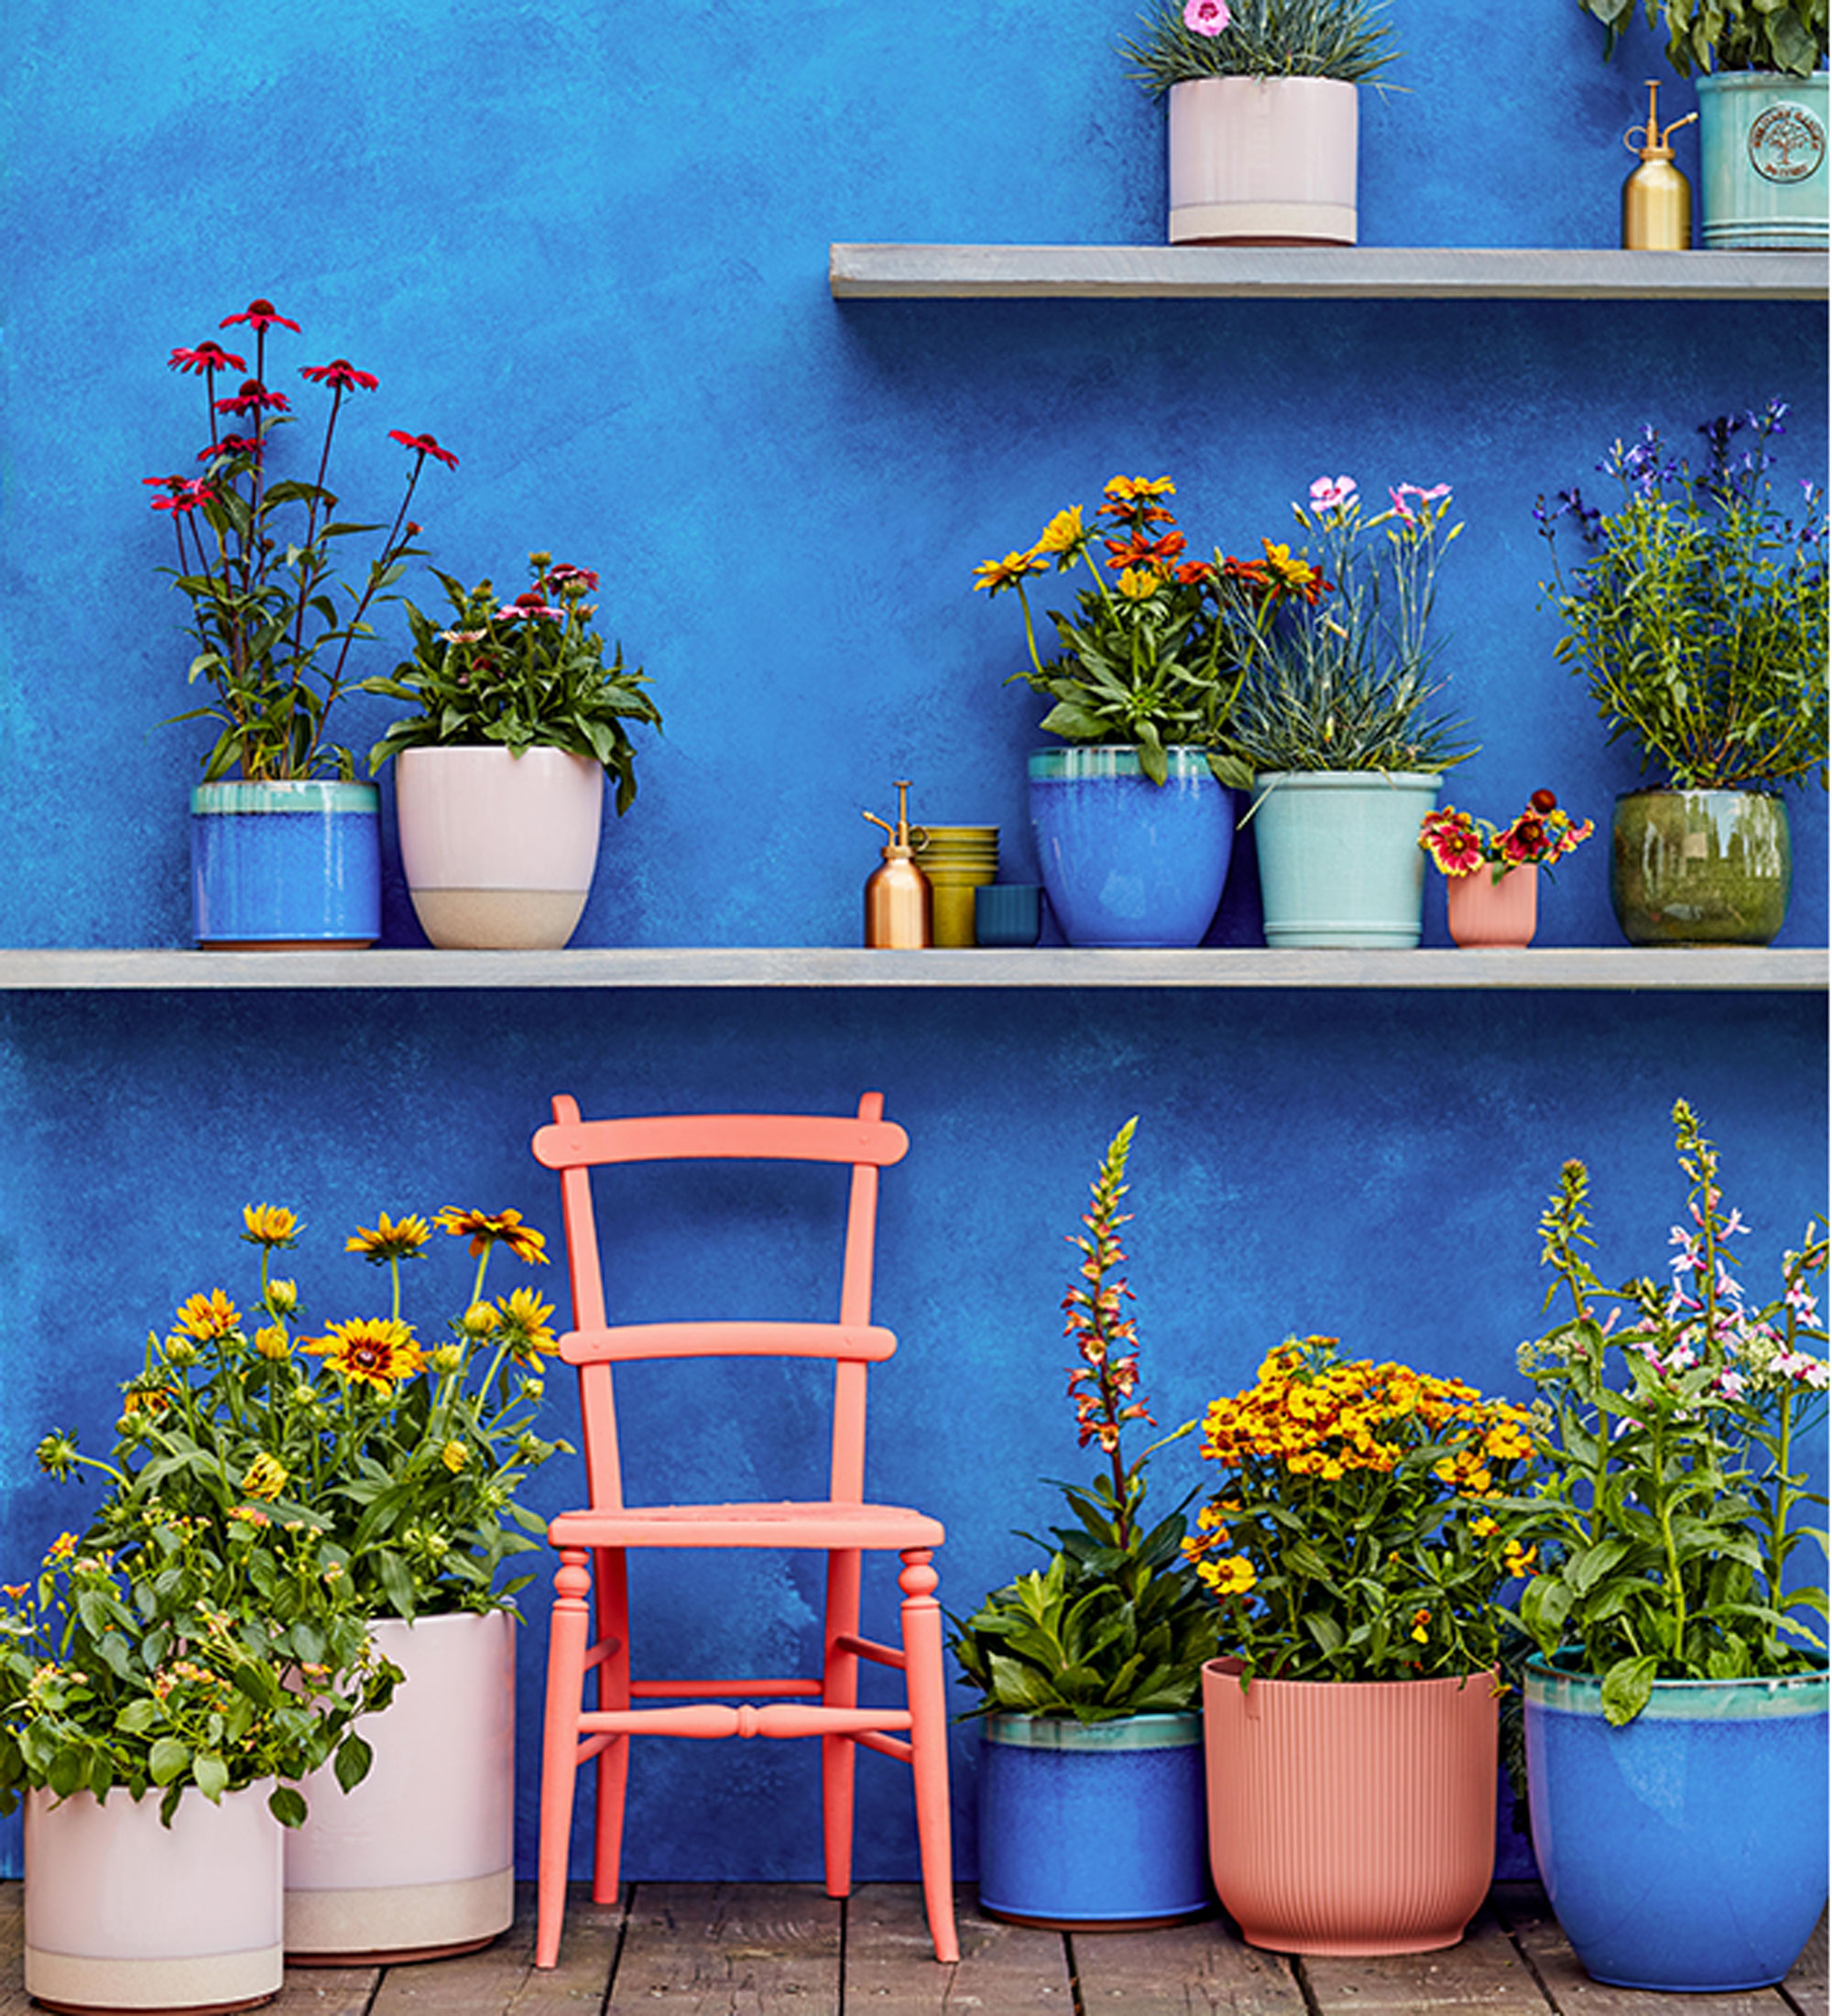
‘Use either a high quality synthetic bristle brush that is suitably sized for the project or a short nap wool blend roller for the best finish on smooth surfaces,’ says Ruth Mottershead at Little Greene. ‘Select a roller with a longer nap length for textured surfaces to ensure even and thorough coverage.’
Use a brush to paint corners, edges and areas not accessible with a roller. Avoid overloading the brush with paint, which can cause drips and splashes. Then move on to using a roller, making sure it is loaded with paint and applying it to the wall working diagonally and using even strokes, covering areas of roughly 1-2m at a time to keep a wet edge.
Start painting near the top of the house and work your way down. This is a good course of action whether you are planning a block exterior colour, or planning more imaginative garden wall decor ideas.
8. Allow adequate drying time
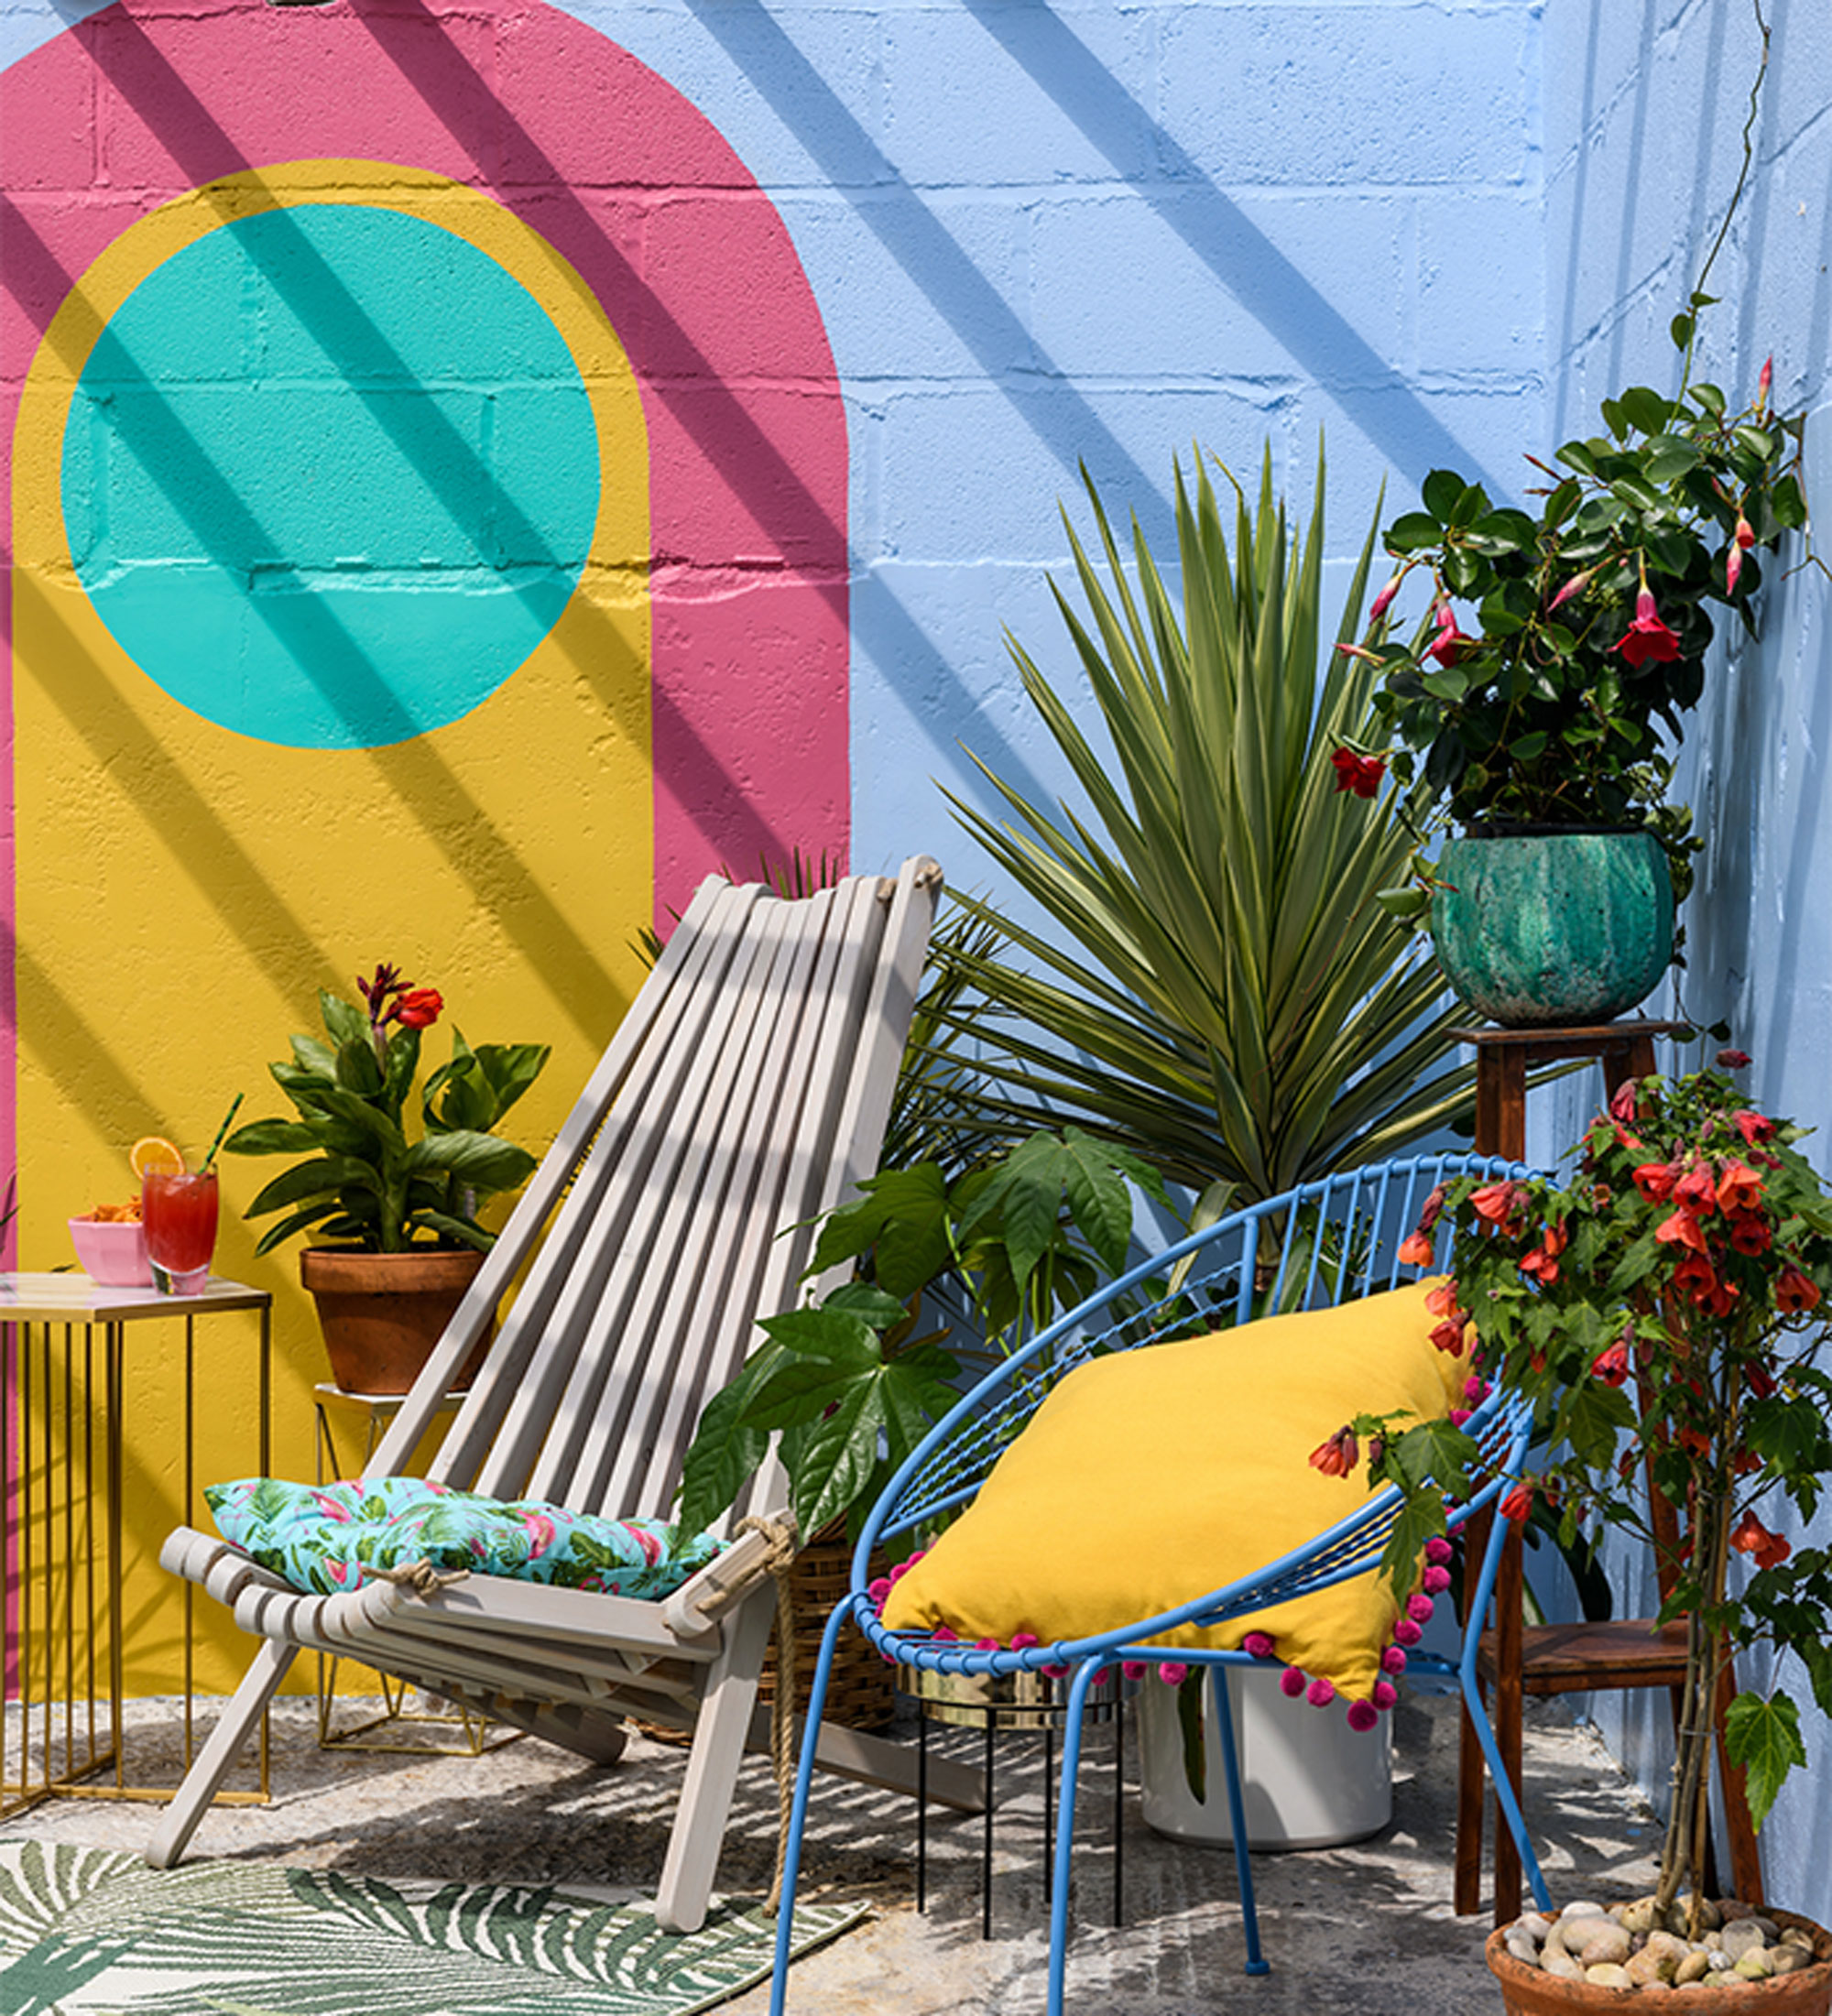
After applying the first coat of masonry paint, you’ll need to allow it to dry thoroughly before applying the second coat, which will take between 4 to 6 hours. Try to complete an entire section of wall before stopping, so that the finish isn’t patchy and you aren’t left with a line where paint has dried.
For the best finish, keep final brush strokes all in the same direction and never go over paint that has already begun to dry. Once you have finished paint make sure you know how to clean your paint brushes properly to use them for another DIY job.,
Do I need to prime exterior walls before painting?
Primers are specially formulated to stabilise unsound surfaces, sealing uneven pores and laying a foundation for the top paint finish. Applied using a brush or roller, a primer will help to improve paint adhesion by evening out rough surfaces, thus ensuring that you get better coverage and save paint.
Whether or not you prime an exterior wall before painting depends on the condition of the wall. If the wall is old and weathered, you are painting over a dark colour, or if the wall has been previously painted and is beginning to show cracks, holes or flaking, then it is advisable to stabilise the surface with primer before painting. You can skip using a primer if walls are newly-rendered or if you are painting over a previously painted wall where the finish is sound and not flaking.
Should you pressure wash exterior walls before painting?
Before painting an exterior wall, it’s always important to make sure that it is clean and free from dirt, grease and flaking paint or debris. There are pros and cons to using a pressure washer to clean an exterior wall. While it provides a very quick and thorough cleaning, getting into crevices and removing mould, dirt and flaking paint with ease, it can sometimes cause damage to wood, blast off a lot of flaking paint and wash out mortar between bricks.
Whether you decide to wash the exterior with a traditional bucket and brush or use a pressure washer, you’ll need to allow the wall to dry thoroughly before painting. This will take longer after using a pressure washer and could take up to two weeks.

Lisa is Deputy Editor of Style at Home magazine and regularly contributes to sister title Ideal Home. She has written about interiors for more than 25 years and about pretty much every area of the home, from shopping and decorating, crafts and DIY to real home transformations and kitchen and bathroom makeovers. Homes and interiors have always been a passion and she never tires of nosying around gorgeous homes, whether on TV, online, in print or in person.
-
 How to make bedding last longer – avoid buying twice with these expert tips for getting the most out of your bed linen
5 top tips for prolonging the lifespan of your bed linen, duvet, and pillows
By Amy Lockwood
-
 I was introduced to this clever heart-shaped trowel 2 months ago, and now I'll never garden without it – it's made planting seedlings so easy
It's affordable and stylish
By Sophie King
-
 The pink Ninja air fryer of our dreams has arrived, but only in the US
Ninja's spring colours collection i the US has sparked some serious appliance envy
By Molly Cleary