How to put up a floating shelf – follow our easy step-by-step video guide
Follow our step-by-step guide to putting up a floating shelf
If you thought putting up shelves was a job best left to the professionals, think again. Floating shelves can be fitted easily on a Saturday morning or afternoon, giving you plenty of stylish storage space. Follow our step-by-step guide on how to put up a floating shelf to get handy extra storage in no time.
Get the job done right with more of our DIY and decorating advice.
How to put up a floating shelf
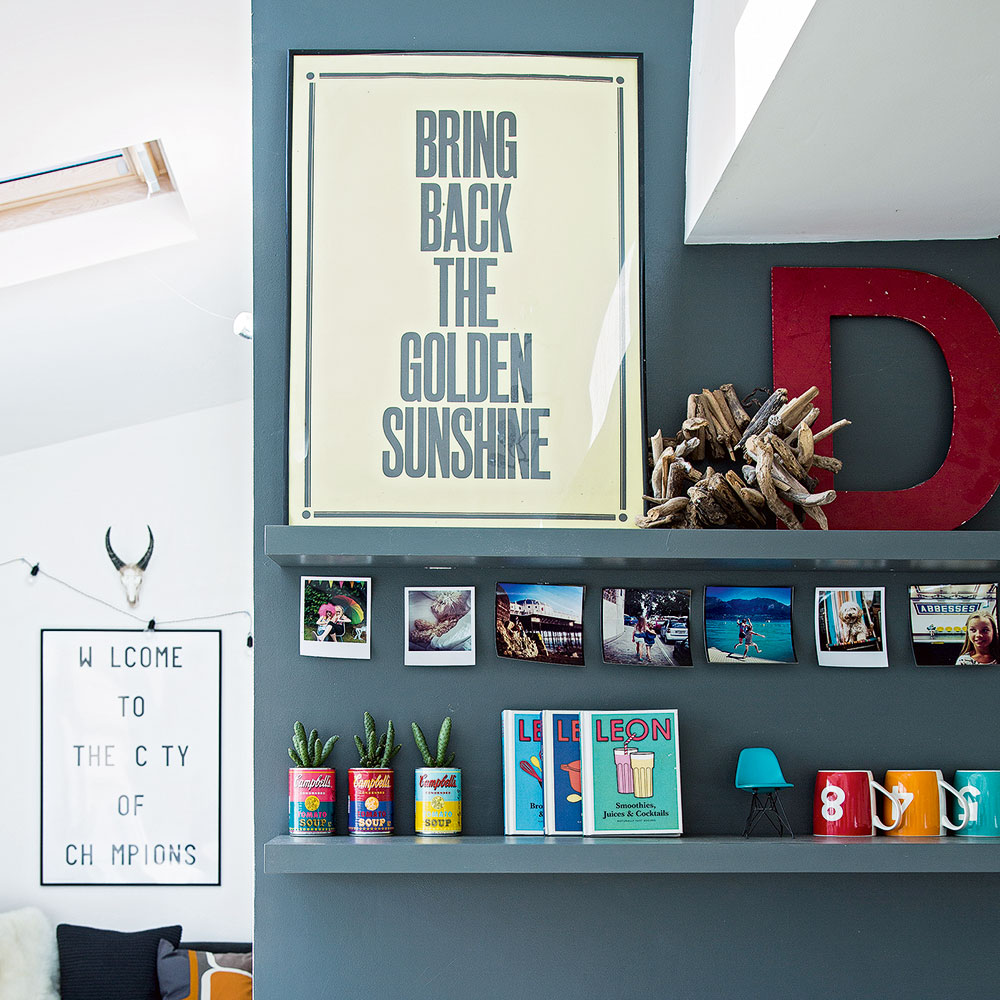
What you will need to put up floating shelves
- Retractable tape measure
- Electronic wire and pipe detector
- Spirit level
- Drill
- Screws or fittings: 50mm screws and plastic Rawlplugs if fixing to concrete or brick, 40mm screws if fixing to wooden joists, or 65mm metal plasterboard anchors is fixing to plasterboard.
- Hammer (to push in Rawlplugs)
- Screwdriver
Watch our step-by-step video guide
Step 1 – Plan and position
First, decide how many shelves you would like, and how high you want them. If you want to put storage baskets underneath, the lowest shelf should be no less than 90cm from the floor, and the space between each shelf should be at least 30cm, which will fit most books.
Step 2 – Safety check the wall
Using an electronic detector, check that the area of wall where you plan to hang the shelves is free from hidden pipes or cables.
Step 3 – Mark the wall
Place your first bracket against the wall, using a spirit level to make sure it's level. Mark the fixing-hole positions with a pencil.
Step 4 – Drill the holes
Using the pencil marks, drill holes into the wall. Our floating shelves required five screws, which weren't included with the shelf - check when you buy. Always choose screws or fittings that are suitable for the material of your wall (see previous page). Screw the bracket into place.
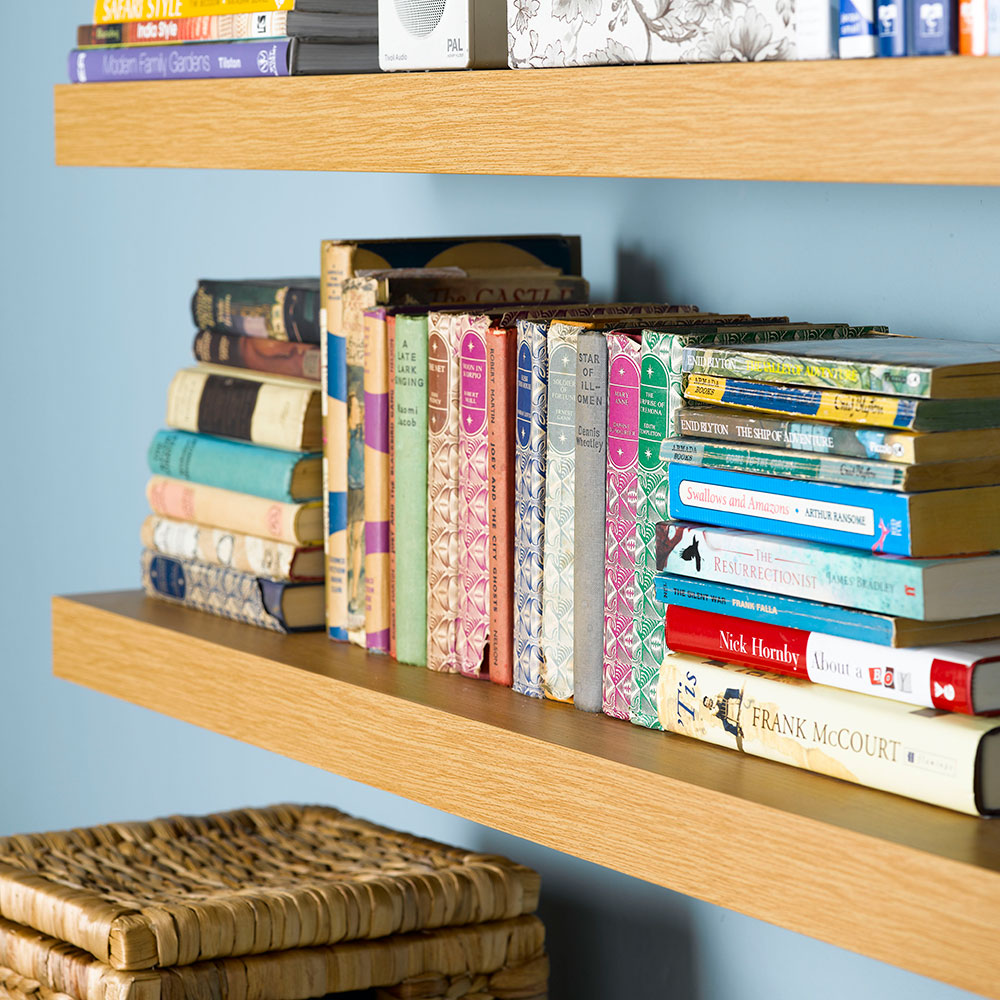
Step 5 – Secure the brackets
Slide the shelf onto the bracket to check that it's level (use the spirit level to make sure). Once you're happy with the position of this shelf and the way it looks, slide it back off the bracket so that you can position the rest of the brackets.
Step 6 – Slide the shelf in place
Once all the brackets are in place, slide the shelves on and fix into place with the small screws provided with the shelf, using the pre-drilled holes on the underside of each shelf.
Get the Ideal Home Newsletter
Sign up to our newsletter for style and decor inspiration, house makeovers, project advice and more.
-
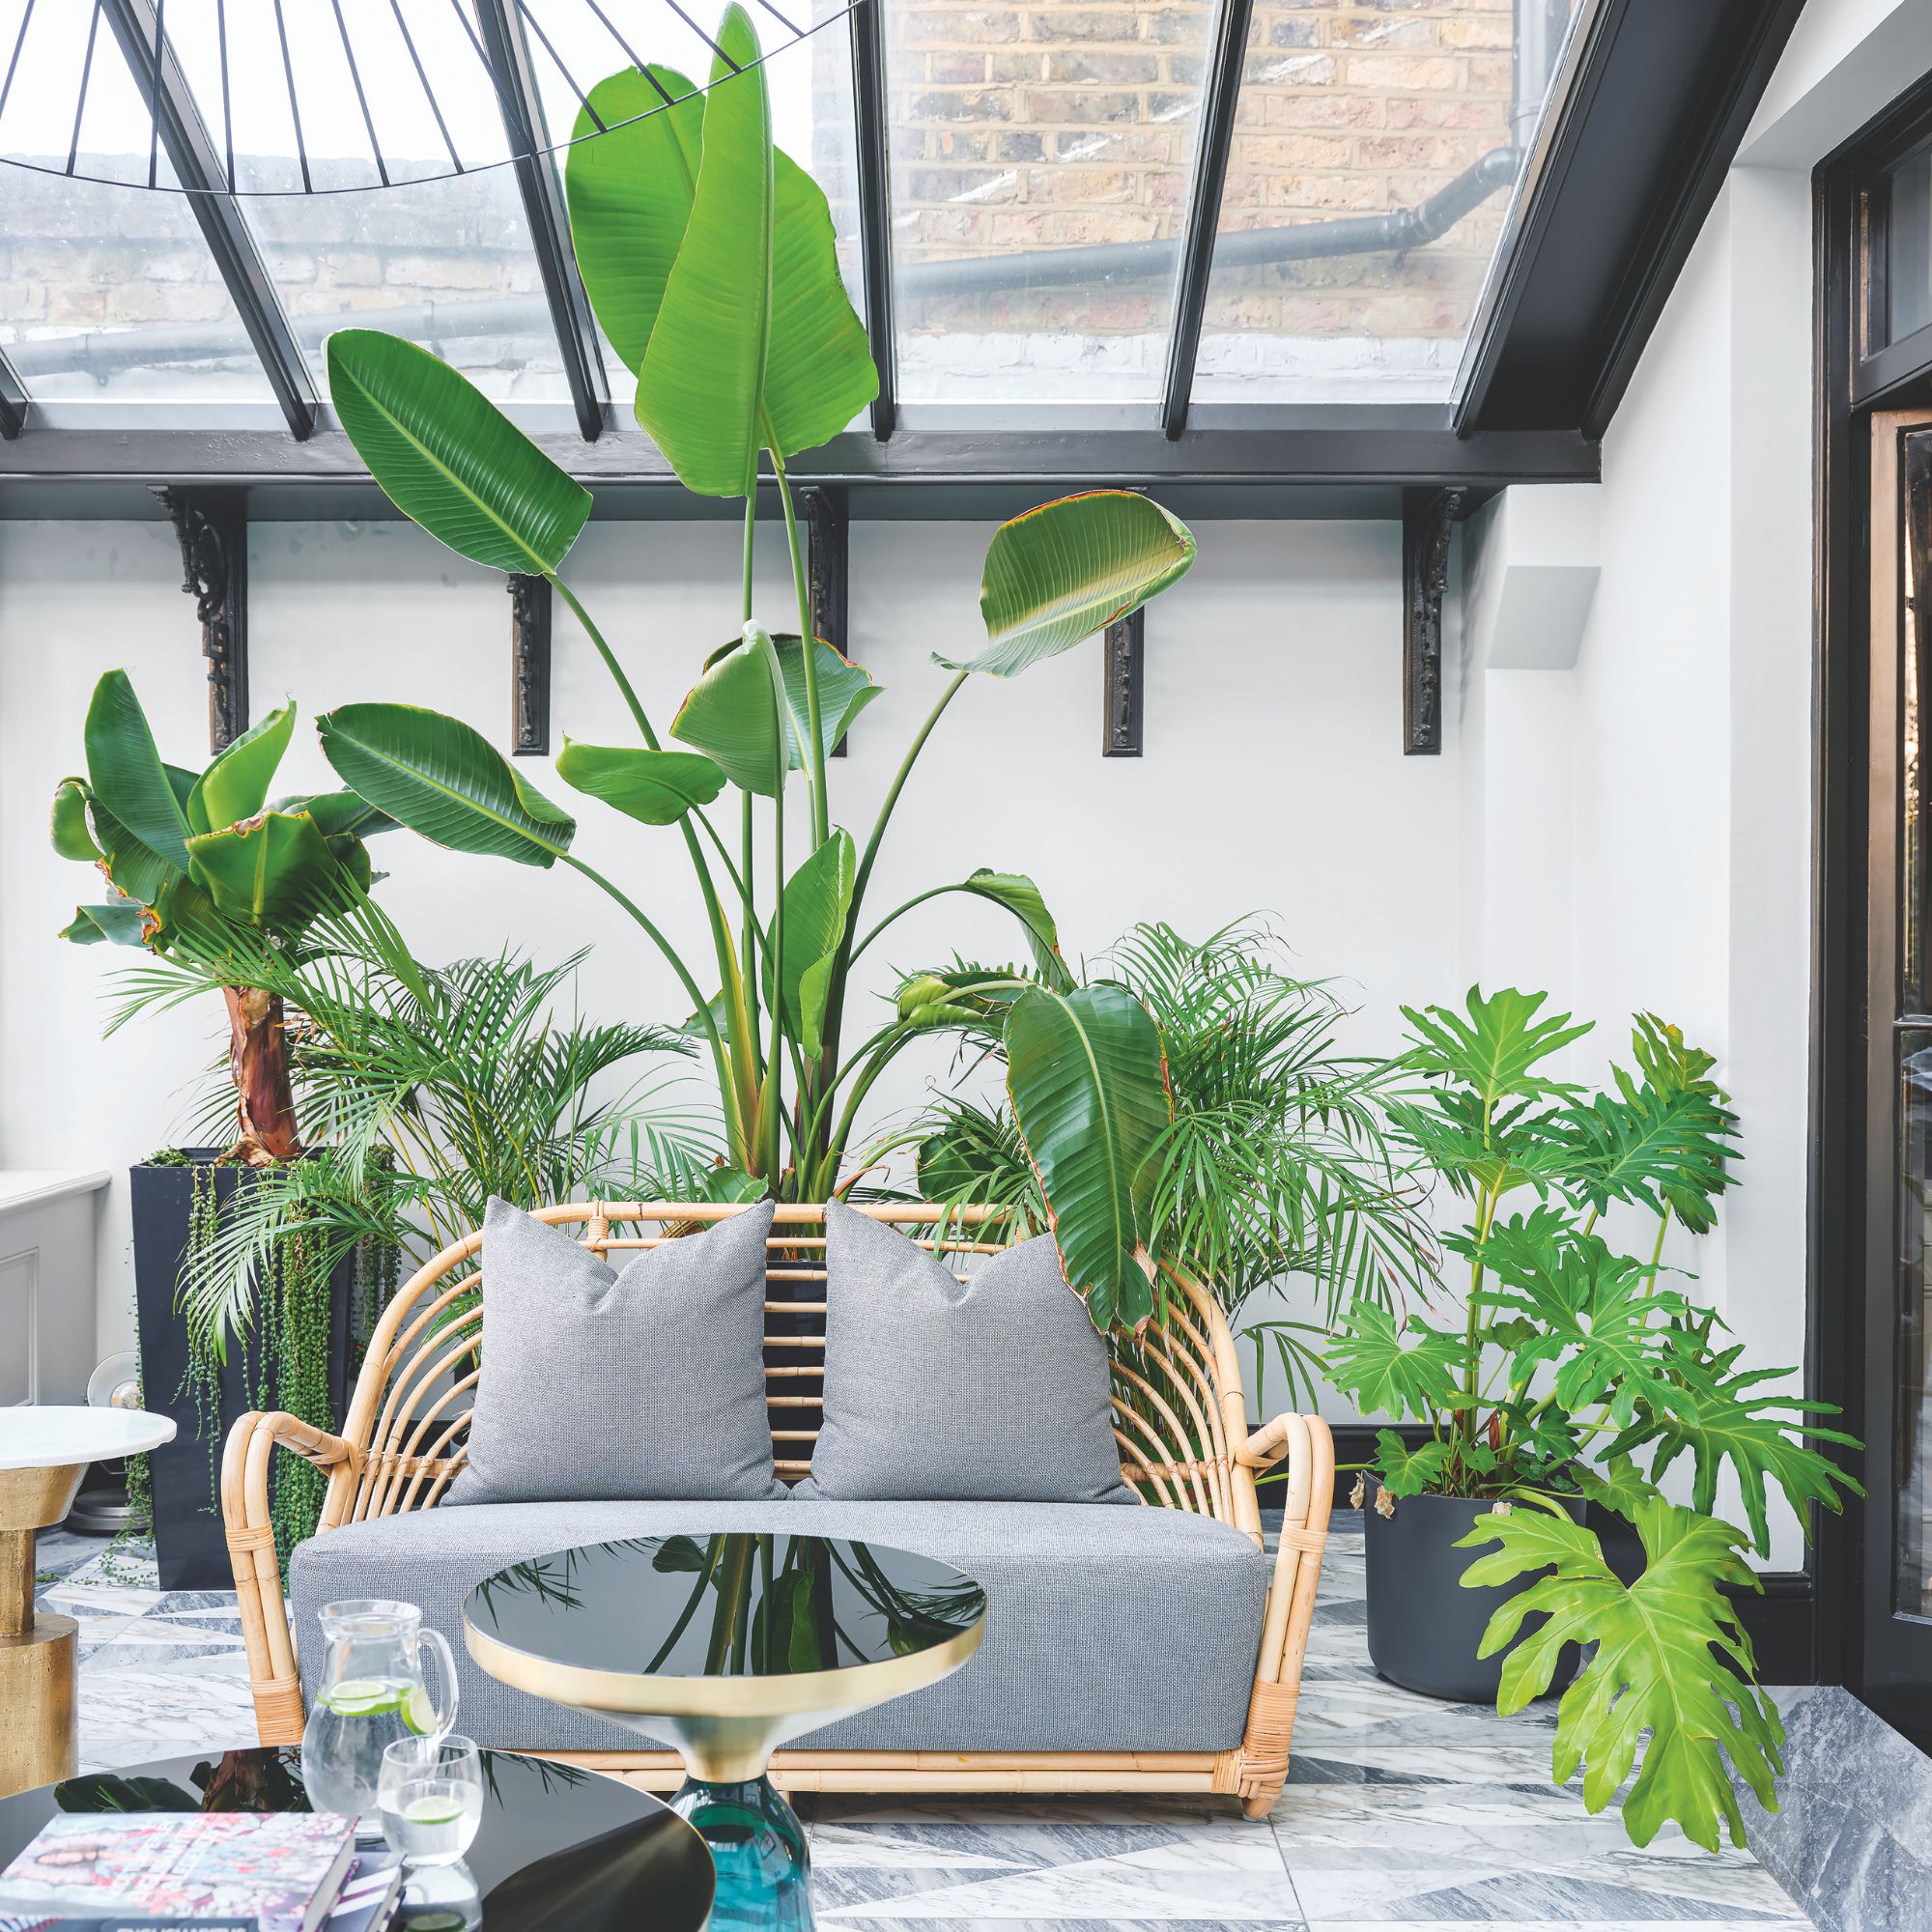 Will a conservatory add value to your home and how can you maximise it?
This is what the pros say
By Amy Reeves
-
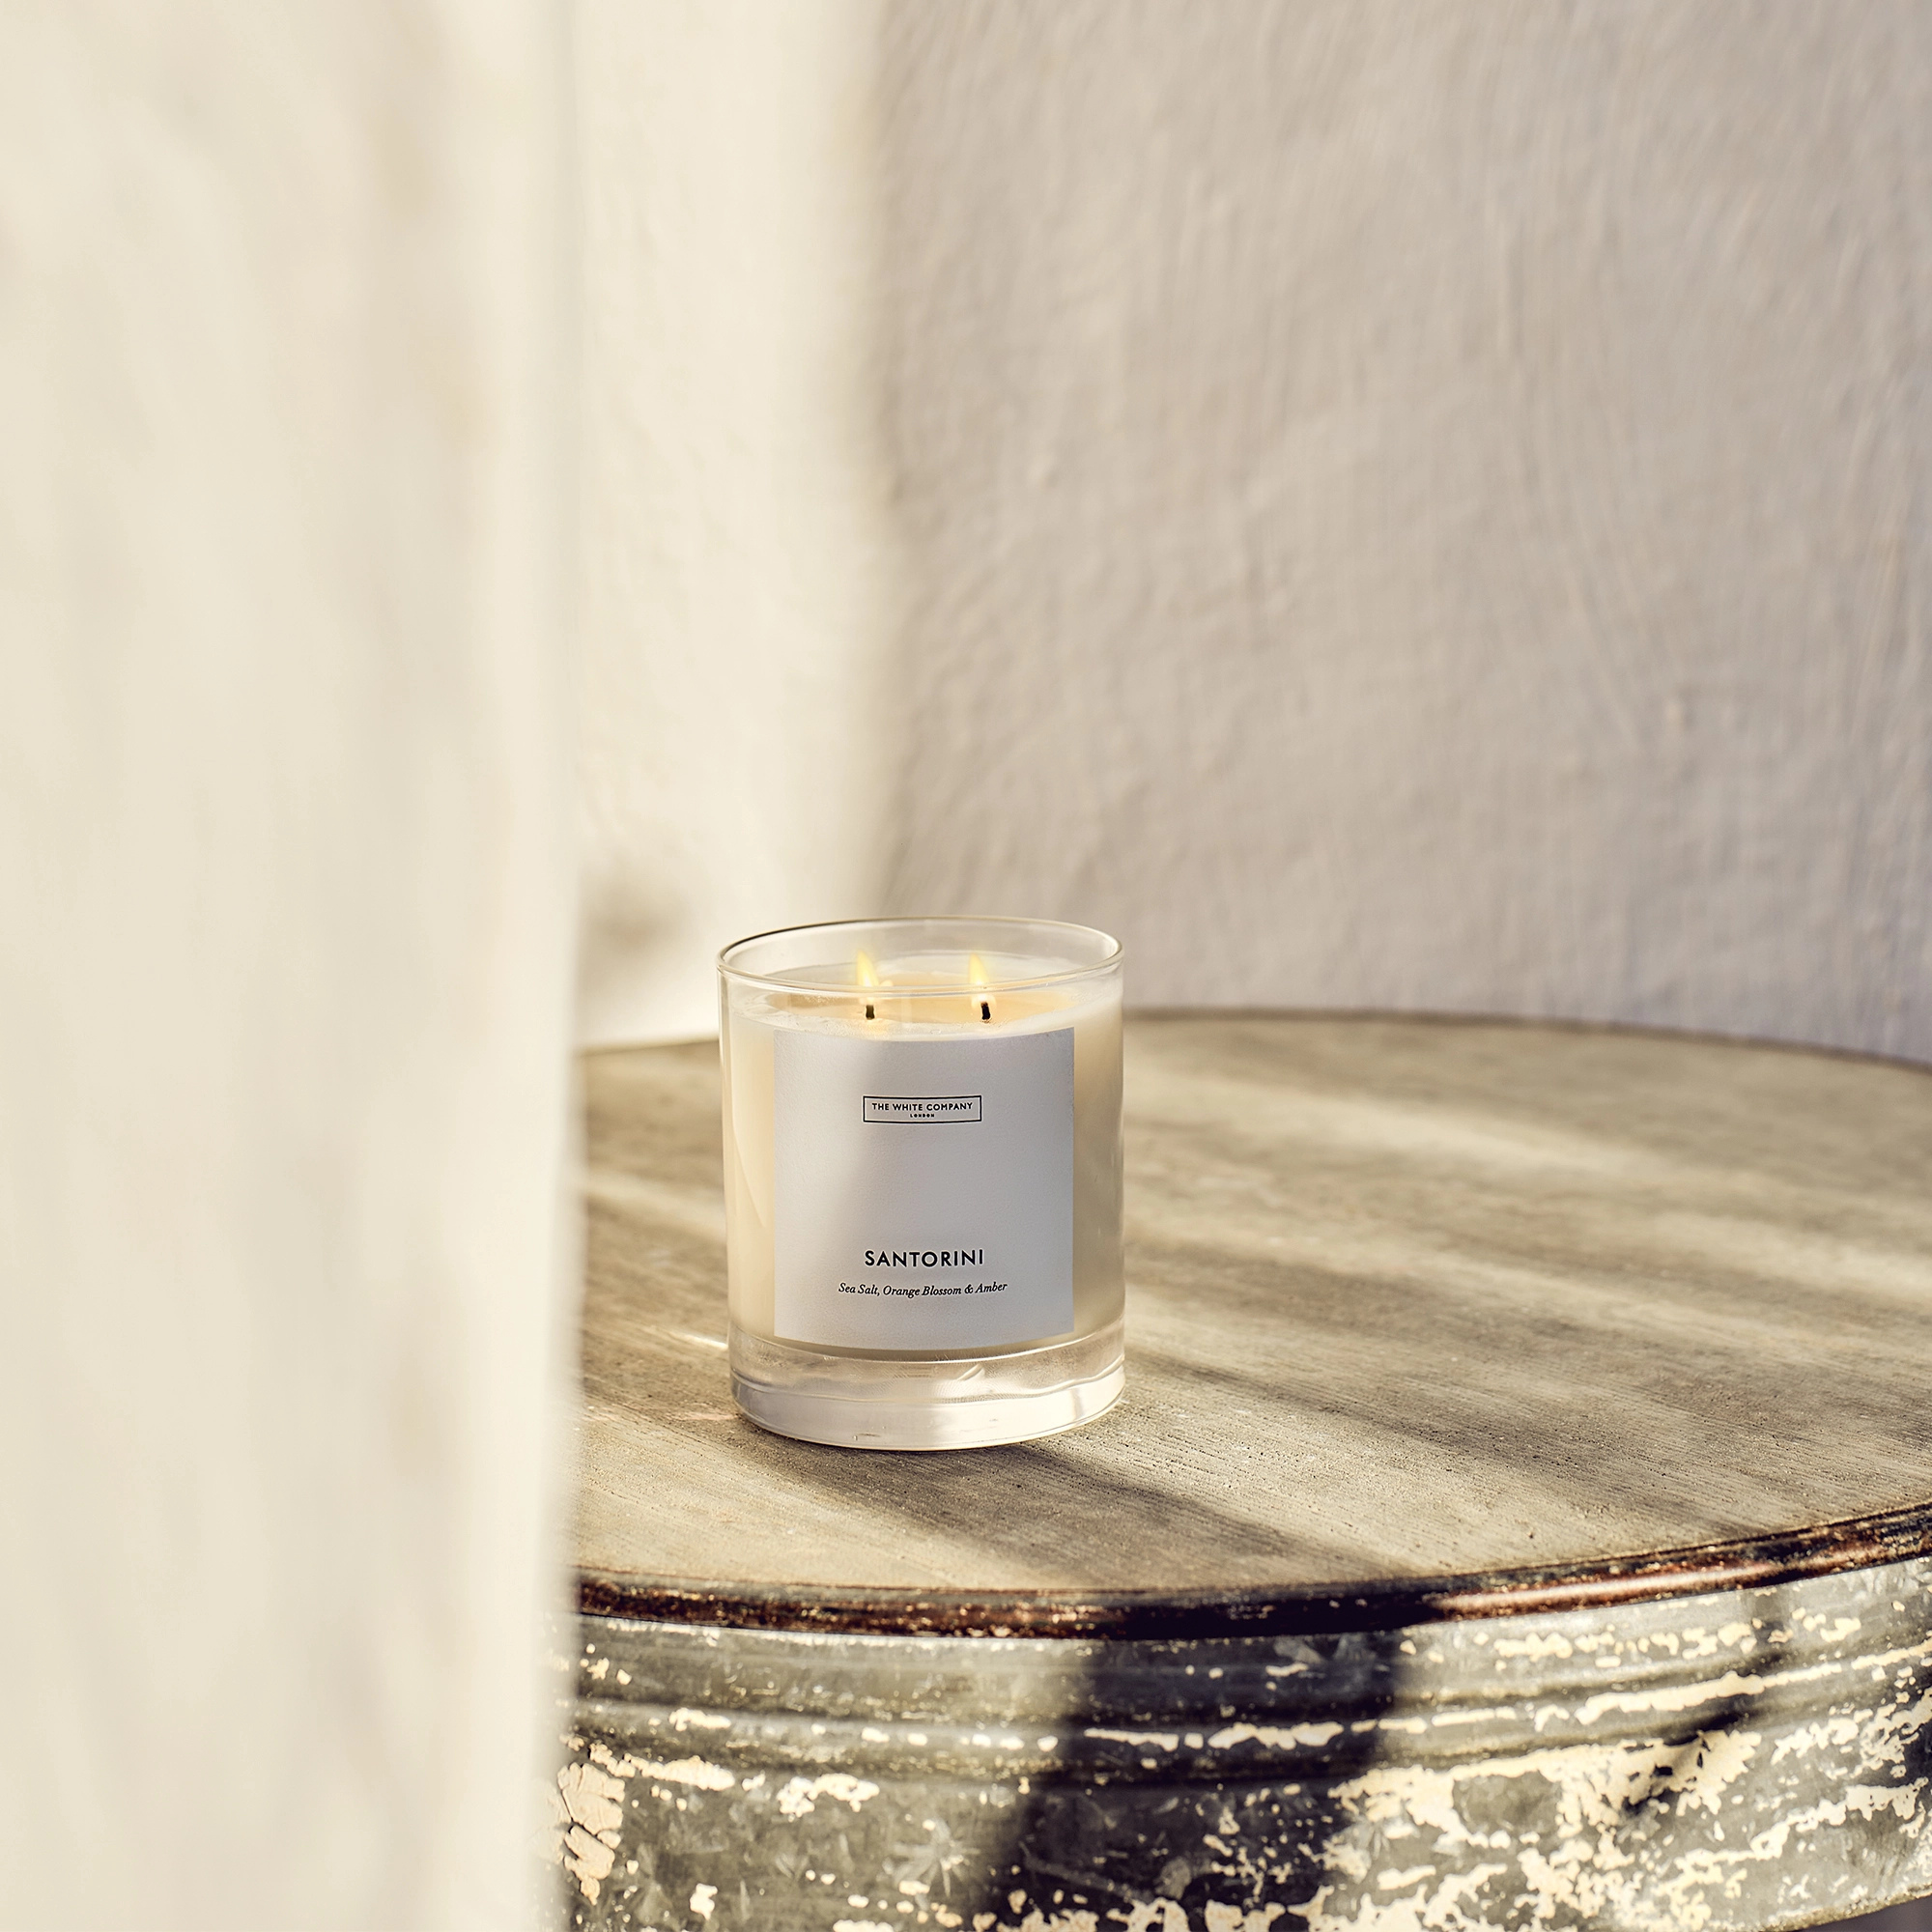 I’ve been looking for a new signature scent for my home and The White Company's new fragrance is the exact summer holiday smell I needed
Santorini smells fresh, summery and sophisticated
By Kezia Reynolds
-
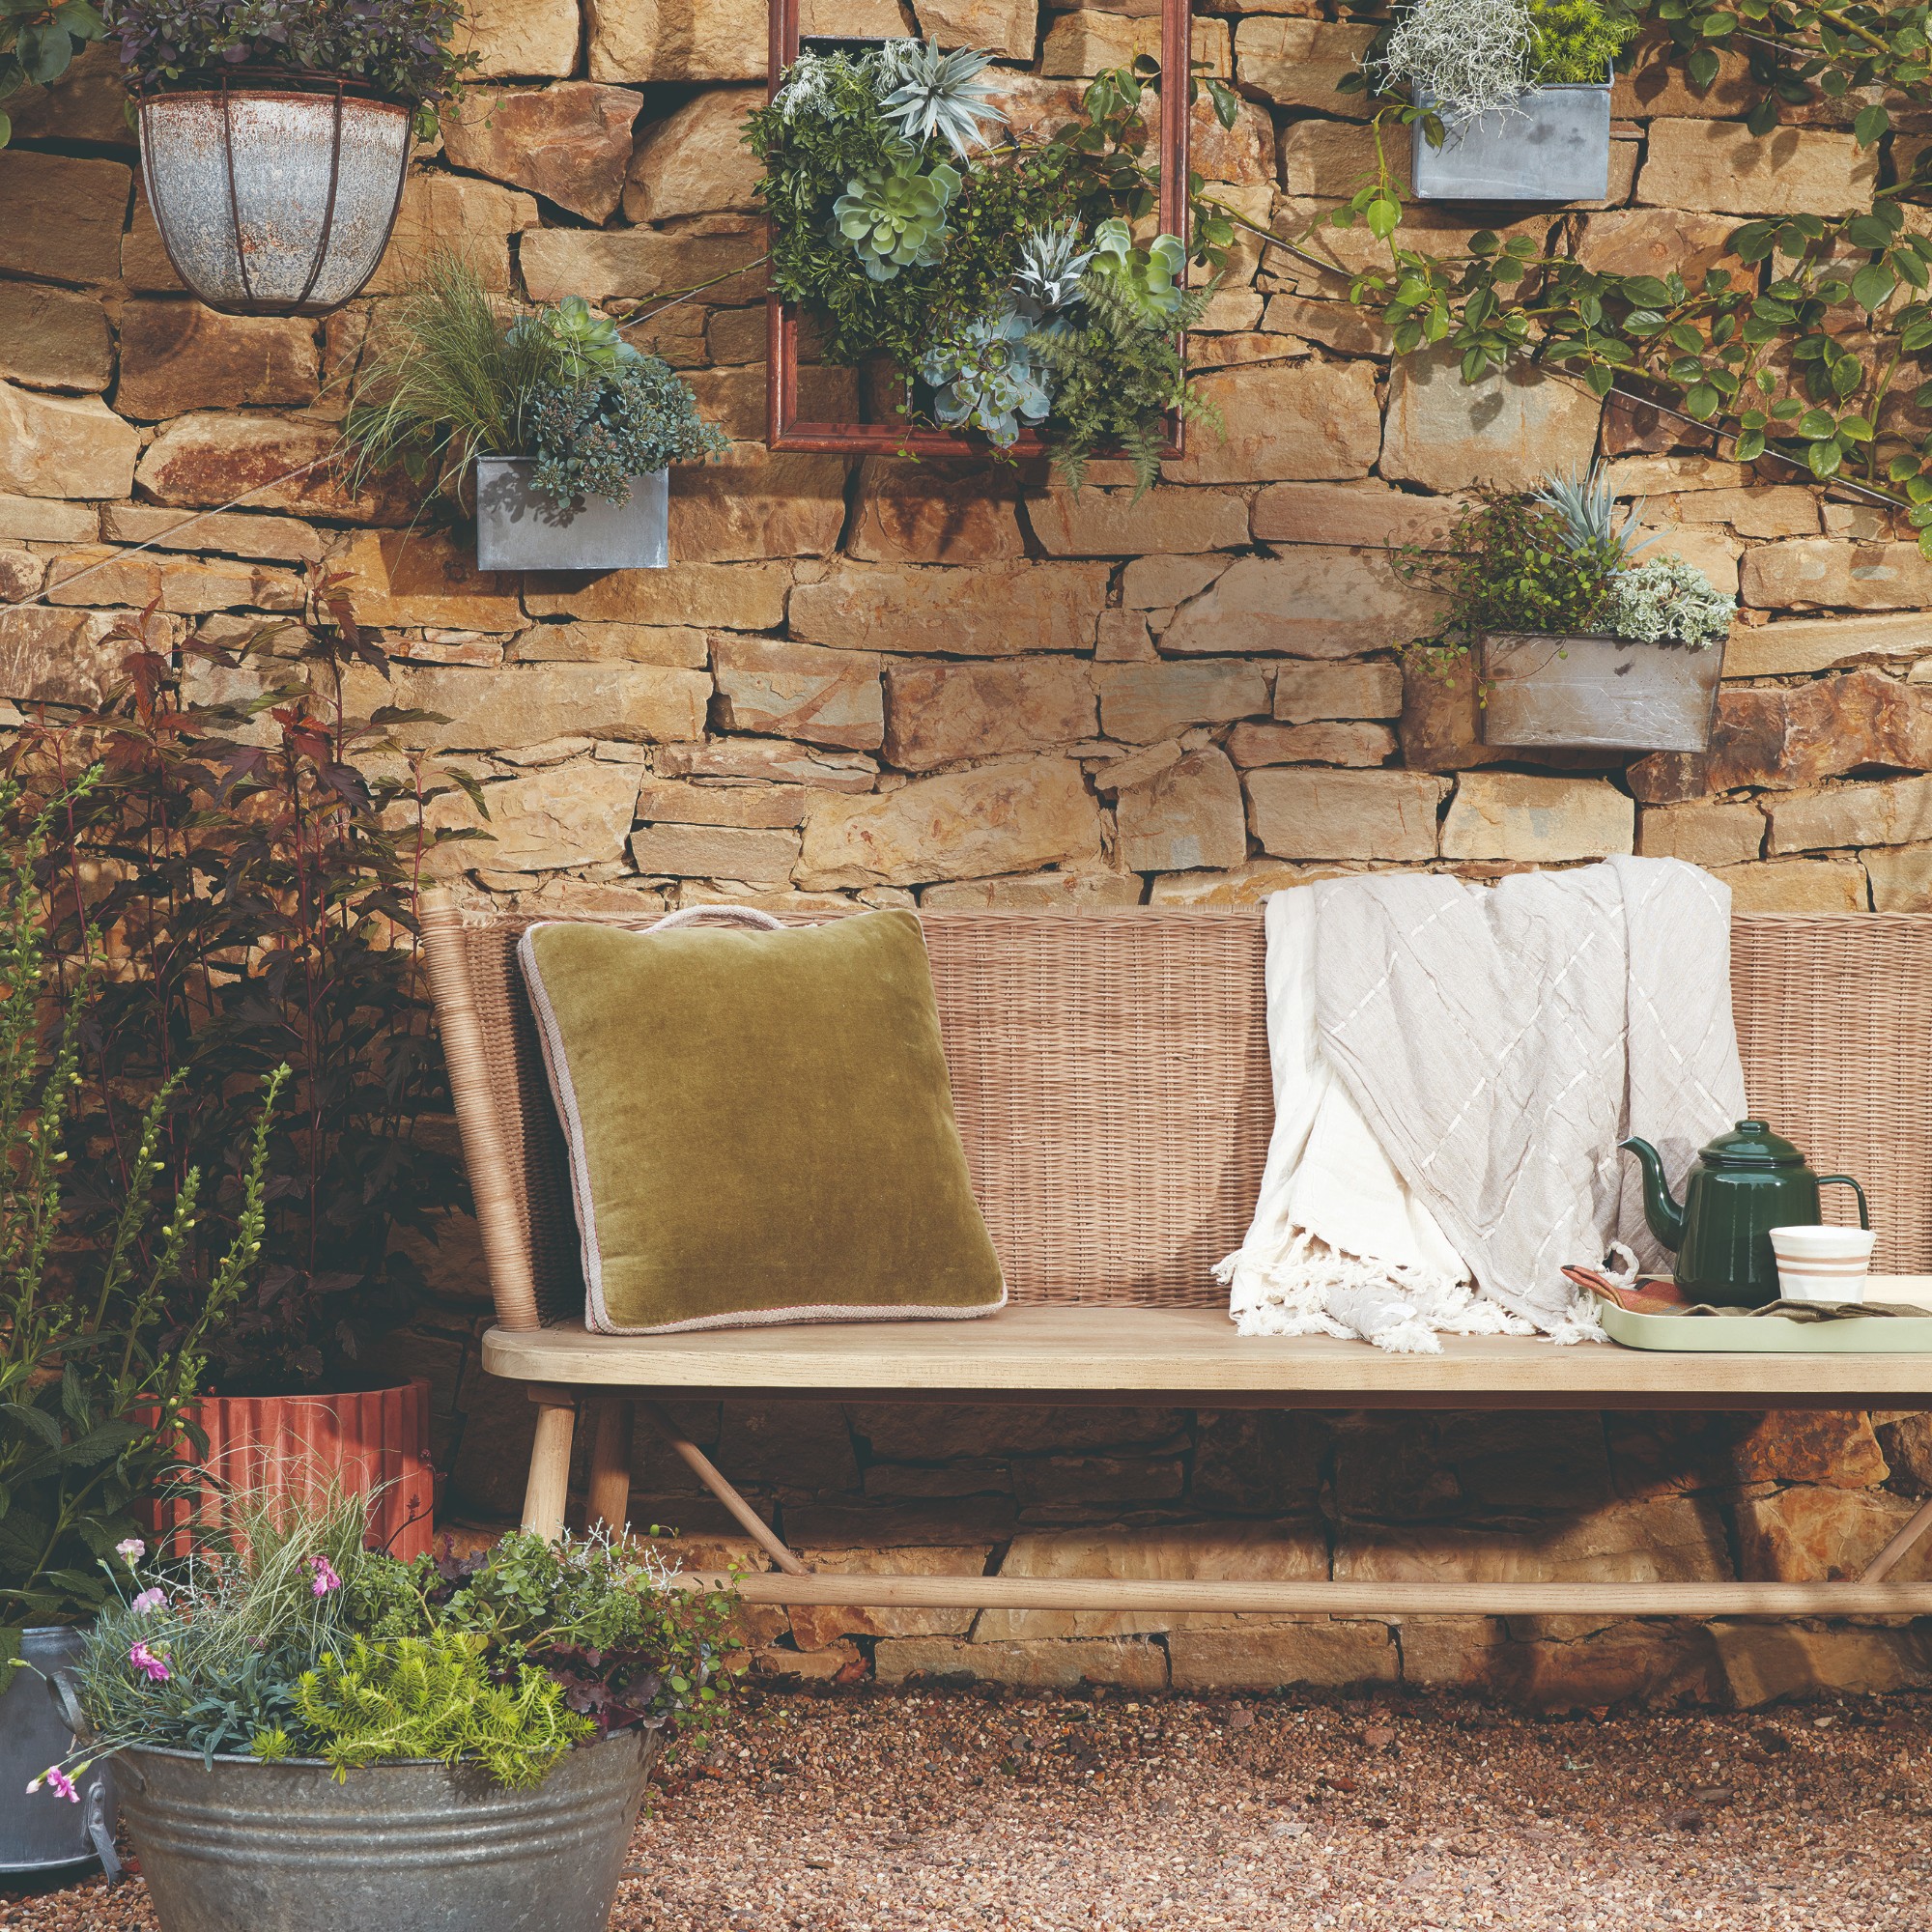 How to remove algae from garden walls in five steps – and the cleaning product experts rave about for tackling it fast
Experts share their top tips for getting garden walls algae-free
By Katie Sims